
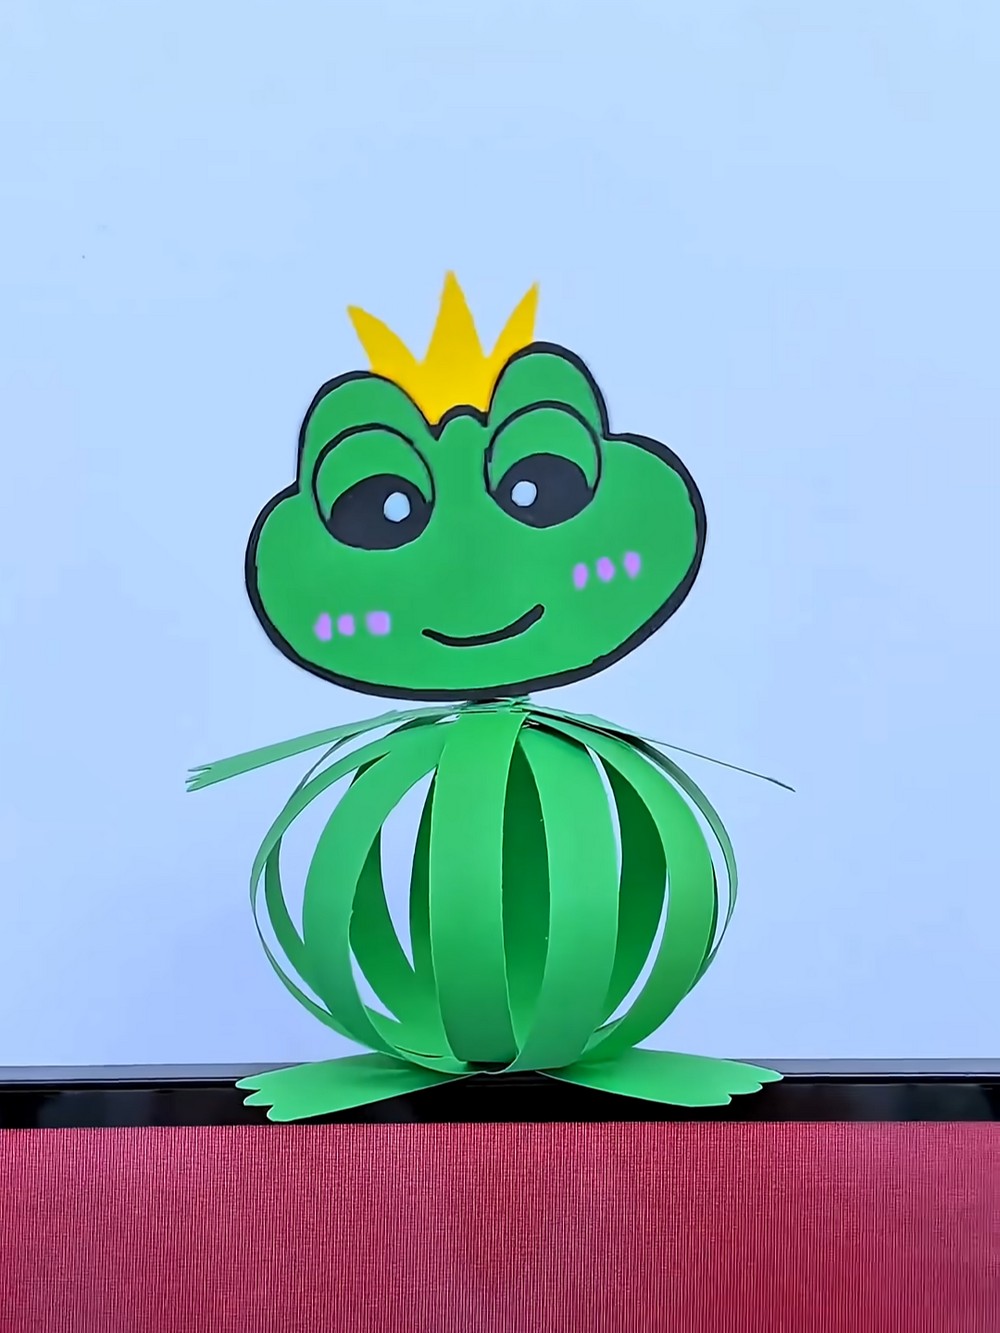
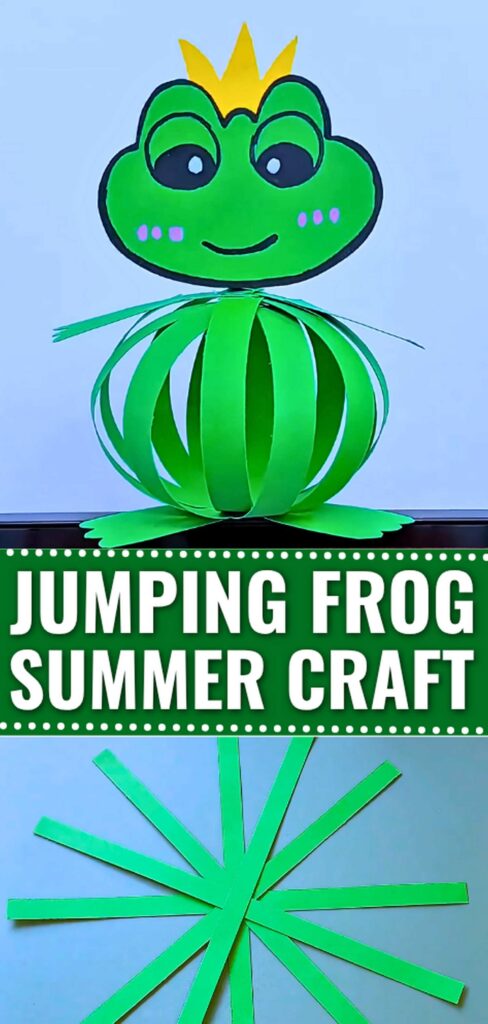
I have already shown you how to fold a traditional origami jumping frog. Now, let’s make an even more fun, cute, and UNIQUE paper frog toy with these instructions. This is gonna be a kawaii king frog with a smiling face and a paper stripe body that will make it wobble back and forth whenever you push and release it in any direction.
Don’t worry, with the paper legs and the paper stripe around the body, you won’t need to glue to make it stay stable while vibrating. The face will also move in a kinda funny way, and that’s because we have a paper spring as its neck!
Kids are gonna love this frog toy for both its easy construction and the IDEA of wobbling frog. You can customize the face in several ways and also make it even simpler. Now, let me show you how you can make it step-by-step.
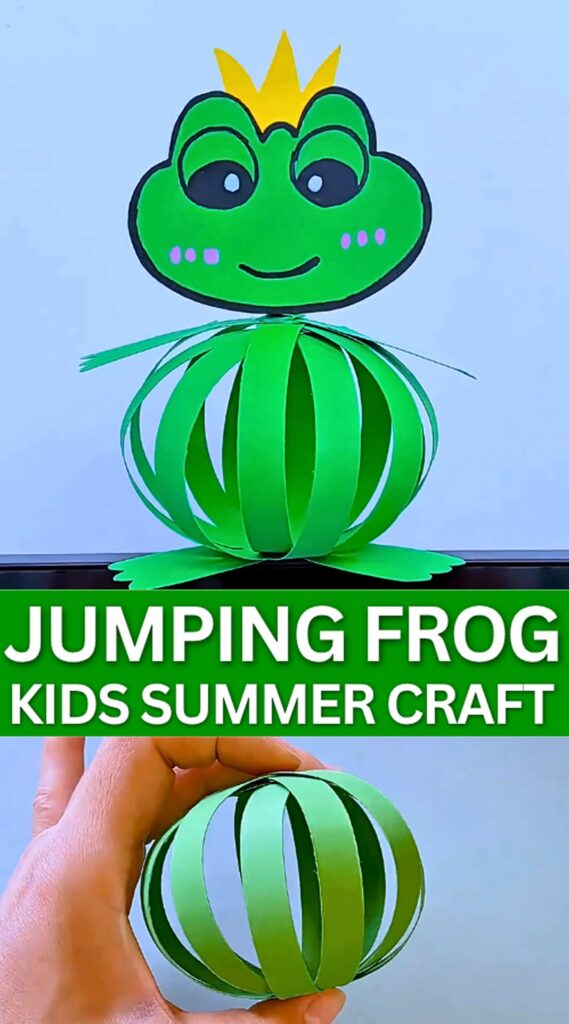
Model Type: Mix of Traditional Folds (i.e., strip sphere + paper spring) & Drawn Cutouts. Crafting with glue and scissors.
Difficulty Level: Beginner Level 1
Recommended Paper: Use the Tant paper as it is stronger and thicker.
Materials Used
- Green construction paper (cut into 8 long strips of 1-inch width)
- Yellow paper (for the crown)
- White and black paper (or markers for the eyes and face)
- Glue or double-sided tape
- Scissors
Paper Frog Funny Toy: Step-by-Step Instructions
Here is the detailed, step-by-step method to fold this modular frog toy for kids:
Step 1: Arrange the Base Strips

We’ll start with six green strips. Lay them out on a flat surface so they overlap at the center, spreading them out like the spokes of a wheel or a star. Be sure they are separated by the same distance. Glue them in the centre before working!
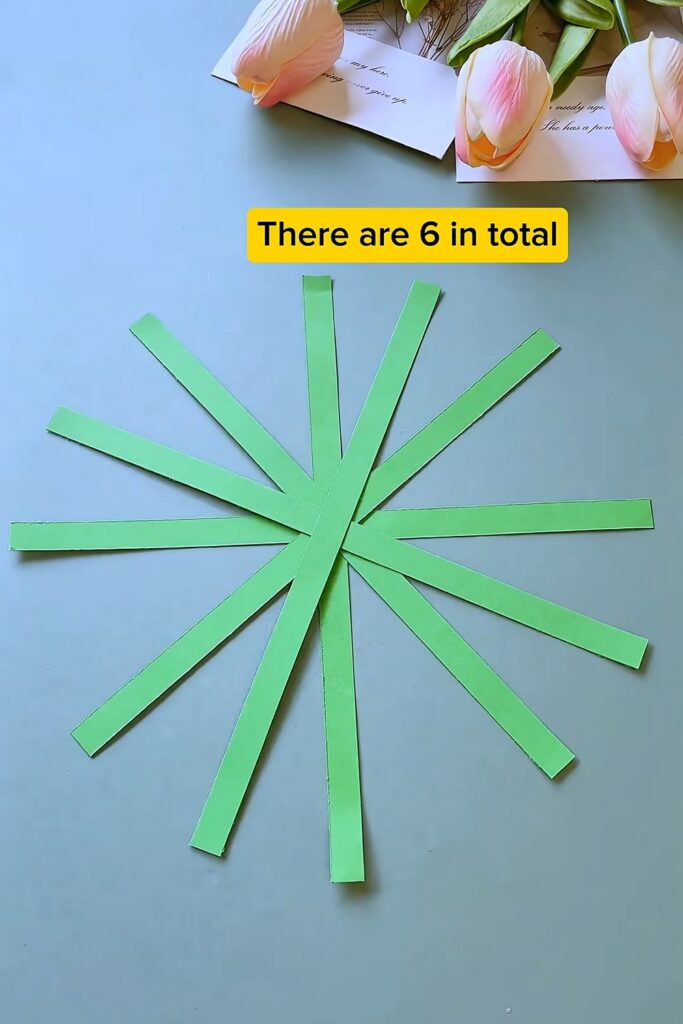
Step 2: Begin the Sphere
Take the ends of one strip and bring them to meet in the middle, making a loop. Secure the ends with glue. This first loop sets the height of your frog’s body.

Step 3: Add the Second Loop
Take the strip directly opposite the first one. Bring its ends up and glue them over the center of the first loop. You now have a basic spherical frame.
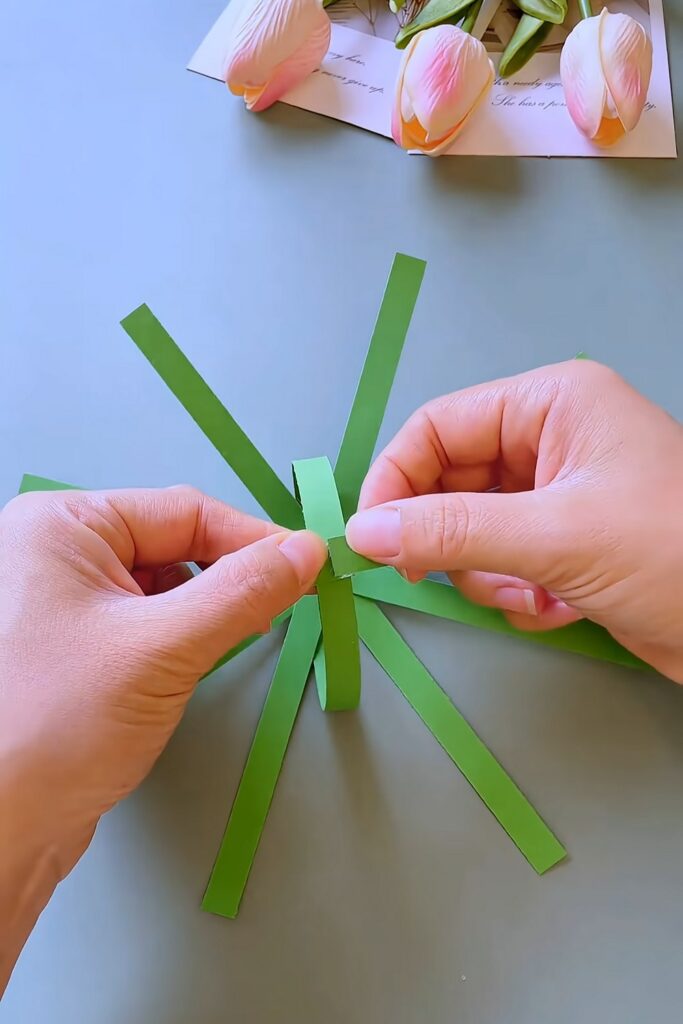
Step 4: Close the Remaining Strips
Continue this with the remaining strips. Pull each pair of ends to the top center and glue them down. Try to keep the spacing even so the body looks like a neat ball.
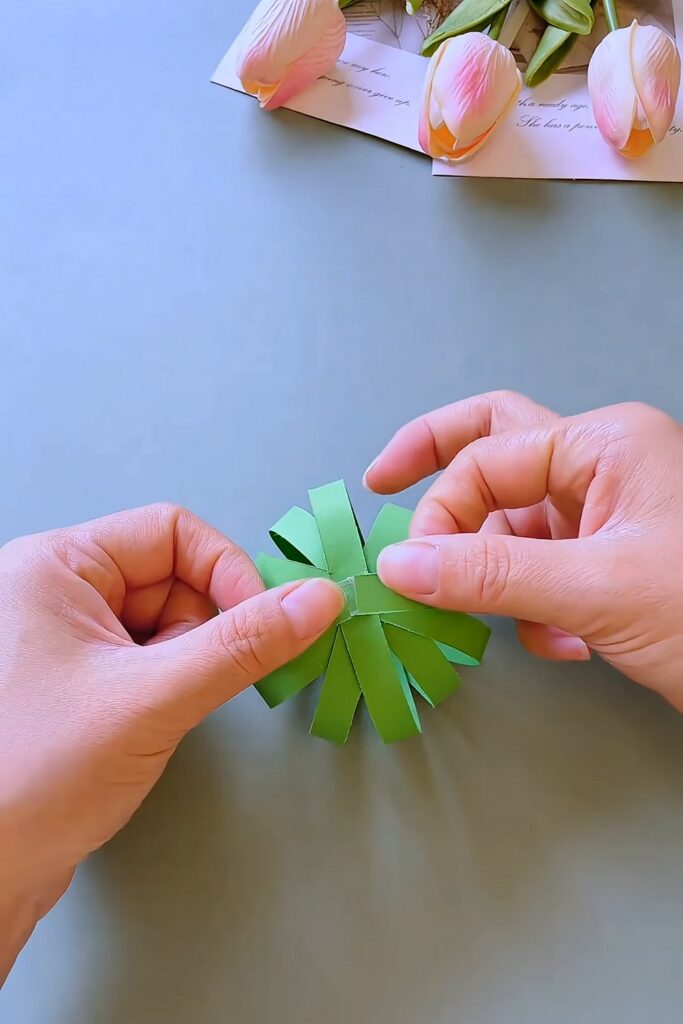
Step 5: Complete the Round Body
Once all six strips are glued at the top, you will have a lightweight, hollow paper sphere. This will be used as the “belly” of the frog and will make it wobble when pushed.
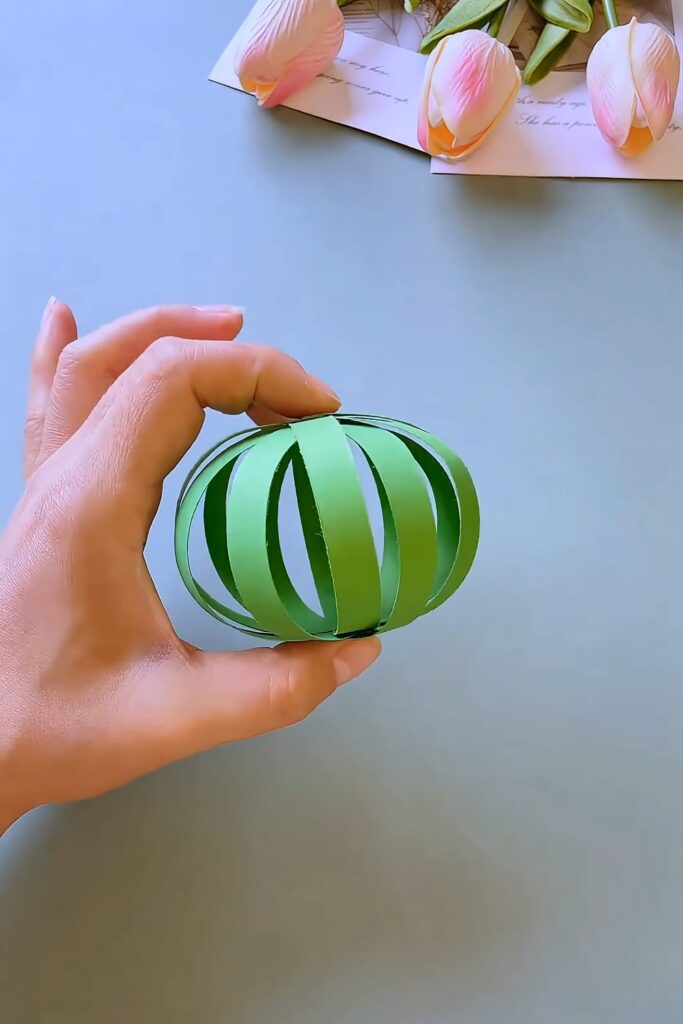
Step 6: Start the Springy Neck
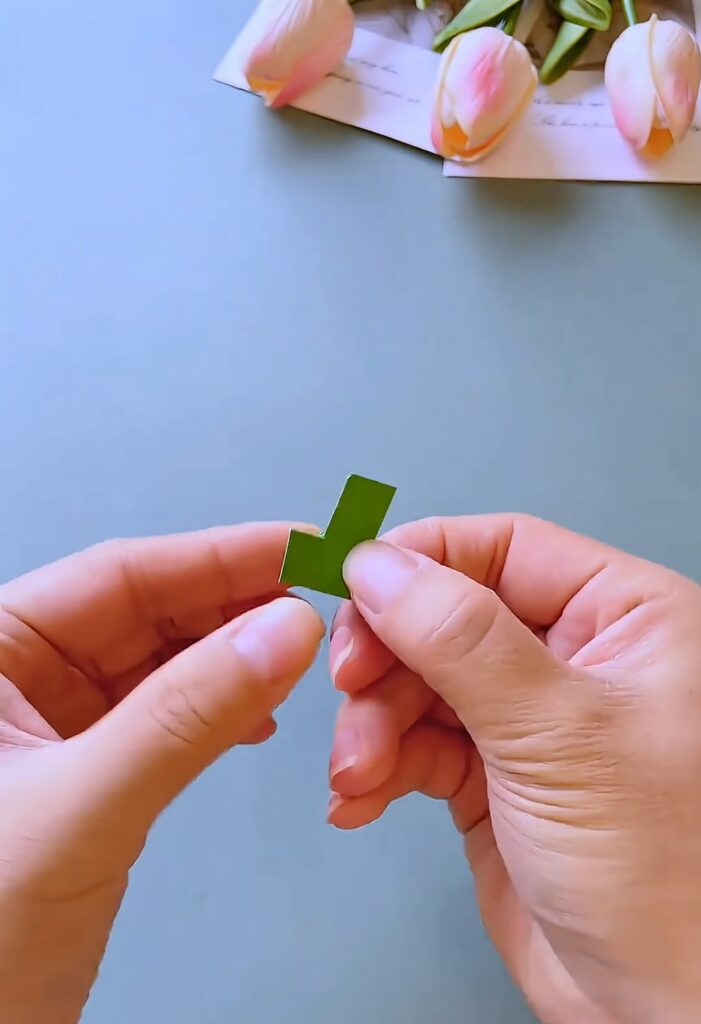
To give the frog its “jumping” or “wobbling” motion, we need a paper spring. Take two long green strips and glue the ends together at a 90-degree angle, making an “L” shape.
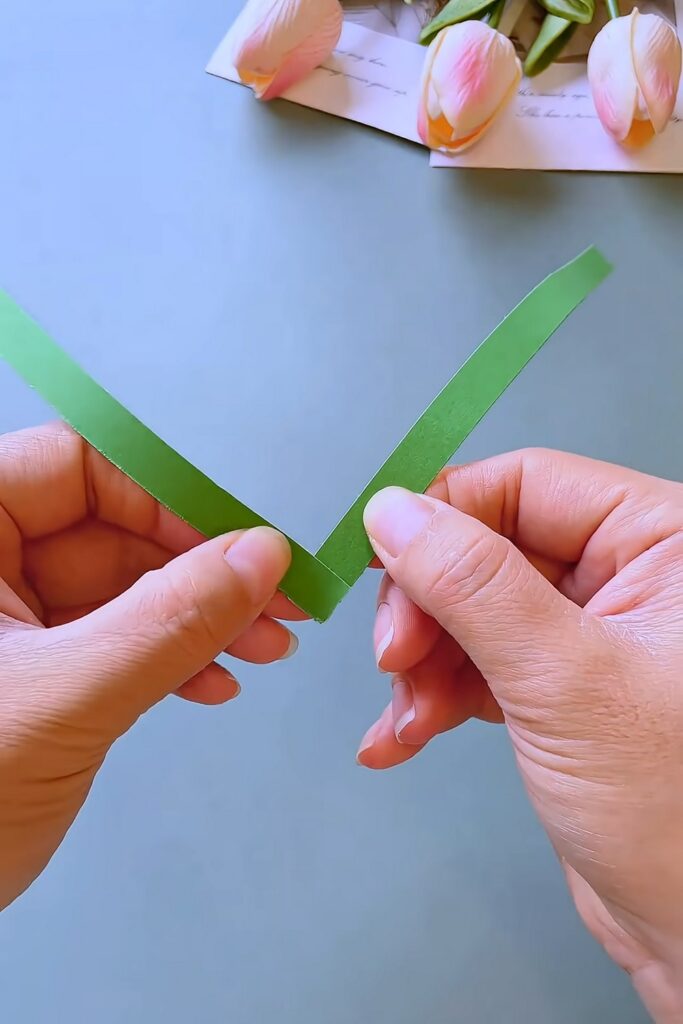
Step 7: Fold the Strips
Now, fold the bottom strip over the top strip. Then, take the new bottom strip and fold it back over the one you just moved. You are essentially “stacking” the strips on top of each other.
Step 8: Create the Accordion Spring
Repeat this back-and-forth folding until you reach the end of the strips. When you let go, it should stretch out like a colorful accordion.
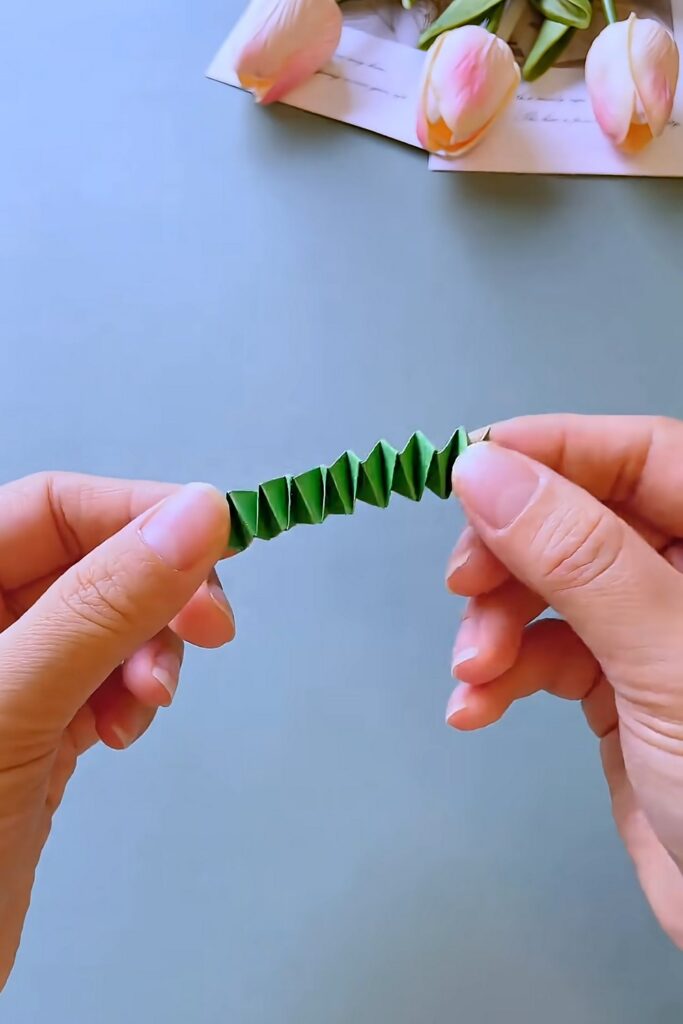
Step 9: Attach the Spring to the Body
Apply glue to the bottom of your accordion spring and press it onto the top center of the round body (where all the strips meet). This acts as a flexible neck.

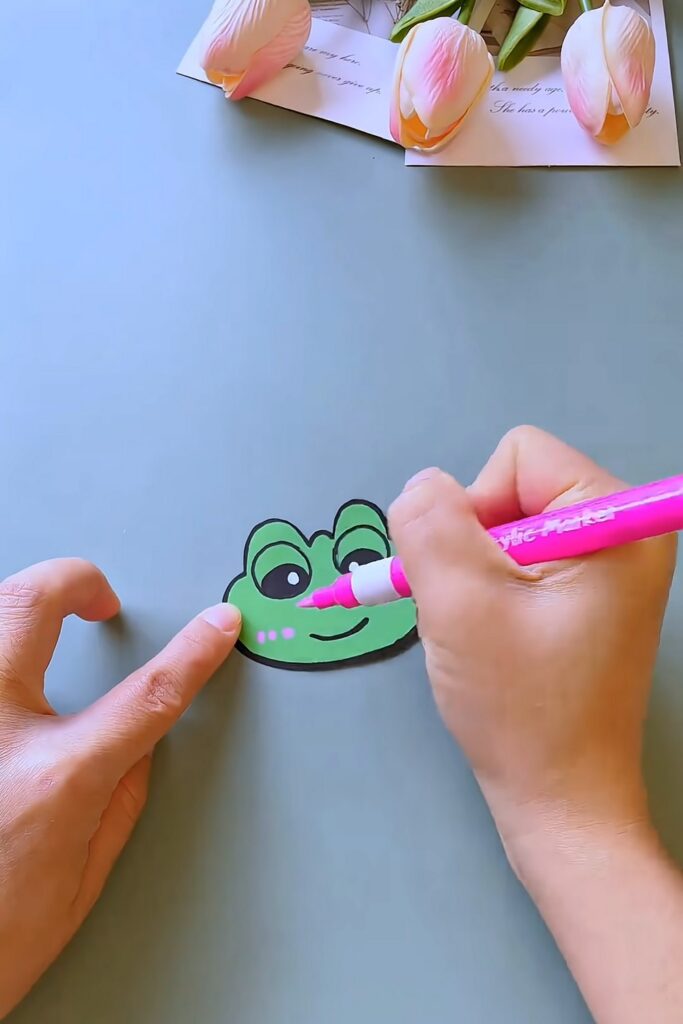
Step 10: Add the Frog Face
Finally, glue a flat paper frog head onto the top of the spring. You can decorate it with big eyes, a smile, and even a tiny yellow crown. Because of the spring, the head will bounce and move when you touch it!
Feels Difficult?
Step 11: Add the Legs and Arms
Draw a cut from the green paper legs and arms and glue onto!
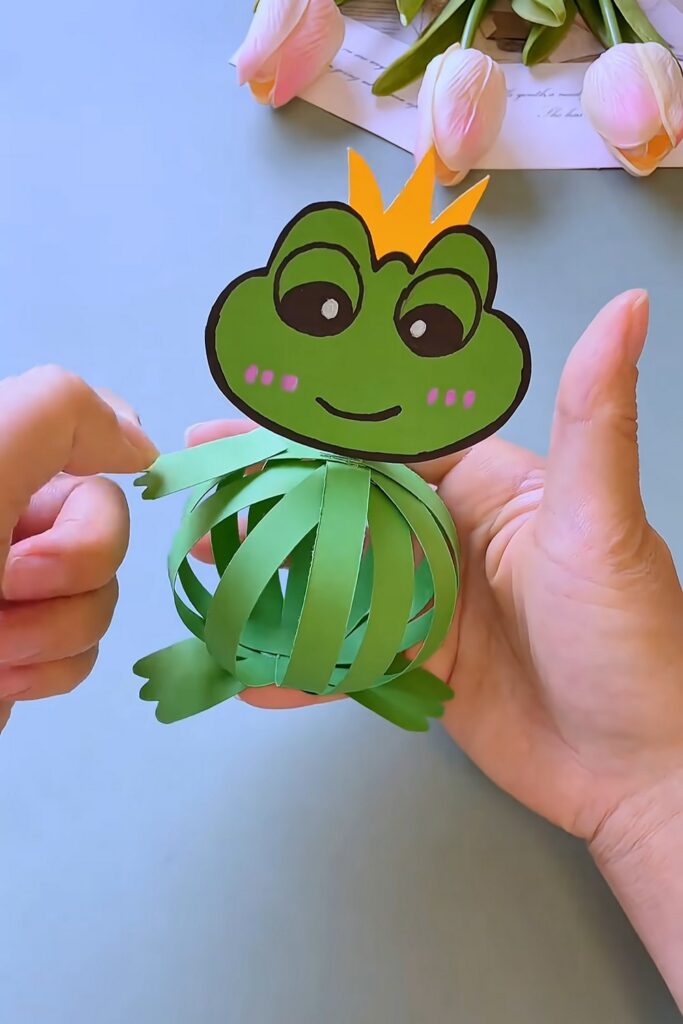
And that’s it! This way, you can make a funny frog toy that kids will love!
Was this Tutorial Helpful? Tell us in the Comments.
Your feedback is a great way for us to improve the tutorials. Did you find the tutorial helpful? Be sure to subscribe to the creator’s channel!
About "MAKE DIY via YouTube"
She is running one of the most special corner of paper crafts that are all quick and easier and require no skill!

About "Talha"
Hey, I’m Talha, the Crafter on Craftstive.com. I love to share guides on folding cute origami models and paper crafts, and I am always ready to inspire your next craft project with my weekly craft discussions.