
These instructions will show you how to craft a UNIQUE and SUPER FUN watermelon craft for preschoolers in 10 simple steps. Unlike all three watermelon crafts I have shared tutorials for, this summer, this is the most engaging and FUN to play with.
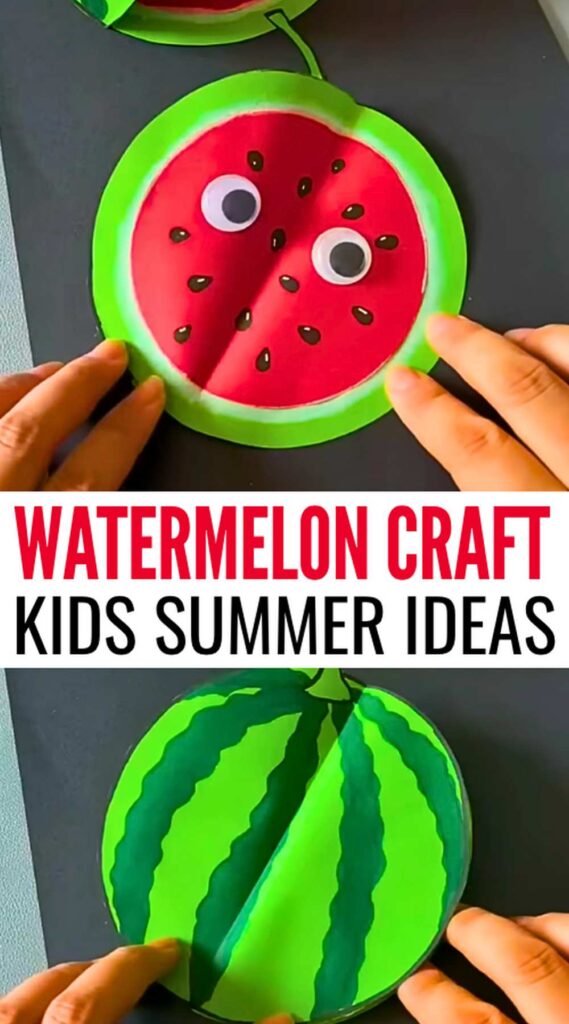
The idea is to make a reversible paper full watermelon card that opens like a book to reveal a googly-eyed watermelon slice, or you can say the inside of the watermelon.
Normally, you have crafts that can either show off the watermelon with rind or a watermelon slice, but it is two-in-one. This will really be the best summer activity this summer vacation for kids. So, give it a try with basic folds, drawing, and gluing.
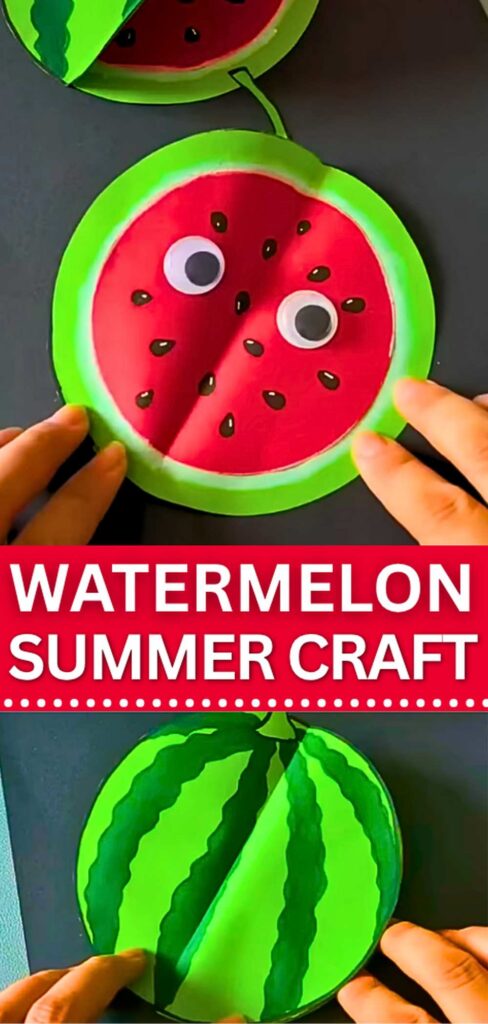
Difficulty: None. Just be sure to be good at drawing and neat coloring.
Model Type: Unique Cut and Glue craft
Time: 15 Minutes
Materials Needed
- Square sheets of paper (Green and Red)
- A small bowl (for tracing)
- Pencil
- Dark green and black markers
- White paint or a white marker
- Scissors
- Glue
- Googly eyes
Unique Watermelon Craft: Step-by-Step Instructions
Follow these step-by-step instructions to make this watermelon craft that opens like a book:
Step 1: Tracing the Base:
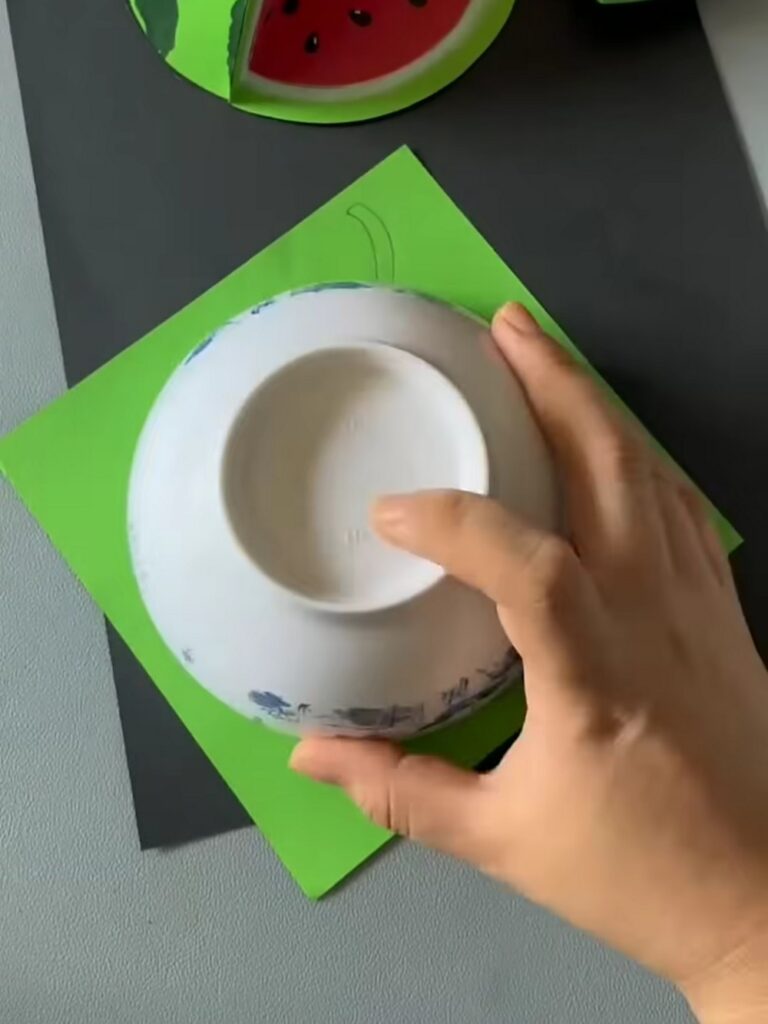
Place the bowl upside down on a sheet of green paper. Press down and trace around the rim with a pencil to make a perfect circle. Draw a small stem at the top edge. You can also draw an even basic one.
Step 2: The Outline:
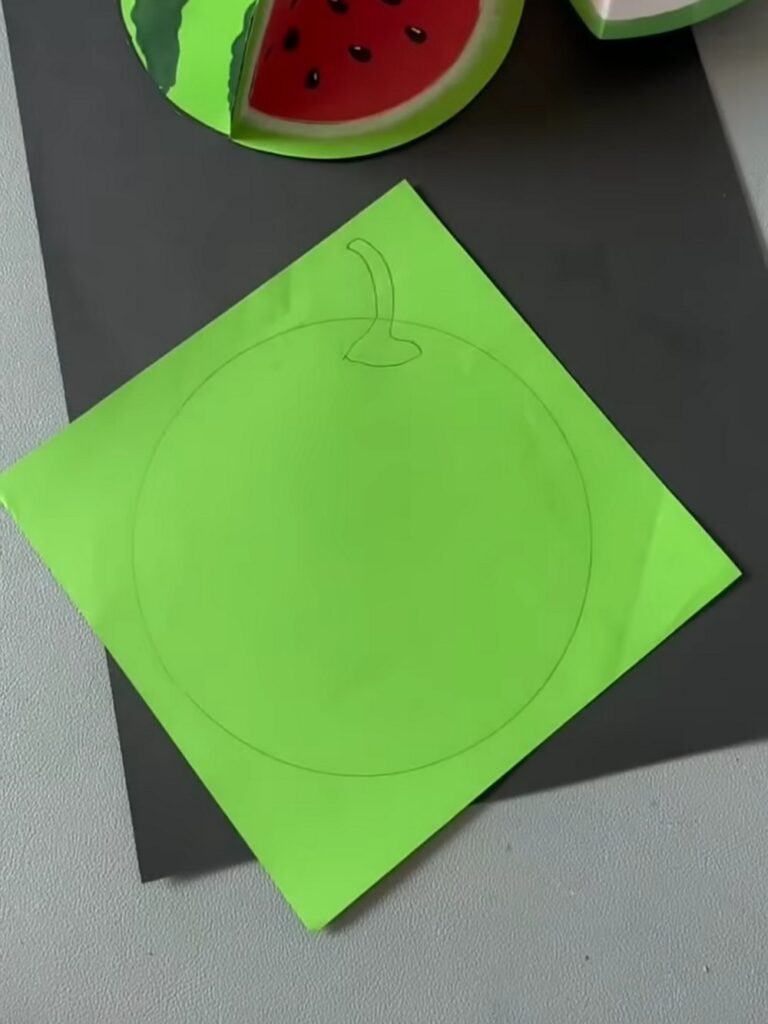
Remove the bowl to reveal the pencil outline of the circular base and the stem.
Step 3: Drawing the Rind:
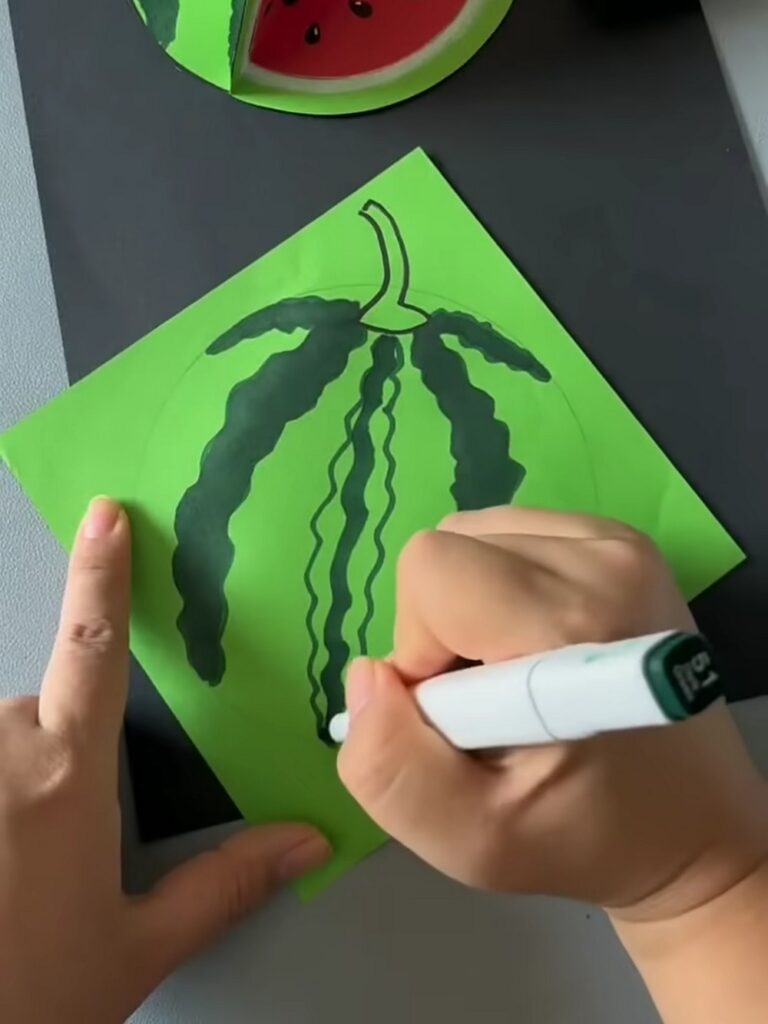
Use a dark green marker to draw thick, wavy, vertical lines across the green circle. This mimics the outer pattern of a watermelon rind.
Step 4: Cutting and Folding:
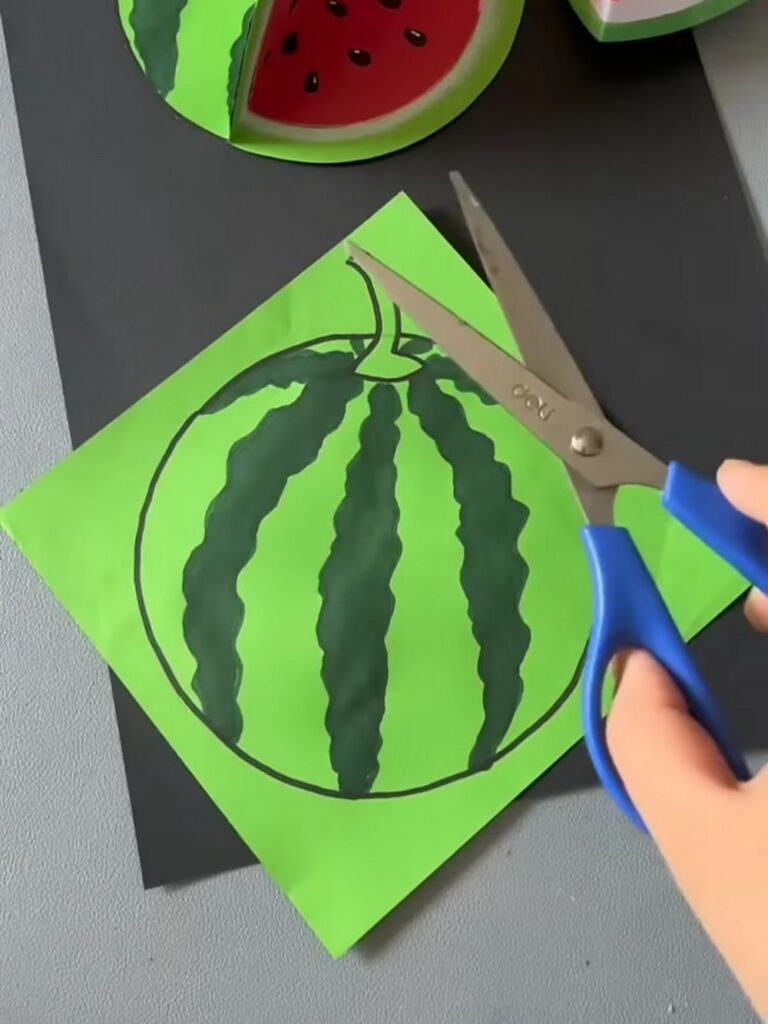
Cut out the green shape along your pencil outline, including the stem. Fold the circle exactly in half down the middle, but at an angle so that the stem is not included in the crease.
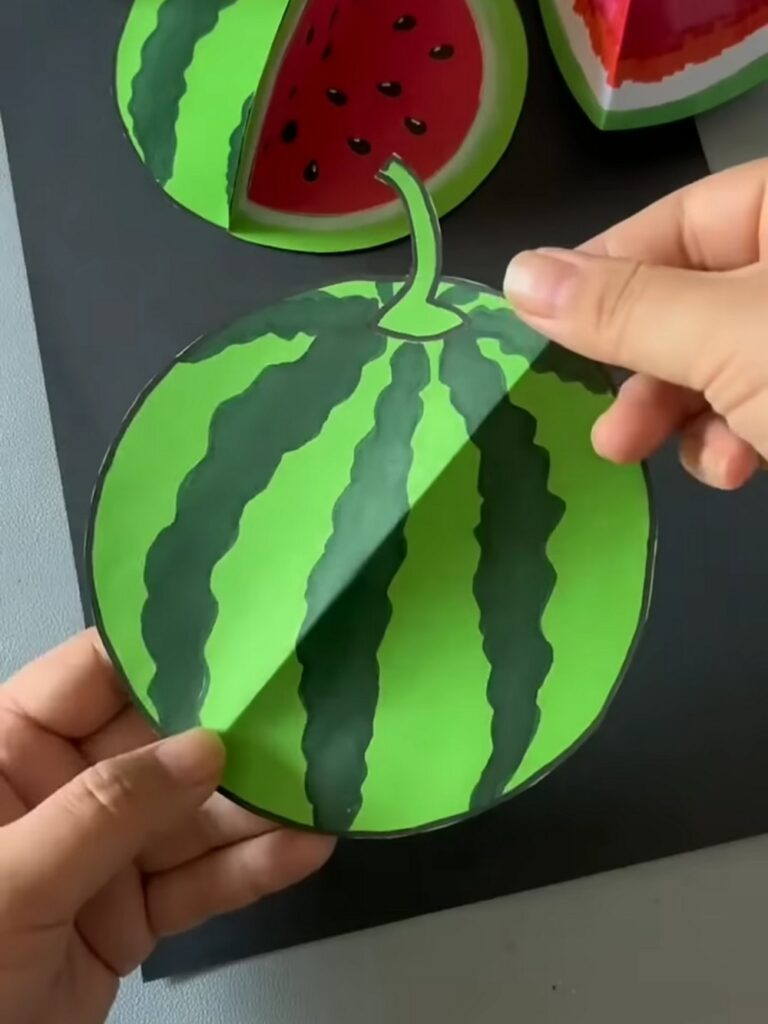
Step 5: Creasing the Cover:
Press firmly on the fold to make a sharp crease, which will ensure that the dark green stripes are facing outward.
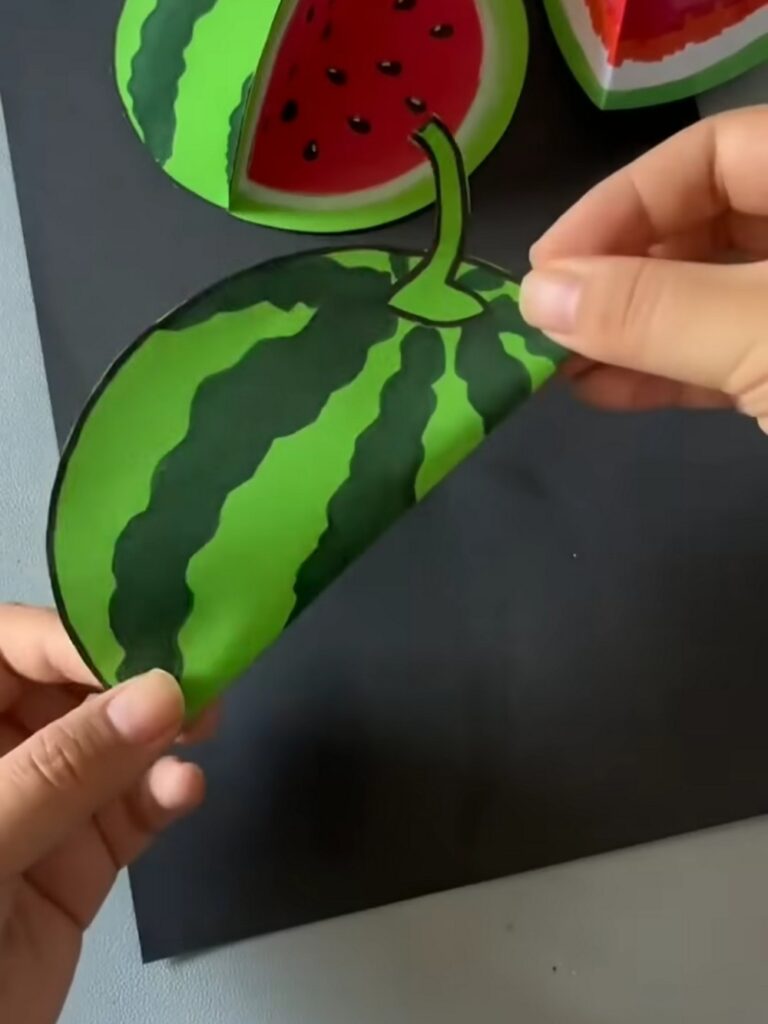
Step 6: The Inner Fruit:
Cut a slightly smaller circle out of the red paper. Glue this red circle directly into the center of a second, blank green circle, which is the same size as the rhind circle.
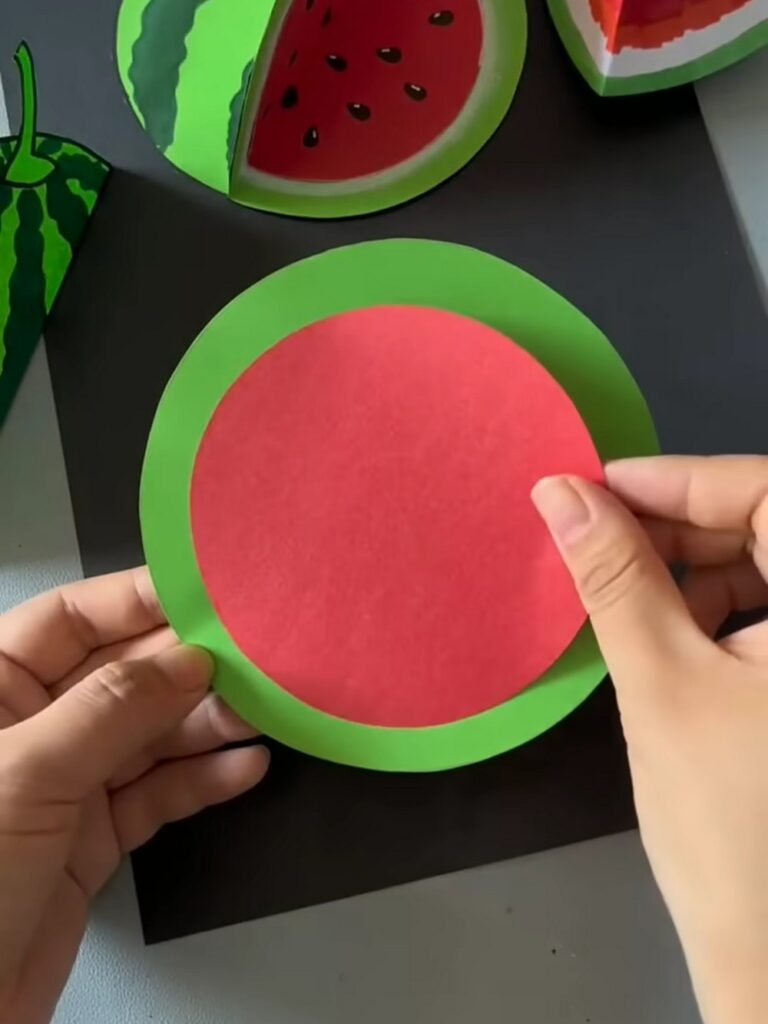
Step 7: Adding Details:
Draw small black seeds on the red circle. Use white paint or a marker to add a border around the edge of the red paper to represent the inner rind.
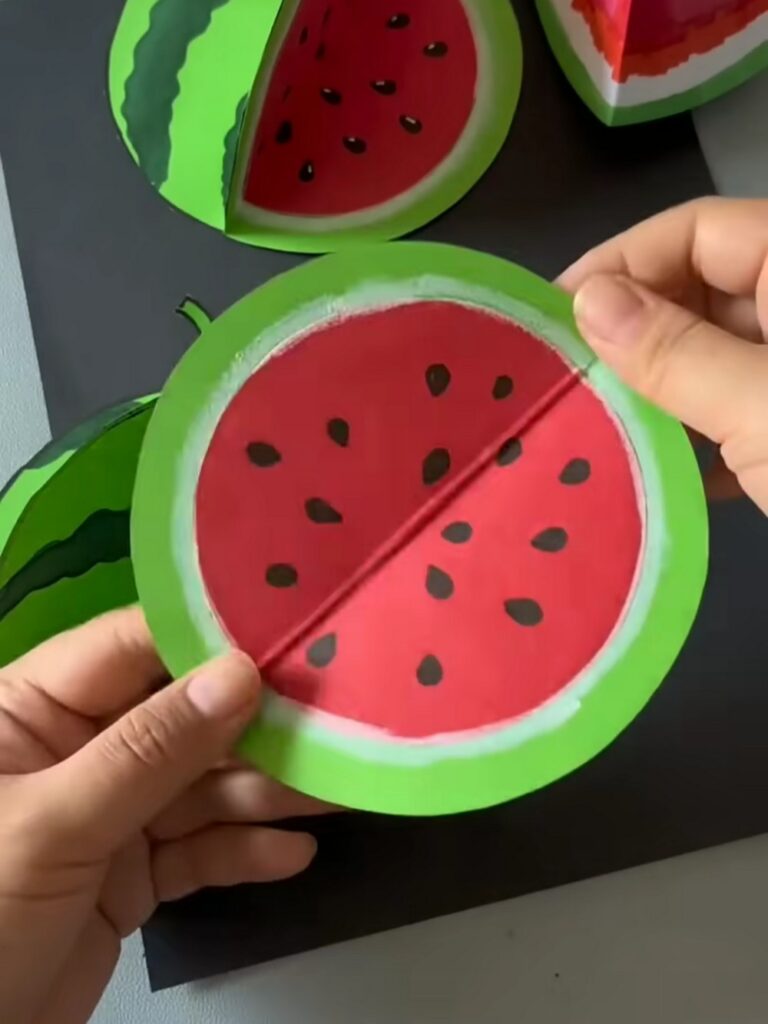
Fold this whole piece in half, with the red side facing inward.
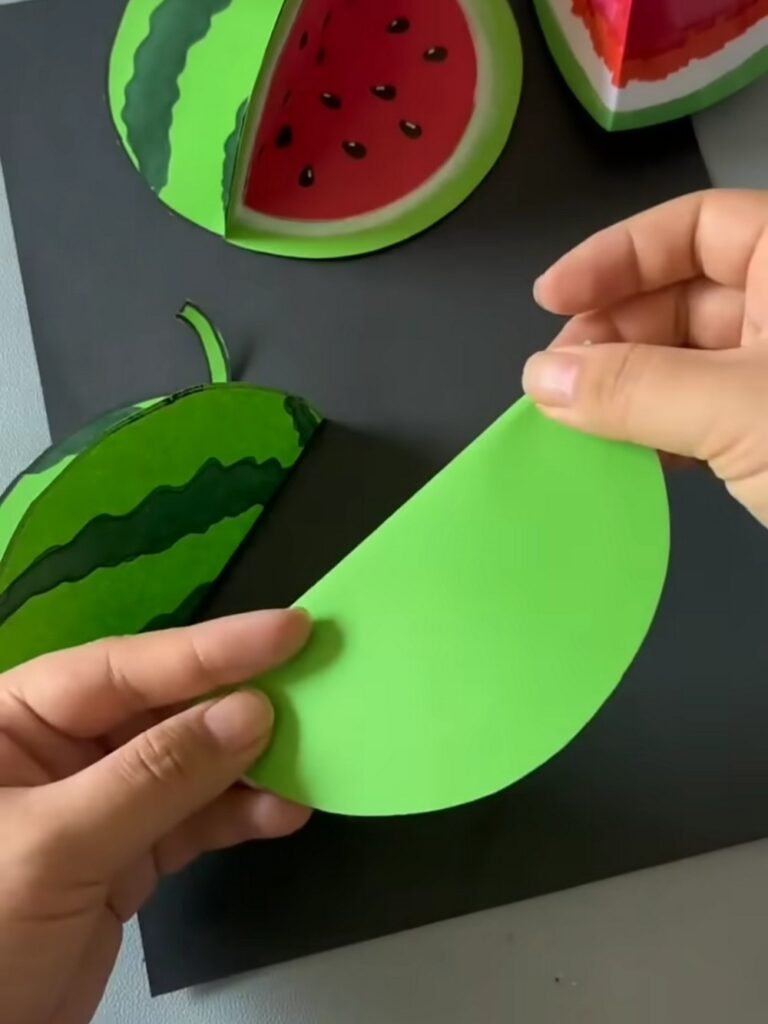
Step 8: Gluing the Pieces:
Apply glue to the outer flaps of your folded pieces. Attach the striped cover pieces to the outside of the red inner pieces, stacking them back-to-back so they can open up like a book.
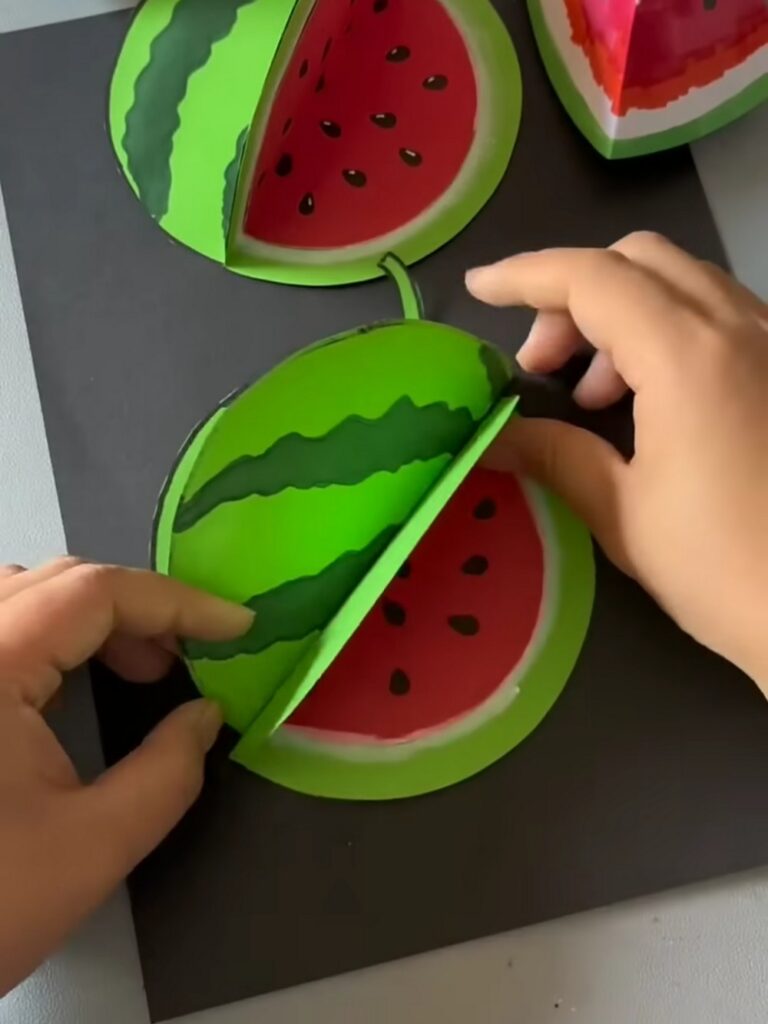
Step 10: Assembly:
Open the completed 3D slice so the red center is visible. Glue a googly eye onto the red section for a fun finishing touch.
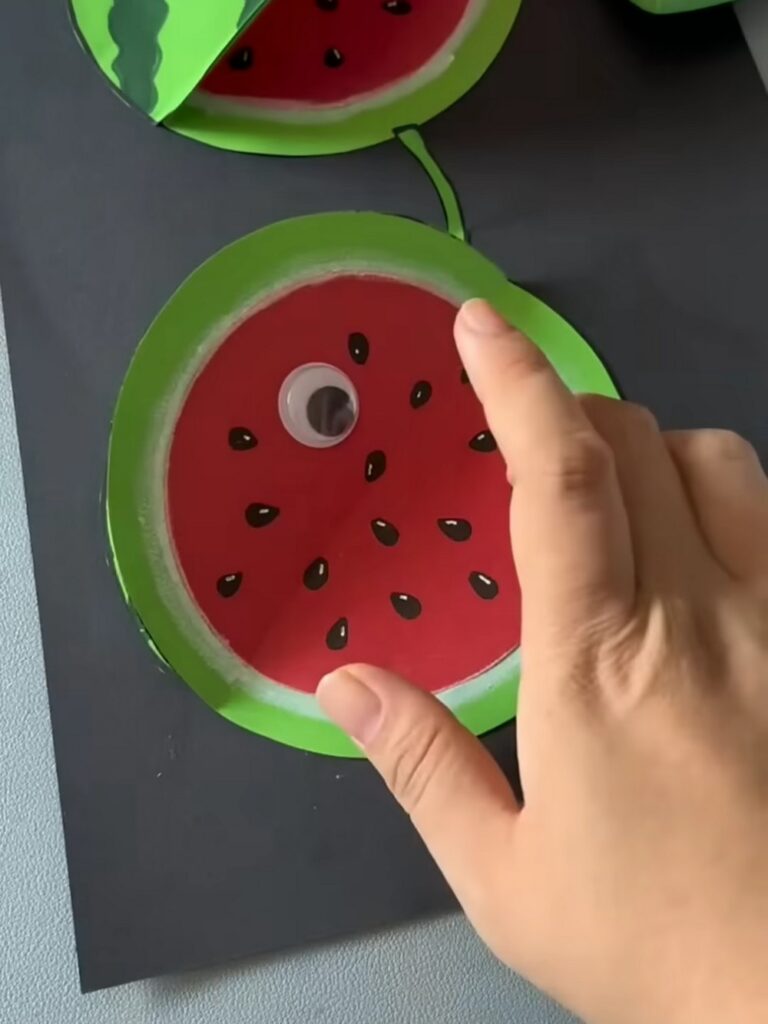
And that’s it!
Was this Craft Tutorial Helpful? Tell us in the Comments.
Your feedback is a great way for us to improve the tutorials. Did you find the tutorial helpful? Be sure to subscribe to the creator’s channel!
About "Part Time Crafter via Youtube"
Part time crafter is for those who want quick and always unique crafts for any season especially for spring and summer!

About "Talha"
Hey, I’m Talha, the Crafter on Craftstive.com. I love to share guides on folding cute origami models and paper crafts, and I am always ready to inspire your next craft project with my weekly craft discussions.