
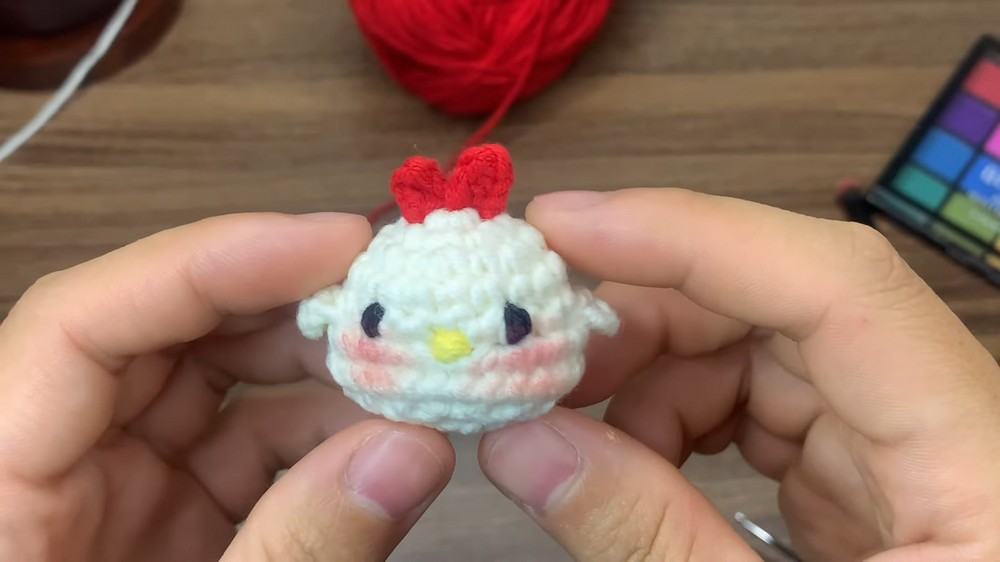
Subscribe to Easy crochet! The video tutorial & instructions are below!
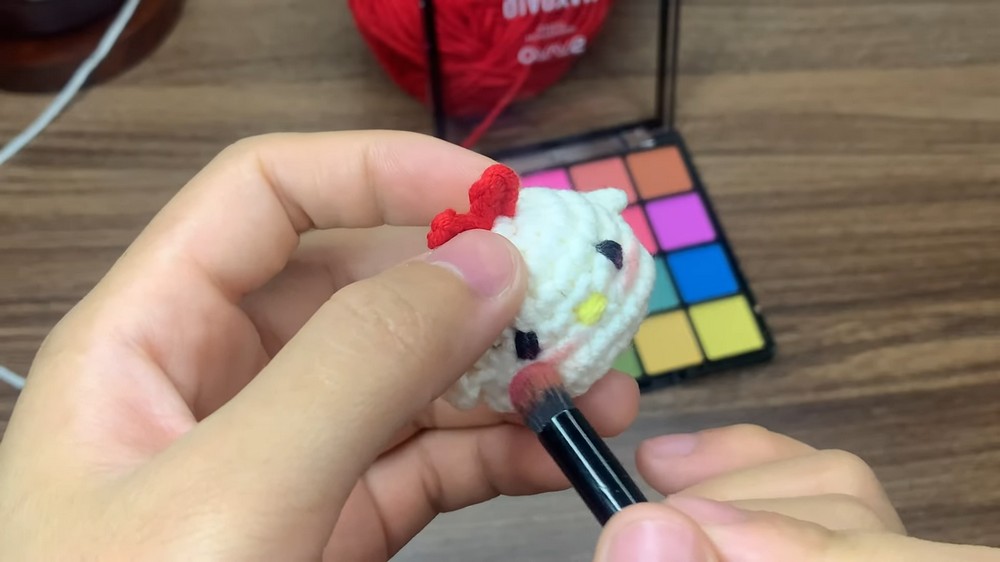
Follow this pattern to crochet a CUTE chubby chick amigurumi with blush on the cheeks with this FREE pattern. Unlike the other chick amigurumi patterns I have shared so far, it is crocheted in white. It is the CUTEST beginner amigurumi project, finished with embroidered eyes and a yellow beak.
You can crochet this fat chick amigurumi for Thanksgiving, fall, baby shower, and even for the New Year. You can easily crochet this amigurumi chick within 15 minutes.
The small parts, such as the crochet comb and the wings, should not be difficult. But if you are an early crocheter, you can also crochet the amigurumi using the plush yarn. That will make each part look bigger and easier to handle. Now, continue reading for the full pattern to crochet this chick amigurumi.
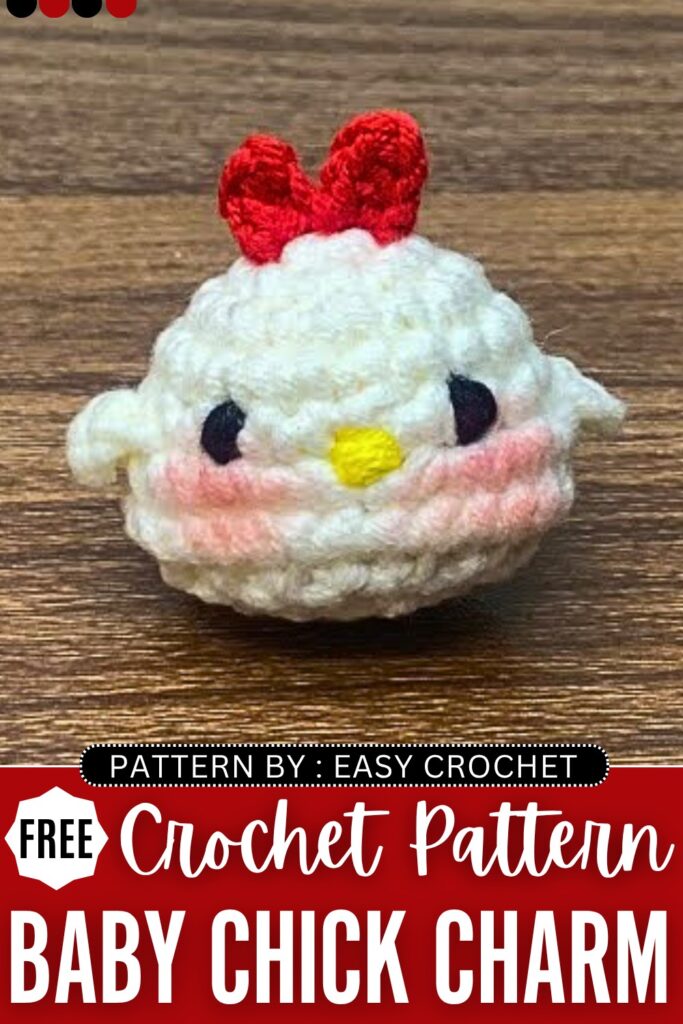
Crochet Chubby Chick Amigurumi Charm: Written Instructions
This project is a beginner-friendly amigurumi baby chick. You will create a small, chubby little bird by crocheting in the round and adding tiny wings and a red comb.
Video Tutorial?
Materials Needed
Yarn: Susan’s Family 5 yarn (or similar sport/DK weight yarn) in Yellow for the body and Red for the comb. You will also need a tiny scrap of black yarn for the eyes.
Hook: A crochet hook suitable for your yarn size.
Stuffing: Soft fiberfill for stuffing the amigurumi.
Tools: A tapestry needle for sewing and scissors.
Optional: A little bit of real pink blush or makeup for the chick’s cheeks.
Abbreviations Used
- MR – Magic Ring
- ch – chain
- sc – single crochet
- hdc – half double crochet
- inc – increase (make 2 single crochets in the same exact stitch)
- dec – decrease (crochet two stitches together into one)
- sl st – slip stitch
Crochet Pattern Instructions
Making the Body and Head
Start with your yellow yarn.
Round 1: Make a MR. Ch 1, and make 6 sc inside the magic ring. Pull the ring tight and join with a sl st to the very first stitch.
Round 2: Ch 1. Make an inc in every single stitch around. Join with a sl st. You will now have 12 stitches.
Round 3: Ch 1. Repeat the pattern of (1 sc, 1 inc) a total of 6 times around. Join with a sl st. You will now have 18 stitches.
Round 4: Ch 1. Make 1 sc in each of the 18 stitches around. Join with a sl st.
Round 5: Ch 1. Make 1 sc in each of the 18 stitches around. Join with a sl st.
Round 6: Ch 1. This round shapes the chubby cheeks. Make 4 sc. Then make 4 inc in a row. Make 1 dec in the middle. Then make 4 inc in a row. Finish the round with 4 sc. Join with a sl st. You will now have 25 stitches.
Round 7: Ch 1. Make 1 sc in each of the 25 stitches around. Join with a sl st.
Round 8: Ch 1. Make 4 sc. Then make 4 dec in a row. Make 1 sc in the middle. Then make 4 dec in a row. Finish the round with 4 sc. Join with a sl st. You will now have 17 stitches.
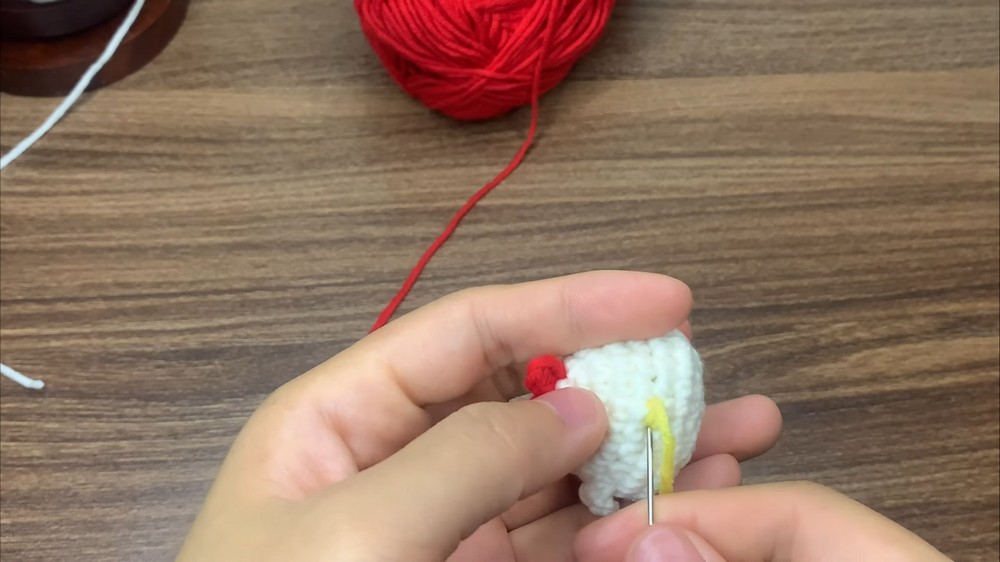
Round 9: Ch 1. Repeat the pattern of (1 sc, 1 dec) for a total of 5 times. You will have two stitches left at the end. Make 1 sc in each of the last two stitches. Join with a sl st.
Take a moment here to firmly stuff the baby chick with your fiberfill stuffing. Push it well into the chubby cheeks.
Round 10: Make dec stitches all the way around until the opening is closed. Fasten off, cut the yarn, and sew the tiny remaining hole completely shut. Hide the yarn tail inside the body.
Making the Wings
Keep using your yellow yarn. You will work these directly onto the sides of the chick.
Count about 6 stitches away from the center to find the perfect spot on the side of the cheek.
Insert your hook into the body, pull up a loop of yellow yarn, and ch 3.
Skip the very first chain next to your hook. Make 1 sc in the second chain. Make 1 hdc in the third chain.
Fasten off and pull both yarn tails completely inside the body of the chick to secure them invisibly.
Repeat this exact same process on the opposite side of the chick’s body to make the second wing.
Making the Red Comb
Switch to your red yarn.
Make a slip knot on your hook and ch 3.
Skip the first chain next to the hook. Make 1 sc in the second chain. Make 1 sc in the third chain.
Now, ch 3 again directly from where you are.
Skip the first chain, make 1 sc in the second chain, and 1 sc in the third chain.
Fasten off, leaving a slightly long tail for sewing. Place this tiny comb right on the top center of the chick’s head and securely sew it down. Hide the red yarn ends inside the body.
Adding the Face Details
Use a tapestry needle and a small strand of black yarn to embroider two tiny eyes on the face. You can also embroider a tiny little beak between the eyes.
For the final, super-cute finishing touch, take a cotton swab and a little bit of real pink blush and dab it onto the chick’s cheeks underneath the eyes. This brings your little amigurumi to life!
About "Crochet with Linh"

About "Talha"
Hey, I’m Talha, the Crafter on Craftstive.com. I love to share guides on folding cute origami models and paper crafts, and I am always ready to inspire your next craft project with my weekly craft discussions.