
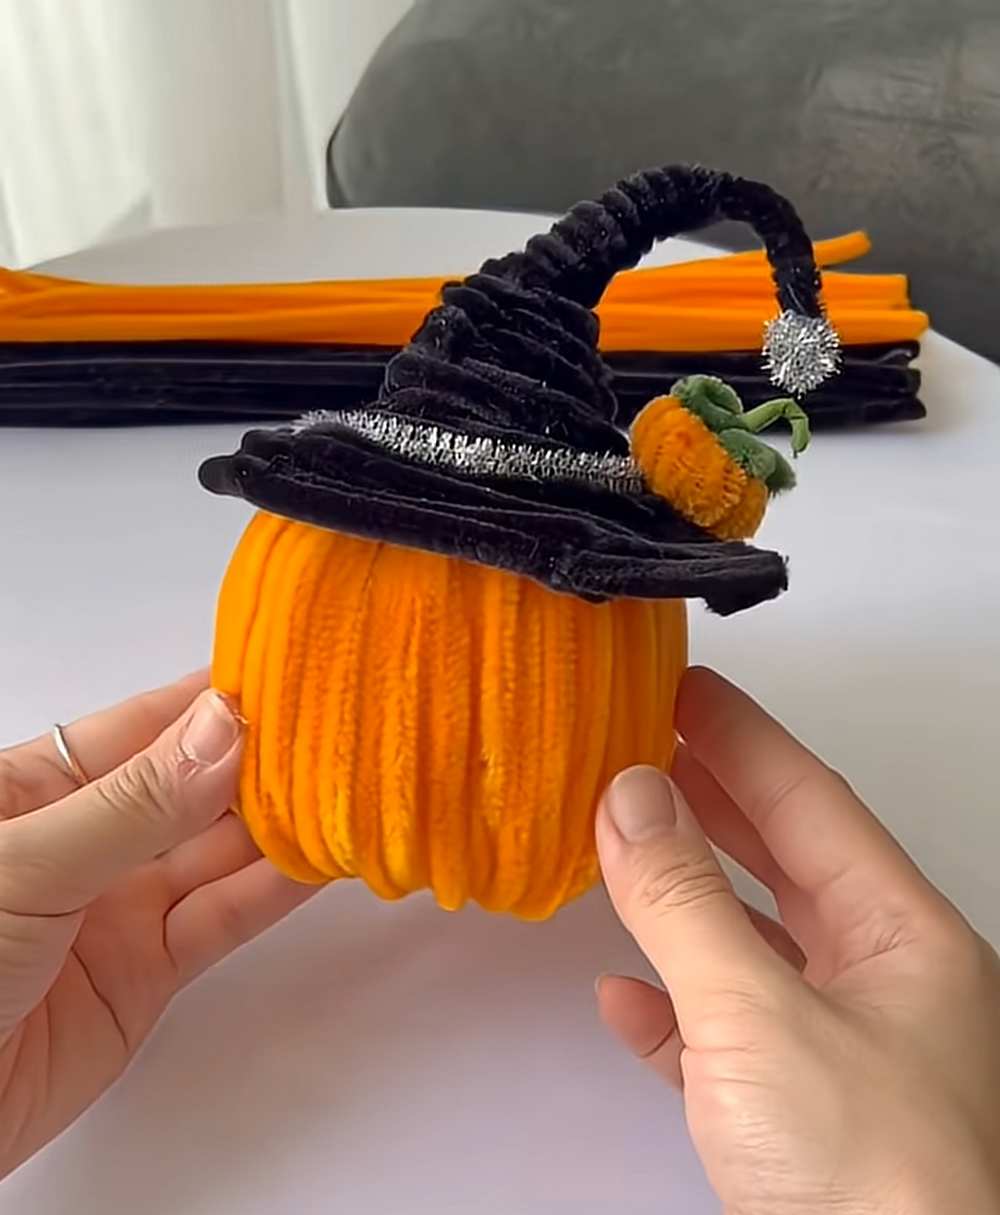
Subscribe to Day Dreams!
This Halloween, make this quick and easy pipe cleaner pumpkin plushie wearing a witch hat following this written guide. You can also decorate it further with the kawaii eyes and a smile. Make it a Halloween decoration, a present holder for Halloween, or a trick-or-treating bucket.
Pipe Cleaner Pumpkin with a Witch Hat
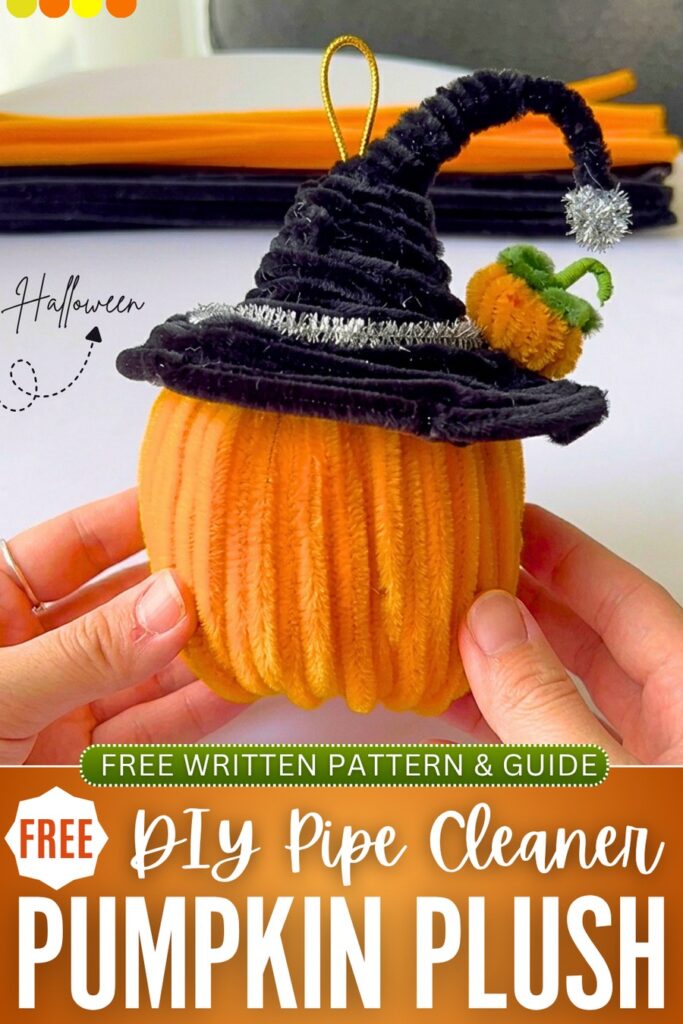
Making this pipe cleaner plushie does not require any complicated bending pattern. It is so repetitive, and we only need to make 5 pumpkin slices (or petals) to complete one of them.
You can also make this chenille stem pumpkin in other colors, such as yellow, light purple (for a spooky, quirky Halloween look). You will also learn the basic weaving pattern while making the DIY witch hat plush. Now, continue reading for the full pipe cleaner pumpkin pattern.
[ez-toc]


Beginner?
Halloween Pipe Cleaner Pumpkin Plushie Pattern
Here is a detailed, easy-to-follow guide to making your own plush pipe cleaner pumpkin. Thanks to the thick, fuzzy texture of these pipe cleaners, the finished pipe cleaner pumpkin will look like a crochet amigurumi pumpkin:
Materials Needed
-
Orange pipe cleaners (approx. 35–40 total – 7 * 5)
-
Green pipe cleaner (for the stem)
-
Craft glue or hot glue
-
Scissors
- Black pipe cleaners
Step-by-Step Instructions
Step 1: Create the Core Strands & Top Hinge
-
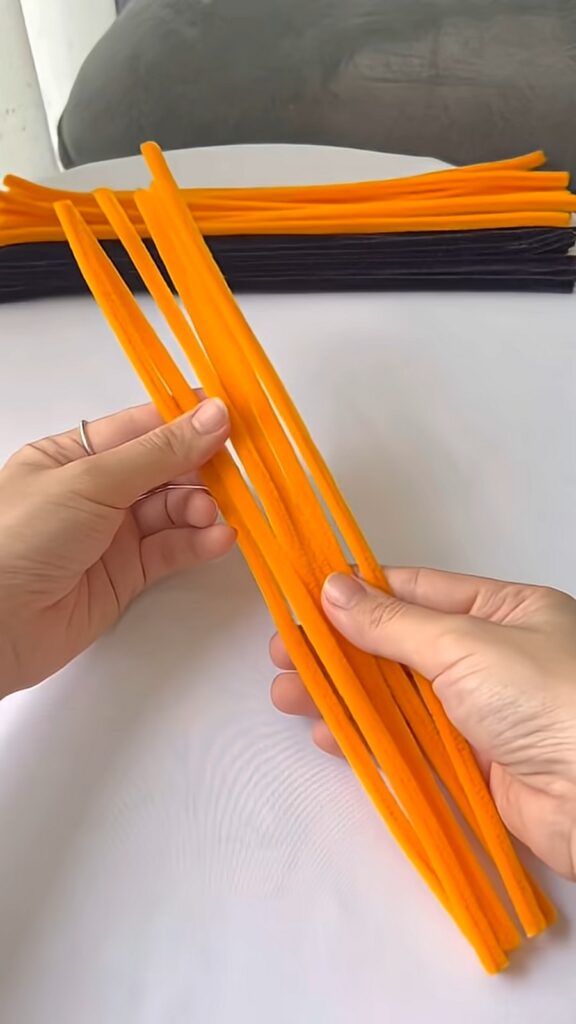
Take 6 orange pipe cleaners and gather them together, folding them evenly in half. This creates a center hinge at the top and gives you 12 individual vertical strands hanging down.
-
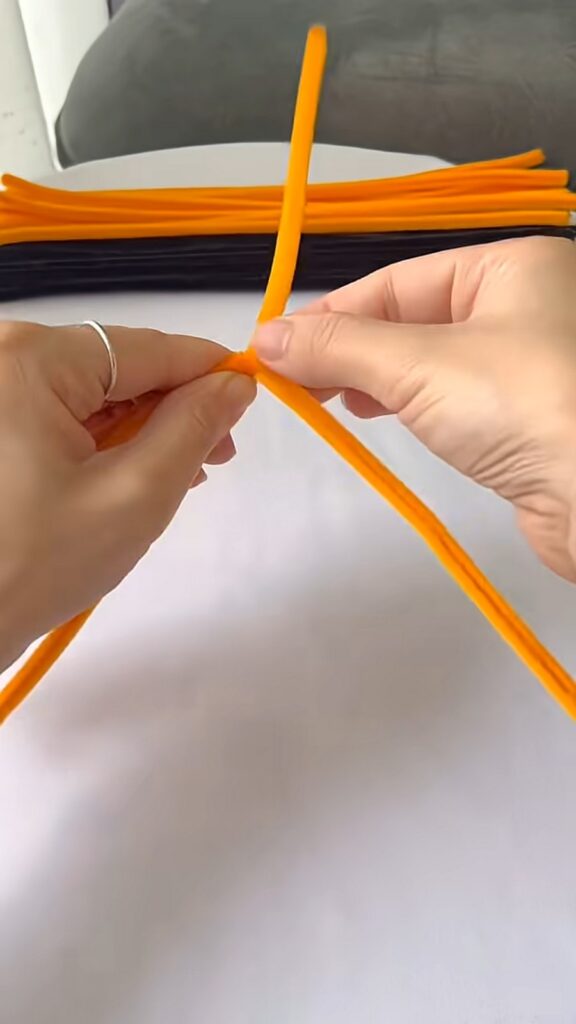
Take a 7th orange pipe cleaner and bend it into a sharp V shape.
-
Insert one leg of this V-shaped pipe cleaner directly through the top loop (hinge) of your 12 folded strands.
-
Secure it tightly by rotating and twisting both legs of the 7th pipe cleaner together right at the hinge, as shown.
Step 2: Shape the Flat Petal Panel
-
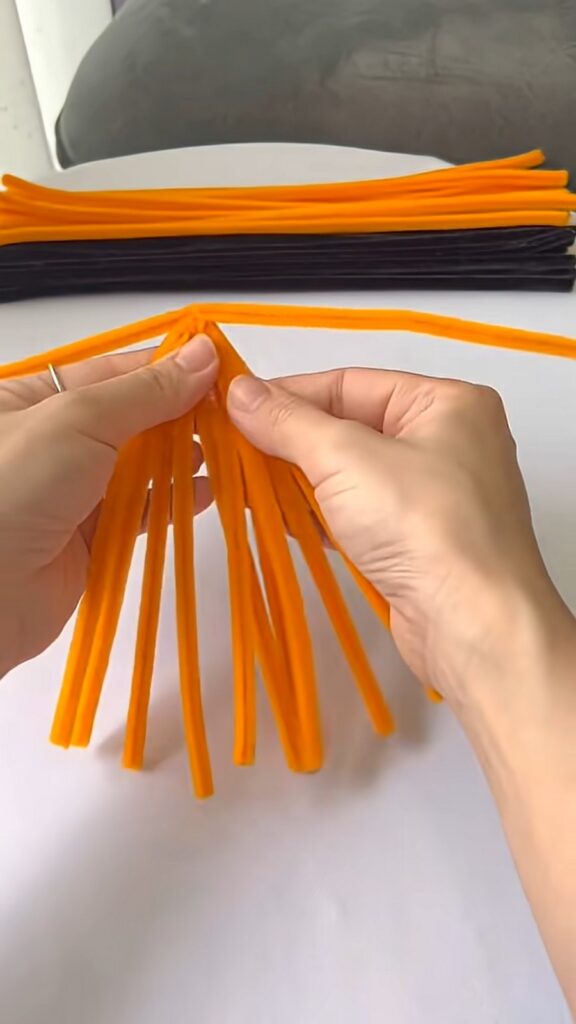
Spread out the 12 central strands so they lie perfectly flat and side-by-side.
-
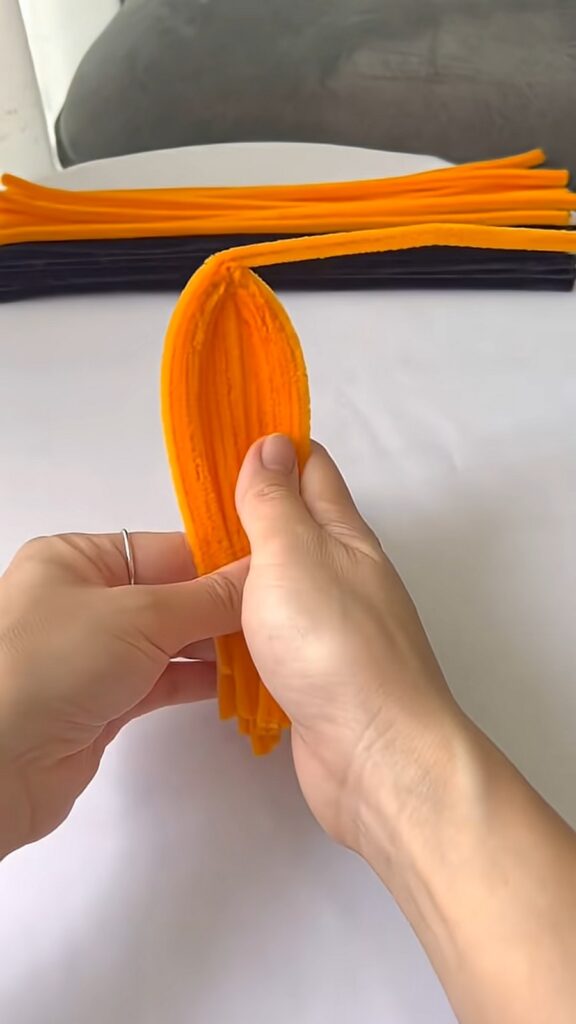
Bring the two outer legs of your 7th pipe cleaner down along either side of the strands. This acts as a border or frame.
-
Smooth out the surface with your fingers so the strands form a neat, wide, elongated petal shape, which you can see.
Step 3: Secure the Base
-
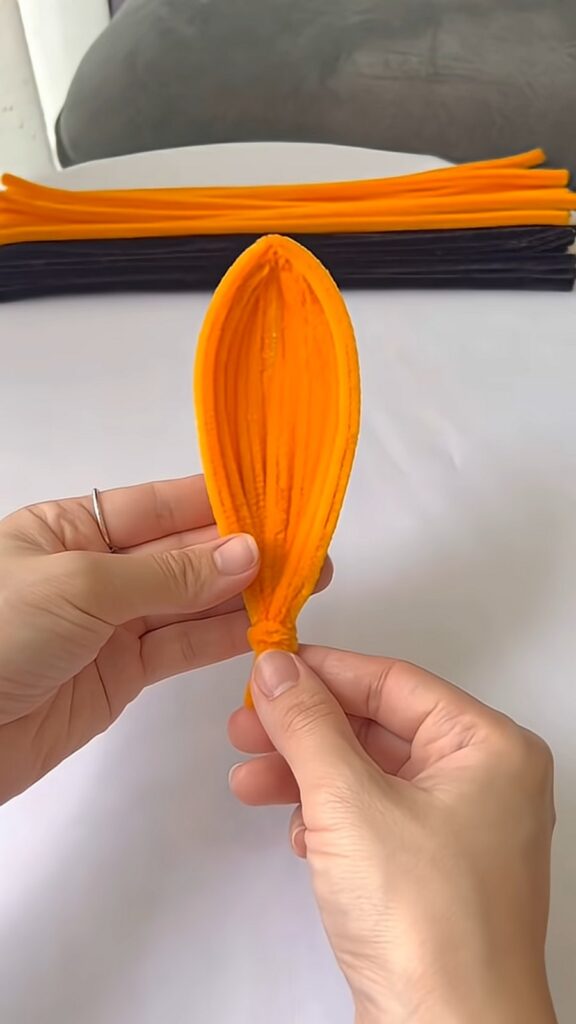
Gather and pinch all the loose ends together tightly at the bottom of your petal panel.
-
Take a small piece of an orange pipe cleaner and wrap it firmly around the pinched base several times to lock all 12 strands securely in place, as demonstrated.
Step 4: Mold into a Pumpkin Ridge
-
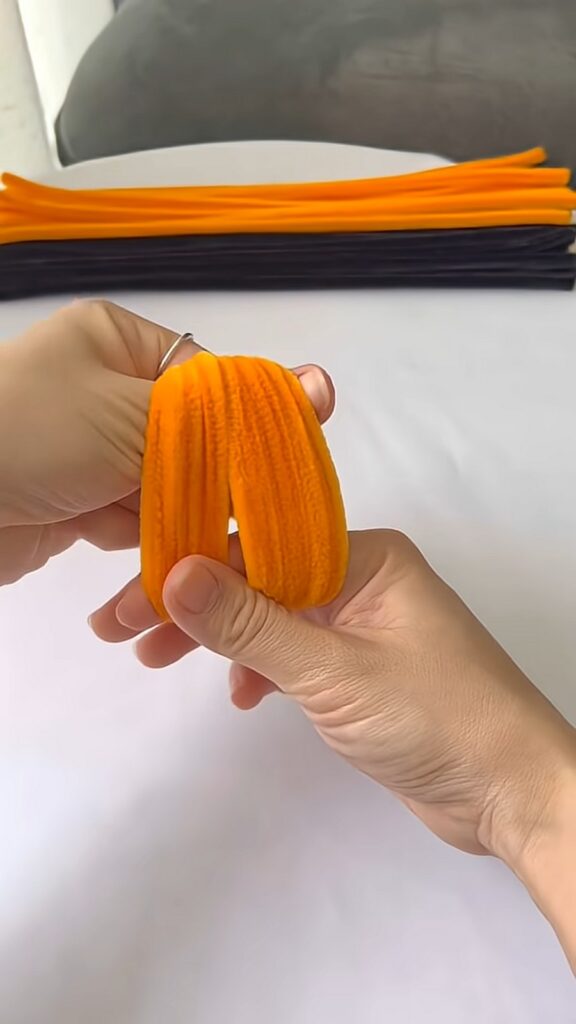
Hold the secured flat petal panel in both hands.
-
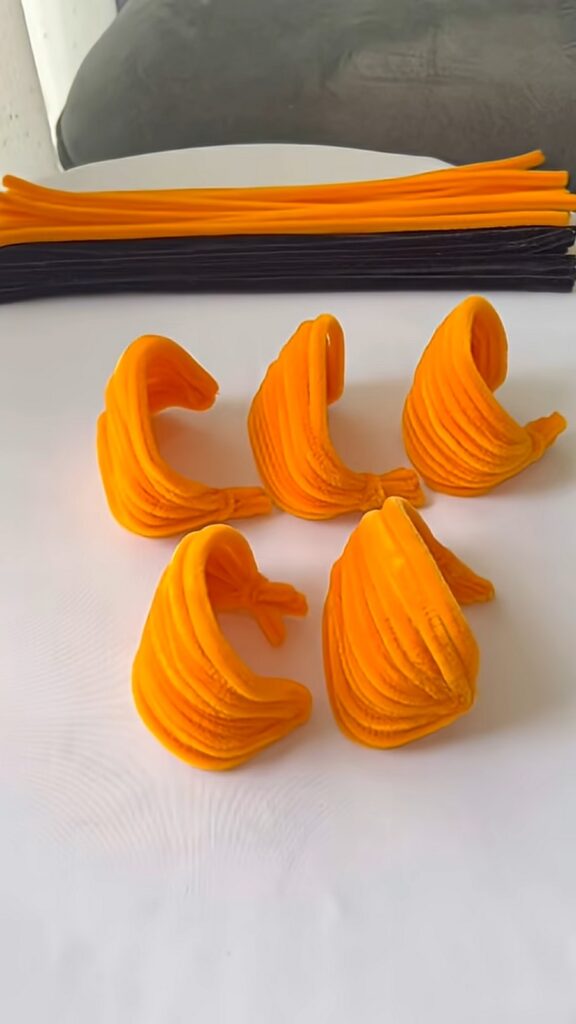
Gently press and bend the panel into a hollowed, 3D “C” curve. This turns the flat panel into a rounded ridge that mimics a slice of a pumpkin. You can see this shaping process.
-
Repeat Steps 1 through 4 until you have crafted a total of 5 identical curved pumpkin ridges, as shown lined up.
Step 5: Assemble the Pumpkin & Add the Stem
-
Apply a line of glue along the inner edges of your 5 pumpkin ridges.
-
Press the ridges together side-by-side, joining them into a complete, hollow, 3D sphere.
-
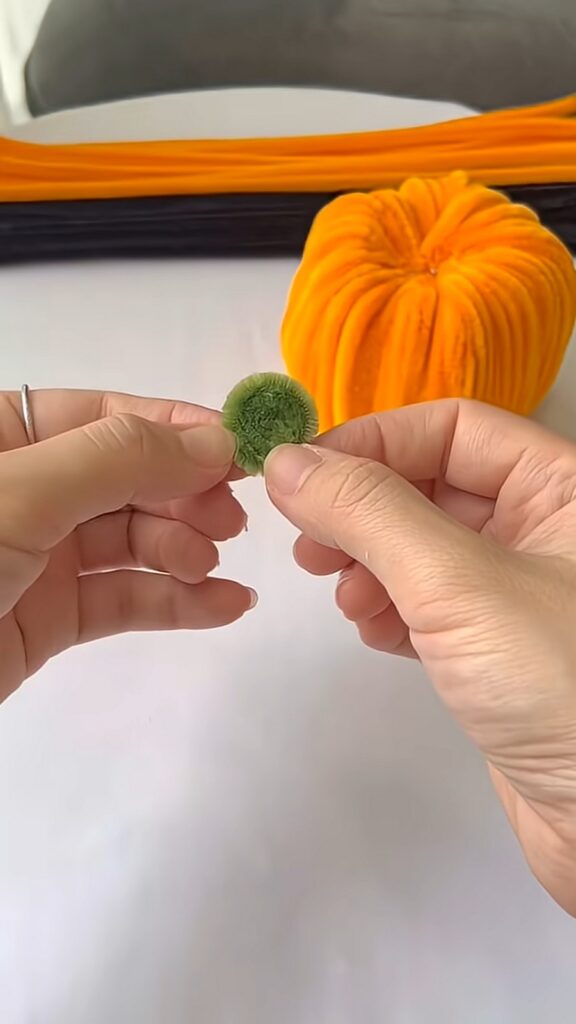
To make the stem, take a green pipe cleaner, twist it, and roll it tightly into a flat, circular coil.
-
Apply glue to the bottom of this green coil and press it firmly onto the top center of your pumpkin where all the ridges meet.
Witch Hat
Step 1: Create the Framework
-
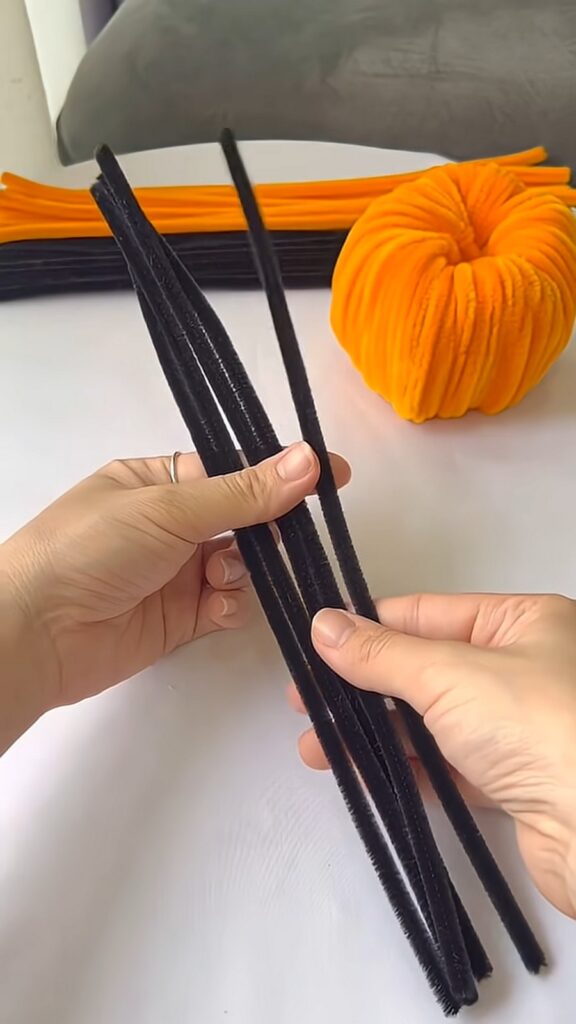
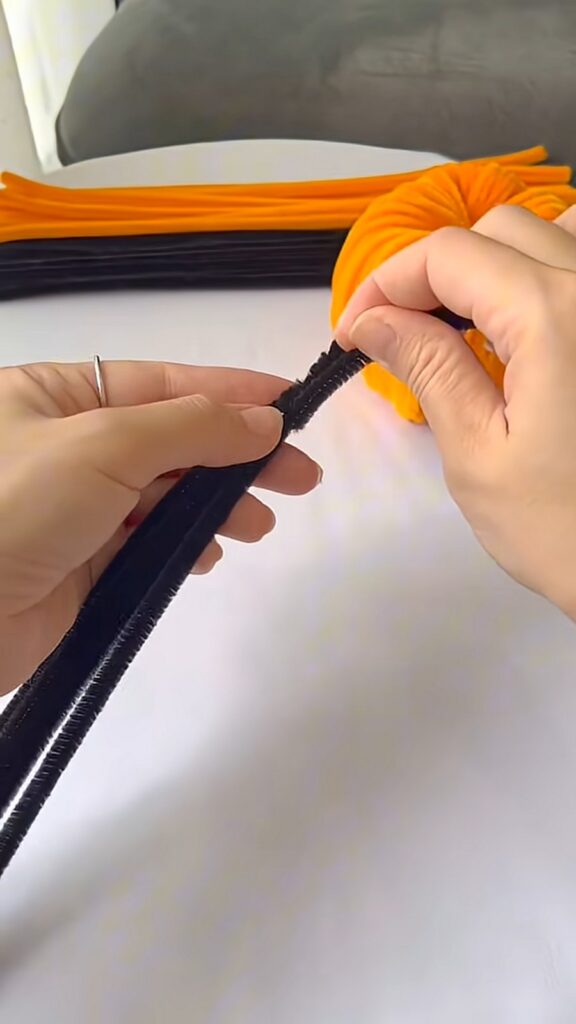
Gather 4 black pipe cleaners and line them up perfectly straight together, as shown.
-
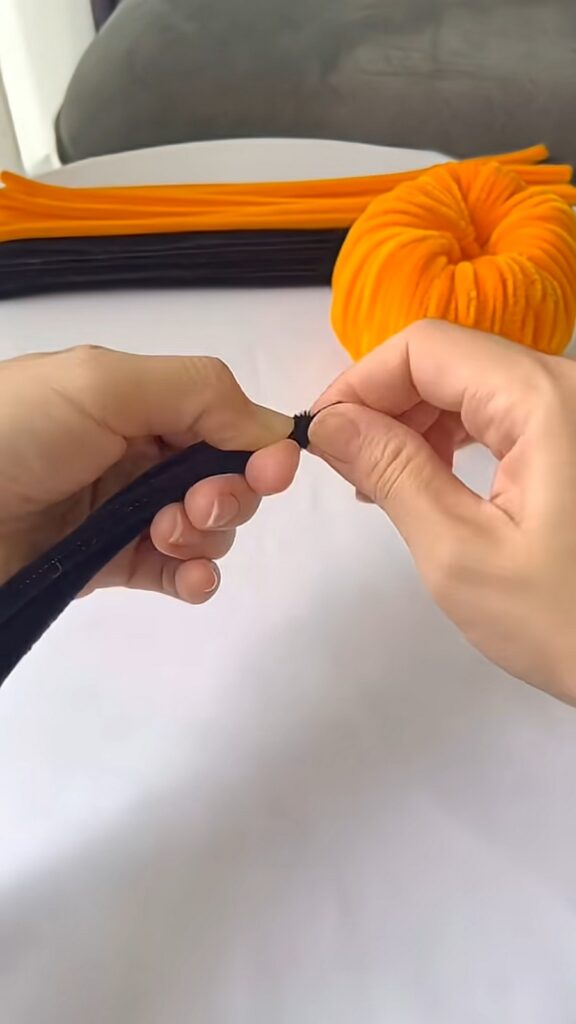
Take the very top ends of these 4 pipe cleaners and twist them tightly together to create a sharp, secure point or corner.
Step 2: Wrap the Pointed Spire
-
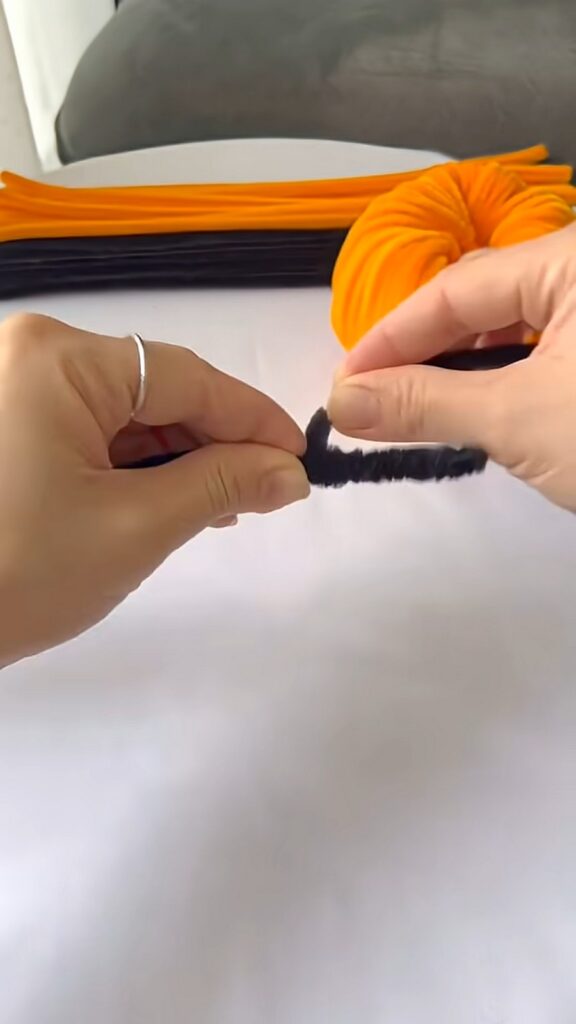
Take another black pipe cleaner and attach it near the top side of your twisted point.
-
Begin wrapping this new pipe cleaner tightly around the twisted area, covering a length of about 5cm downward.
-
Wrap it completely to build a thick, solid peak for the hat. You can give it a gentle bend to create a classic, whimsical curved witch hat tip.
Step 3: Spread out the Framework “Legs”
-
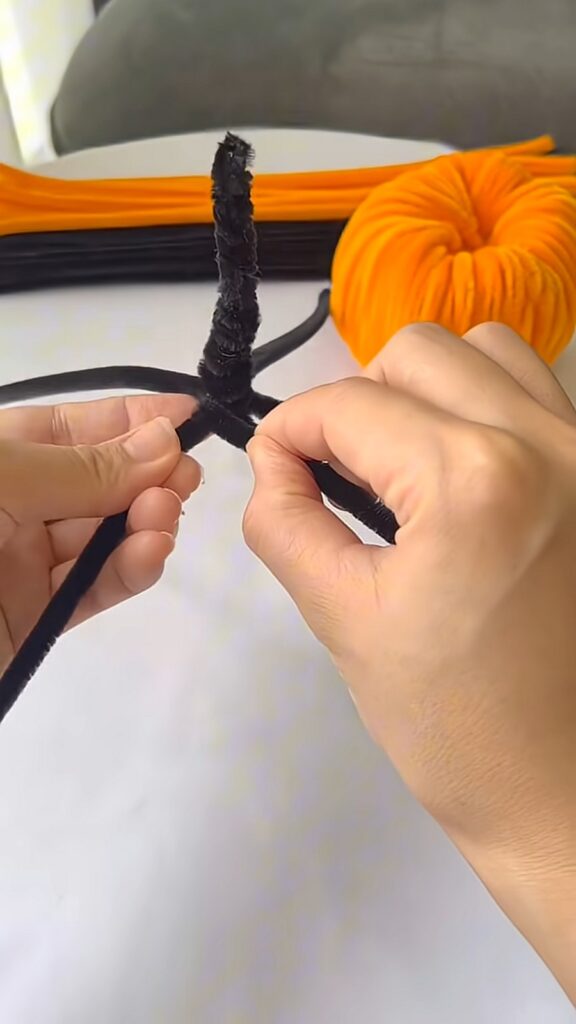
Below your wrapped 5cm tip, separate the loose sections of the 4 original pipe cleaners.
-
Spread them out evenly in all directions so they form a cone-shaped skeleton or a teepee structure, as shown.
Step 4: Weave the Hat Body
-
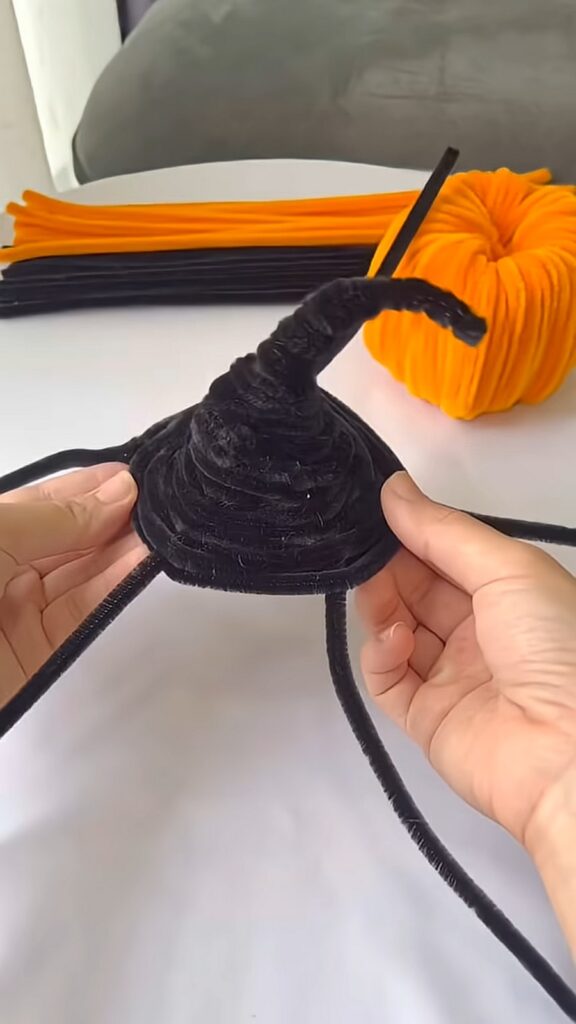
Attach a new black pipe cleaner right at the base of your wrapped spire.
-
Begin weaving this pipe cleaner around the 4 framework legs. Go under one leg, over the next, under the next, and over, moving around and around in a continuous circle.
-
As you weave lower, the circle will naturally grow wider, building the cone shape of the hat. If you run out of pipe cleaner length, simply twist a new one onto the end and keep weaving until the cone body is complete.
Step 5: Shape the Brim & Decorate
-
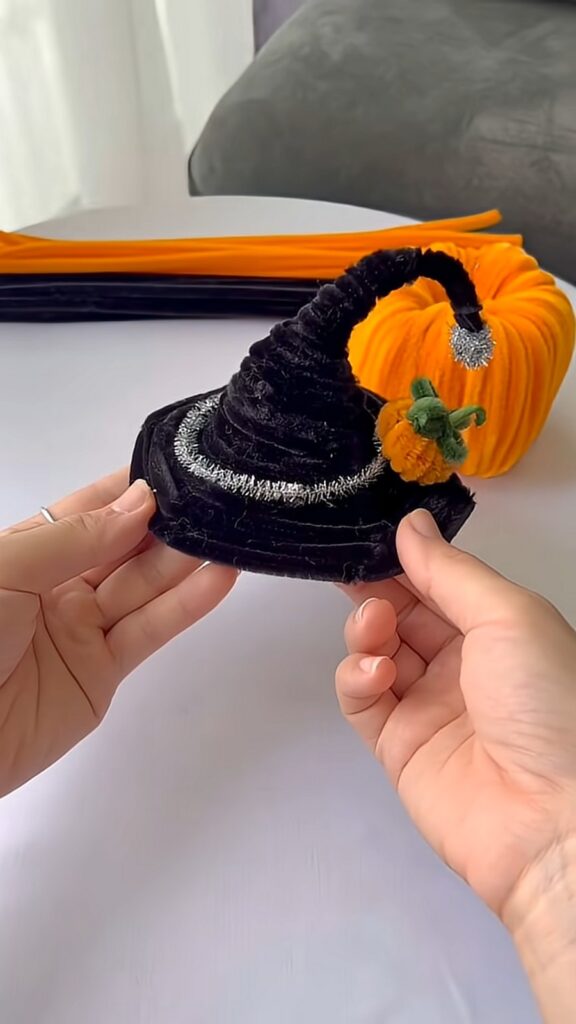
Press and flatten the very bottom woven layer outward to form a neat, flat circular hat brim.
-
Take a metallic pipe cleaner and wrap it around the base of the cone where it meets the brim to create a shiny, decorative hatband.
-
Tuck and secure the ends, and finish your hat by adding a small decoration – like a tiny orange pipe cleaner pumpkin—next to the metallic band for the perfect festive look.
Save For Later


About "Talha"
Hey, I’m Talha, the Crafter on Craftstive.com. I love to share guides on folding cute origami models and paper crafts, and I am always ready to inspire your next craft project with my weekly craft discussions.