
Subscribe to Juanjuan Crochet! The video tutorial & instructions are below!
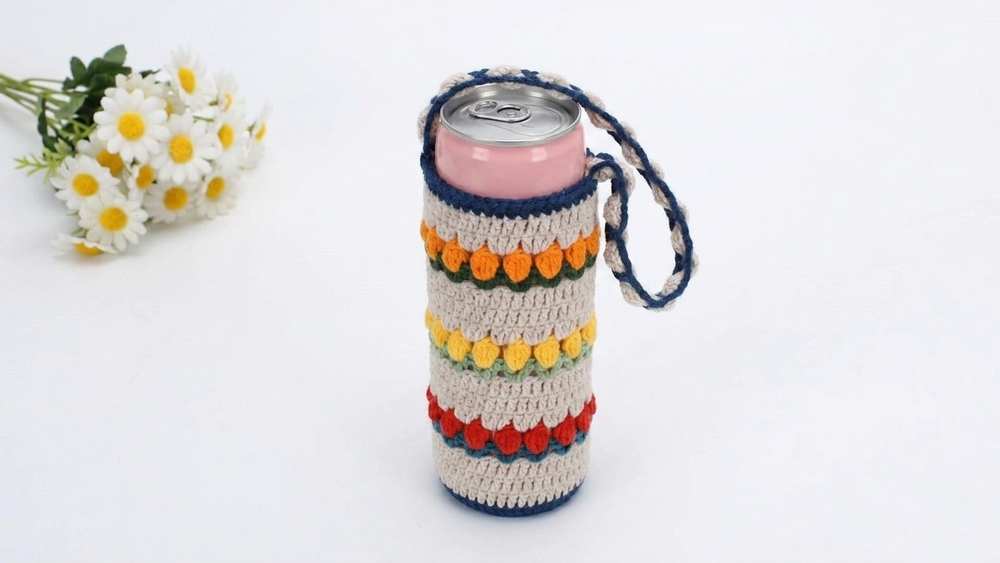
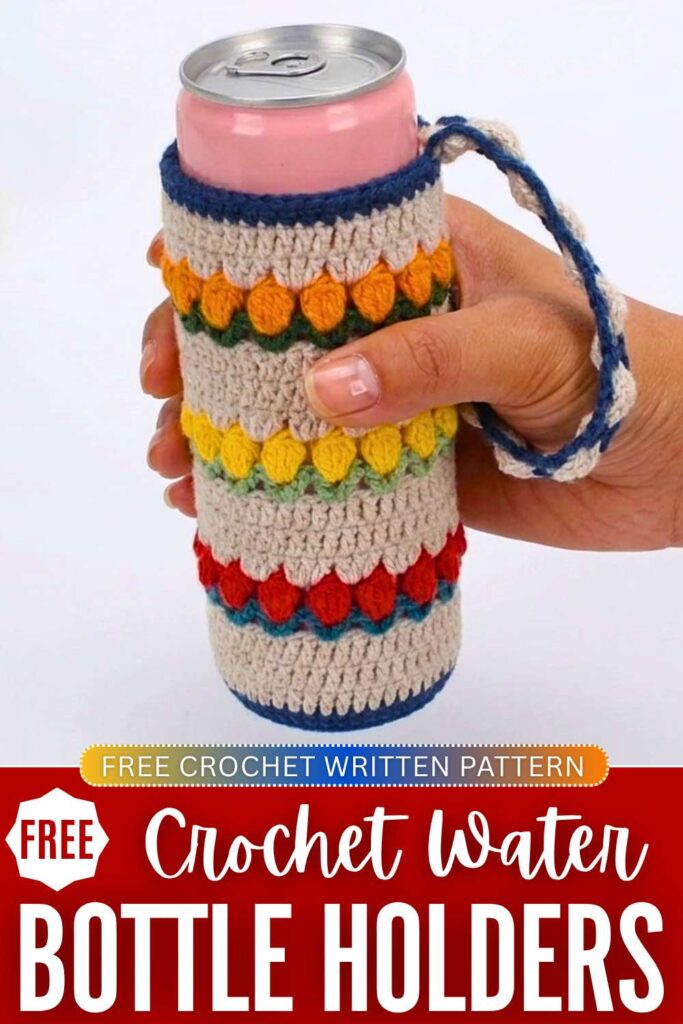
Summer’s best crochet present is for sure a crochet water bottle holder. I have discussed tons of reversible and traditional water bottle holder patterns here. Now, continuing this, today, you will learn how to crochet this beautiful tulip stitch water bottle holder with a beautiful puffy strap. You can put a normal water bottle, tumbler, or even juice cup in this crochet bag.
Crochet Tulip Water Bottle Holder
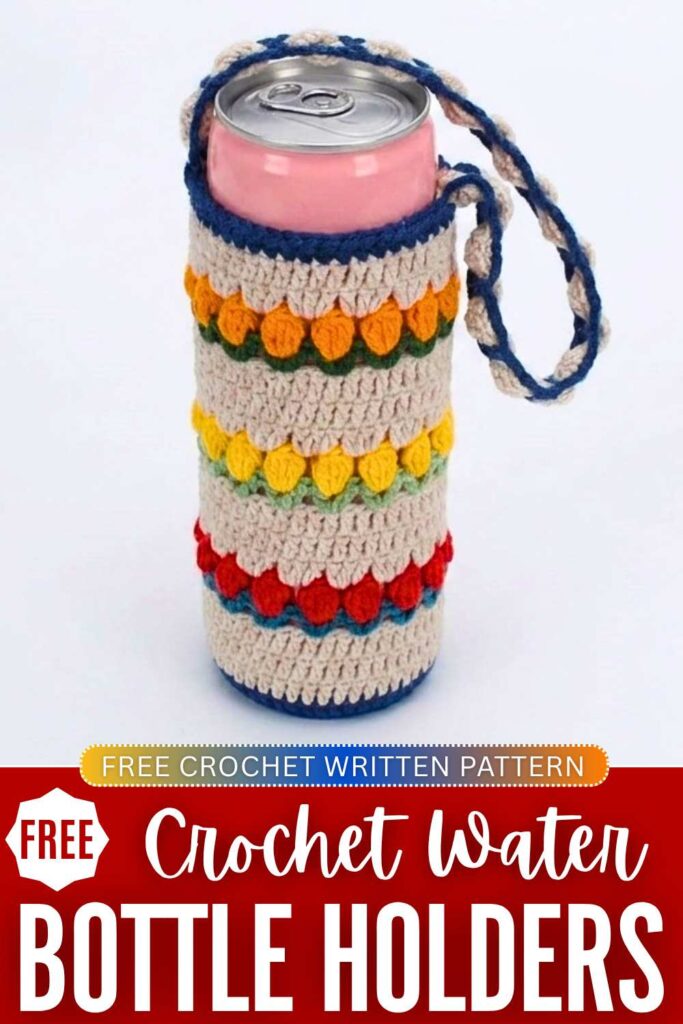
It is easy to adjust the size. We will alternate between the solid and the elegant tulip stitch. So, it will work up fast. You can also add some mesh rows to finish it quickly. The pattern is repetitive and works fine, whatever the number of rounds you keep in the base. Now, continue reading for the full pattern!
Crochet Tulip-Themed Water Bottle Holder: Written Instructions
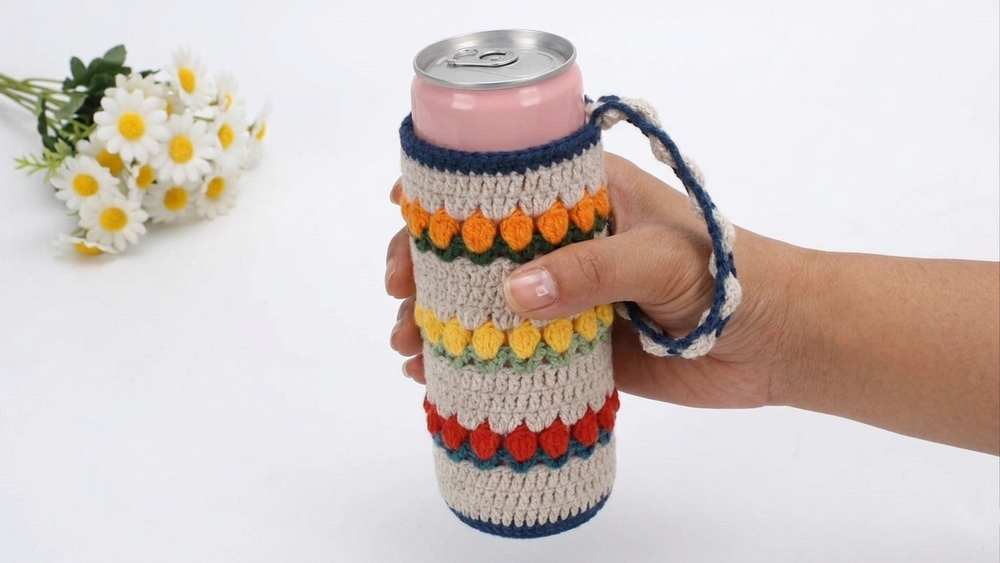
This crochet bottle holder is a beautiful and functional summer accessory designed to brighten up your water bottle. The pattern features a solid base that transitions into a textured body adorned with charming puff-stitch flowers and leaves.
The size is highly customizable; you can adjust the base diameter to fit your specific cup perfectly and modify the height by repeating the motif. It finishes with a decorative crab stitch edge and a unique woven strap.
Materials
- Yarn: Four colors including a Base color (e.g., dark blue), Light color (e.g., beige), Green (for leaves), and Red/Pink (for flowers).
- Tools: Crochet hook, stitch markers, tapestry/yarn needle, and scissors.
Abbreviations (US Terms):
- MR: Magic Ring
- ch: chain
- sl st: slip stitch
- sc: single crochet (represented by x)
- inc: single crochet increase (2 sc in one stitch, represented by v)
- dc: double crochet
- hdc: half double crochet
- BLO: Back Loop Only
- puff st: puff stitch (5 partial double crochets closed together)
- reverse sc: reverse single crochet / crab stitch
Pattern Instructions:
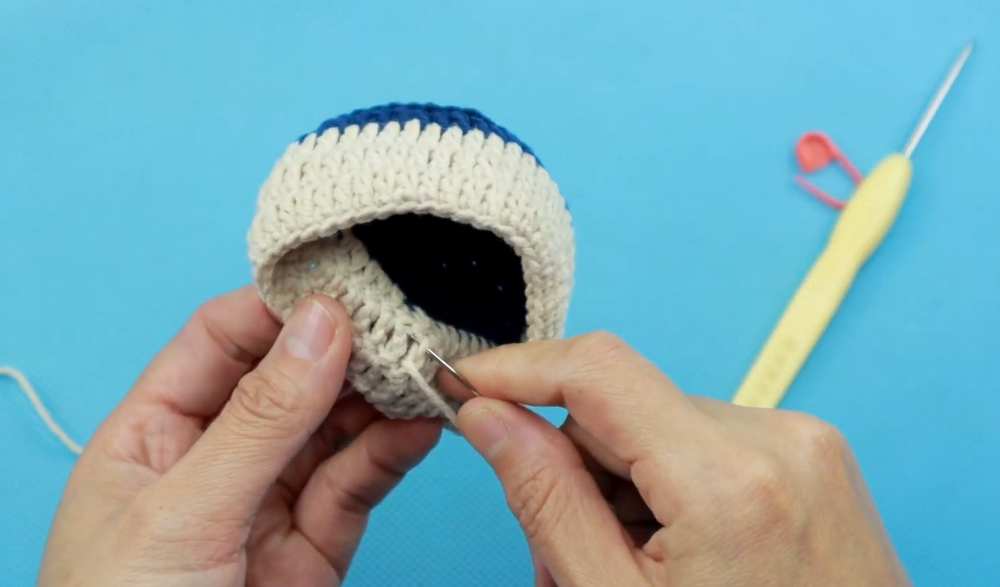
Base Begin with your base color. Adjust the size by matching it to your bottle’s bottom. This pattern sequence uses the chart exactly as seen in the reference screenshot to finish the base diameter.
Video Tutorial for Chinese Readers?
- R1: Make a MR, ch 1, 6 sc in ring, pull tight, join with sl st to first sc. (6 sts)
- R2: Ch 1, 6 inc, join with sl st. (12 sts)
- R3: Ch 1, (1 sc, 1 inc) x 6, join with sl st. (18 sts)
- R4: Ch 1, (1 sc, 1 inc, 1 sc) x 6, join with sl st. (24 sts)
- R5: Ch 1, (3 sc, 1 inc) x 6, join with sl st. (30 sts)
- R6: Ch 1, (2 sc, 1 inc, 2 sc) x 6, join with sl st. (36 sts)
- R7: Ch 1, (5 sc, 1 inc) x 6, join with sl st. (42 sts)
- R8: Ch 1, (3 sc, 1 inc, 3 sc) x 6, join with sl st. (48 sts)
Body
- R9: (Base color) Ch 3 (counts as first dc), working in BLO, dc in each remaining st around. Join to the top of ch 3. Fasten off the base color. (48 sts)
- R10 – R12: (Light color) Join light color yarn. Ch 3, dc in each st around in both loops. Join with sl st. Repeat for a total of 3 rounds. Fasten off. (48 sts)
Leaves
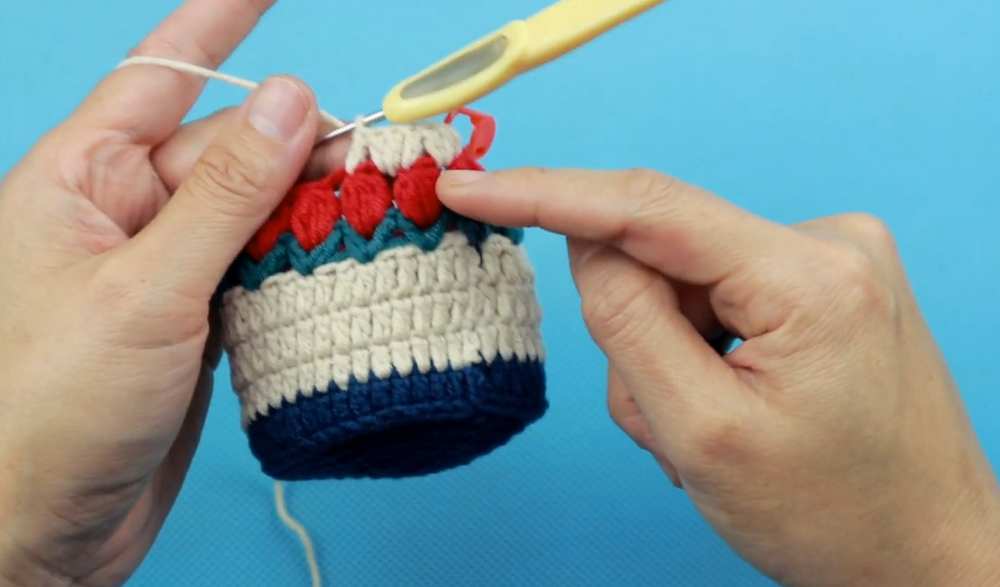
- R13: (Green) Join green yarn in any st. Ch 3. Skip 2 sts, (1 dc, ch 1, 1 dc) in the next st to create a V-stitch. Skip 2 sts, (1 dc, ch 1, 1 dc) in the next st. Repeat around. At the end, skip the last 2 sts, work 1 dc into the base of the starting ch 3, ch 1, and join to the 3rd ch. Fasten off.
Flowers
- R14: (Red/Pink) Join flower color in any ch-1 space of a green V-stitch. Ch 3. Work 5 partial dc in the same space, yarn over and pull through all 6 loops on the hook to complete the puff st, ch 1 to secure, ch 2. In the next V-stitch ch-1 space, work 5 partial dc, yarn over and pull through all loops, ch 1 to secure, ch 2. Repeat from * around. Join to the top of the first flower. Fasten off.
Body Continuation
- R15: (Light color) Join light color yarn. Ch 3. Work 2 dc into the ch-2 space between the flowers. Work 1 dc into the top of the next flower. Repeat around (2 dc in ch-2 sp, 1 dc on top of flower). Join. (48 sts)
- R16 – R17: Ch 3, dc in each st around. Join. Repeat for a total of 3 light color rounds (including R15).
- Height Customization: Repeat the sequence of (Leaves, Flowers, 3 rounds of Light color dc) until you reach the needed height. The creator finishes the topmost section with only 2 rounds of light color dc to fit her cup.
Top Edge
- R18: Change back to Base color. Ch 1, sc in each st around. Join. (48 sts)
- R19: Ch 1, reverse sc in each st around. Join from the inside and fasten off.
Strap
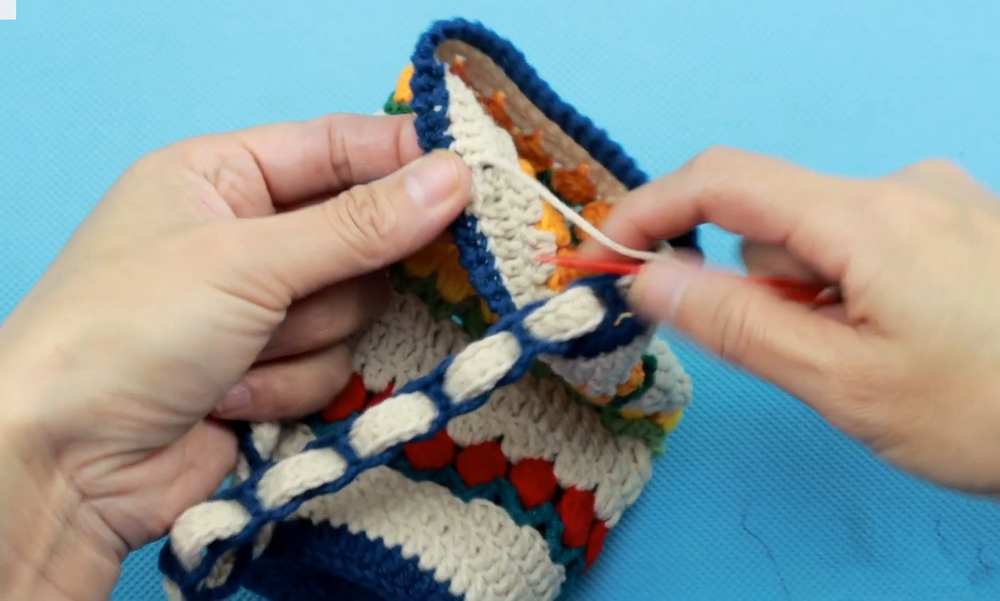
- Outer Strap (Base color): Ch a multiple of 4 to your desired length. Attach the chain to the opposite side of the holder with a sl st, then sl st into the adjacent st. Turn. Ch 3. Skip 3 chs of the foundation chain, hdc in the back bump of the 4th ch. Ch 3, skip 3 chs, hdc in next ch. Repeat across. Join to the starting side on the inside and fasten off.
- Inner Strap (Light color): Ch a length slightly longer than the outer strap. Turn, hdc in the 3rd ch from the hook and in each ch across. Fasten off, leaving a long tail.
- Assembly: Weave the Inner Strap through the ch-3 holes of the Outer Strap. Sew both ends of the Inner Strap securely to the inside of the cup holder.
About "Juanjuan Crochet"
She was an iconic crochet designer from China!