
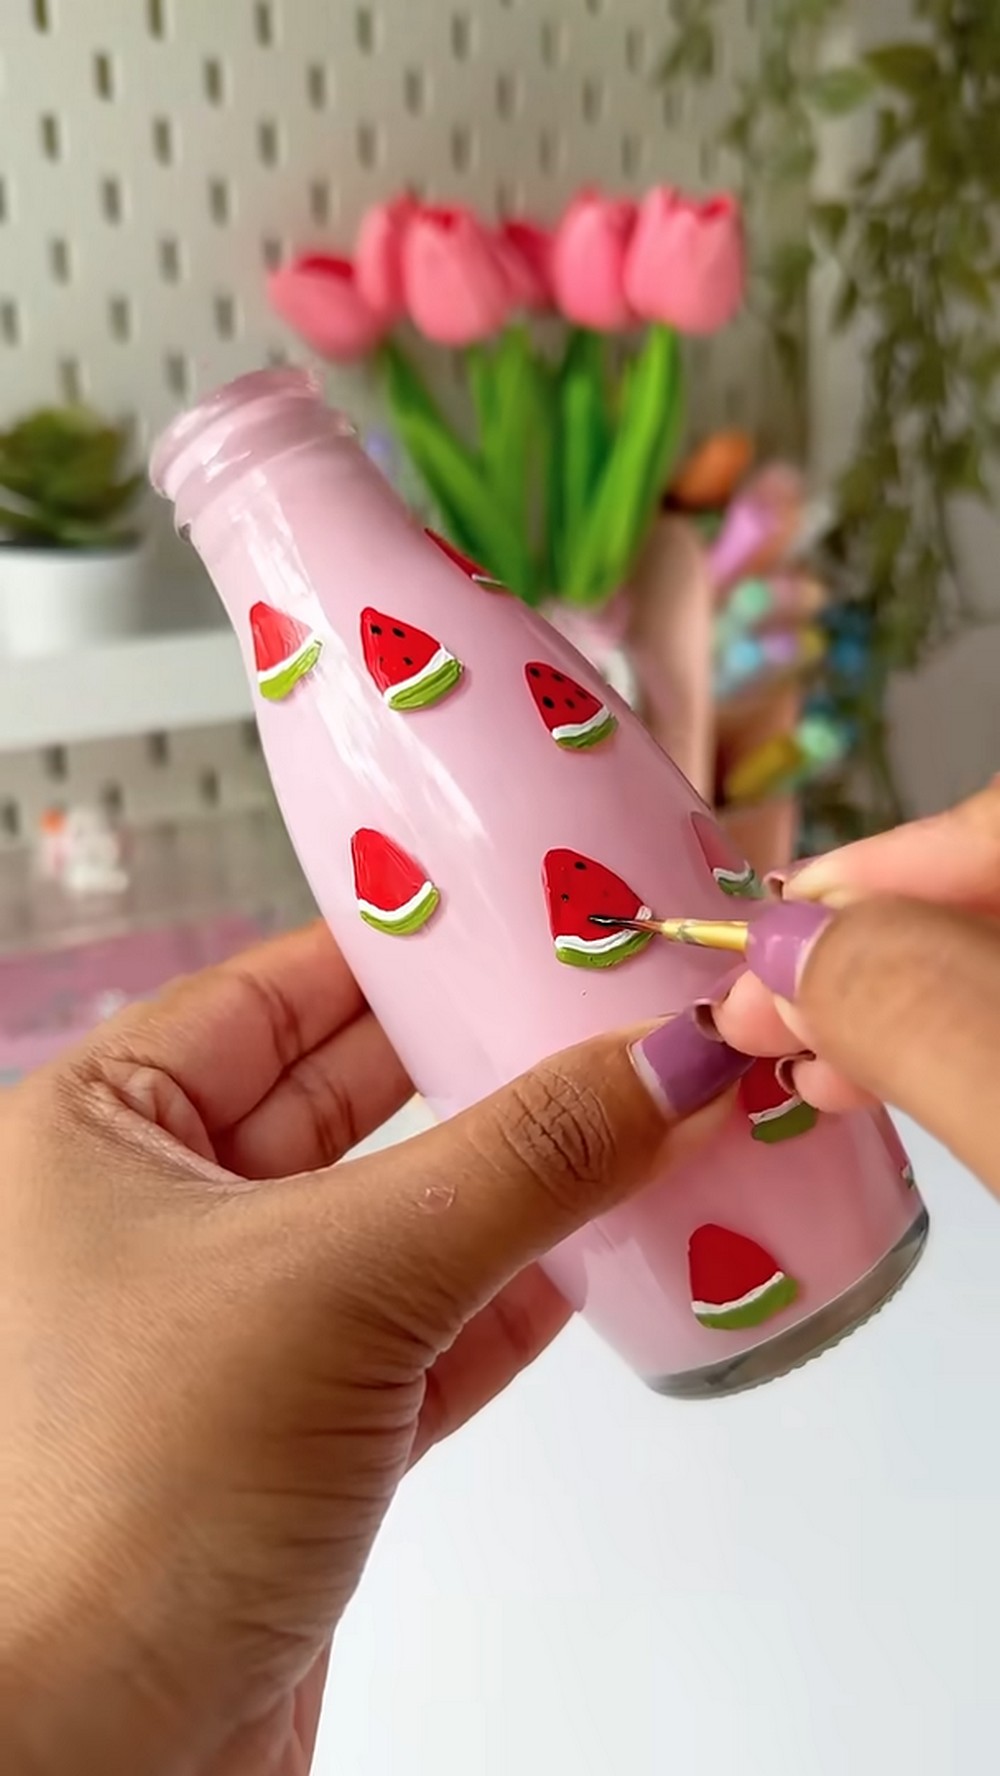
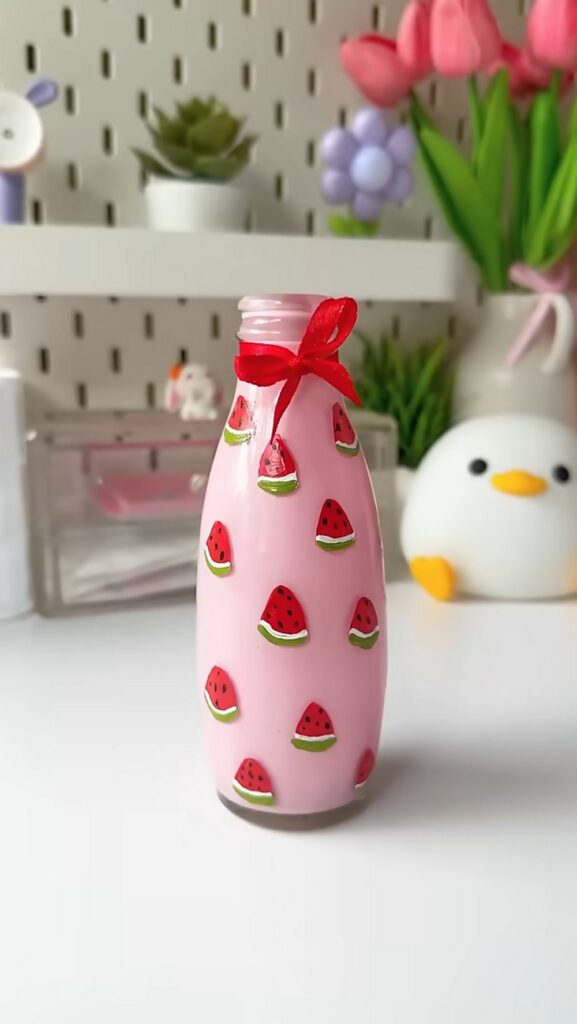
Learn a REALLY clever and mess-free way to fully paint a glass bottle in your favorite color in this tutorial. Then, you can upcycle any clear glass jar or drink bottle and make this watermelon slice flower vase. Finish it off with a red ribbon and put it over your couqutte aesthetic craft table!
Watermelon Flower Vase
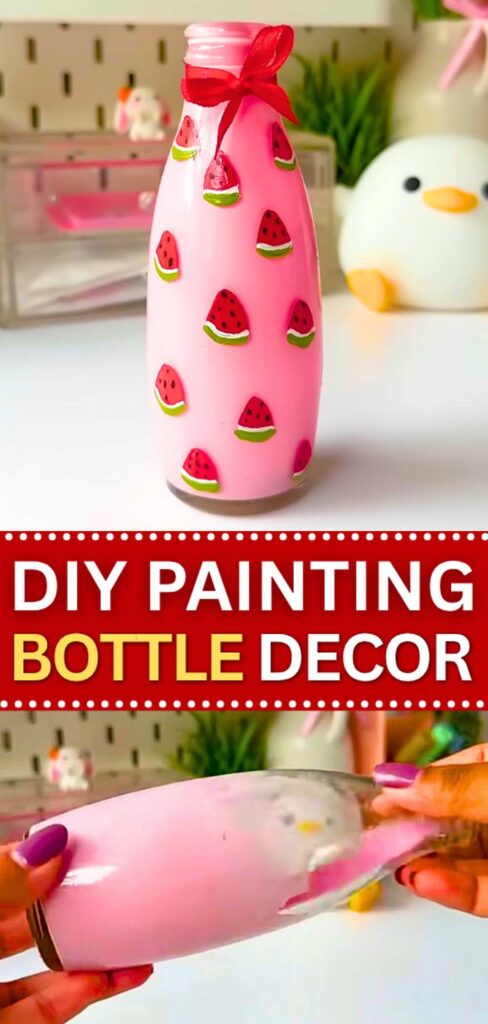
You can also draw orange, pineapple, or kiwi slices with a suitable color as a background. I have been sharing the summer decoration ideas for a while, and it is definitely in my FAV list. The idea of painting is to pour the color inside the bottle, so you don’t have to leave your crafting desk and finish it all there.
Bright Watermelon Bottle Painted Decoration
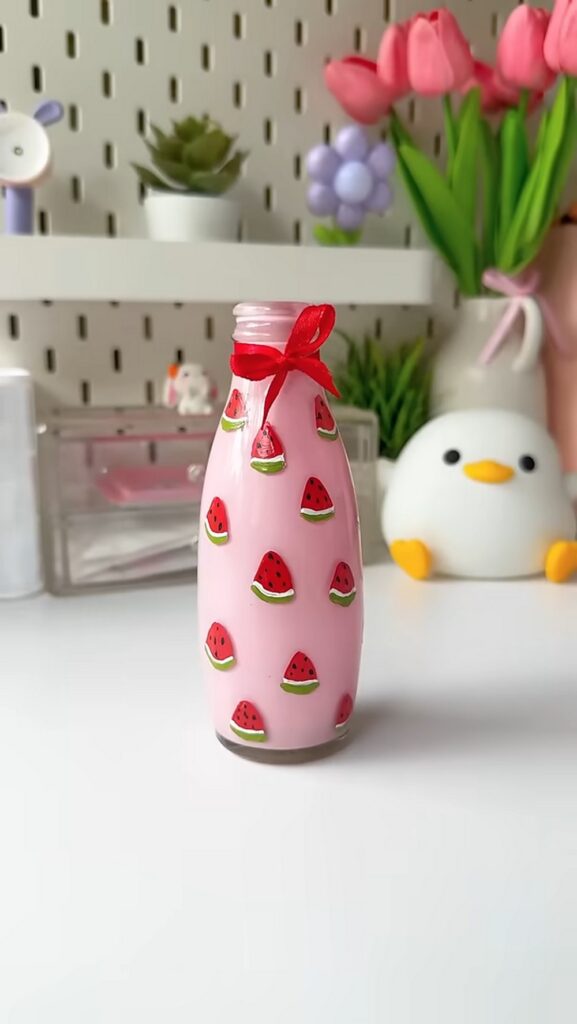

Project Difficulty: None
Time: 10 Minutes
Materials Needed
- Clear glass bottle (you can also have a Mason Jar!)
- Acrylic paints (Pink, Red, White, Light Green, Dark Green, and Black)
- Fine paintbrush
- Normal Paintbrush
- Decorative ribbon
Step-by-Step Instructions
Note: This method uses a mix of painting on the outside for detail and coating the inside for a smooth, vibrant finish.
1. Coat the Inside Pink
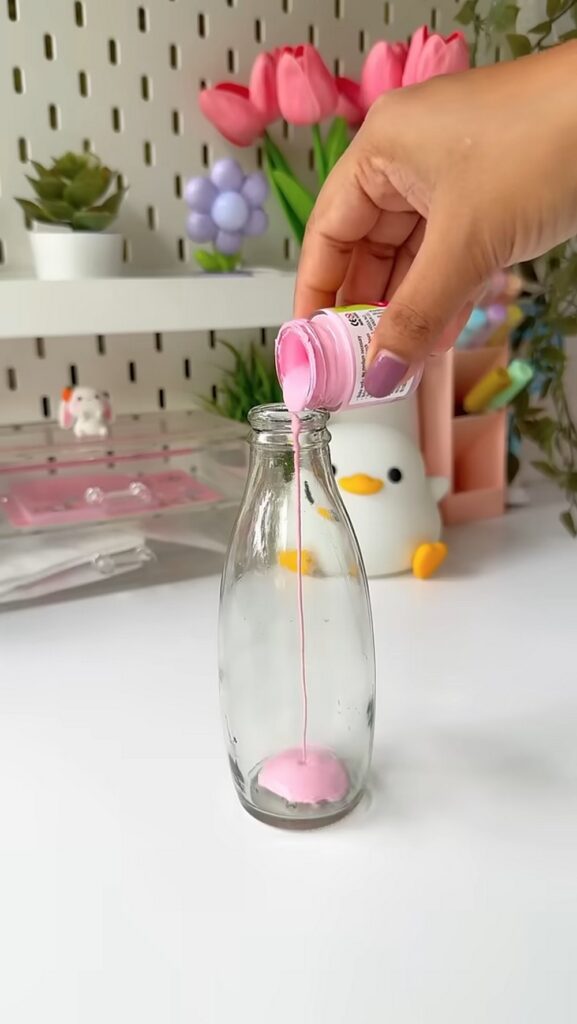
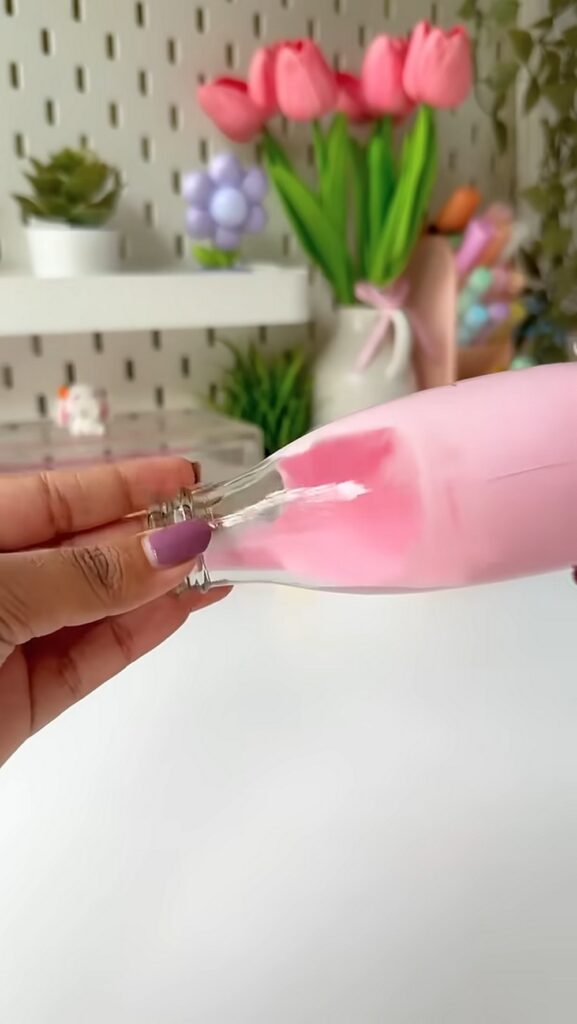
Take your pink acrylic paint and pour a good amount into the glass through the top of the bottle. Slowly roll and tilt the bottle around in your hands. Keep twisting and turning it so the paint spreads until the entire inside of the glass is completely coated.
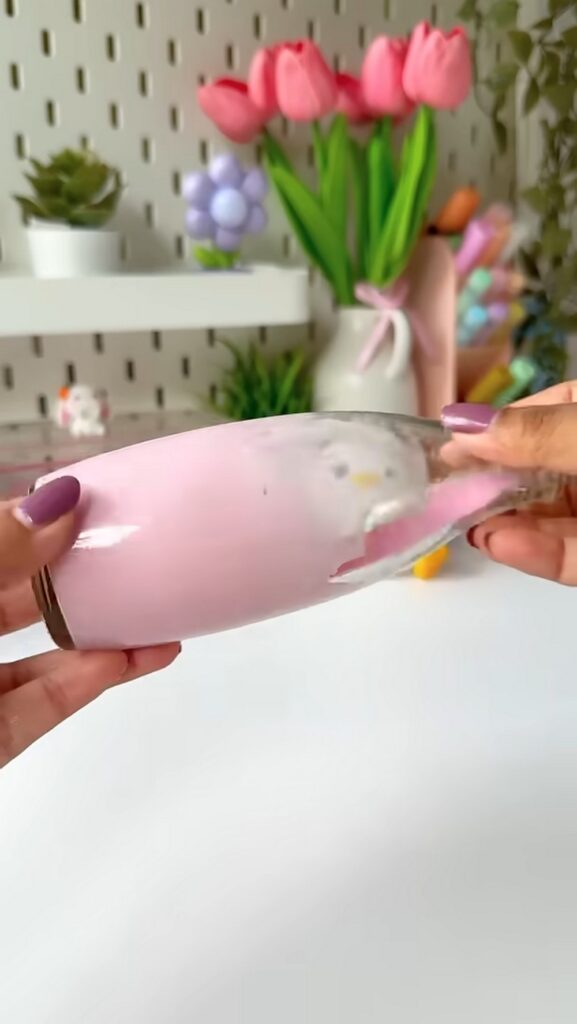
Once it is fully covered, turn the bottle upside down over a paper cup to let any extra paint drip out. This way, you can make this decoration without having to leave your table!
2. Paint the “V” Slices
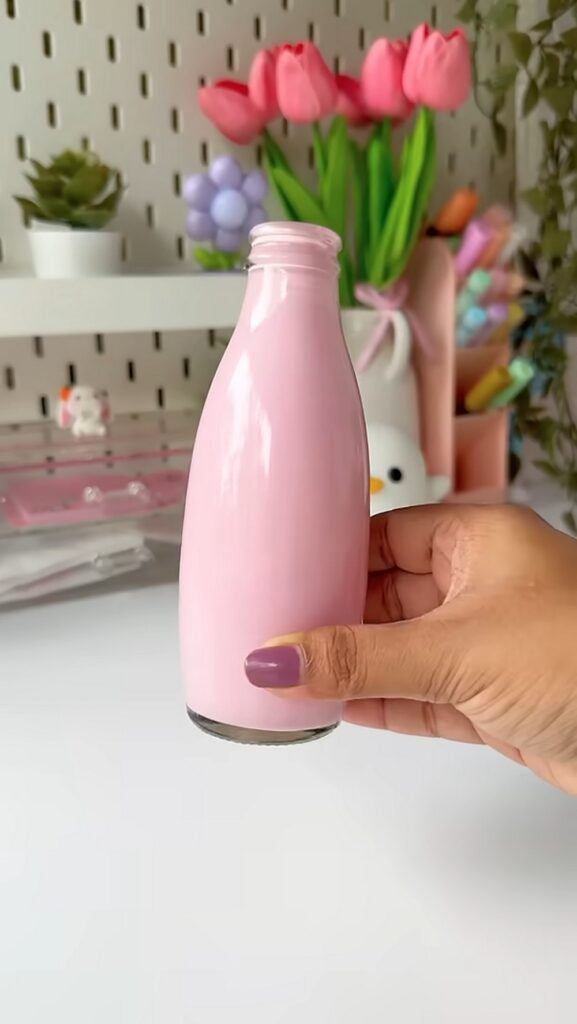
Using a thin brush and your red paint, draw “V” shapes all around. These will be the outlines for your watermelon slices. Don’t worry about filling them in yet; just get the shapes on the glass.
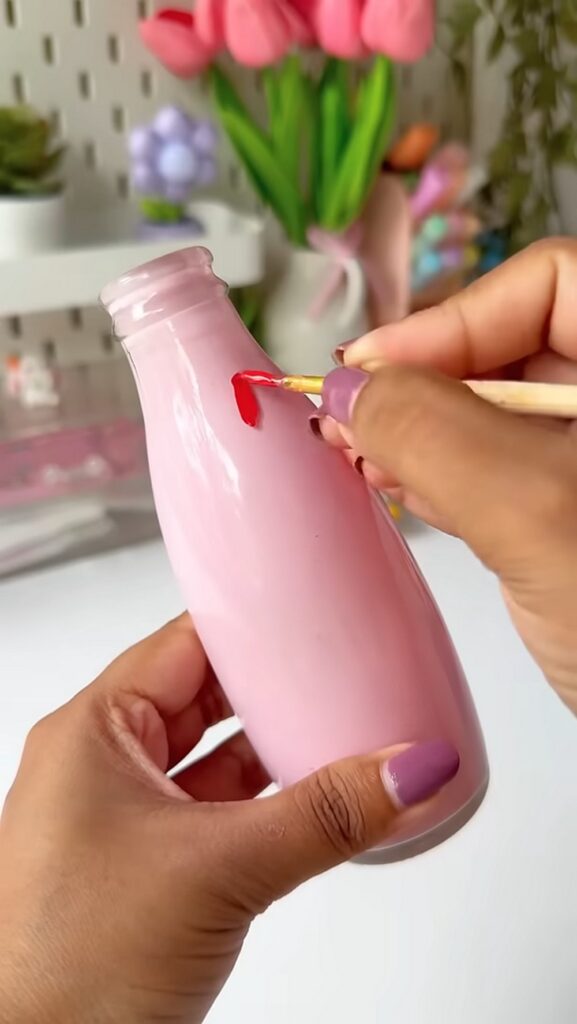
After that, make a semi-circle stroke through the bottom of each V and fill the slices.
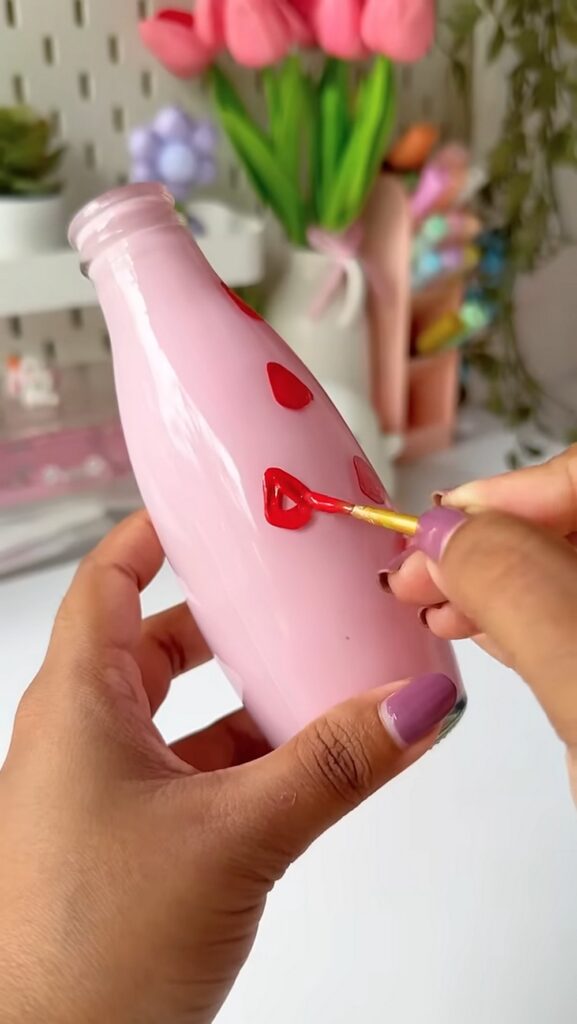
3. Add the White Layer
Just below the bottom point of each “V” shape, paint a thin white line. This will be the white part of the rind between the fruit and the green skin.
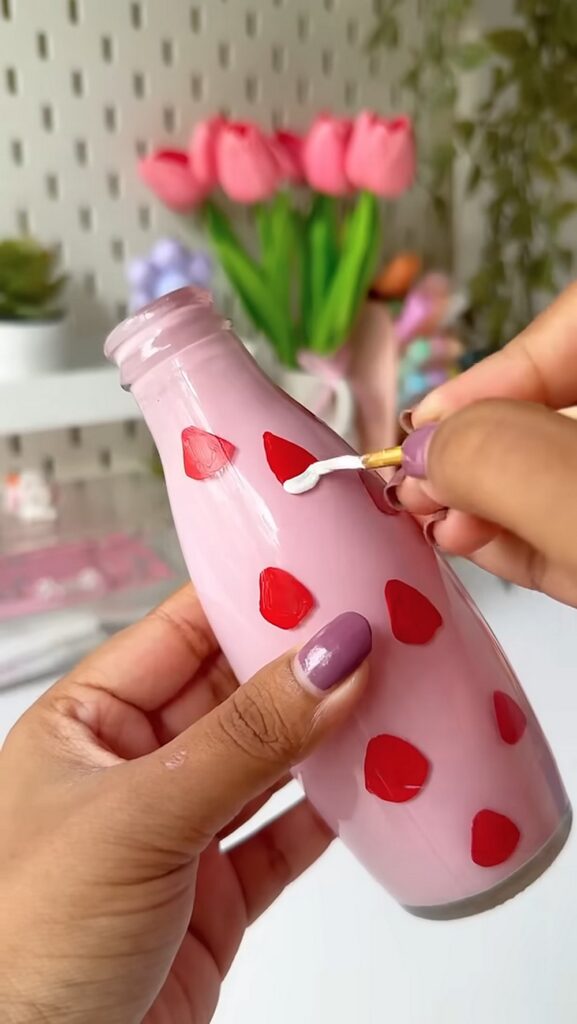
4. Paint the Green Rind
Below the white line, add your green paint. You can use light green first and then add a few dark green strokes to make it look like a real watermelon skin. This finishes the “outer” look of the slice.
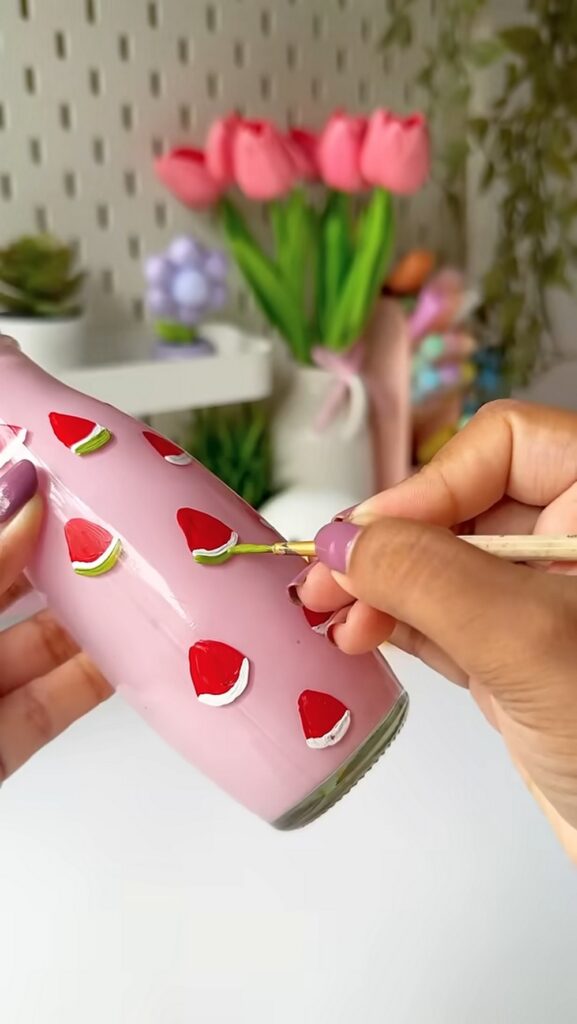
5. Add the Black Seeds
Use your black paint and thin brush to add tiny dots or teardrop shapes inside the slices. These are your watermelon seeds. Since you are painting these on the outside, they will stay sharp and clear.
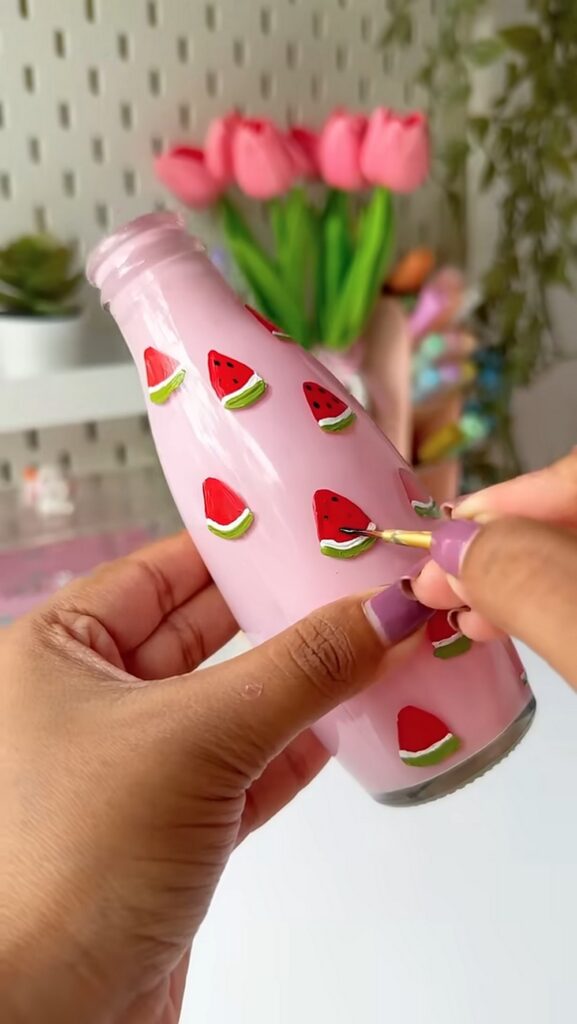
6. Let it Dry
Set your bottle in a safe spot and let the outside details dry completely. Now you have a super cute watermelon bottle that is ready to use as a flower vase or a fun desk decoration!
7. Tie the Ribbon
After the paint is dry, take a pretty ribbon and tie a bow around the neck of the bottle!
Did you find the tutorial helpful? Be sure to subscribe to the creator’s channel!
About "Artikate for Artists via YouTube"
Artikate is a platform that delivers the best crafts especially recycling crafts and decorations for girls!

About "Talha"
Hey, I’m Talha, the Crafter on Craftstive.com. I love to share guides on folding cute origami models and paper crafts, and I am always ready to inspire your next craft project with my weekly craft discussions.