
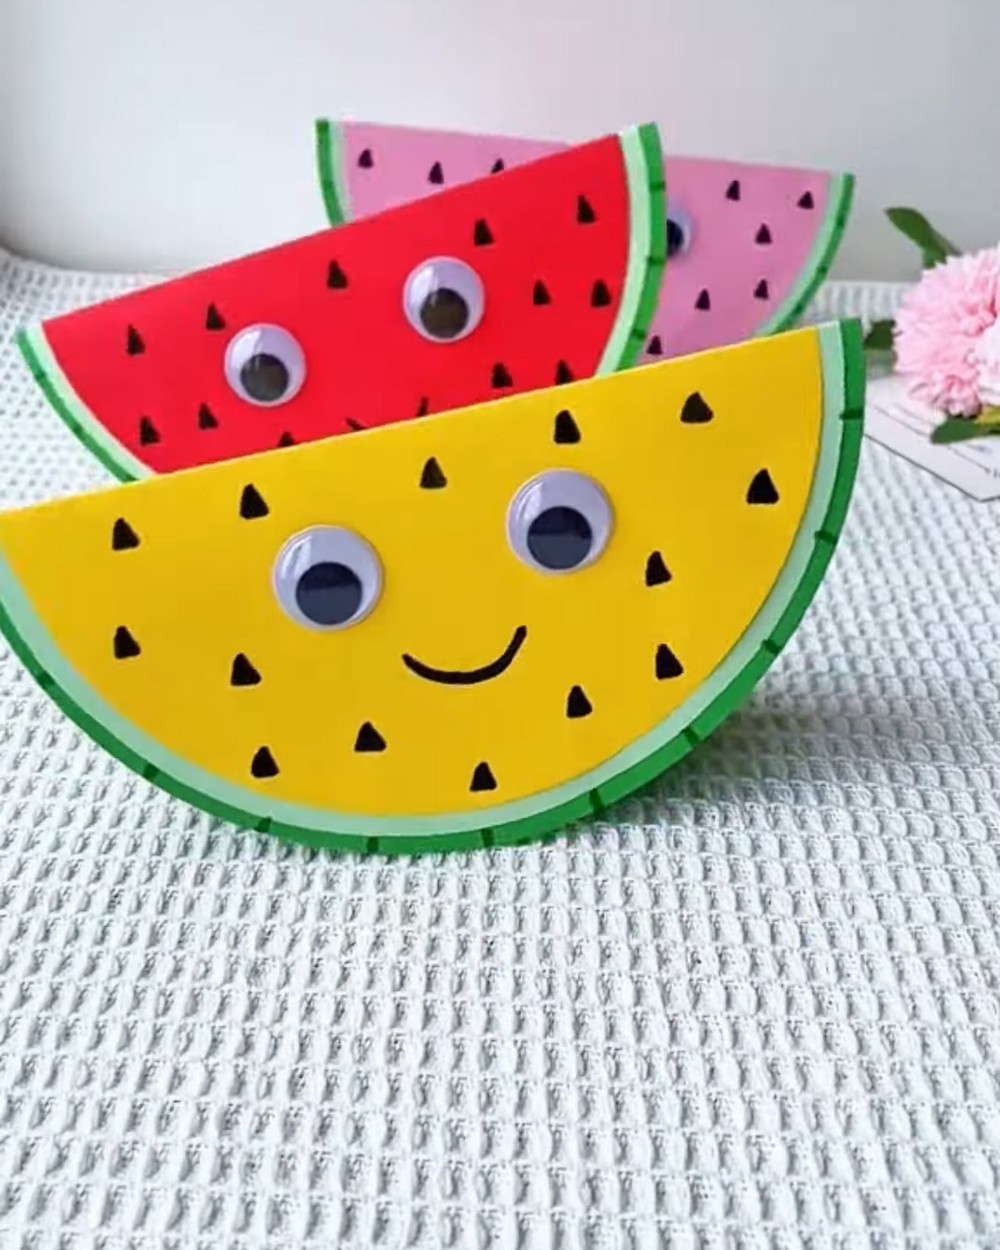
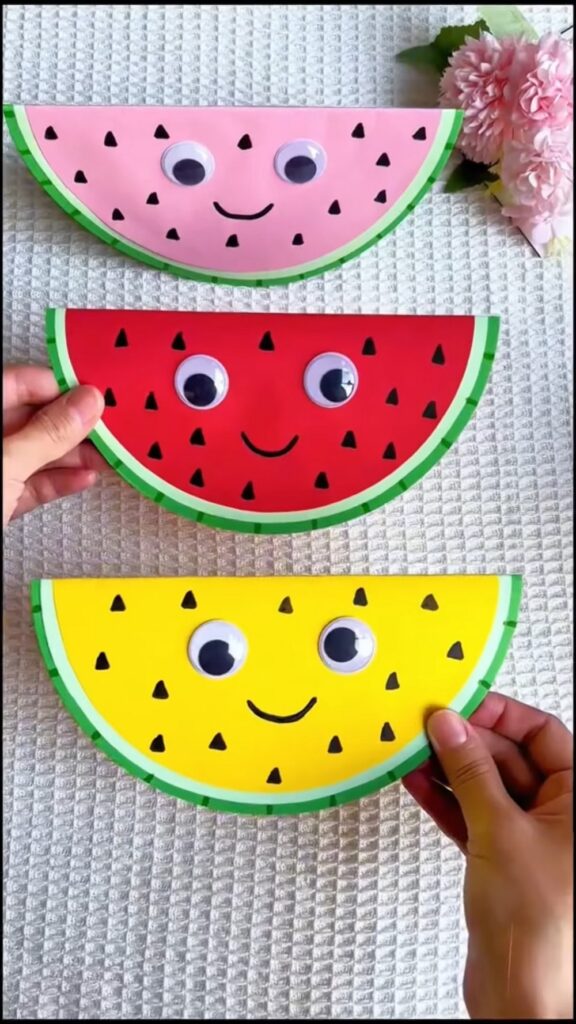
These instructions will show you how to make cute, smiling, and 3D watermelon slice rocking toys with googly eyes for kids. Make them in yellow, pink, or red in under 5 minutes. This is the 3rd watermelon craft I am sharing this summer, and most recommended as it is easy, simple, and ends up oh-so cute. Kids are gonna love this hands-on activity.
The idea is to attach the circle cutouts to make the fruit slice, and fold it in half to make it rock. Then, we shall just attach the wobbly eyes, draw a smile with a marker, and add seeds. You can then also check the watermelon paper fan craft!
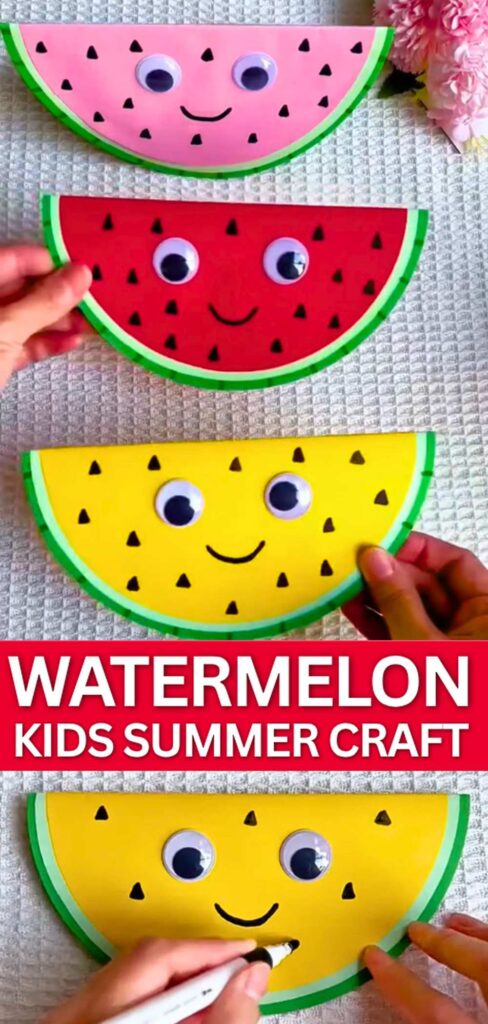
DIY Smiling Watermelon Requirements
Difficulty: Beginner (Level 1)
Time: 5 Minutes
Materials Needed
- Colored Craft Paper or Cardstock: Dark green, light green, and yellow (or red, if you prefer tradtional watermelon slice).
- Googly Eyes: Two per watermelon slice.
- Black Marker: For drawing the face and seeds.
- Adhesive: Craft glue or a glue stick.
- Scissors: For cutting out the shapes.
- Circle Templates: A compass, or three round objects of decreasing sizes (like bowls or cups) to trace.
DIY Smiling Watermelon: Step-by-Step Instructions
Follow these step-by-step instructions to make a watermelon slice:
Step #1: Cut the Circles
Trace and cut out three circles of decreasing diameters. The largest circle should be dark green (for the outer rind), the medium circle should be light green (for the inner rind), and the smallest circle should be yellow or red (for the fruit).
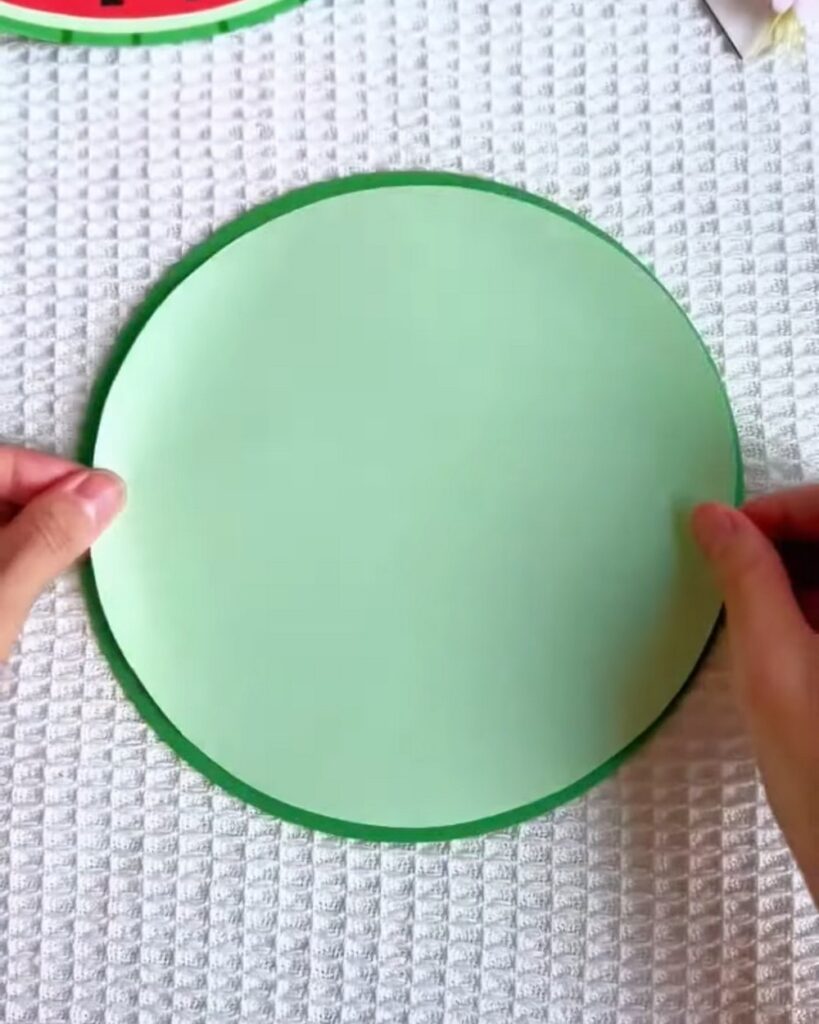
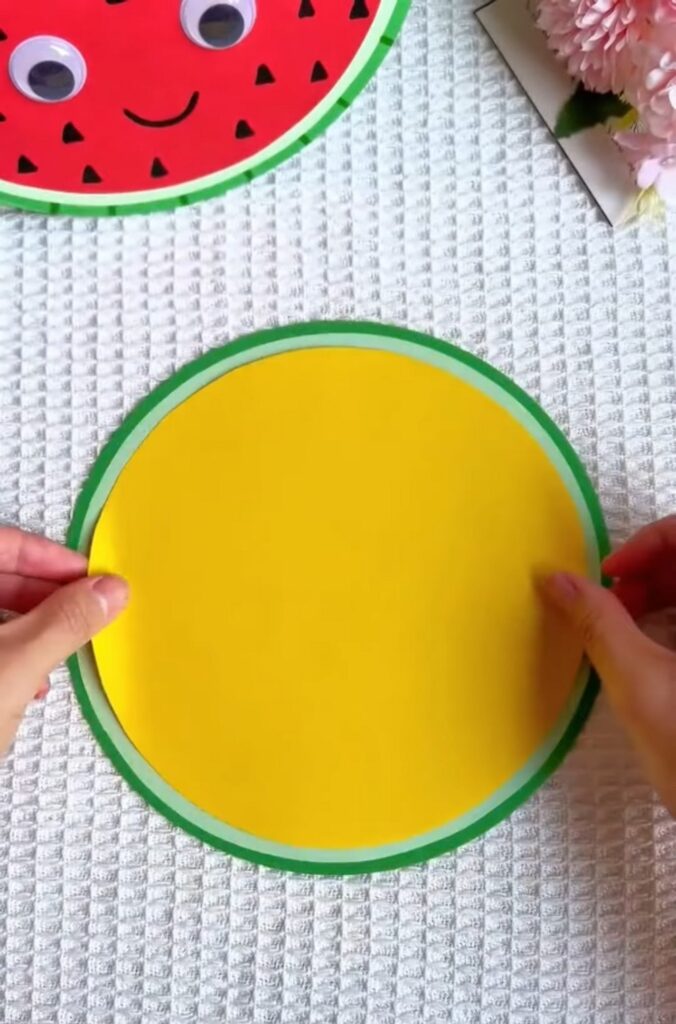
Step #2: Layer the Paper
Place the large dark green circle flat on your surface. Glue the medium light green circle perfectly in the center of the dark green one.
Step #3: Add the Fruit Layer
Glue the smallest yellow (or red) circle in the center of the light green circle. You should now have a layered circle resembling a cross-section of a watermelon. Let the glue dry completely.
Step #4: Fold the Slice
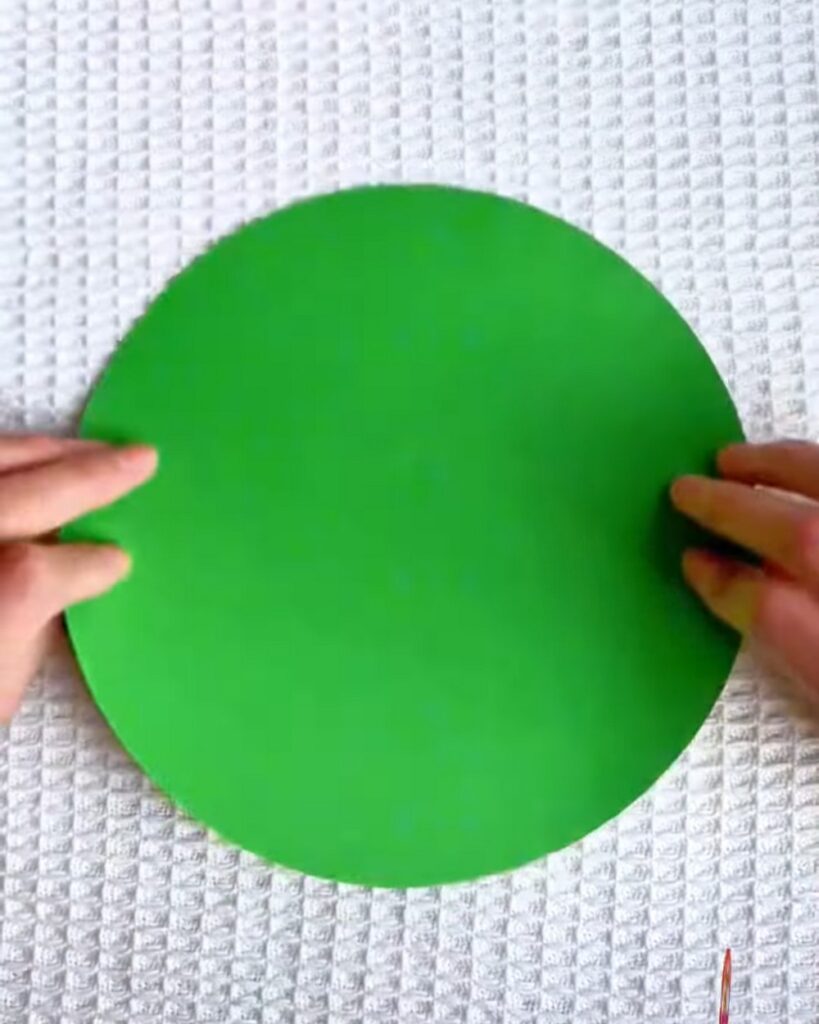
Carefully fold the entire layered circle in half so the yellow/red part is on the outside. For this, be sure to turn the paper upside down before!
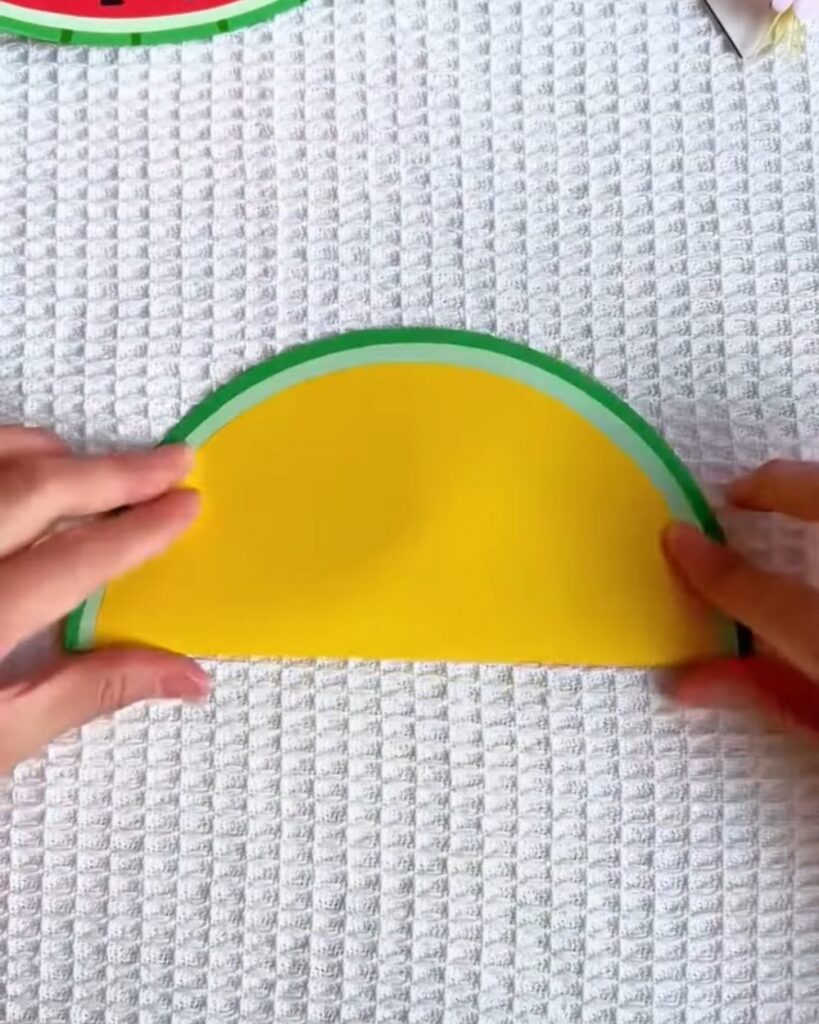
Step #5: Crease the Edge
Press down firmly along the straight folded edge. This flat crease is what allows the watermelon slice to stand up and rock back and forth.
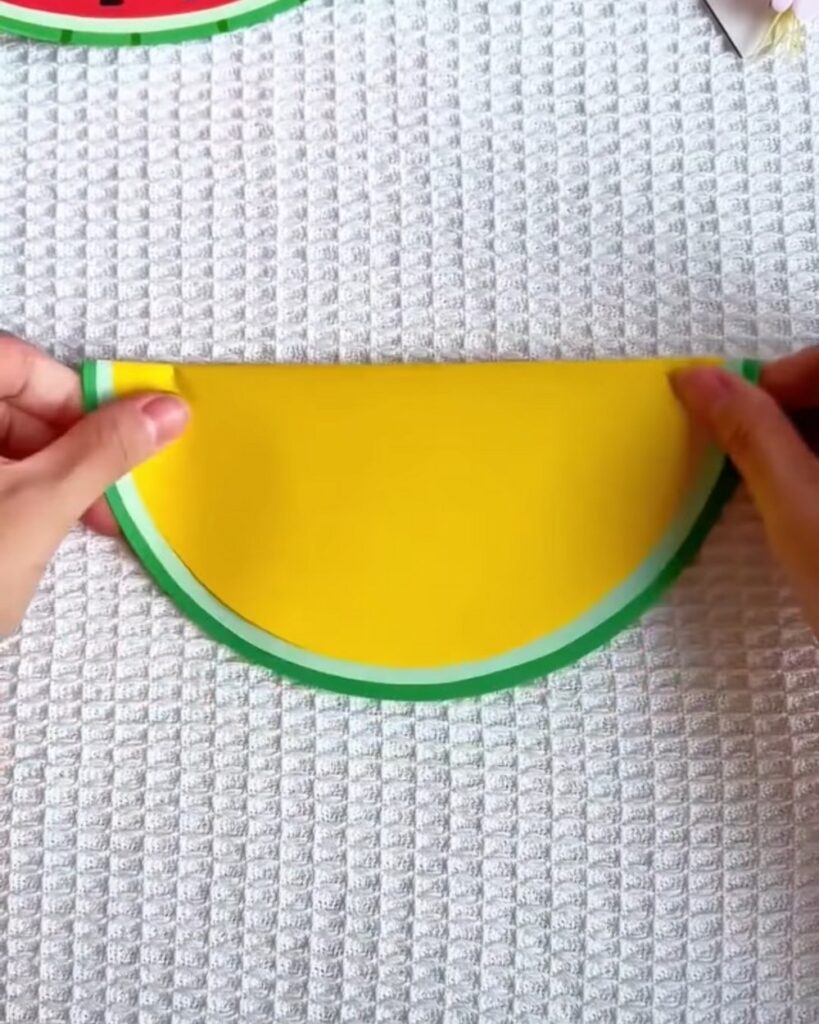
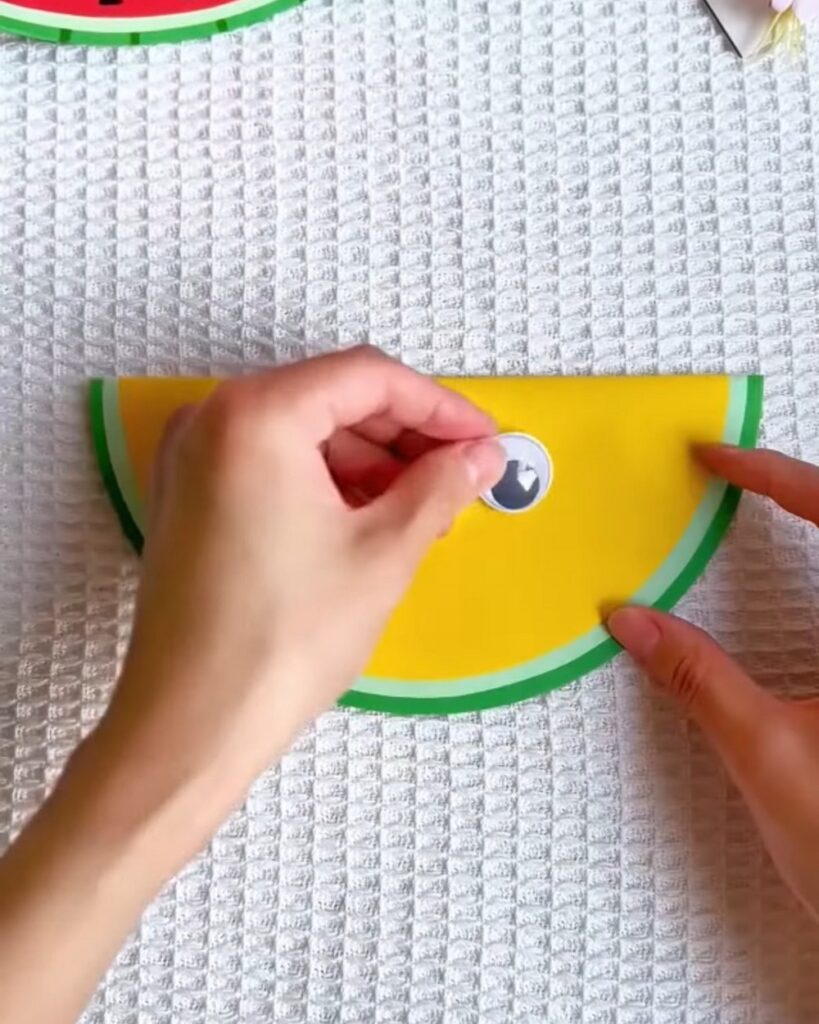
Step #6: Attach the Eyes
Take two googly eyes and glue them onto the front of the folded yellow/red section, spacing them out to create a face.
Step #7: Draw the Smile
Use the black marker to draw a small, happy, curved line just below and between the googly eyes.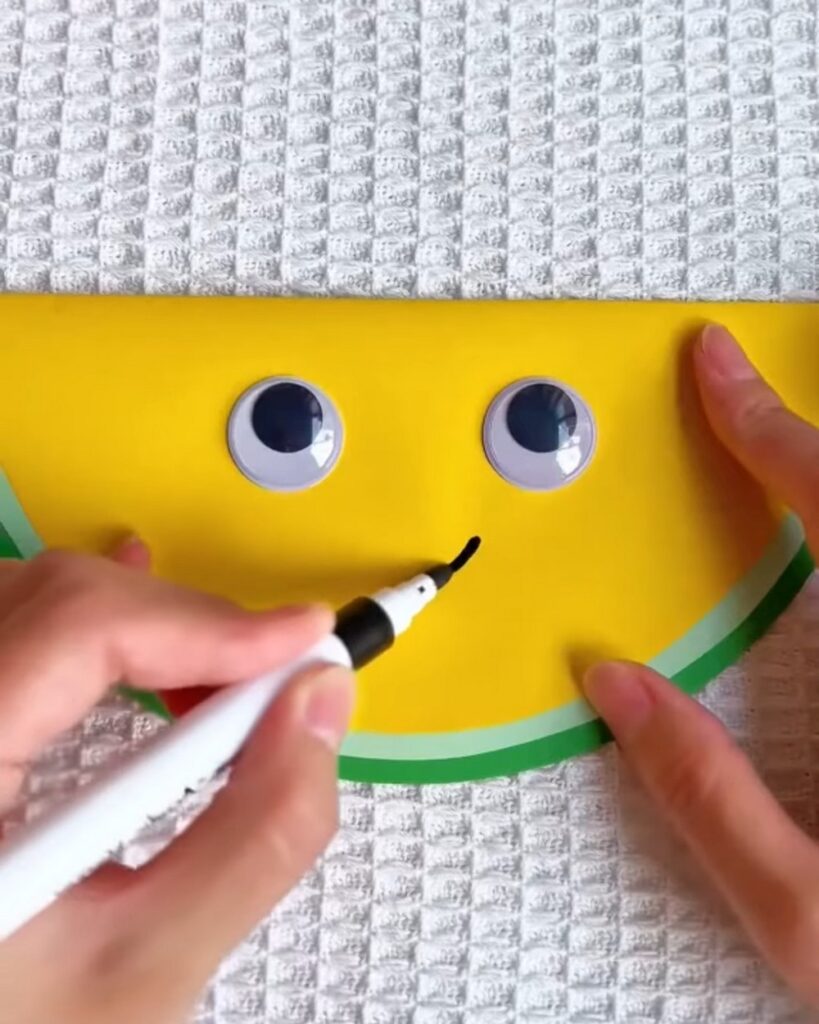
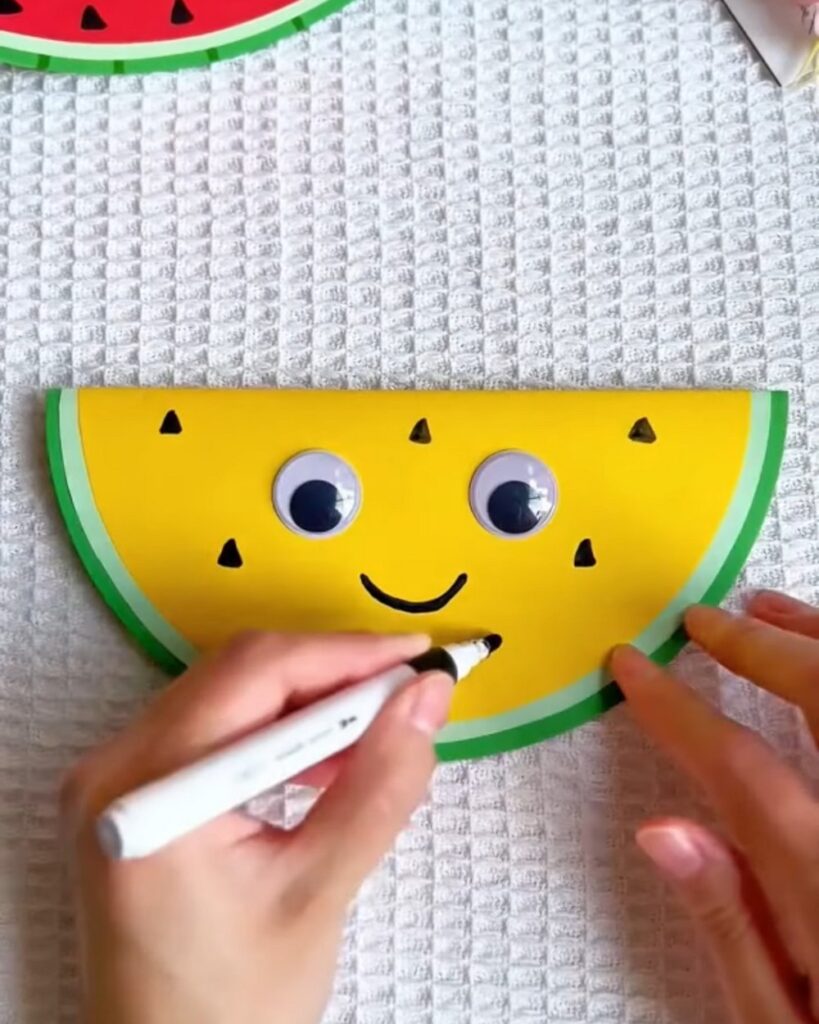
Step #8: Add the Seeds
With the same black marker, draw small, scattered triangle or teardrop shapes around the face to represent the watermelon seeds.
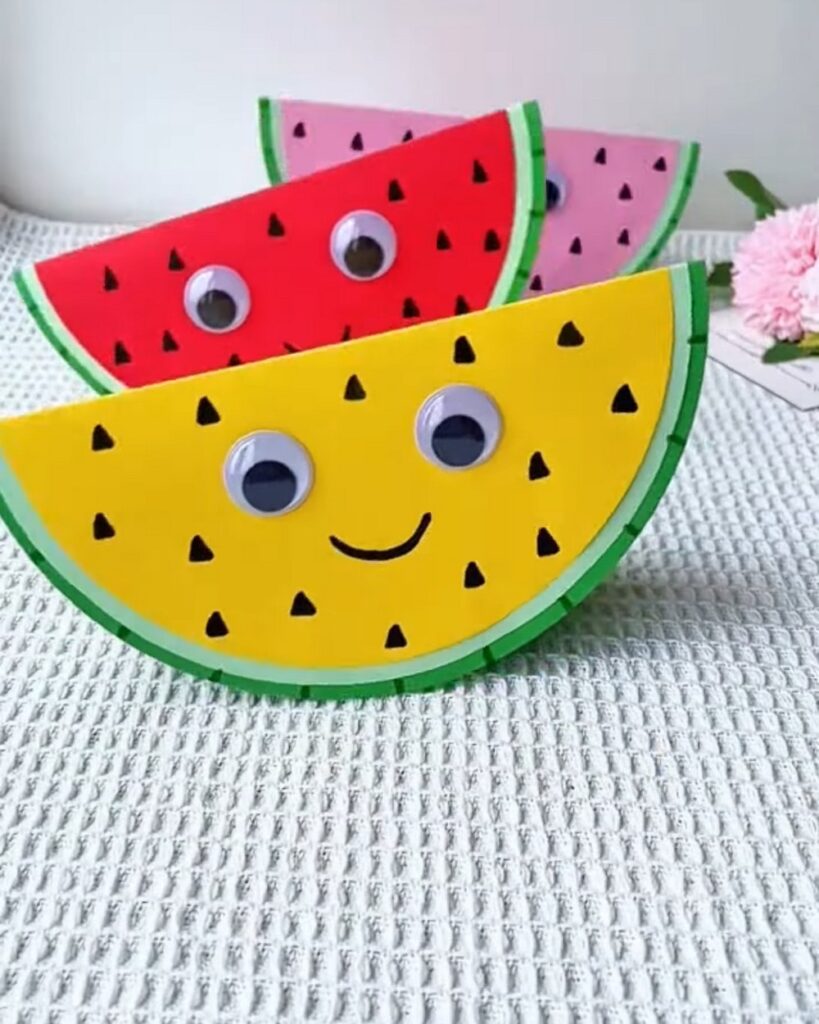
Step #9: Make it Rock
Stand the folded slice up on its curved, green edge. Give it a soft tap on the side, and watch your happy watermelon slice rock back and forth!
Was this Tutorial Helpful? Tell us in the Comments.
Your feedback is a great way for us to improve the tutorials. Did you find the tutorial helpful? Be sure to subscribe to the creator’s channel!
About "Kidies Time via Youtube"
She shared quick and simple crafts that kids can make during their summer vacations and more educational content for kids.

About "Talha"
Hey, I’m Talha, the Crafter on Craftstive.com. I love to share guides on folding cute origami models and paper crafts, and I am always ready to inspire your next craft project with my weekly craft discussions.