
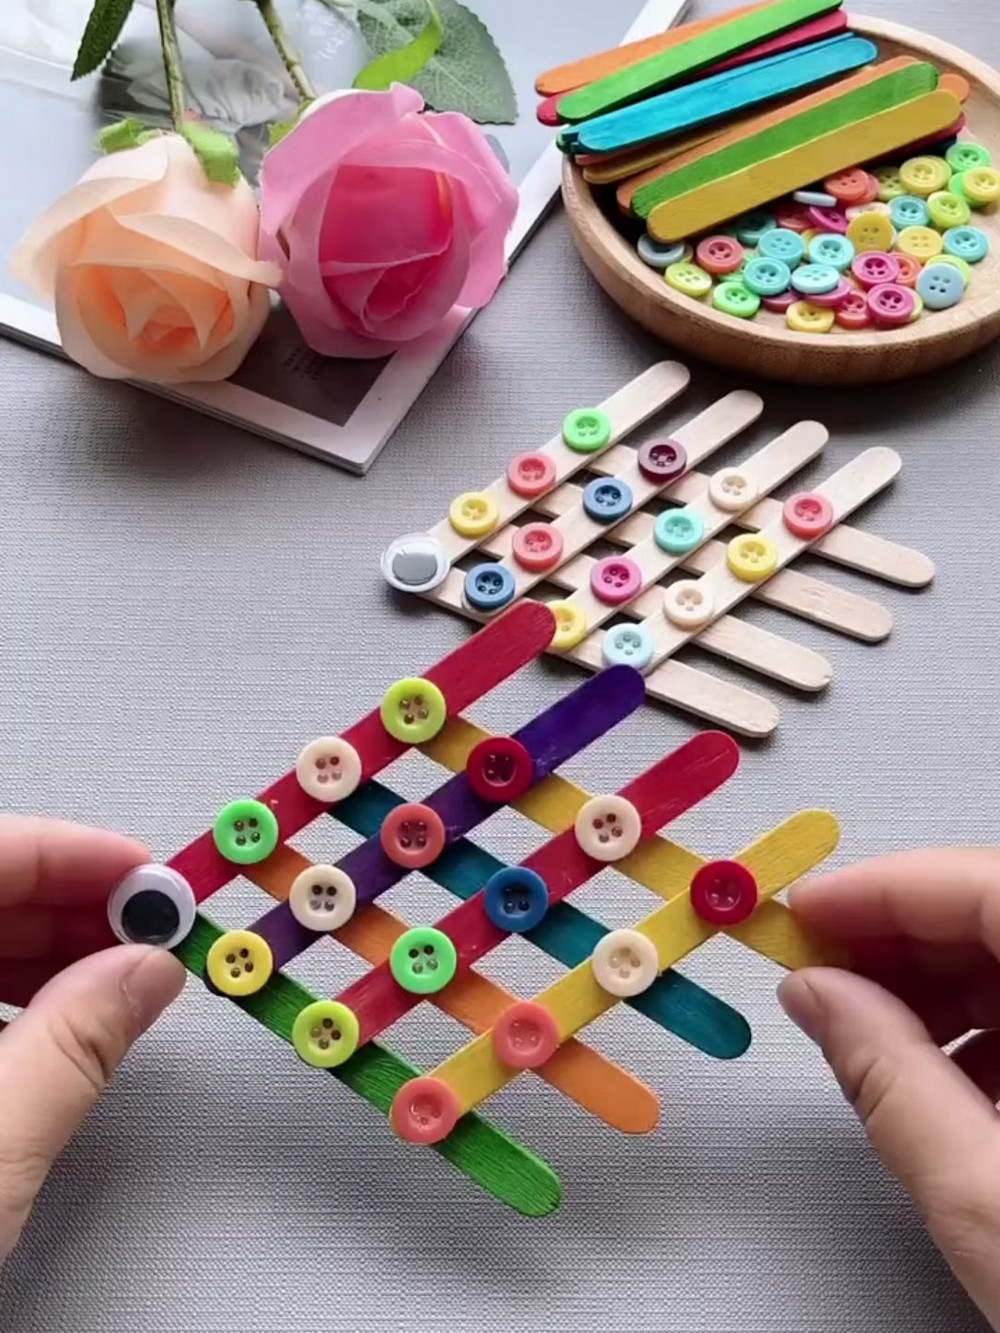
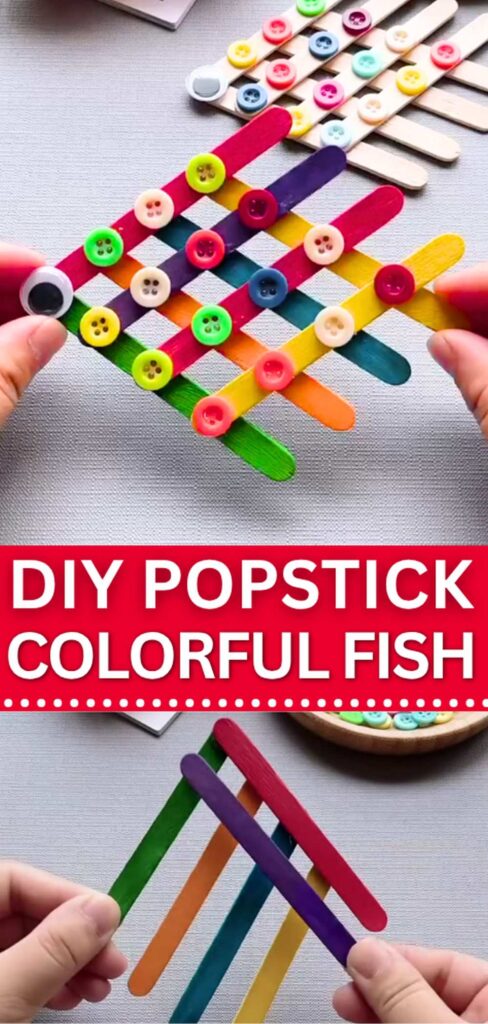
Make this easy, colorful, and CUTE pop stick fish craft this summer with the kids. It just needs 7 painted craft sticks, 15 plastic buttons, and a plastic googly eye. This is one of my favorite crafts from the Popsicle Stick Craft series, and can be made in less than 5 minutes by preschoolers after the sticks are painted.
Kids can make it in their favorite colors, such as orange and yellow, for a goldfish craft, and green and blue for the pufferfish. You can also make it without painting and the sticks, and with the colored buttons, it would turn out to be elegant!
All we shall make is a fish frame that can also hold the photos once you hang over the wall. Making it would definitely be the MOST FUN indoor activity for kids, and luckily, just gluing is needed! So, let me show you how to make one by yourself.
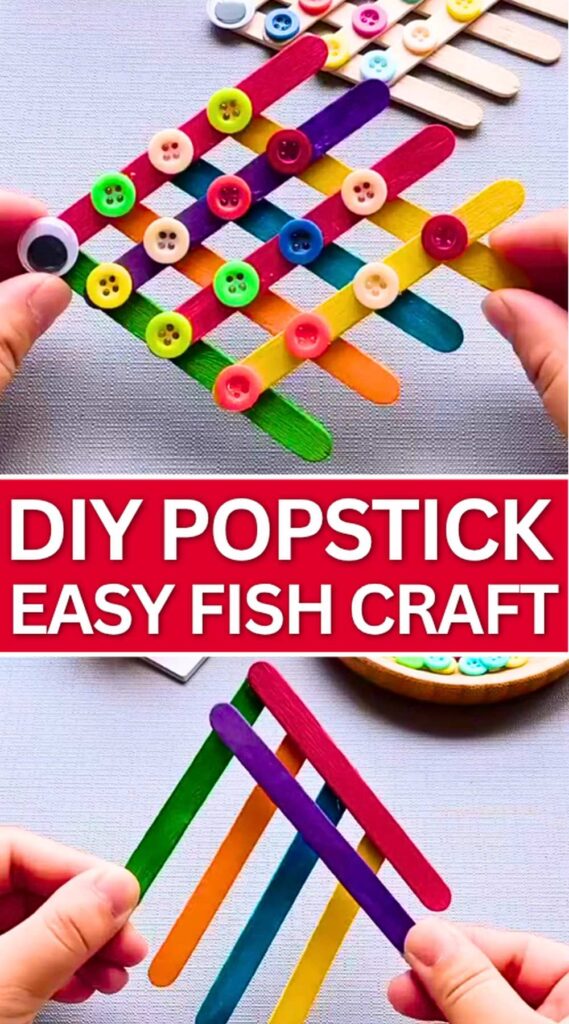
Model Type: Painted Stick Popstick Craft with Glue
Difficulty Level: Zero
Recommended Sticks: Medium length
Materials Used
- Colored Popsicle Sticks: Purple, orange, blue, yellow, red, and green.
- Liquid Craft Glue
- Googly Eye: For the face.
- Colored plastic buttons
Craft Stick Fish Paper Toy: Step-by-Step Instructions
Here is the detailed, step-by-step method to assemble this craft fish for absolute beginners:
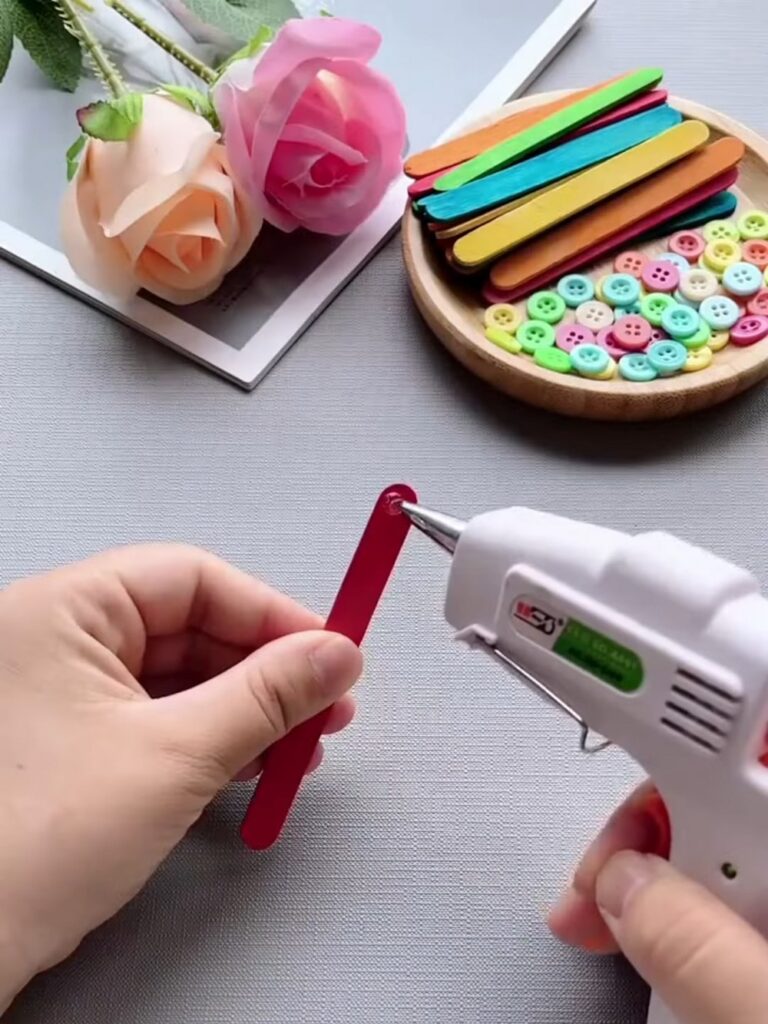
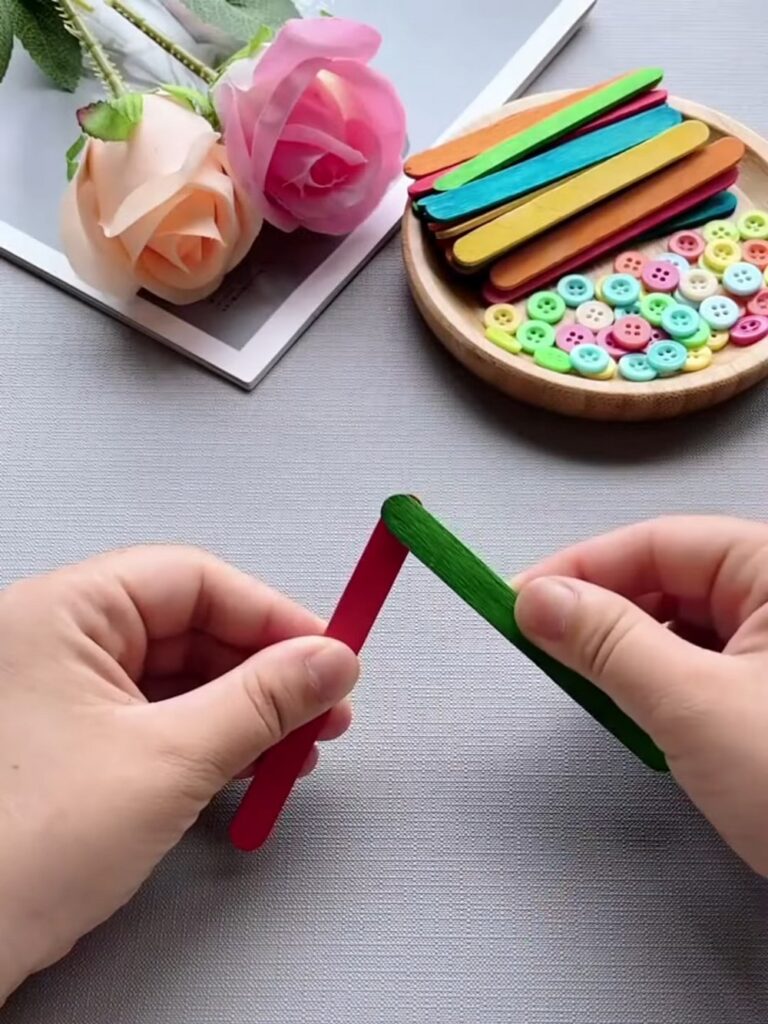
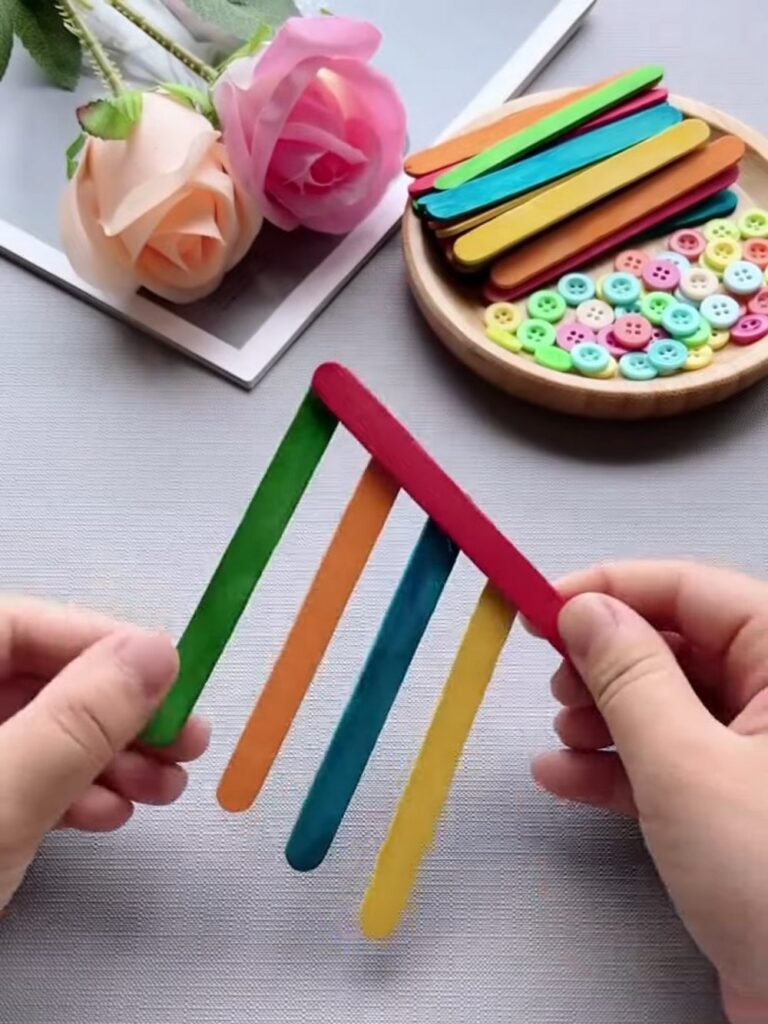
Step 1: Create the V-Shape Base
Take a red and a green popsicle stick and apply some glue to one end of one stick. Press the end of the second stick on top of it at an angle to make a wide “V” shape. This will make the outer outline of the fish’s top and bottom.
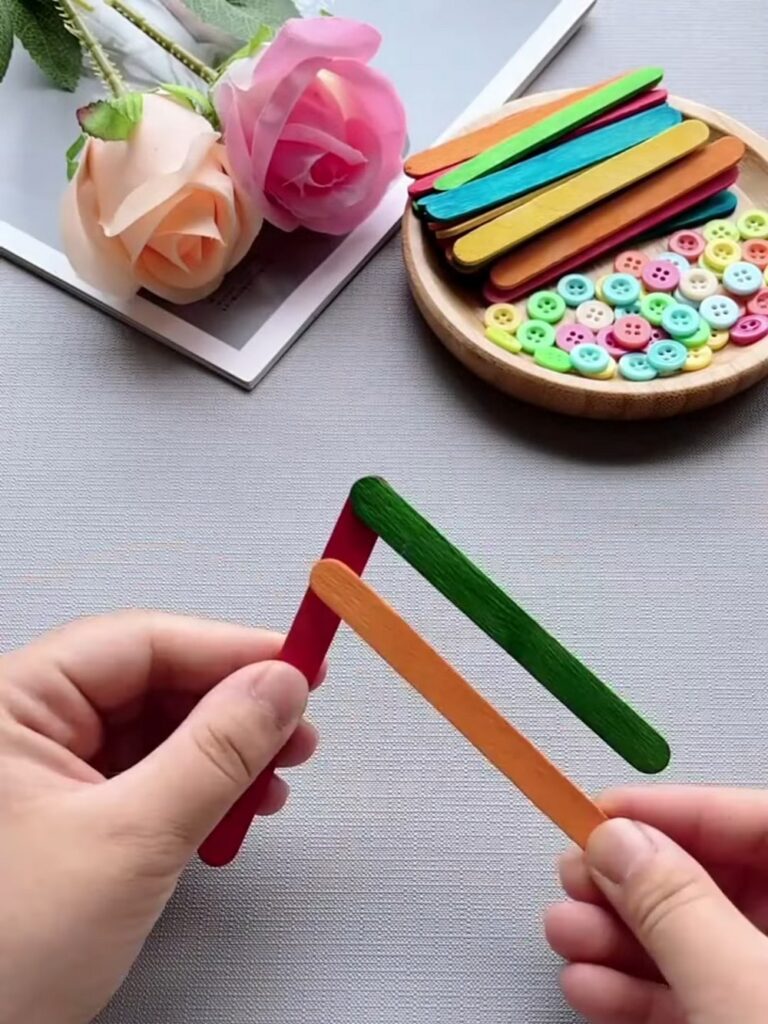
Step 2: Attach the First Rib
Take an orange popsicle stick. Glue it just below the red stick about one inch from. This stick should sit at the same angle, acting as the first “rib” of the body.
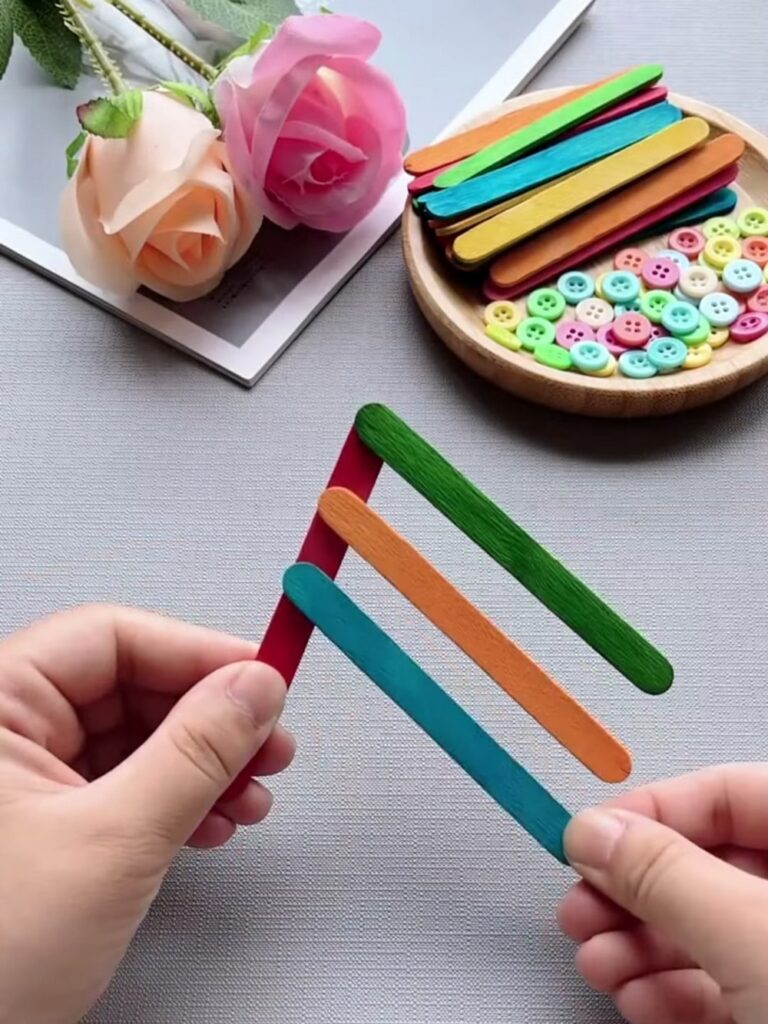
Step 3: Add the Second Rib
About one inch from the previous stick, attach a blue stick at the same angle as the orange one, ensuring it stays parallel.
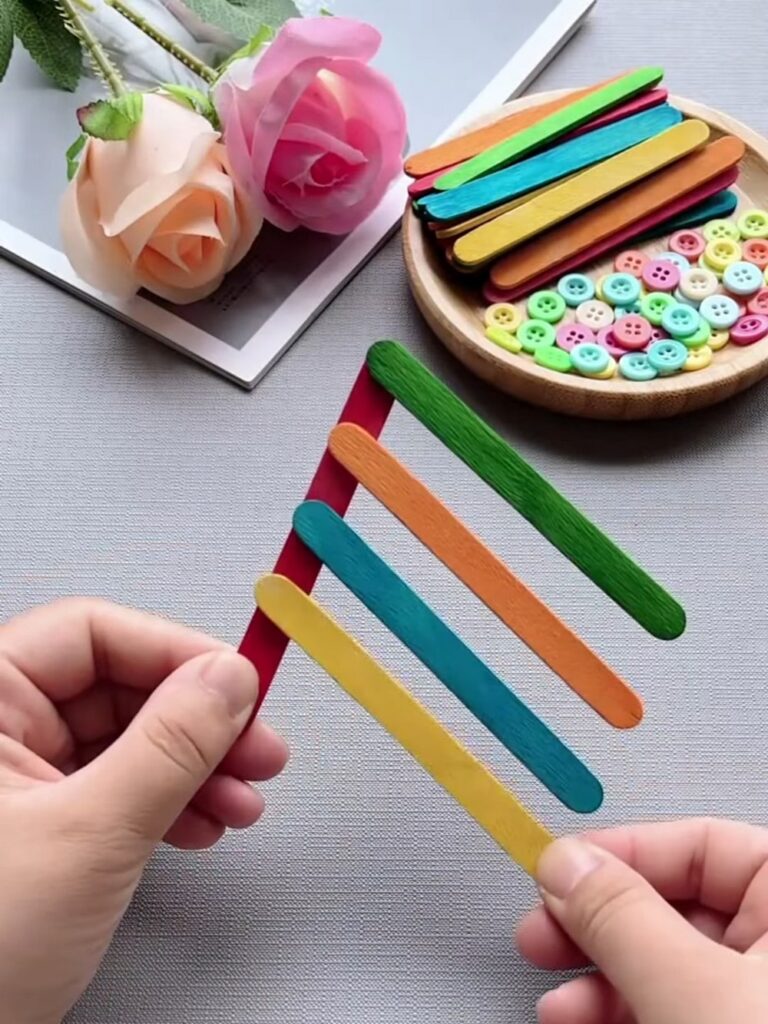
Step 4: Complete the First Side (3 Sticks Total)
Repeat this spacing one more time. Glue a yellow stick about an inch above the blue one. You should now have three colored sticks attached to one side of the purple frame, all angled toward the tail.
Step 5: Begin the Ribs (Opposite Side)
Now, turn the model over and switch to the red side as a guide for the attachment.
Glue a purple stick one inch below the red stick, parallel to it. This time, you will want to apply the glue to four parts or just the whole.
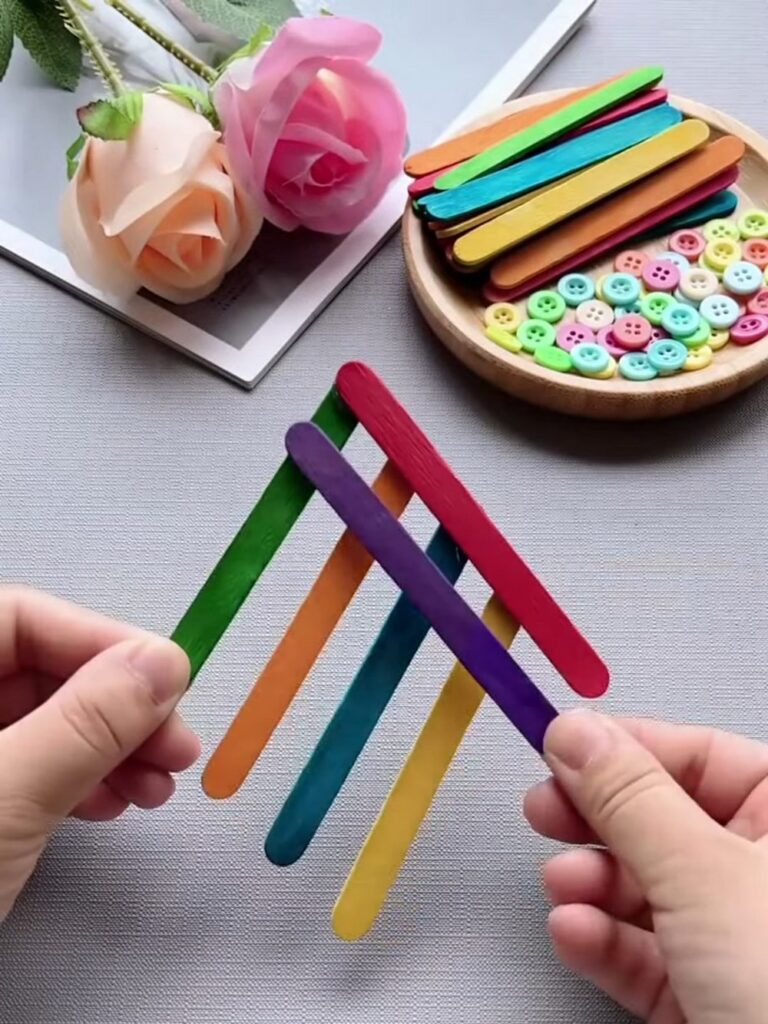
Step 6: Repeat:
Parallel to the purple stick, attach a red stick and then the yellow stick just below.
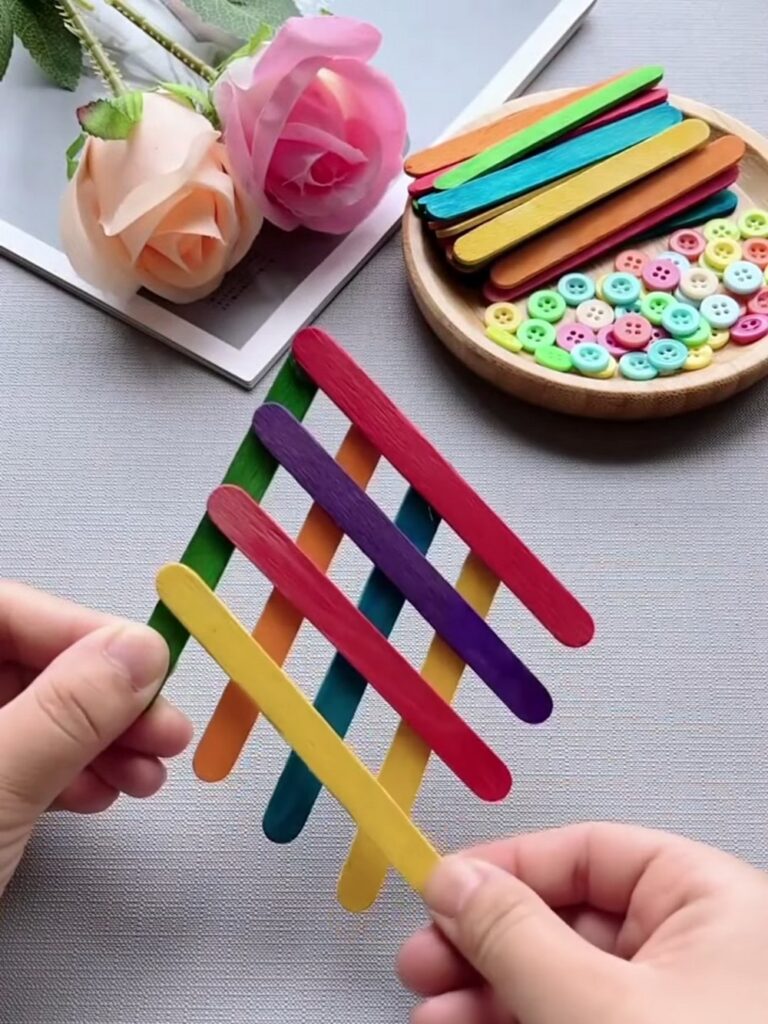
Feels Difficult?
Step 7: Embellishment
Attach the plastic buttons over each of the ribs. For the topmost rib, at the left corner (face), you will attach a googly eye. For the rest, attach four buttons each.
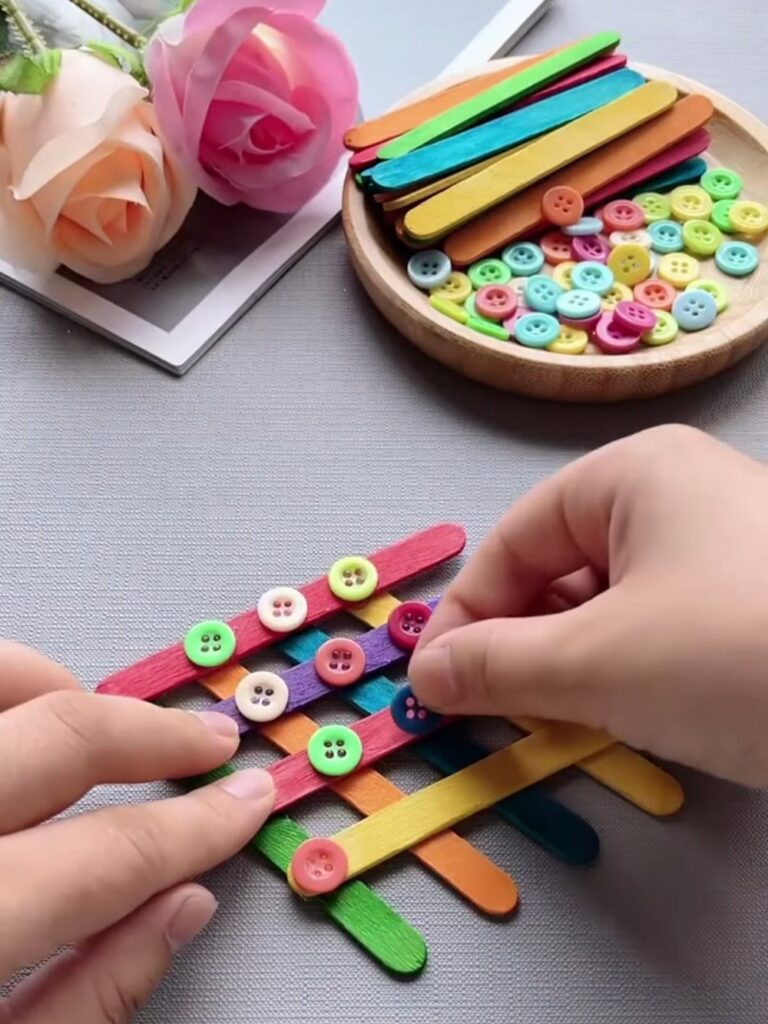
And that’s it! This way, you can make a cute googly-eyed fish for yourself!
Was this Tutorial Helpful? Tell us in the Comments.
Your feedback is a great way for us to improve the tutorials. Did you find the tutorial helpful? Be sure to subscribe to the creator’s channel!
About "Nuzai Gallery via Youtube"
She has a gallery of some of the most colorful and elegant crafts for kids. From the decorations to toys, she has everything!

About "Talha"
Hey, I’m Talha, the Crafter on Craftstive.com. I love to share guides on folding cute origami models and paper crafts, and I am always ready to inspire your next craft project with my weekly craft discussions.