
Keep the kids engaged indoors rather than in the hot sun during summer vacations with these CREATIVE & SUPER FUN indoor summer crafting activities! You can team up with them to make these crafts, as I have chosen mostly those crafts that need adult supervision and help. This way, you can keep them busy until the weather is safe for an outing!
The element of FUN will be dominant in these crafts. Such as, we will be making piñata for parties, kinetic sand for unlimited playtime, a pineapple craft lantern so they wait for the night party, and more!
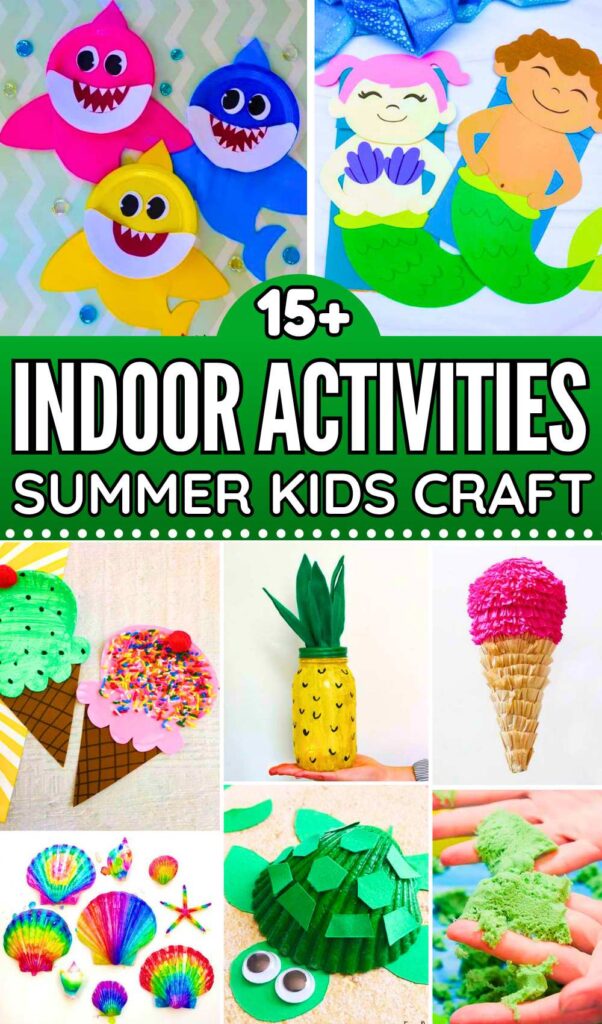
Also, so these summer craft activities are more engaging than ever, let them experiment with NEW materials. That’s why I have talked about how to make an ice cream card from cotton pads dripped with watercolors and also tie-dye Sharpie seashells.
You see, this time, I have included crafts with materials beyond the paper and FREE printables, such as tissue paper, mason jars, paper bag (for puppets!), seashells, felt, popsicle sticks, and more. What NEW techniques can you introduce? Well, paper weaving, using a pipette for coloring, and securing glitter on seashells. With all that said, let’s start!
Suggestion #1: DIY Pineapple Night Light Activity
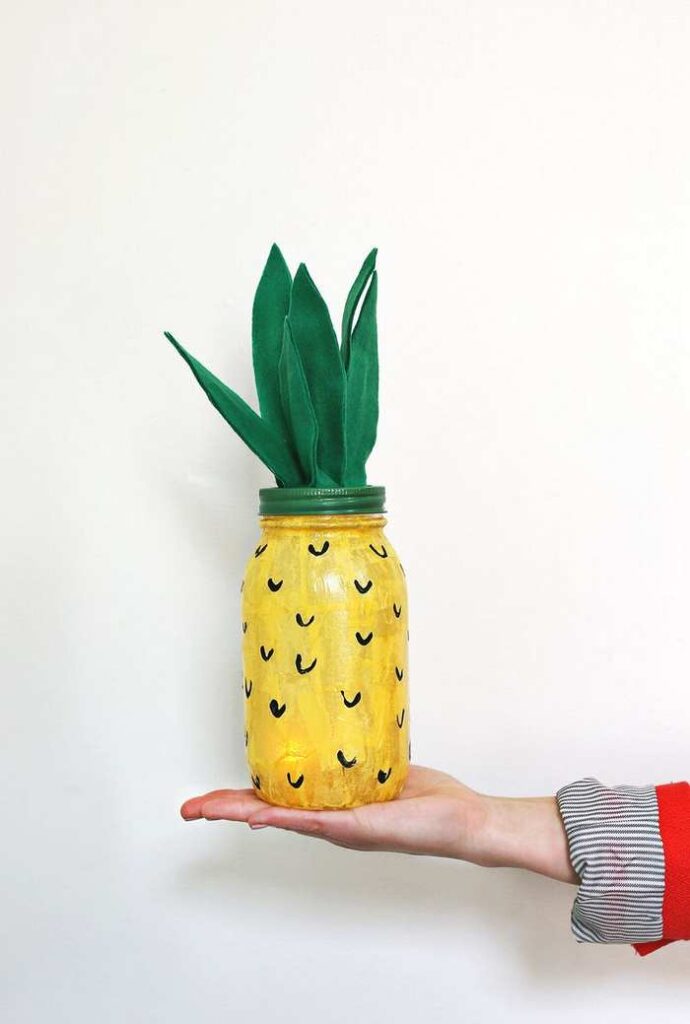
Make this elegant mason jar pineapple lantern for Huawlu or summer garden nights with any size of glass jar. Mom and kids can team up to make it in no time. First, cover the jar with small pieces of yellow tissue paper using Mod Podge.
As the jar gets dry, use black acrylic paint to draw a pineapple texture. You can draw cross or V lines. For the lid, take long leaf cutouts from green felt and glue them to the lid before painting it green.
Suggestion #2: Ice Cream Piñata Craft Activity
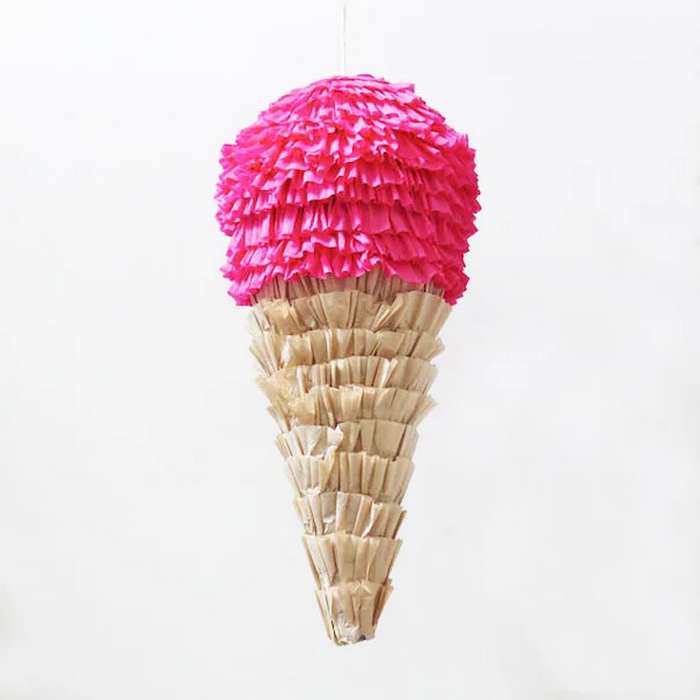
For summer birthday parties, DIY this large ice cream cone piñata in 11 steps using wax paper for the cone, newspaper for covering, a balloon for the scoop, and glue. This piñata is covered with coffee filters for the cone portion and the crepe paper for the scoop portion, making ruffled rows standard in piñata.
Suggestion #3: Cotton Pad Ice Cream Craft
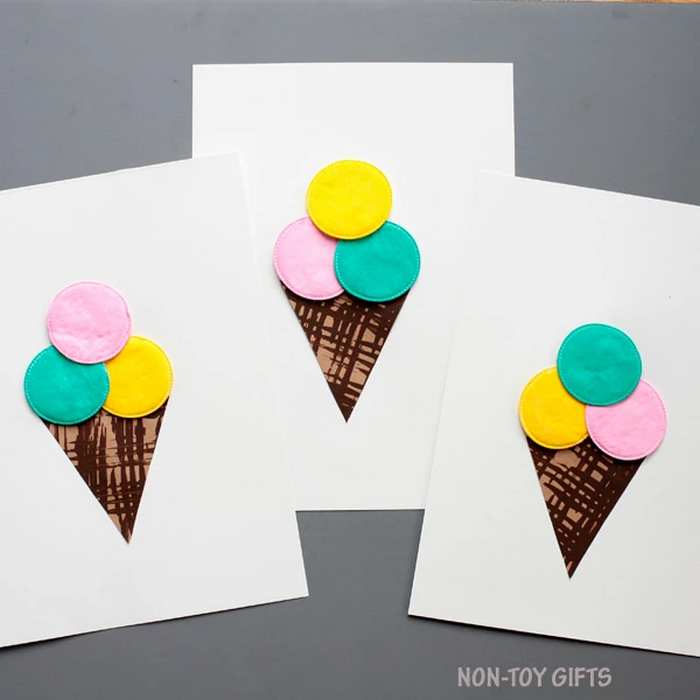
Let’s DIY this colorful & 3D ice cream cone card using white makeup removal cotton pads for scoops and white paper for the background. The idea is to drip watercolors with a pipette to make the scoops and paint with masking tape the cone.
Use pipettes to drip watercolors onto cotton pads. While they dry, use a plastic fork and brown paint to create a grid pattern on light brown cardstock. Cut out triangles for cones and glue them with the colorful cotton scoops onto white cardstock paper.
Suggestion #4: Mermaid Paper Bag Puppet
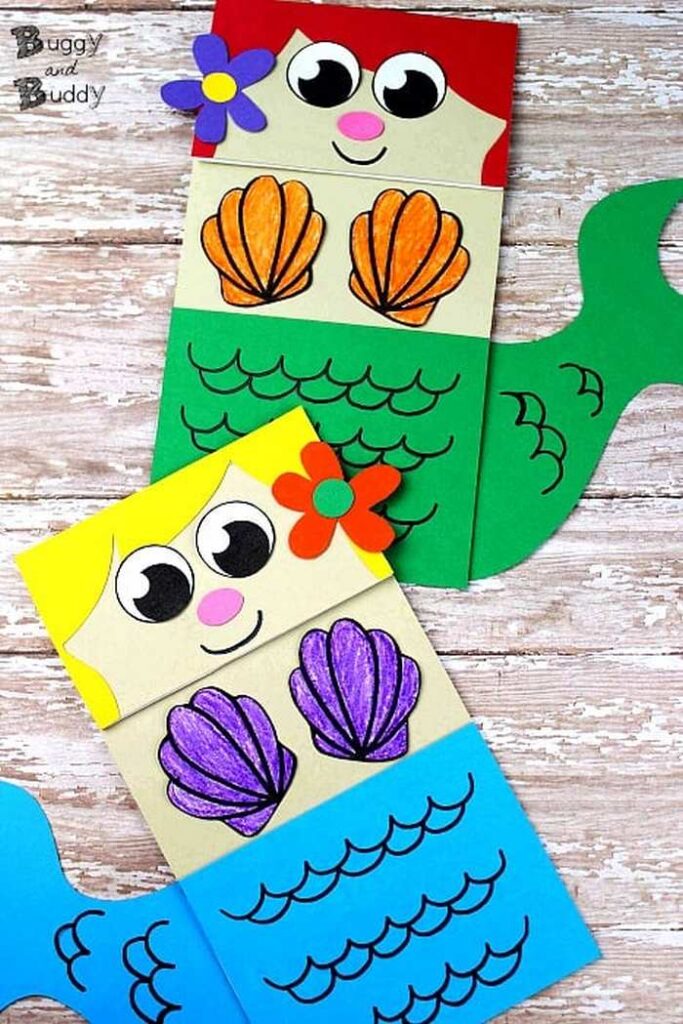
With a FREE printable template, let the kids assemble and color this cute baby mermaid puppet using a brown paper bag and colored paper. They can also color with crayon on the seashells and attach a small flower cutout to it. They can also use markers or glitter to add scales and pretty details to the mermaid.
First, print the free template. Glue cardstock or construction paper onto a paper lunch bag for the skin and tail. Add the hair, eyes, and nose. Decorate with paper seashells and a flower. Finally, use a black marker, crayon, or pencil to draw a smile and scales.
Suggestion #5: Paper Plate Ice Cream Craft
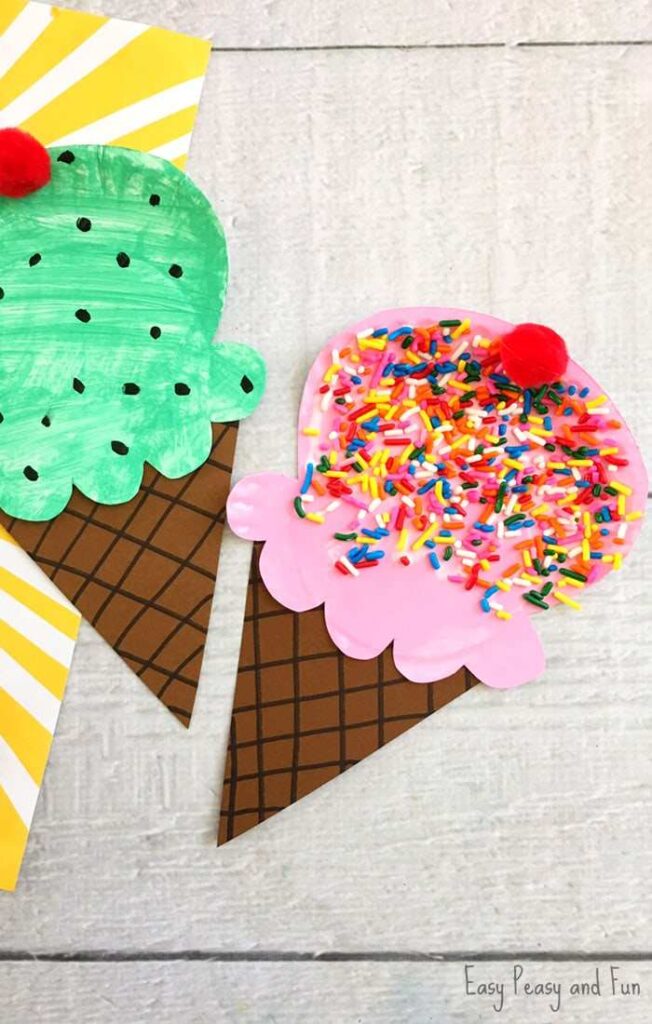
I scream, you scream, we all scream for this colorful paper plate ice cream! To make it, kids can also draw just a round scoop instead of a scoop with a scalloped bottom and a slightly bigger circle than the top. Cut one from a paper plate, color it pink or mint.
Then, paint a triangular cone, and draw the waffle lines. They can top with pom pom cherry and sprinkles or draw dotted chocolate chips.
Suggestion #6: Glitter Seashell Picture Frame
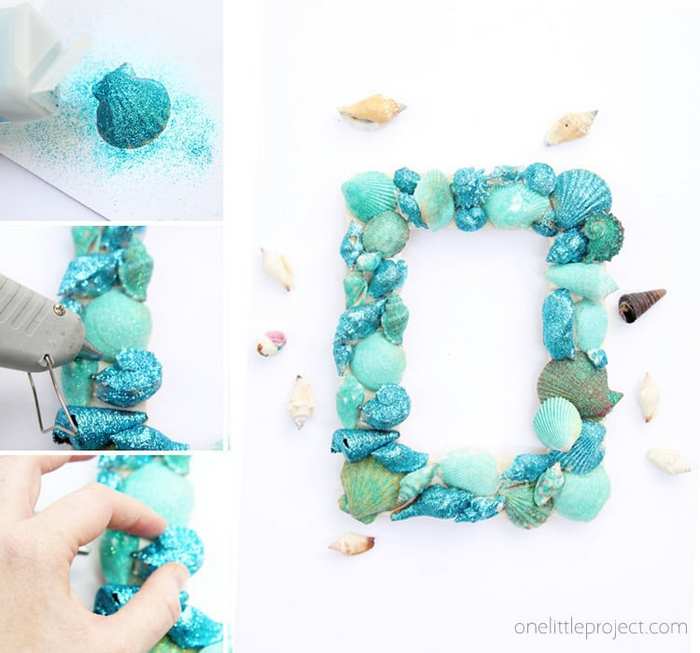
In the discussion on seashell decorations, I missed this elegant coastal picture frame crafted using seashells, glitter, and glue. By glittering different shapes of seashells in different shades of aqua, it will end up the best frame ever. As the designer puts it, even kids can make it!
First, gather a wooden frame, shells, extra fine glitter, Mod Podge, and a hot glue gun. Use the glue gun to attach shells to the frame. Apply a layer of Mod Podge over the shells with a paintbrush. Sprinkle the glitter on top and let it dry completely.
Suggestion #7: Paper Weaving Fish Craft
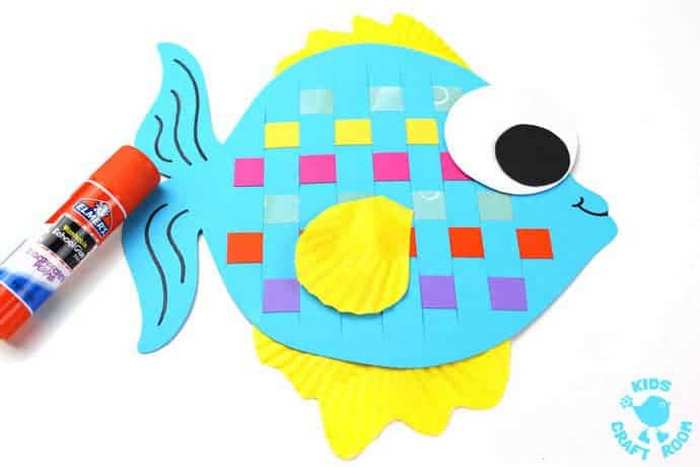
Make this paper weaving fish craft from a FREE printable template, cardstock, and cupcake liners. This is definitely the easiest and most engaging paper weaving craft, so you can use it as an introduction, as the designer says.
Just cut out the fish body from the template and snip vertical slits across it. Weave colored paper strips through the slits. Glue the ends, then add cupcake liner fins and a marker-drawn eye to finish.
Suggestion #8: DIY Kinetic Sand Recipe
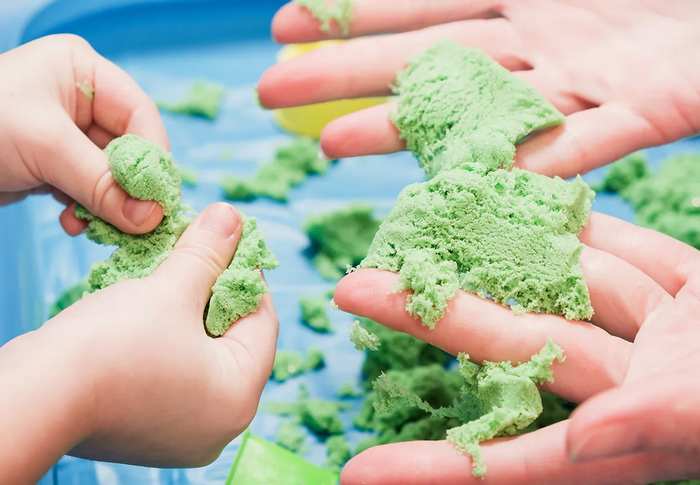
Learn how to make any amount of kinetic sand at home using three materials with this guide. This sand can be molded, cut, and played with indefinitely. Teach kids how to make this and then let them have fun with this magical stuff.
To make kinetic sand, mix three cups of sand with two cups of cornflour in a bowl. Pour in half a cup of vegetable oil and add food colouring if you want. Mix it all together with a spoon and your hands until it is squishy and holds its shape.
Suggestion #9: Baby Shark Paper Plate Craft
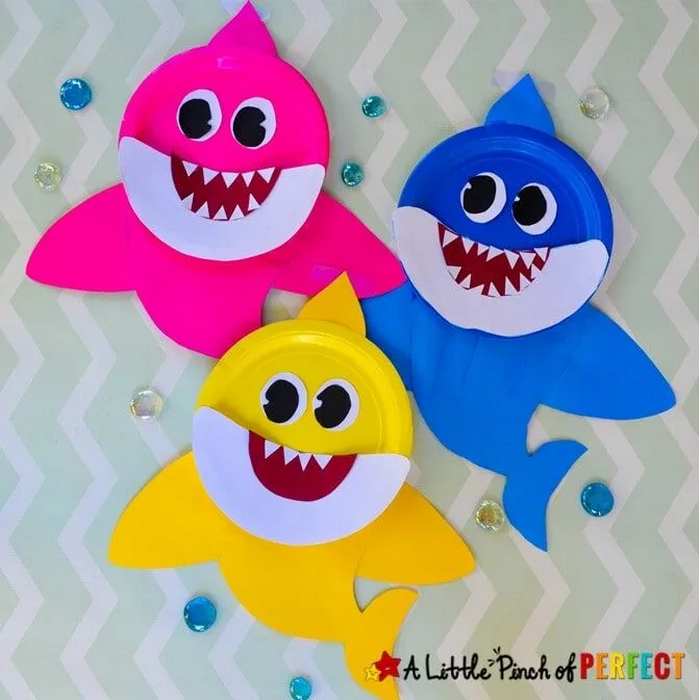
For Shark Week, craft these paper shark puppets with paper plate faces! There is a FREE printable template to take the single shark cut out, teeth, and the mouth, so it should be easy and FUN FOR KIDS.
Cut out the eyes, mouth, and teeth FROM COLORED PAPER to glue onto the plate. Attach the fins and body to the back of the plate to finish it. I like the yellow version, the most!
Suggestion #10: Seashell Turtle Craft
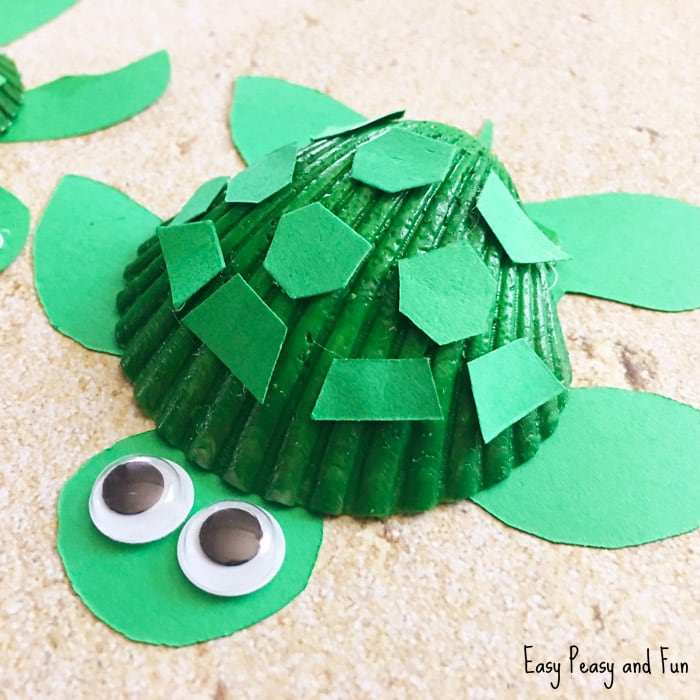
This googly-eyed turtle has the real seashell literally as its shell. Real seashell white cardstock is used for the rest. Use a template to cut out the legs, head, and tail.
Then arrange them over the table, glue the bottom edges of the shell and put the shell over to glue. Also glue small pieces fo cardstock for the seashell spots!
Suggestion #11: Mermaid Paper Bag Craft
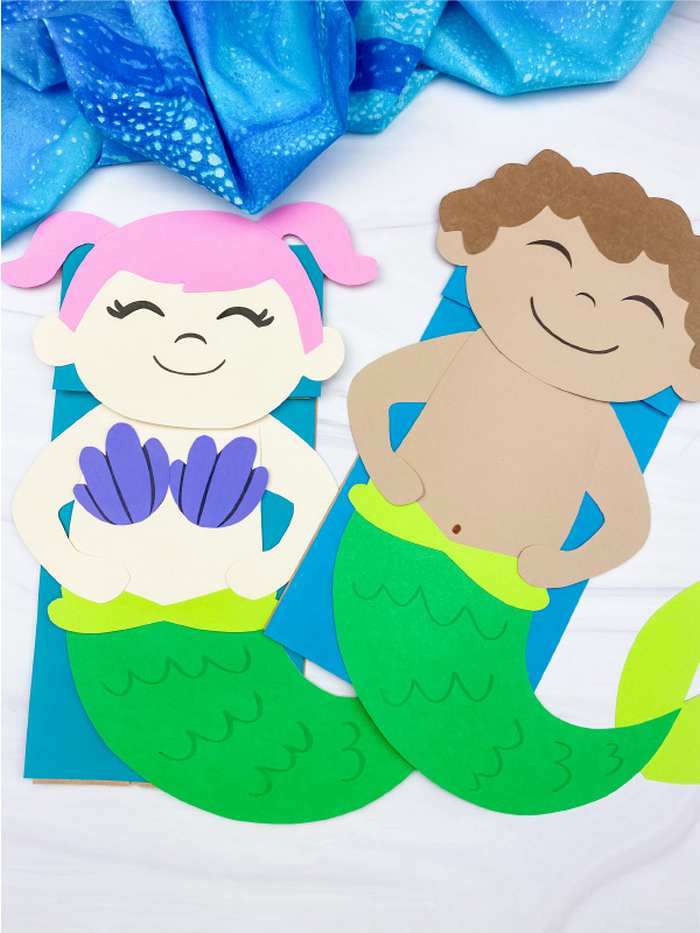
Bring a splash of magic to playtime with this colorful and easy-to-make mermaid puppet. It’s a wonderful activity for kids who love under-the-sea adventures and storytelling.
Using a paper bag, colored cardstock, glue, and a mermaid template, you will cut out the hair, tail, and fin pieces. Assemble the face on the bottom flap of the bag and layer the scales and tail onto the body, creating a fun, interactive puppet ready for a deep-sea performance.
Suggestion #12: Tie-Dye Sharpie Seashells
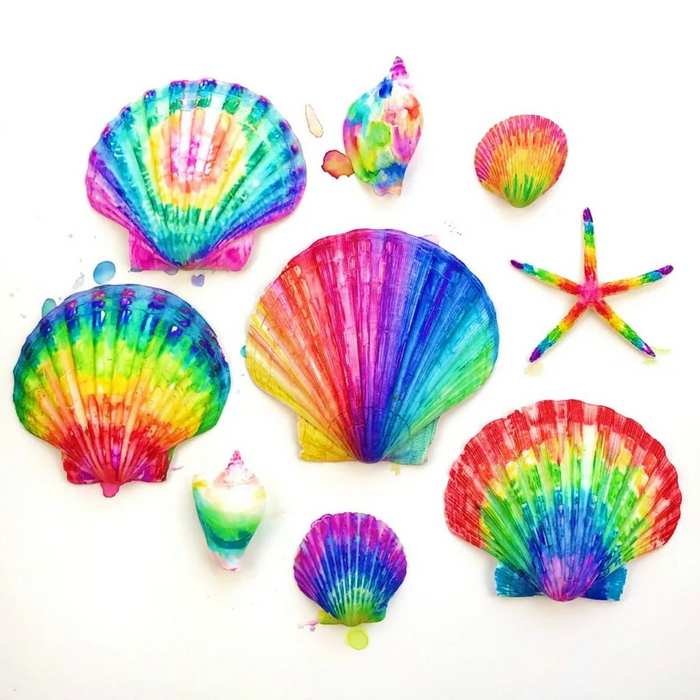
Create a beautiful coastal keepsake by turning ordinary shells into vibrant, tie-dye works of art. This project is a fun and simple way to mimic the look of watercolor using items you likely already have at home.
Using clean seashells, colorful permanent markers, and rubbing alcohol, you will scribble different colors directly onto the shell. Use a dropper or a small brush to add drops of alcohol over the ink, causing the colors to bleed and blend together into a stunning marbled effect.
Suggestion #13: Jellyfish Craft for Kids
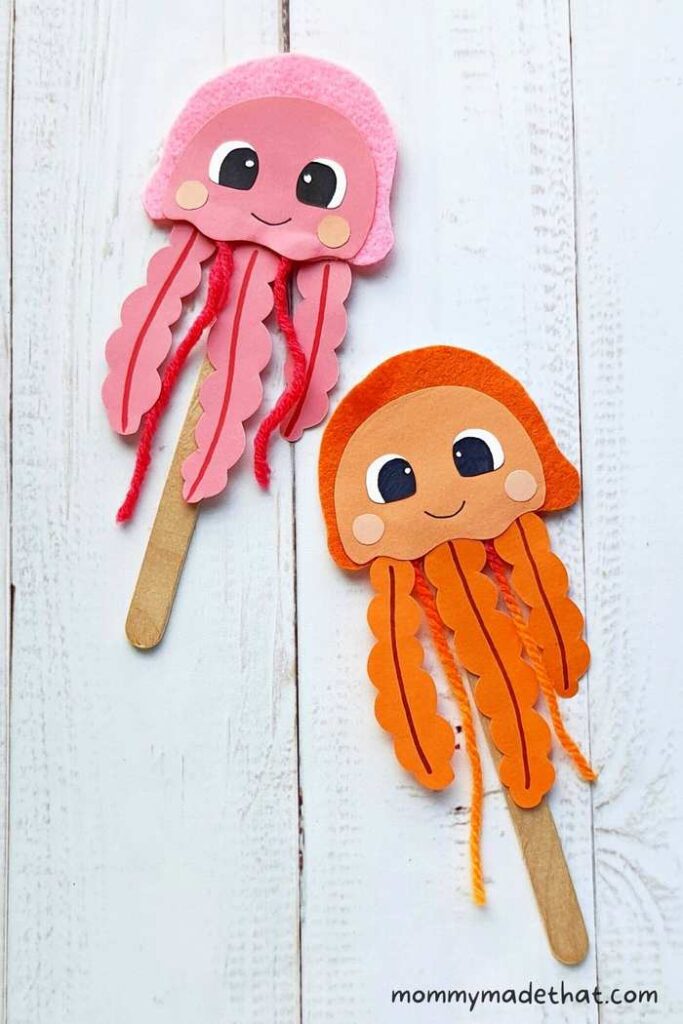
This project involves transforming a paper bowl into a floating sea creature using common craft supplies. It focuses on using textures and hanging elements to represent the movement of a jellyfish in water.
Using a paper bowl, acrylic paint, yarn or ribbon, and googly eyes, you will paint the bowl to serve as the jellyfish body. Punch small holes along the rim to tie on long strands of yarn for tentacles, then add a face to complete the underwater-themed project.

About "Talha"
Hey, I’m Talha, the Crafter on Craftstive.com. I love to share guides on folding cute origami models and paper crafts, and I am always ready to inspire your next craft project with my weekly craft discussions.