
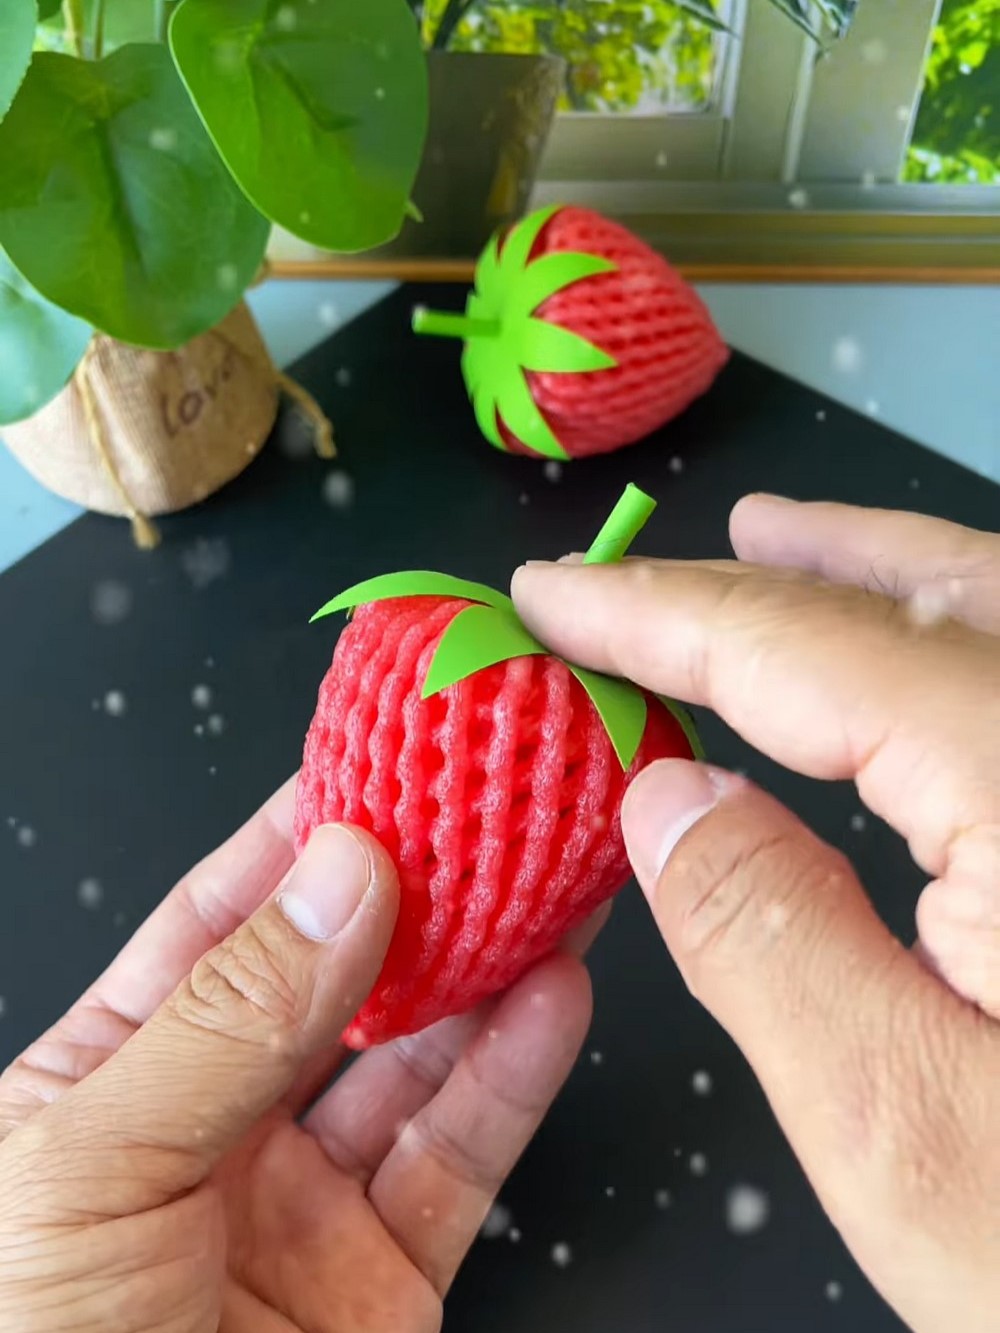
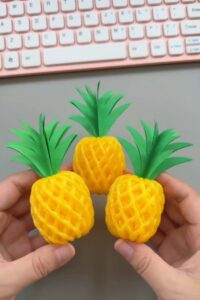
Last time, you learned how to make a miniature pineapple softie out of foaming fruit net. Now, if you have a leftover red or pink foaming net, don’t throw it away and learn how to make a small strawberry softie with these instructions.
This will be a life-like strawberry plush with the addition of a perfect paper crown and the stem. You can make it in less than 5 minutes. These are no-stuffing softies, as we shall use a part of the net as stuffing, but without cutting it. While there is some cutting involved, it is a no-skill strawberry softie, overall.
Kids can also help you make this upcycling craft in case you want to make a bundle of them. You can then sell them at summer craft fairs as keychains, bag charms, and kitchen decorations.
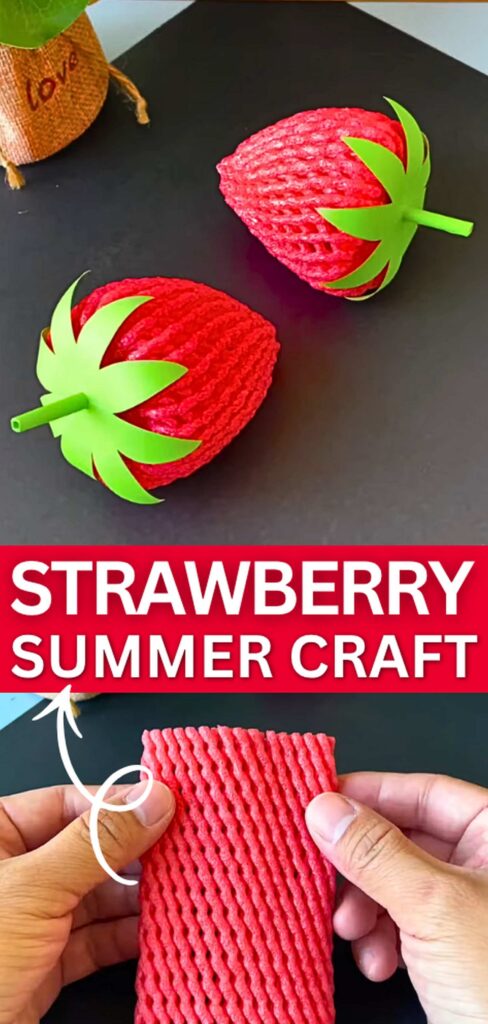
Difficulty: None for making the fruit net pineapple, and beginner level 0 for the origami strawberry leaves and tube.
Time: 10 Minutes
- 1 Red or deep pink foam fruit packaging net
- Thin string or strong thread (Used a rubber band, actually for demonstration)
- Scissors
- Double-sided tape
- Green paper or green tape
- A green plastic straw (or tightly rolled green paper)
- Green paper
- Scissors
Strawberry Out of Foam Net: Step-by-Step Instructions
Follow these step-by-step instructions to make a strawberry plushie:
Step 1: Prepare the Fruit Net
Start with a clean, foam net sleeve in red or pink. Flatten the net between your hands to be sure that the diamond mesh is even and free of any twisted sections or cuts.
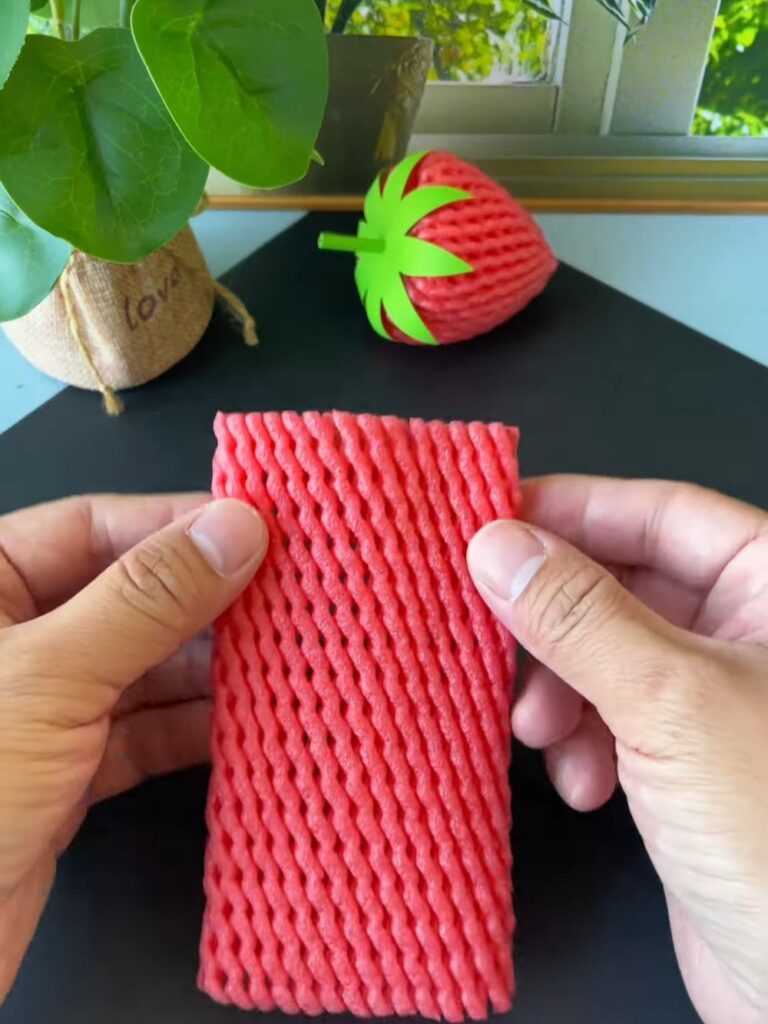
Also, be sure that the mesh is not used much, as the used one may have very wide openings in the mesh. Otherwise, use a different one!
Step 2: Gathering the Top Edge
Take one of the open ends of the tubular foam net. Using your fingers, scrunch and gather the rim of the opening into a tight bunch in the center.
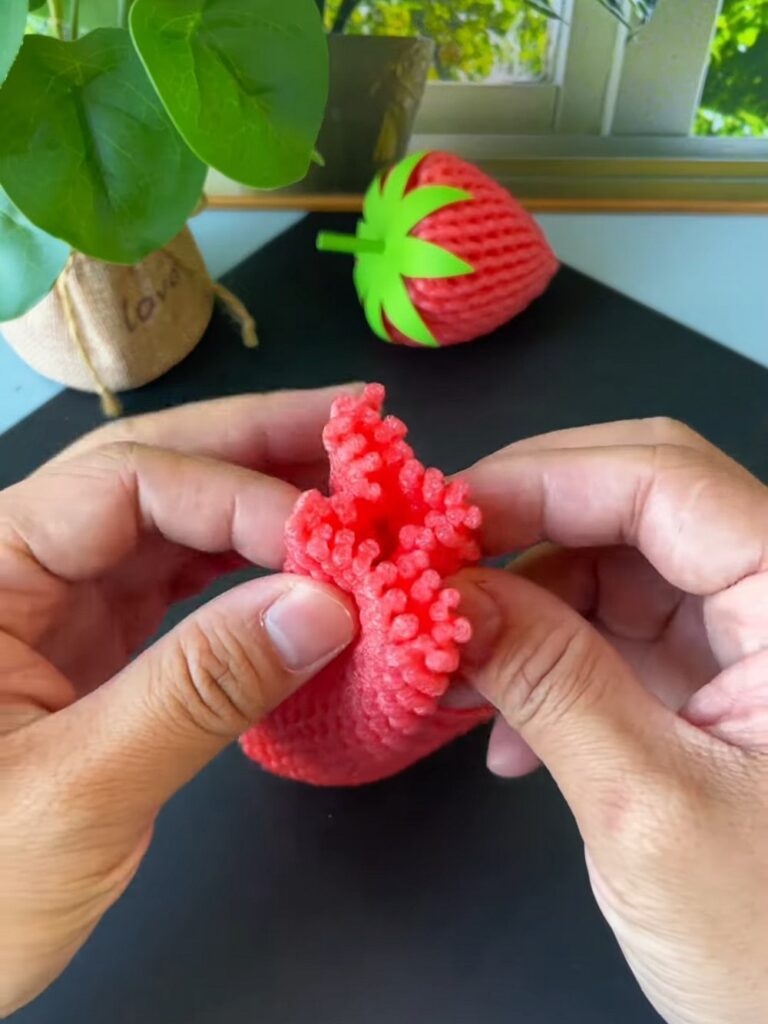
Step 3: Tying the Gathered End
Pinch the gathered foam tightly with one hand. With your other hand, take a piece of thin string or thread and wrap it around the bunched foam, tying a tight knot.
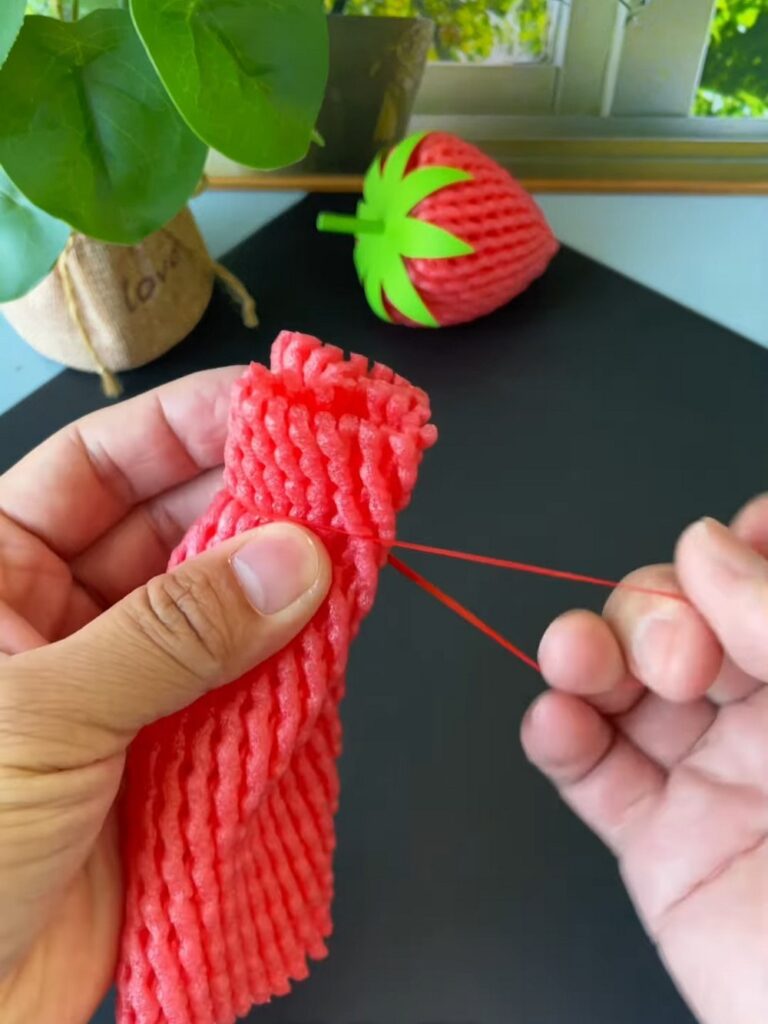
This end will be used as a stuffing for our strawberry. Use about 3 inches of the net.
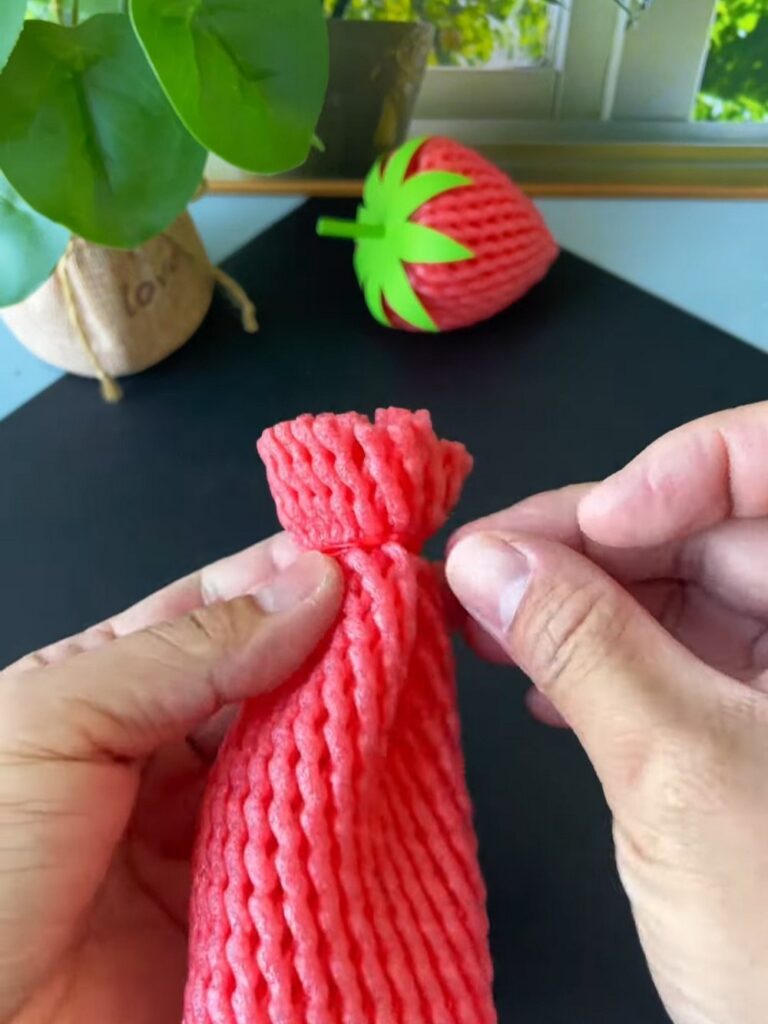
Step 4: Invert the Net
Push the tied knot inward, pushing it all the way down into the center of the net so that the tube turns inside out. By hiding the knot inside, the top of the net now forms a smooth, plump, and seamless shape of the strawberry.
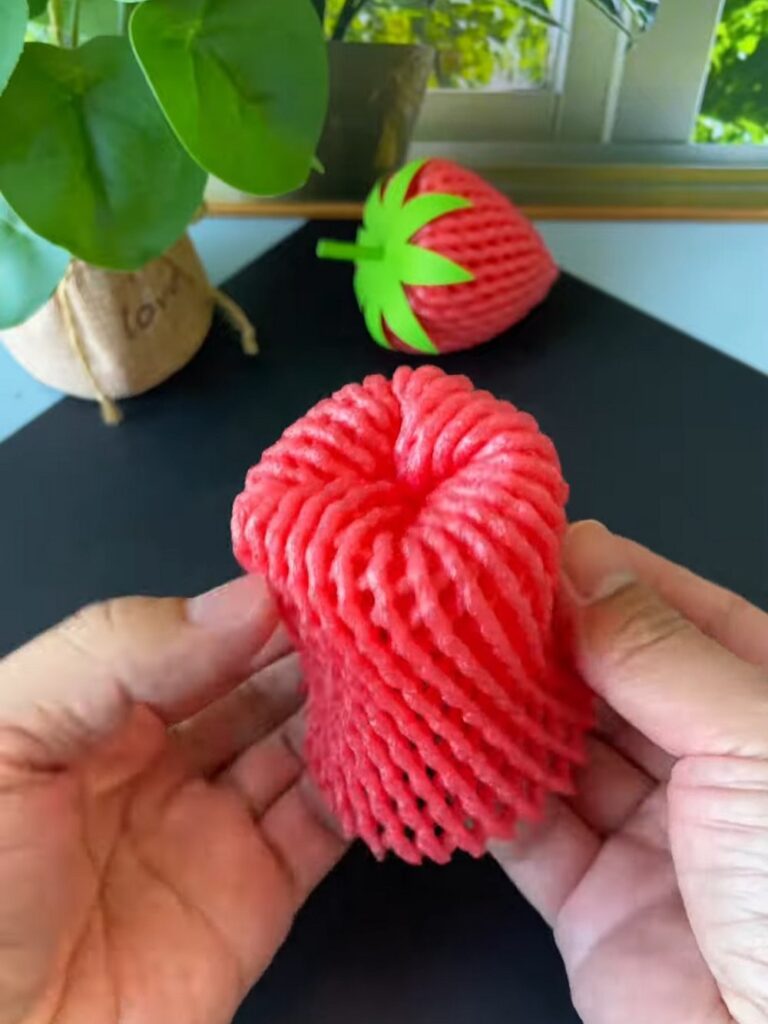
Step 5: Trimming
From the bottom, cut triangle sections all along. You will be left with the zig-zag spikes all around, which will let you easily taper the bottom to make a life-like strawberry shape.
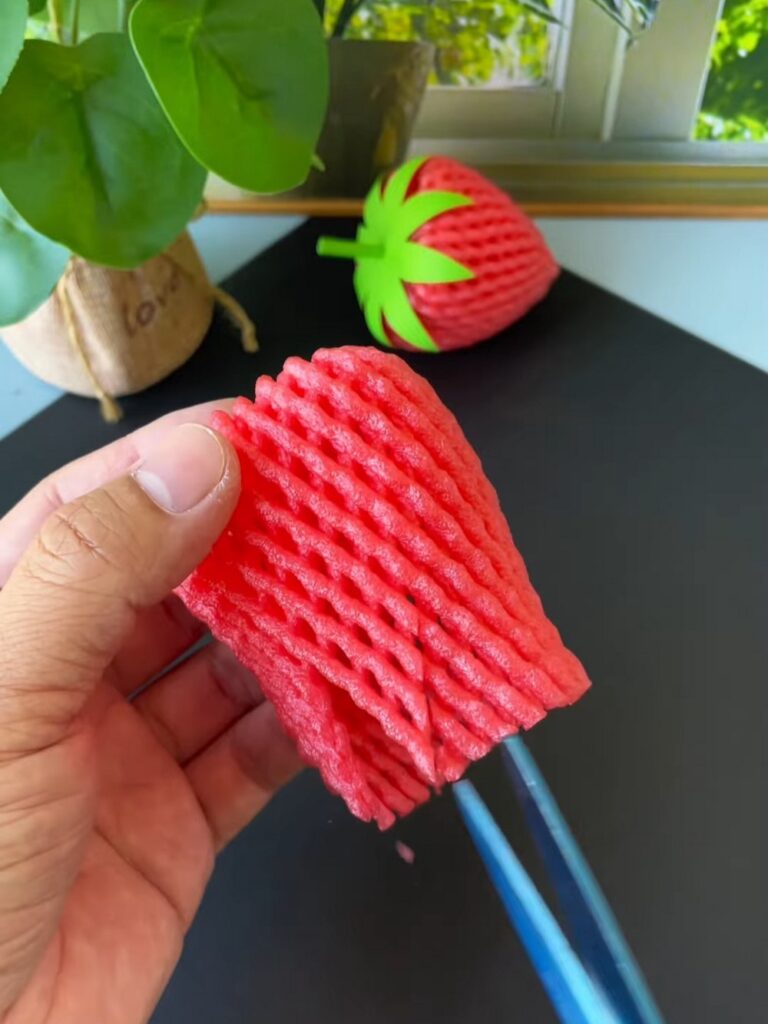
Step 6: Sealing
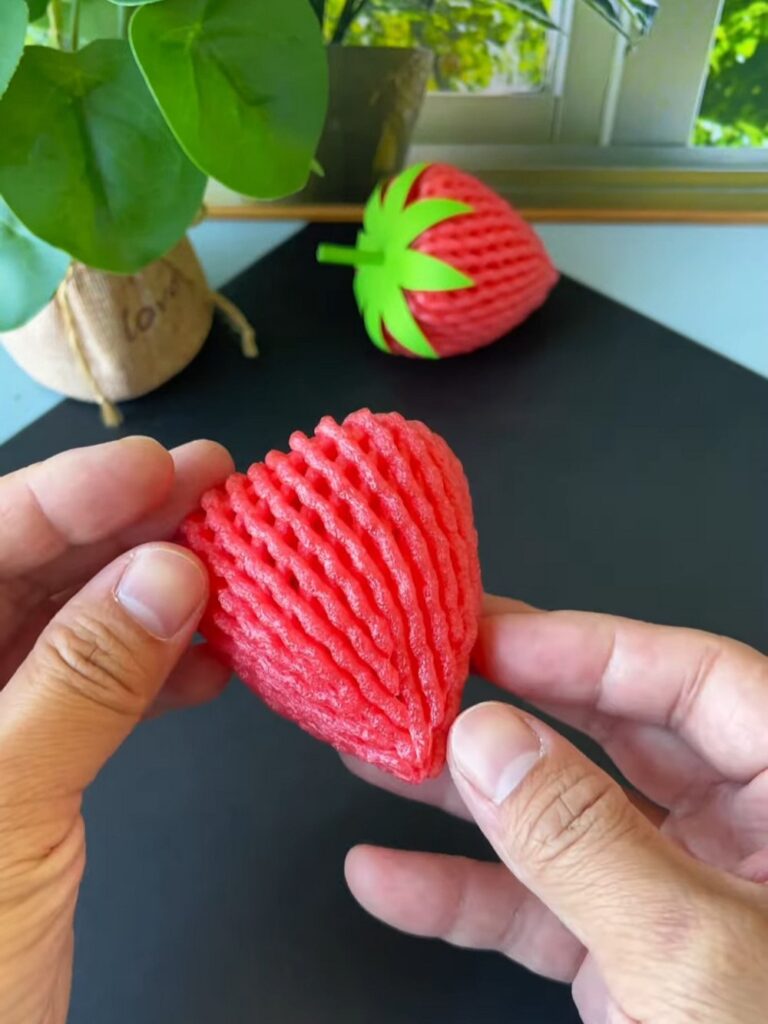
Join the edges of each V using white glue or transparent glue. You have to repeat this for all of the Vs till the bottom is closed completely, making a tip at the bottom.
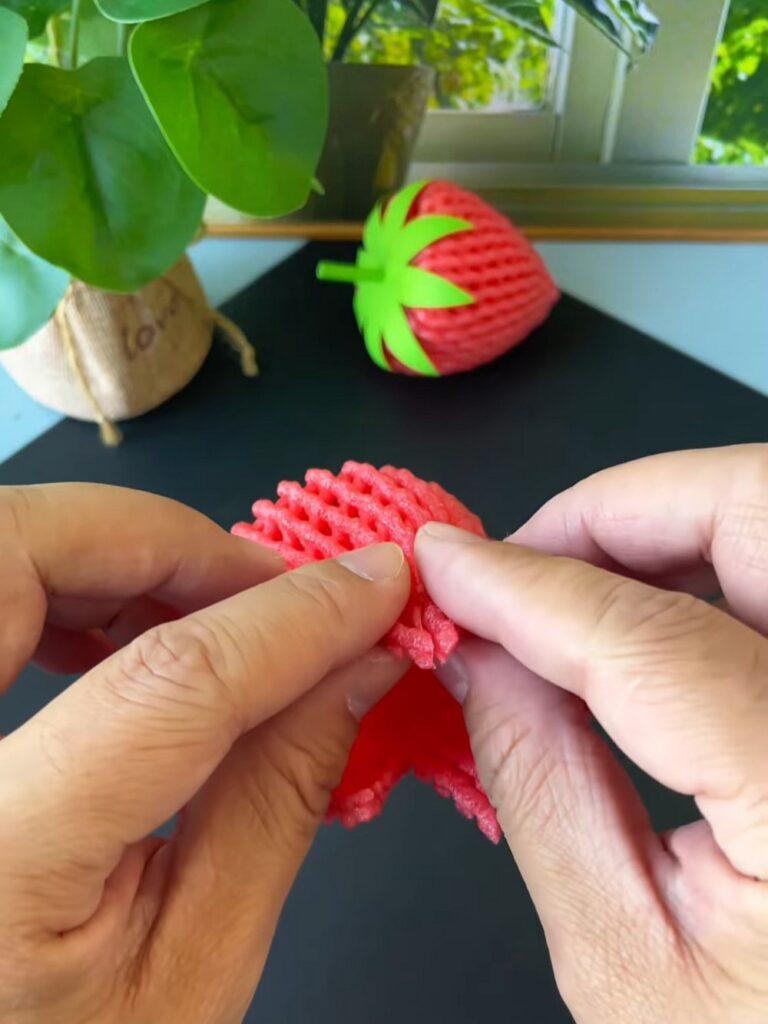
To finish the project, take a green plastic straw (or a thin stick wrapped in green paper) to use as the stem. Or follow the next step!
Step 7: Folding the Leaf Square
Fold a small green square in half diagonally to make a triangle, then fold it again to create a smaller triangle.
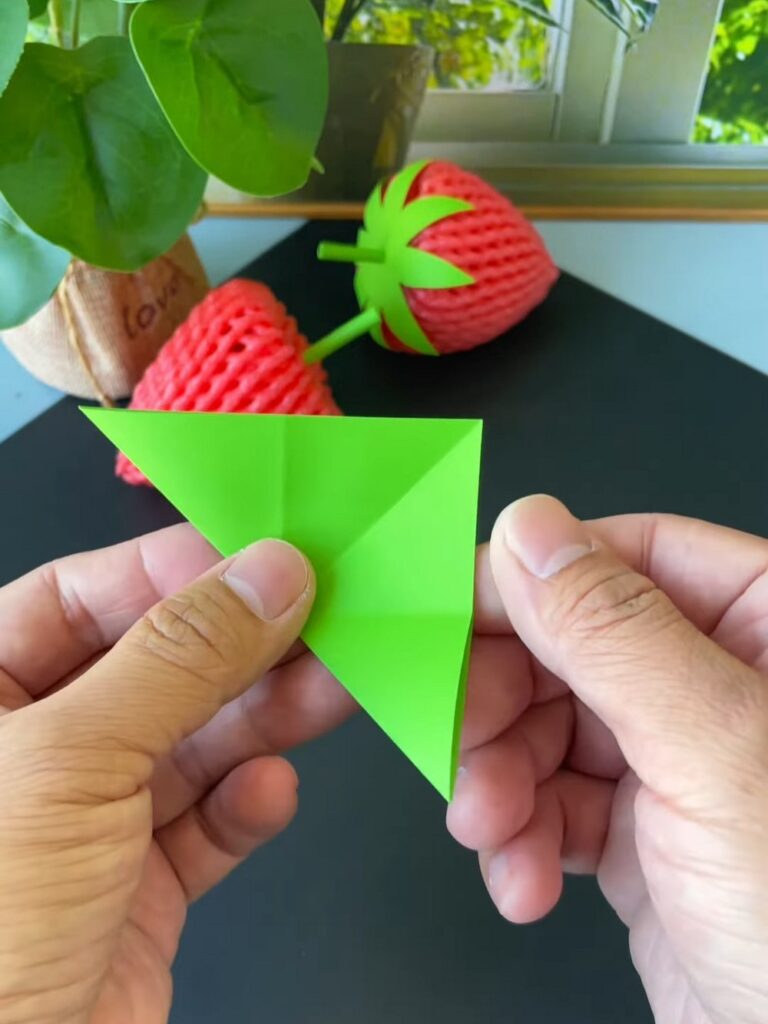
This layered pattern will let you cut all the leaves at once.
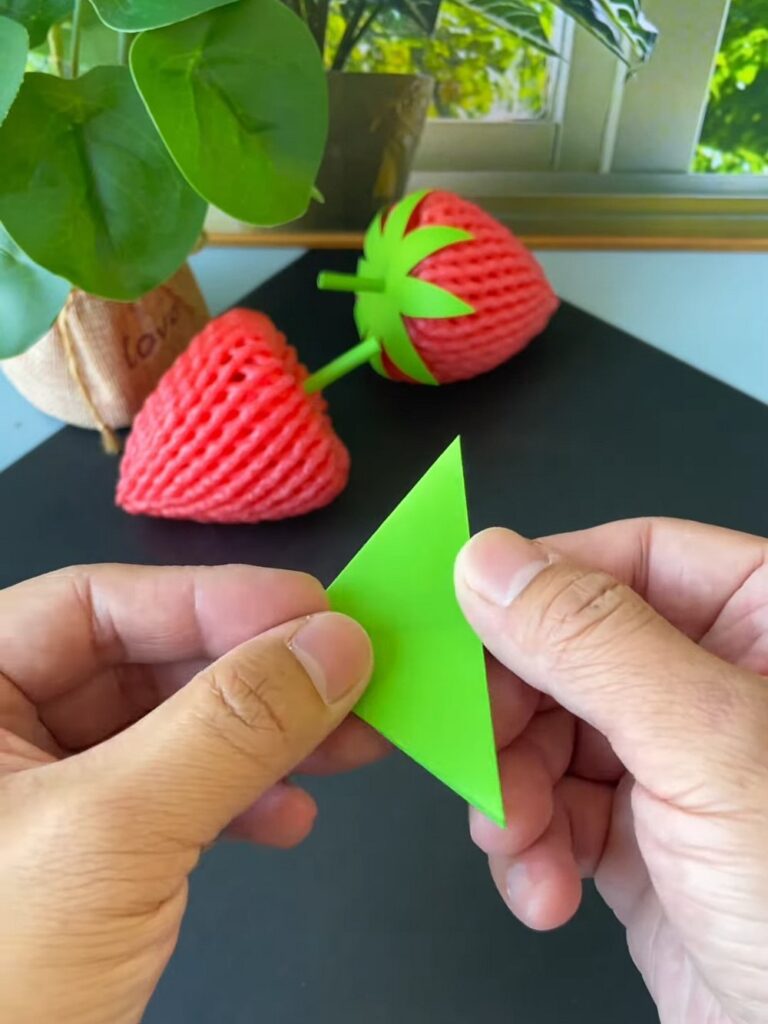
Step 8: Cutting the Leaf Points
While the paper is folded, use your scissors to cut a curved leaf shape from the open edges toward the folded center.
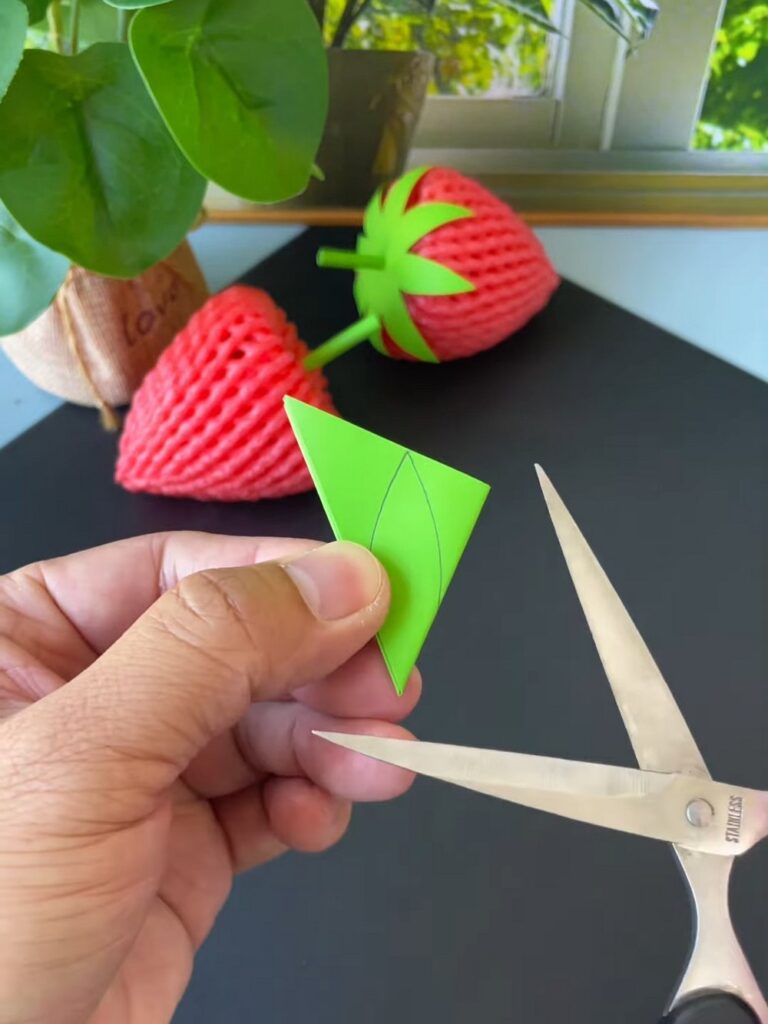
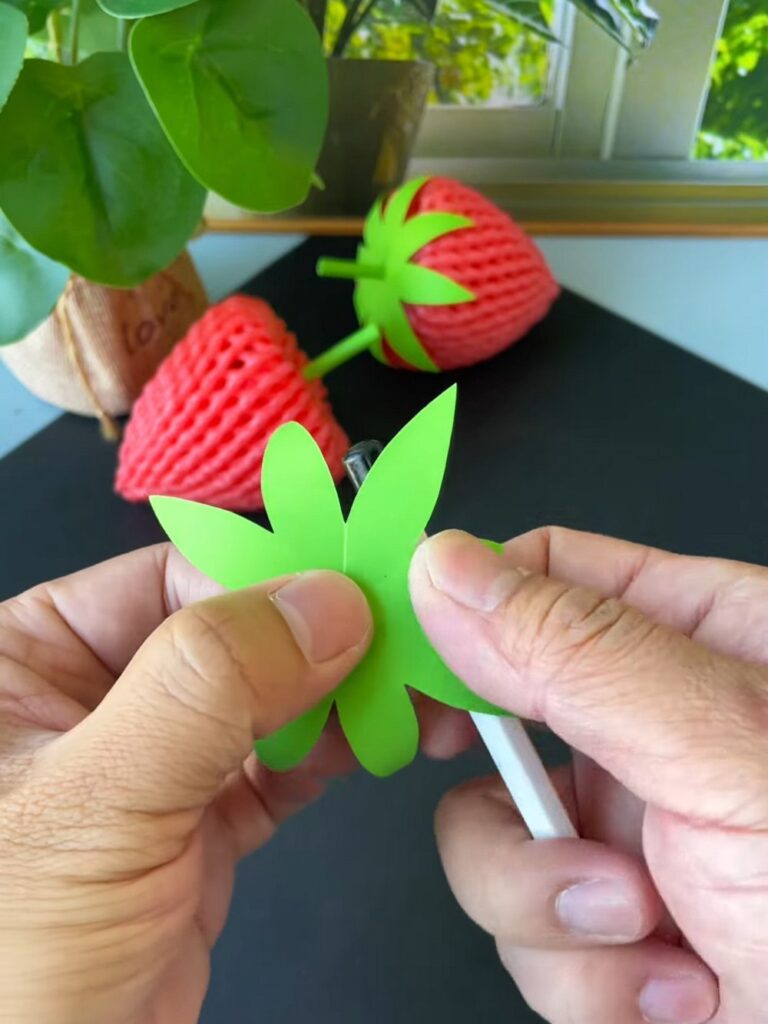
When you unfold the paper, you will have a “crown” with many pointed leaves.
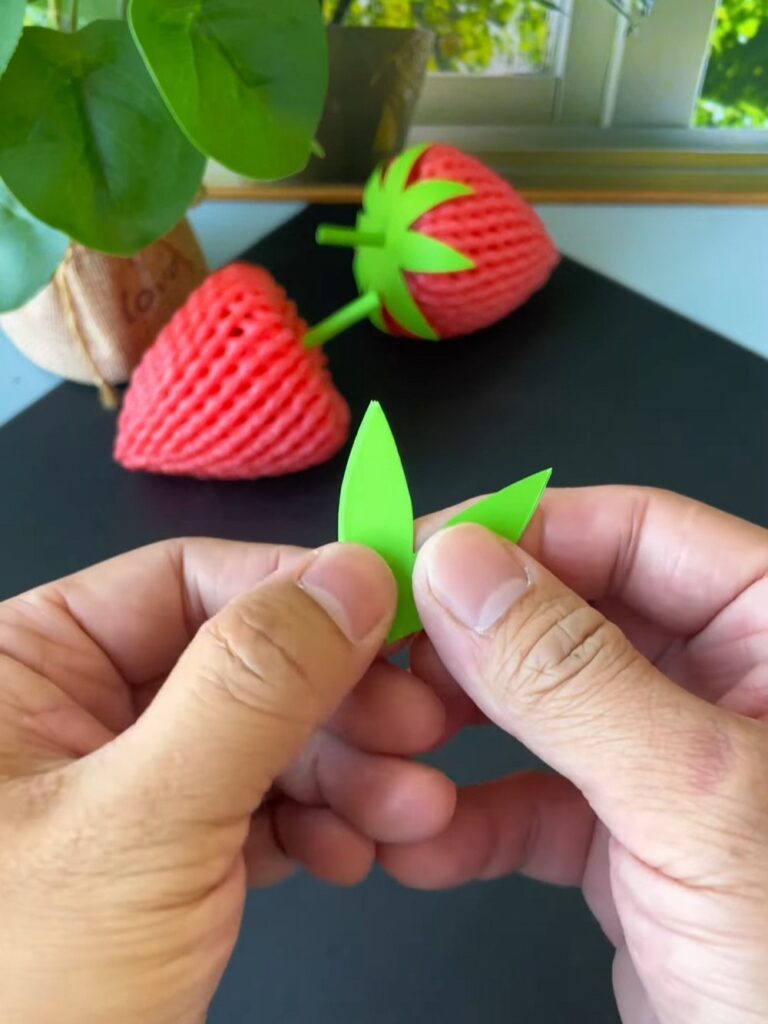
Step 9: Creating the Center Hole
With the leaf crown still folded (or by carefully poking through the center when flat), snip a very tiny hole or a small “X” in the dead center of the star.
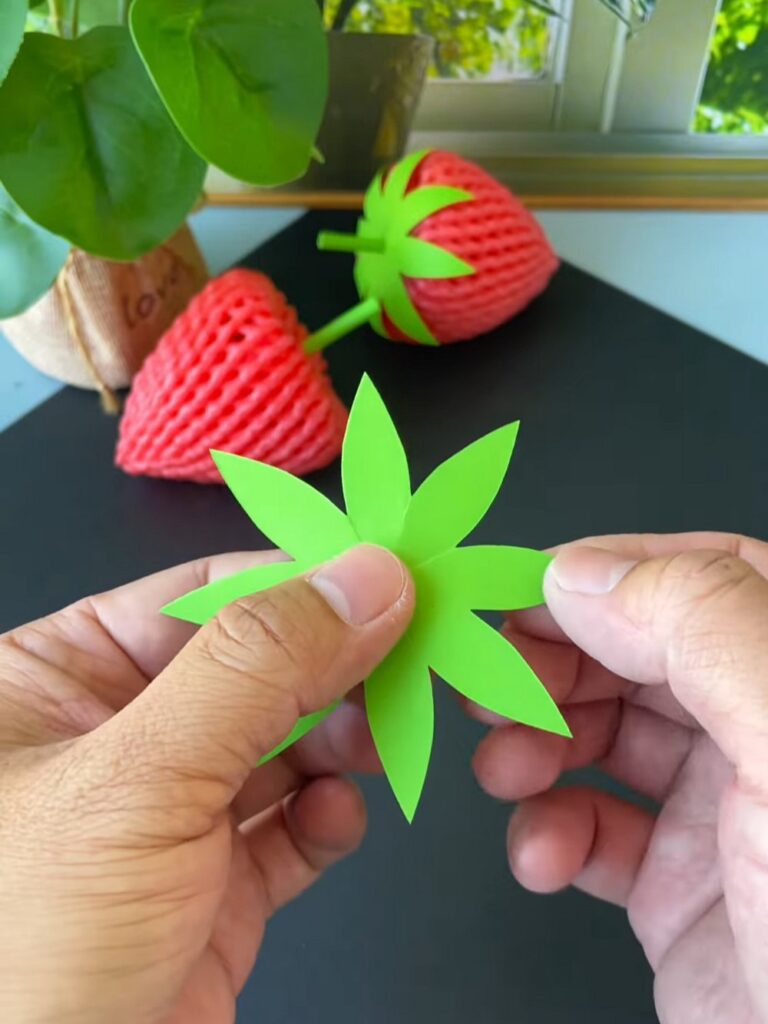
This is where the stem will be inserted.
Step 10: Preparing the Stem
Take your green plastic straw. If it is too long, trim it down to about 2-3 inches. Insert this in the strawberry-knotted part. You can also fold a green sheet around a skewer and make a tube by yourself. This is what was done in the demonstration.
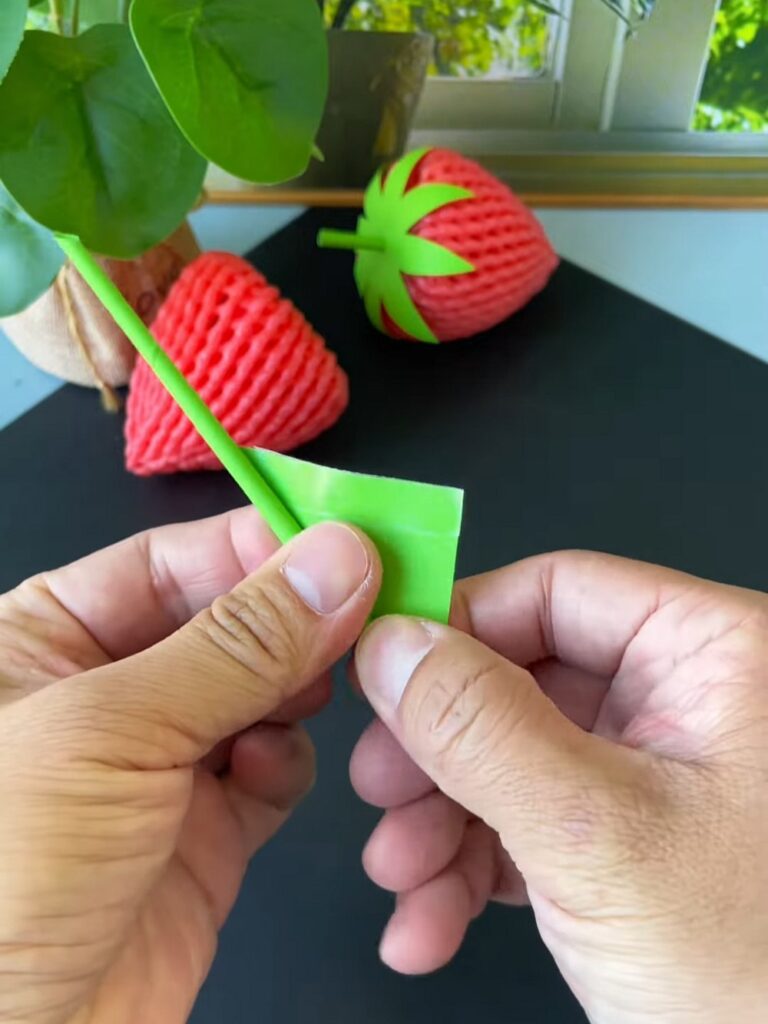
Step 11: Attaching the Leaf Cap
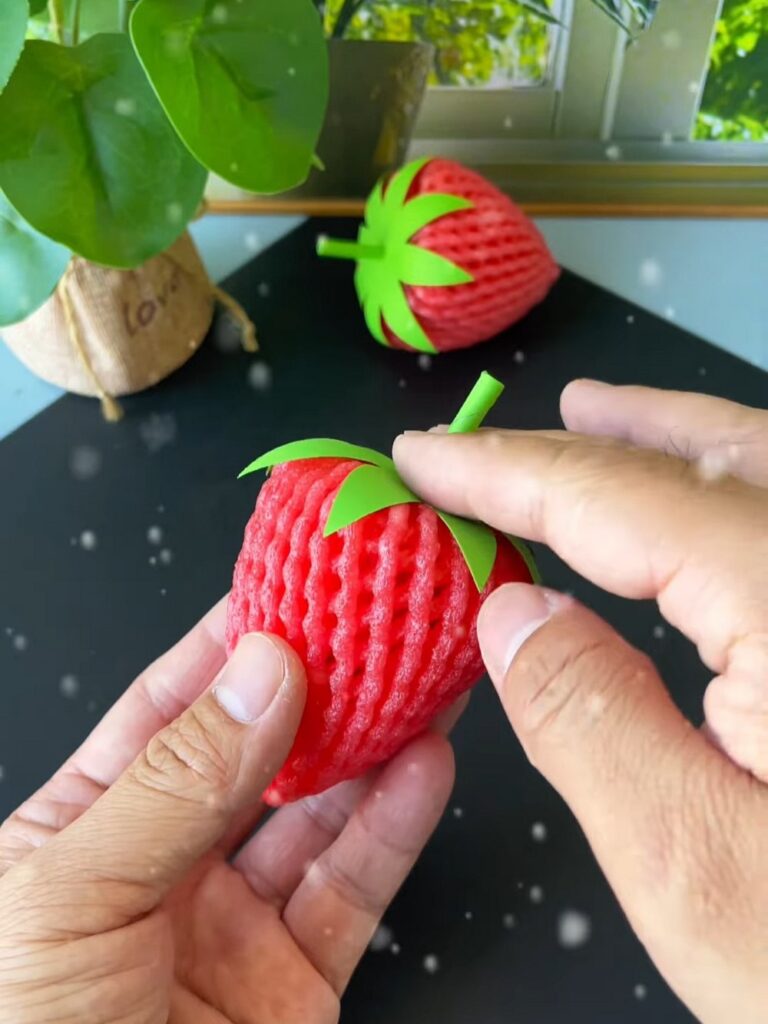
Slide the green paper leaf crown onto the straw, starting from the top and moving down until it sits with the glue applied.
Feels Difficult?
Step 12: Shaping the Leaves
To make the paper look more like real foliage, use a pencil to curl the tips of the leaves upward or downward.
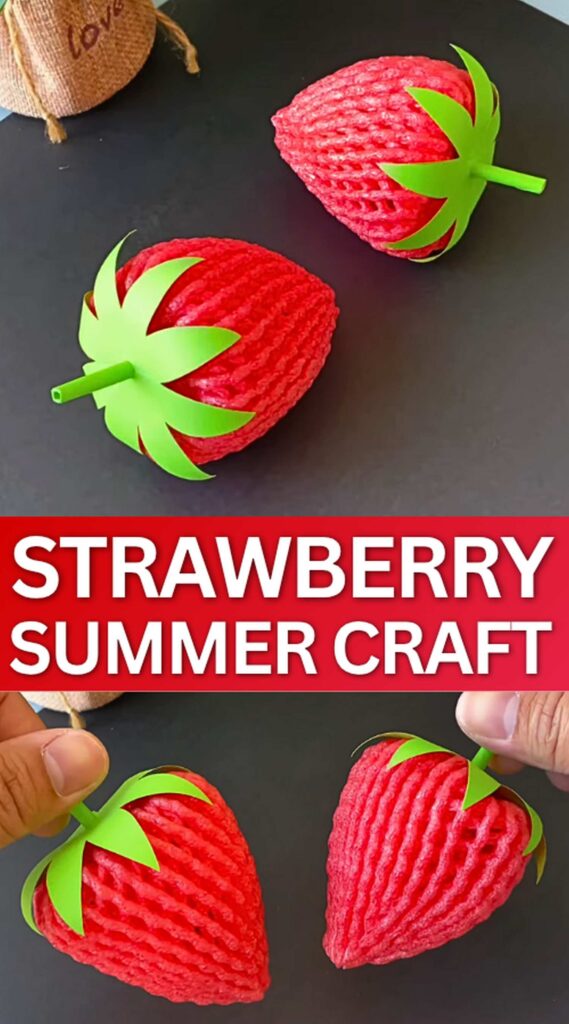
And that’s it! This way, you can make a cute, life-like strawberry softie.
Was this Tutorial Helpful? Tell us in the Comments.
Your feedback is a great way for us to improve the tutorials. Did you find the tutorial helpful? Be sure to subscribe to the creator’s channel!