
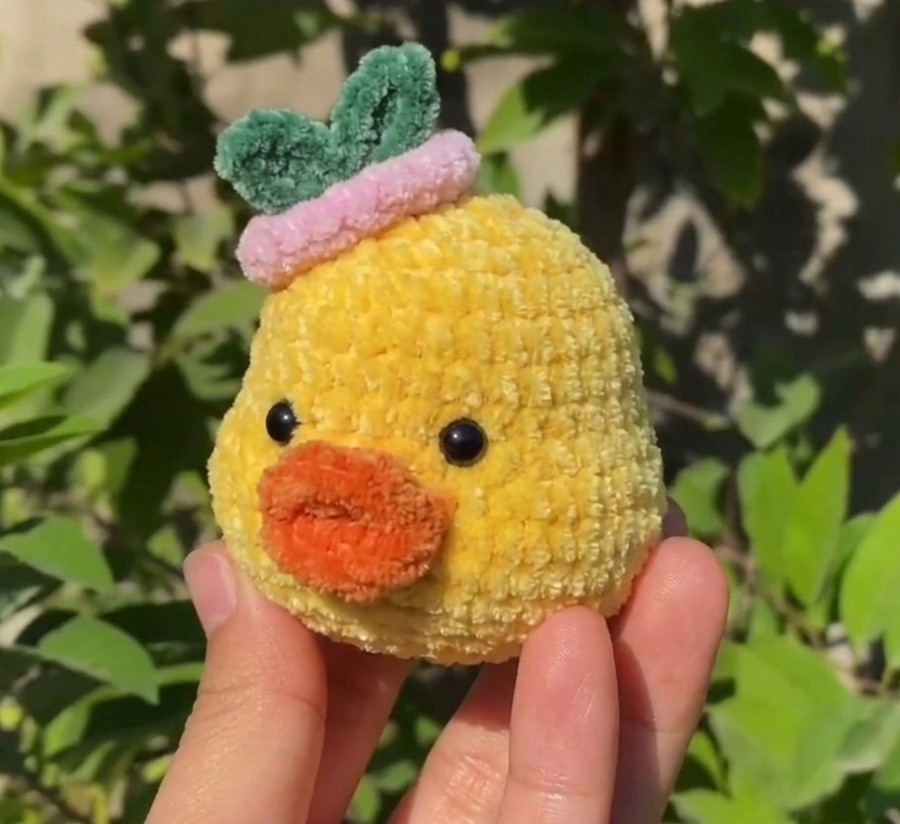
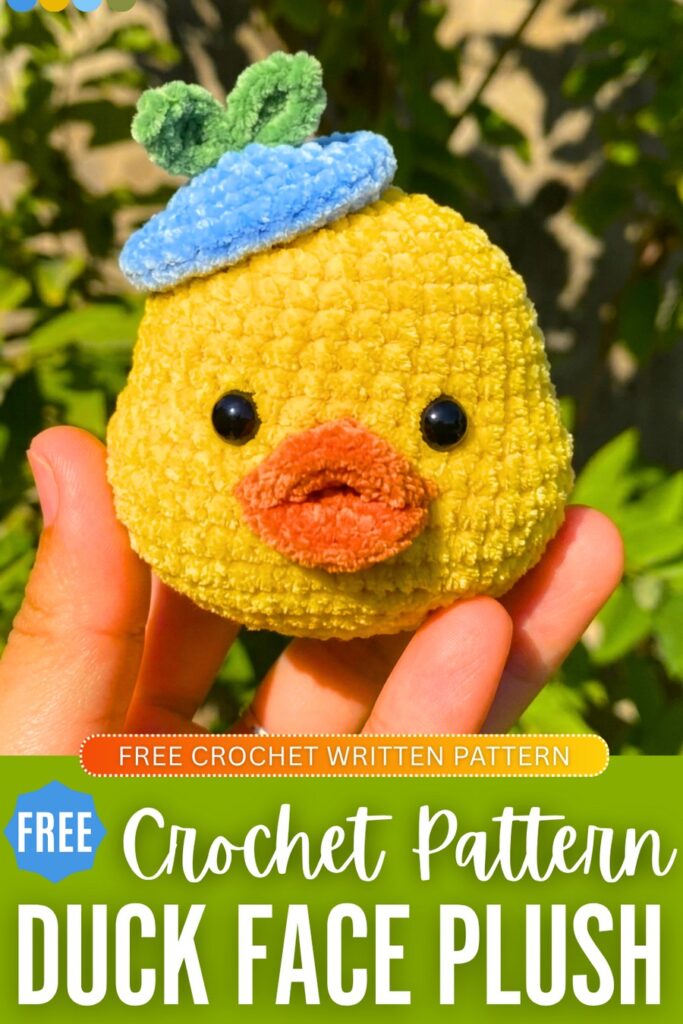
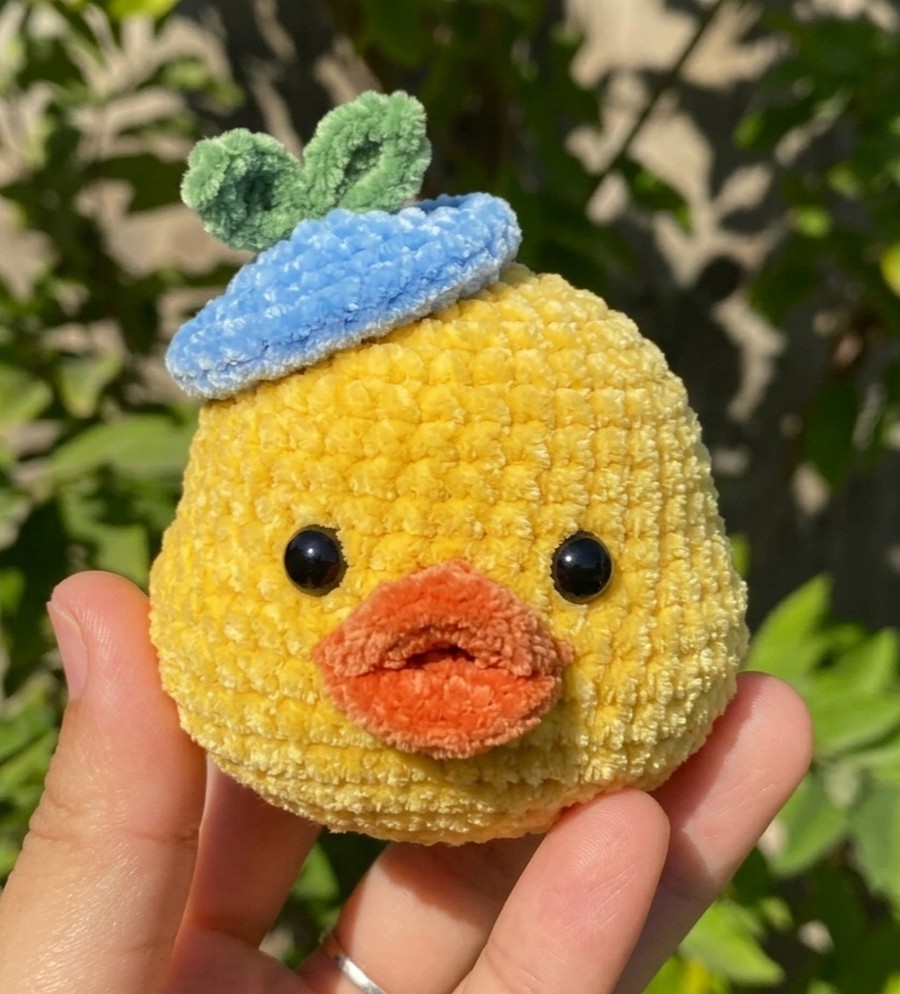
Welcome back to another crochet duck plushie pattern. This time, we will crochet a REALLY cute amigurumi duck face plush wearing a blueberry hat on one side. Since it is just the face of a duck plushie, you can attach a keyring to it by making a small loop and use it as a bag charm for your beach tote bag. Even with the amigurumi yarn, you will end up with a big duck faec plush. It is just so soft and squishy that you can use it as a stress toy.
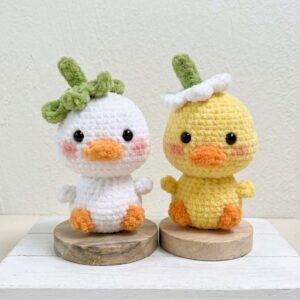
You will also learn many clever things to crochet amigurumi parts, such as the beak out of a crochet circle. Similarly, a bucket hat is created by working in the FLO of the crochet stitch. You can also extend the pattern to crochet the full doll, just like the flower duck plushie. Now, continue reading for the full pattern.
Did you see the following plushie pattern or miss it?
Crochet Duck Head Plushie: Round-by-Round
Here is the complete crochet pattern for the duck head amigurumi plush wearing a summer hat. It is a low-sew plushie, but we will crochet it in many parts:
Materials Needed
- Yarn: 2mm thick plush yarn in Yellow (head), Orange (beak), Light Blue or Pink (hat), and Green (leaf)
- Hook: 2.5mm
- Eyes: 6mm safety circle eyes
- Stuffing: Fiberfill
- Pins: Sewing pins for placement
- Stitch Marker
- Tapestry Needle
- Scissors
Abbreviations Key (US Terms)
- MR – Magic Ring / Magic Circle
- CH – Chain
- ST(S) – Stitch(es)
- SC – Single Crochet
- INC – Increase: 2 sc in one st
- DEC – Decrease: 2 sc together
- HDC – Half Double Crochet
- DC – Double Crochet
- FLO – Front Loop Only
- SL ST – Slip Stitch
- ( … ) * X – Repeat the instructions in brackets the given number of times
Pattern Instructions
Head – Yellow Yarn
Note: Stuff the head firmly as you work, particularly before closing the final rounds.
- R1: MR, 6 sc
- R2: 6 inc
- R3: (sc, inc) * 6
- R4: (sc, inc, sc) * 6
- R5: (3 sc, inc) * 6
- R6: 30 sc
- R7: (2 sc, inc, 2 sc) * 6
- R8 – R11: 36 sc
- R12: 10 sc, 5 inc, 6 sc, 5 inc, 10 sc
- R13: 10 sc, (sc, inc) * 5, 6 sc, (sc, inc) * 5, 10 sc
- R14 – R16: 56 sc
- R17: 10 sc, (sc, dec) * 5, 6 sc, (sc, dec) * 5, 10 sc
- R18: 10 sc, 5 dec, 6 sc, 5 dec, 10 sc
- R19: (2 sc, dec, 2 sc) * 6
- R20: (3 sc, dec) * 6
- R21: (sc, dec, sc) * 6
- R22: (sc, dec) * 6
- R23: 6 dec
- Fasten off, weave the yarn tail through the front loops of the remaining stitches, and pull tight to close the hole.
Beak – Orange Yarn
- R1: MR, 6 sc
- R2: 6 inc
- R3: 6 inc
- Fasten off, leaving a long tail for sewing.
Hat – Light Blue or Pink Yarn
- R1: MR, 6 sc
- R2: 6 inc
- R3: (sc, inc) * 6
- R4: 18 sc
- R5: FLO (2 sc, inc) * 6
- R6: 24 sc
- Fasten off, leaving a long tail for sewing.
Leaf – Green Yarn
- All in MR: (5 ch, skip 1 ch, sl st, sc, hdc, dc, sl st in MR) * 2
- Fasten off, tighten the magic ring, and leave a tail for sewing.
Assembly Instructions
- Beak Preparation: Take the flat circle you created for the beak and fold it completely in half to create a semi-circle (like a taco shape). Then pinch from the sides a bit and glue inside in this position.
- Eye Placement: Insert the 6mm safety eyes between R10 and R13 of the head. Leave an appropriate gap between them to fit the beak (about 5-6 stitches apart).
- Attaching the Beak: Position the folded beak centered between the eyes, resting between R11 and R15 of the head. Sew it securely to the face using the long orange yarn tail.
- Hat Assembly: Sew the green leaf directly to the top center of the hat.
- Final Polish: Pin the hat to the top of the duck’s head, slightly off-center for a cute tilted look, and sew it down securely. Hide all remaining yarn tails inside the head.

About "Talha"
Hey, I’m Talha, the Crafter on Craftstive.com. I love to share guides on folding cute origami models and paper crafts, and I am always ready to inspire your next craft project with my weekly craft discussions.