
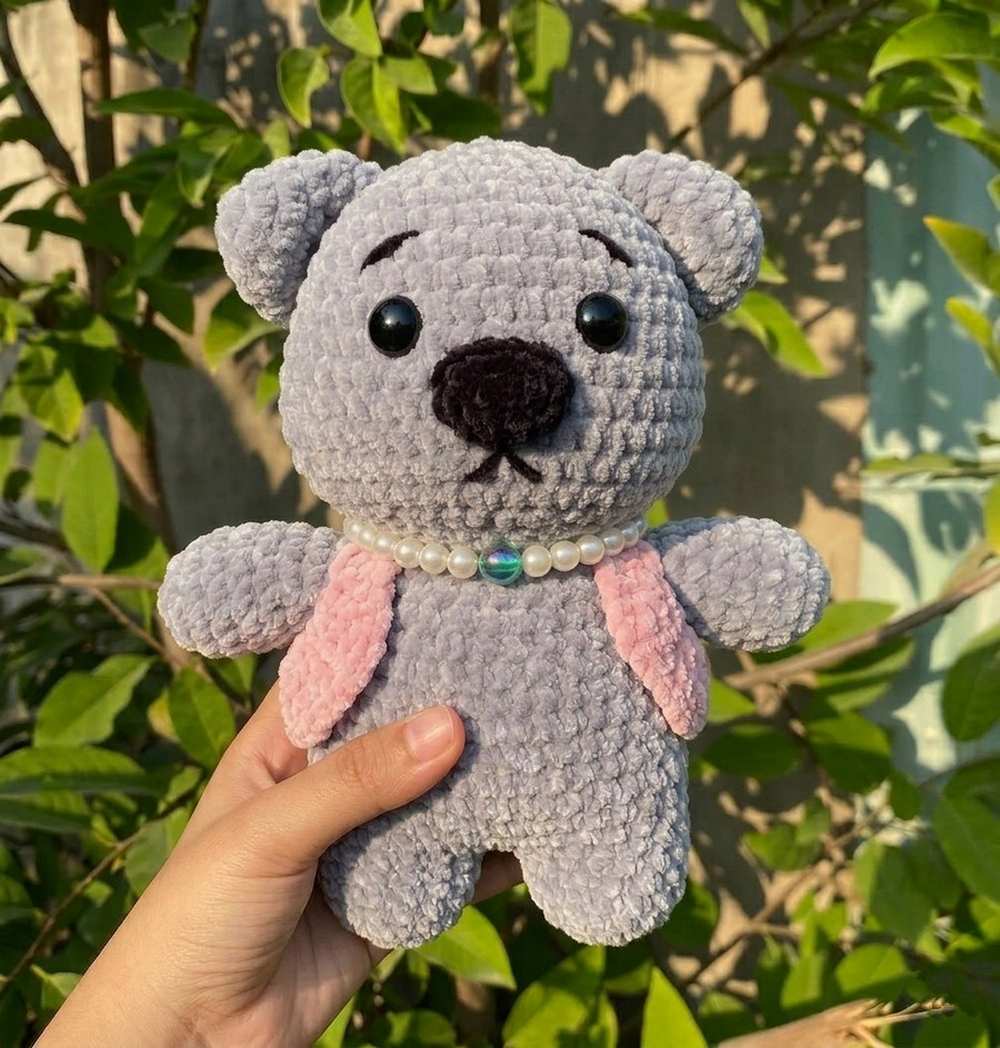
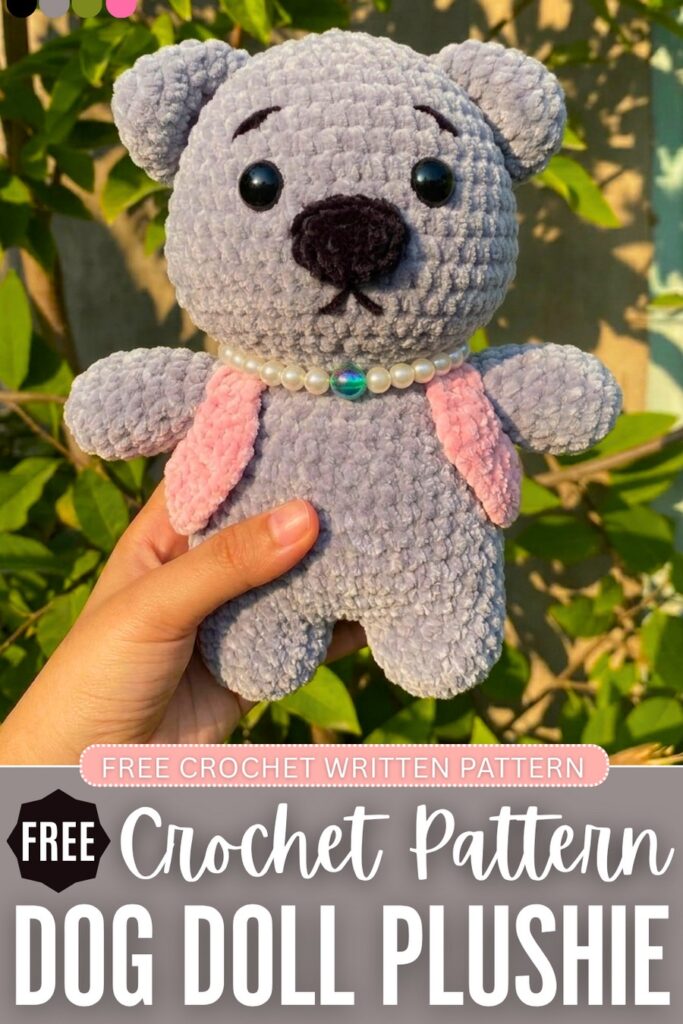
Let’s crochet a CUTE dog doll plushie wearing a pearl garland and a vest with this pattern. It is named a luxury dog plushie as our puppy is rich. It is a low-sew pattern with crocheting the body and the head as a single piece, and the accessories and arms separately. The little pink vest is removable. You can also crochet it in brown, other than the grey.
With the amigurumi yarn, you will end up with a plushie small enough to be used as a bag charm. I love especially the floppy ears, the embroidered mouth, and the crocheted nose.
All these small details make it look SO CUTE. Now, continue reading for the full crochet luxury dog doll plush. The body pattern is similar to the crochet bunny doll plush, and you can also turn it into a girl version by crocheting a little bow.
Crochet Rich and Luxury Dog Plush: Round-by-Round Pattern
Below is the pattern to crochet this big dog doll plushie with the assembly in the end:
Materials Needed
-
Yarn: Plush yarn (Gray for the body, Black for the nose, Pink for the vest)
-
Crochet Hook: 5mm crochet hook
-
Safety Eyes: 10 mm
-
Pearls for Garland: 18 pieces of 6mm pearls, 1 piece of 8mm pearl
-
Other Supplies: Fiberfill stuffing, stitch markers, pins, tapestry needle, and scissors
Abbreviations (US Terms)
-
MR: Magic Ring (Vòng tròn ma thuật)
-
CH: Chain (Mũi bính)
-
SC: Single crochet (Mũi đơn – X)
-
HDC: Half double crochet (Mũi nửa kép – T)
-
INC: Increase, 2 sc in one stitch (Tăng mũi – V)
-
DEC: Decrease, 2 sc crocheted together (Giảm mũi – A)
-
W (3 SC IN 1 ST): 3 single crochets in the same stitch
-
SK: Skip stitch (Bỏ qua, không móc)
-
ST(S): Stitch(es) (Mũi)
-
( )*N: Repeat instructions inside the parentheses the given number of times
-
[ ]: Total number of stitches worked into the same stitch or at the end of the round
Written Pattern
Head (Đầu)
-
R1: MR, 7 sc (7)
-
R2: 7 inc (14)
-
R3: (sc, inc) * 7 (21)
-
R4: (sc, inc, sc) * 7 (28)
-
R5: 28 sc (28)
-
R6: (3 sc, inc) * 7 (35)
-
R7 – R10: 35 sc (35 for 4 rounds)
-
R11: (2 sc, inc, 2 sc) * 7 (42)
-
R12: 10 sc, 5 inc, 12 sc, 5 inc, 10 sc (52)
-
R13 – R15: 52 sc (52 for 3 rounds)
-
R16: (2 sc, dec) * 13 (39)
-
R17: (sc, dec) * 13 (26)
-
R18: (2 sc, dec) * 6, 2 sc (20)
-
Fasten off and stuff the head firmly, shaping the cheeks where the increases were made in R12.
Legs and Body (Chân và cơ thể)
Leg Base (Make 2)
-
R1: MR, 6 sc (6)
-
R2: 6 inc (12)
-
R3: (sc, inc) * 6 (18)
-
R4: 18 sc (18)
-
For Leg 1: Cut the yarn and fasten off.
-
For Leg 2: Do NOT cut the yarn. You will continue to join the legs.
Body (Joining the Legs)
-
R5: Join Leg 2 to Leg 1 directly. Crochet 18 sc around Leg 1, then 18 sc around Leg 2. (36)
-
R6 – R14: 36 sc (36 for 9 rounds)
-
R15: (2 sc, dec, 2 sc) * 6 (30)
-
R16: (3 sc, dec) * 6 (24)
-
R17: (sc, dec, sc) * 6 (18)
-
Fasten off, leaving a long tail for sewing the body to the head. Stuff the legs and body firmly.
Arms (Tay) – Make 2
-
R1: MR, 6 sc (6)
-
R2: 6 inc (12)
-
R3 – R7: 12 sc (12 for 5 rounds)
-
R8: 6 dec (6)
-
Fasten off, leaving a long tail for sewing. Lightly stuff the lower part of the arms.
Ears (Tai) – Make 2
-
R1: MR, 8 sc (8)
-
R2: (sc, inc) * 4 (12)
-
R3 – R4: 12 sc (12 for 2 rounds)
-
R5: (sc, dec) * 4 (8)
-
R6 – R7: 8 sc (8 for 2 rounds)
-
Fasten off, leaving a long tail for sewing. Do not stuff the ears.
Nose (Mũi)
-
Use Black yarn.
-
R1: ch 4, start in 2nd ch from hook: 2 sc, 3 sc in the last ch (W). Continue on the other side of the chain: sc, inc (8)
-
R2: 8 sc (8)
-
Fasten off, leaving a long tail for sewing.
Vest (Áo vest)
-
Use Pink yarn.
-
R1: ch 26, skip the first ch, 25 hdc (25)
-
R2: ch 2, turn your work. 3 hdc, ch 5, skip 5 stitches (armhole), 9 hdc, ch 5, skip 5 stitches (armhole), 3 hdc
-
R3 – R4: ch 2, turn your work. 25 hdc (25 for 2 rows)
-
Fasten off and weave in the ends.
Assembly Instructions
-
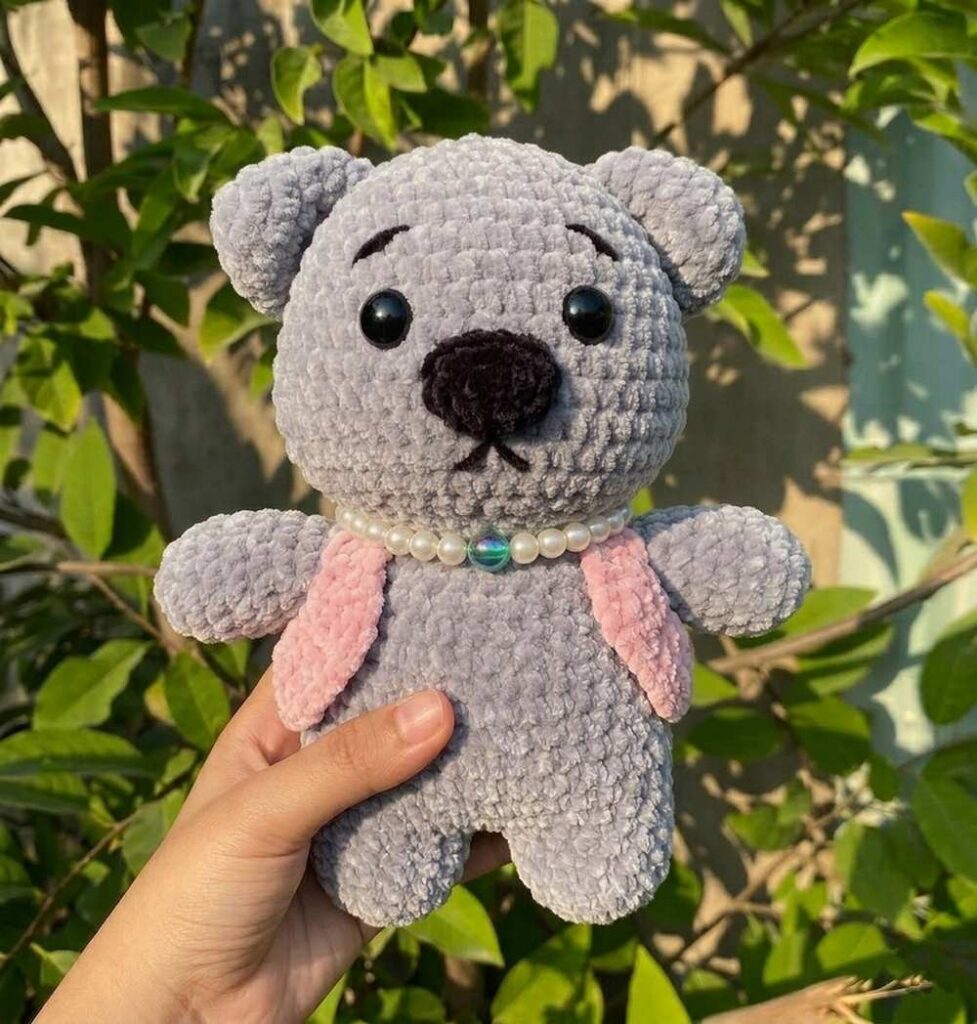
Eyes Placement: Insert the 6mm safety eyes between R8 and R11 of the head.
-
Nose Attachment: Sew the black nose symmetrically to the front of the face between R10 and R14. Use black thread to embroider a small mouth line pointing downward from the nose.
-
Ears Placement: Sew the flattened ears to the sides of the head between R4 and R5.
-
Body to Head: Sew the fully stuffed head directly to the opening of the body.
-
Arms Attachment: Sew the arms securely to the sides of the body, just below the neck seam.
-
Accessories: Put the vest on the dog. String the 18 small (6mm) pearls and the 1 large (8mm) pearl onto a secure thread to create a pearl collar, and tie it around the dog’s neck. Add small eyebrow details above the eyes using black embroidery thread if desired.

About "Talha"
Hey, I’m Talha, the Crafter on Craftstive.com. I love to share guides on folding cute origami models and paper crafts, and I am always ready to inspire your next craft project with my weekly craft discussions.