
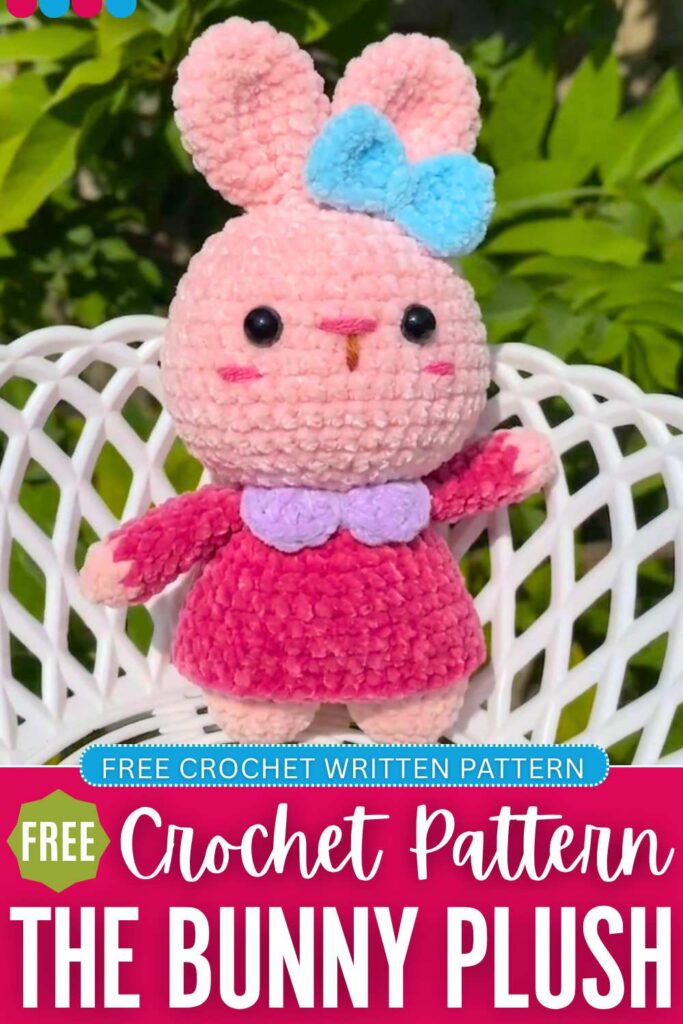
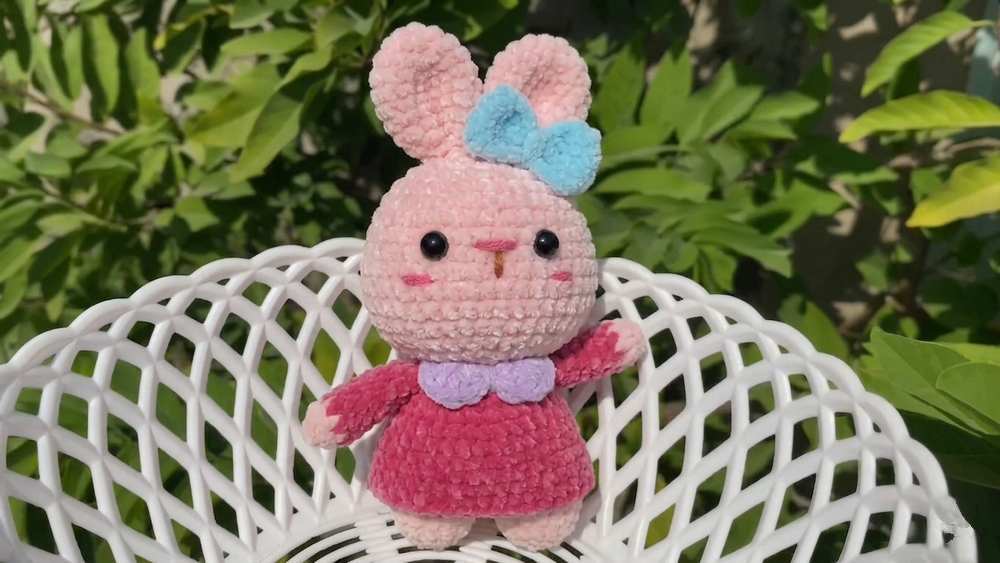
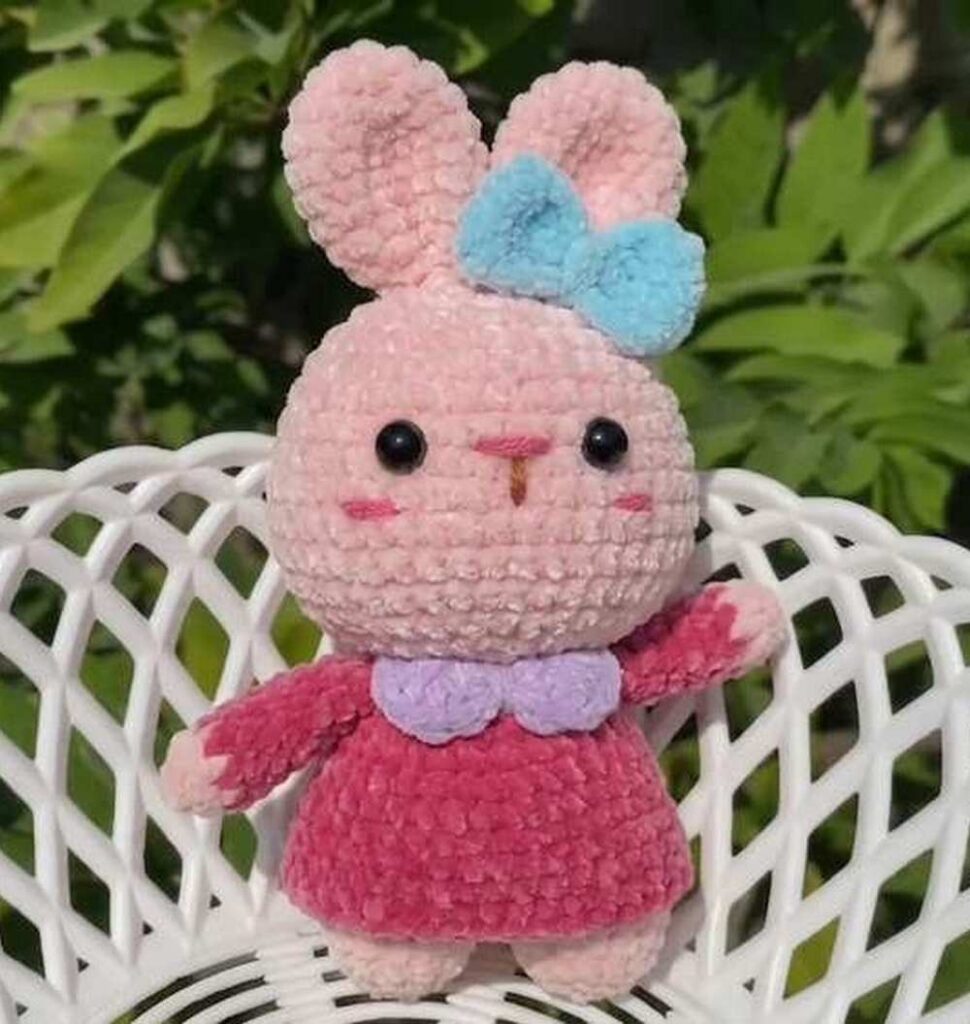
Learn how to crochet this little bunny doll plush as a present for a baby girl with a free pattern. This is a dressed bunny girl plush finished with a crochet collar, bow, and a beautiful dress. You can crochet it using the chenille yarn, and she won’t resist but to snuggle it the whole day. We shall try the purple, hot pink, and blue combo for the dress; you can also crochet the removable dress in red.
To make it quick, the idea is to crochet the arms by changing the color as we go. This way, you won’t have to crochet the sleeves. Also, it is a low-sew plushie just like the crochet baby pig and the duck plushie. Now, continue reading for the complete pattern to crochet this rabbit doll for kids.
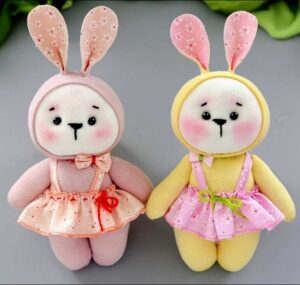
Crochet Dressed Bunny Duck Plush: Round-by-Round Pattern
Below is the pattern to crochet this girl bunny doll plushie with the assembly in the end:
Abbreviations Used
- MR: Magic Ring
- sc: Single crochet
- inc: Increase (2 sc in the same stitch)
- dec: Decrease (sc 2 stitches together)
- ch: Chain
- slst: Slip stitch
- hdc: Half double crochet
- dc: Double crochet
- tr: Treble crochet
- BLO: Back loop only
- FLO: Front loop only
- [ … ]: Work stitches enclosed in brackets into the same stitch
Materials Needed
- Yarn: Chenile yarn (Hot pink, white, purple)
- Hook: 5mm crochet hook
- Eyes: 8 mm safety eyes
- Stuffing: Fiberfill
- Pins: Stitch markers
- Needle: Tapestry needle / kim khâu len
- Scissors
Head (Đầu)
- R1: MR, 6 sc (6)
- R2: 6 inc (12)
- R3: (sc, inc) * 6 (18)
- R4: (2 sc, inc) * 6 (24)
- R5: (3 sc, inc) * 6 (30)
- R6: (2 sc, inc, 2 sc) * 6 (36)
- R7: (5 sc, inc) * 6 (42)
- R8-R10: 42 sc (42)
- R11: 11 sc, 6 inc, 8 sc, 6 inc, 11 sc (54)
- R12-R16: 54 sc (54)
- R17: 11 sc, 6 dec, 8 sc, 6 dec, 11 sc (42)
- R18: 42 sc (42)
- R19: (5 sc, dec) * 6 (36)
- R20: (2 sc, dec, 2 sc) * 6 (30)
- R21: (3 sc, dec) * 6 (24)
- R22: (sc, dec, sc) * 6 (18)
Ears (Tai) – Make 2
- R1: MR, 6 sc (6)
- R2: 6 in (12)
- R3: (sc, inc) * 6 (18)
- R4-R6: 18 sc (18)
- R7: (sc, dec) * 6 (12)
- R8-R9: 12 sc (12)
Legs (Chân) – Make 2
- R1: MR, 6 sc (6)
- R2: 6 inc (12)
- R3: 12 sc (12)
- R4: (sc, inc) * 6 (18)
- R5: 18 sc (18)
Note: Fasten off the first leg. When finishing the second leg, do not cut the yarn. You will continue directly into the body.
Body (Thân)
Continue from the second leg:
- R6: 18 sc (on leg 1) + 18 sc (on leg 2) (36)
- R7-R10: 36 sc (36)
- R11: (4 sc, dec) * 6 (30)
- R12-R13: 30 sc (30)
- R14: (3 sc, dec) * 6 (24)
- R15-R16: 24 sc (24)
- R17: BLO (2 sc, dec) * 6 (18)
Dress (Váy)
Attach yarn to the front loops left unworked from R17 of the body:
- R1: FLO 24 sc (24)
- R2: (3 sc, inc) * 6 (30)
- R3: 30 sc (30)
- R4: (4 sc, inc) * 6 (36)
- R5-R6: 36 sc (36)
- R7: (5 sc, inc) * 6 (42)
- R8-R10: 42 sc (42)
Hands (Tay) – Make 2
- R1: MR, 7 sc (7)
- R2: 7 sc (7)
- Change to another color
- R3-R9: 7 sc (7)
Collar (Cổ áo)
- Row 1: 21 ch, skip 2 ch, 2 dc, 5 hdc, [dc, tr], [tr, dc, 2 ch], slst, [2 ch, dc, tr], [tr, dc], 5 hdc, 2 dc, 2 ch, slst.
Bow Tie (Nơ)
- R1: 14 ch, skip 1, 13 sc (13)
- R2-R6: 13 sc (13)
Assembly
1. Head and Body
- Stuff both the body and the head firmly with polyester fiberfill.
- Align the 18 stitches of the head’s open bottom with the 18 stitches of the body’s neck opening.
- Use the long tail from the head to sew the two pieces together securely, adding a bit more stuffing just before closing the gap to prevent the head from wobbling.
2. Arms
- Cut a piece of craft wire slightly longer than the width of the body and both arms combined.
- Push the wire straight through the upper body (around Round 16 of the body, just under the neck).
- Slide the crocheted arms onto the exposed ends of the wire.
- Sew the open top of each arm securely to the sides of the body.
3. Face Details
- Place the safety eyes between Rounds 12 and 13 of the head, leaving about 6 to 7 stitches between them. (If you did not use safety eyes with plastic backings during the crochet process, you can glue or sew on flat button eyes now).
- Thread a needle with brown or gold embroidery floss and stitch a small “Y” shape for the nose perfectly centered between the eyes.
- Thread a needle with pink embroidery floss and stitch a small horizontal line under each eye to create blush.
4. Ears
- Pinch the bottom opening of each ear flat and sew it shut.
- Pin the ears to the top of the head, spacing them evenly apart (around Rounds 3 to 5 of the head).
- Sew them firmly in place.
- Using dark pink yarn, embroider a straight line down the center of each ear to act as the inner ear detail.
5. Accessories
- Collar: Wrap the finished pink collar piece around the rabbit’s neck and sew the ends together at the back.
- Bow Tie: Fold your purple crocheted rectangle in half and sew the ends together. Wrap a long strand of purple yarn tightly around the center multiple times to cinch it into a bow shape. Tie it off and sew the finished bow securely to the front base of one ear.

About "Talha"
Hey, I’m Talha, the Crafter on Craftstive.com. I love to share guides on folding cute origami models and paper crafts, and I am always ready to inspire your next craft project with my weekly craft discussions.