
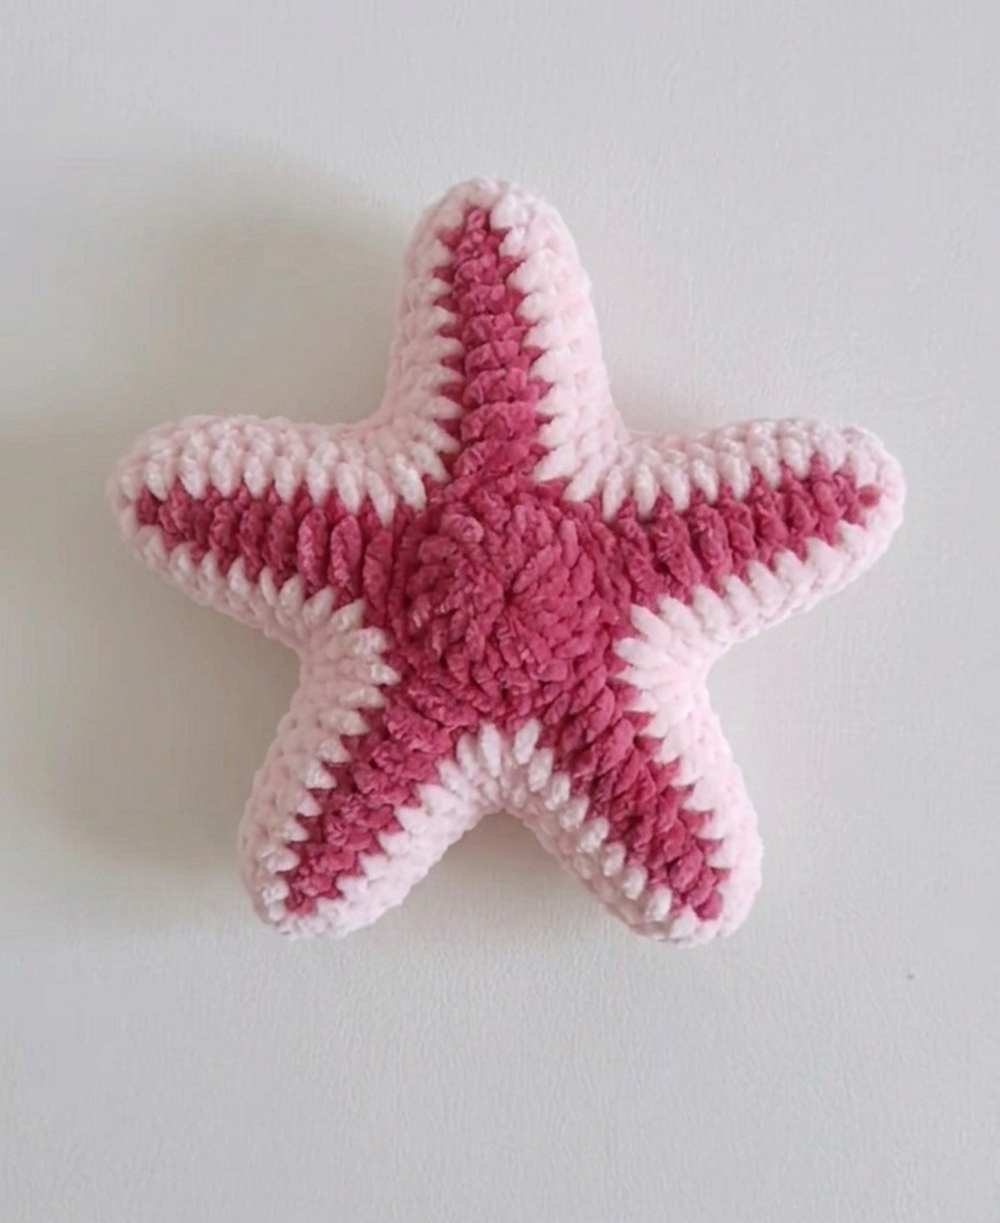
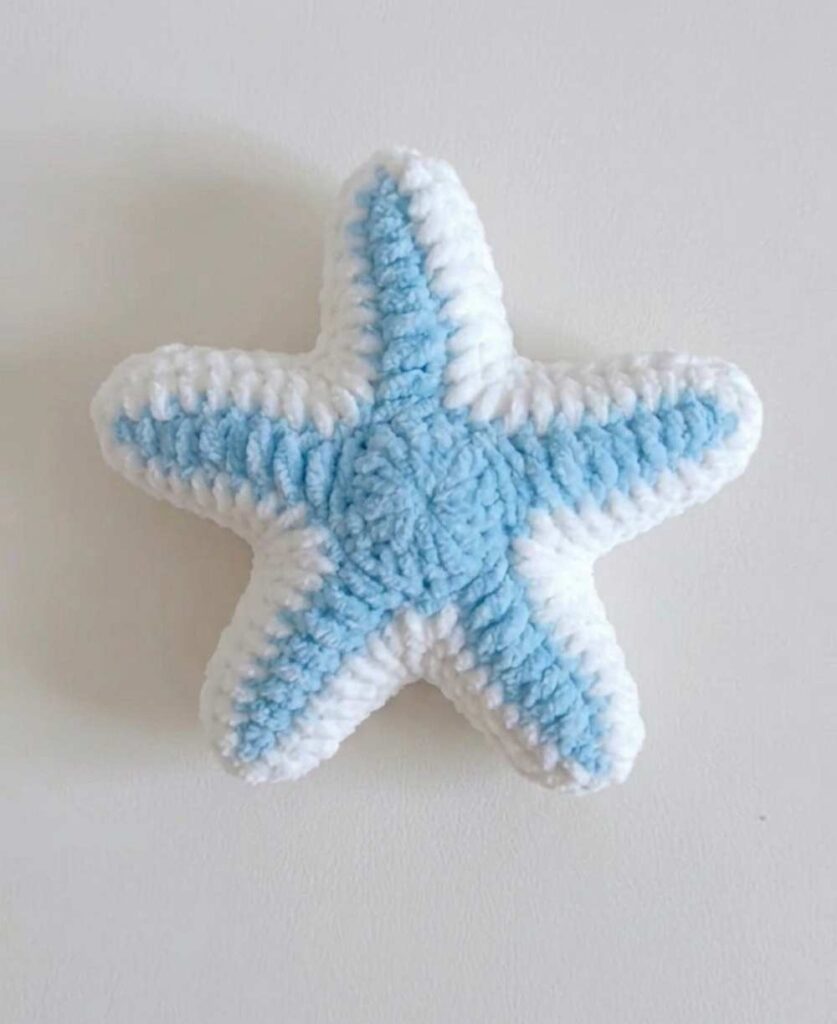
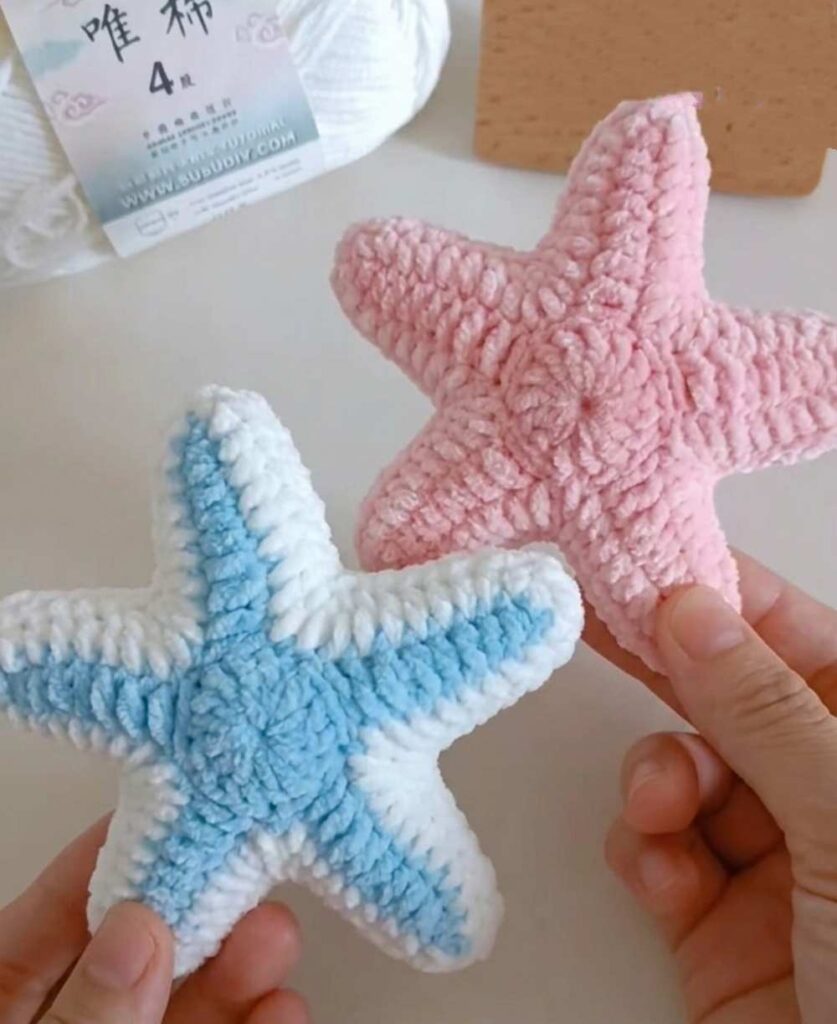
Learn how to crochet this elegant two-color starfish plushie with this pattern that you can use as a summer bag pendant. You can either crochet it in blue or pink using two shades of the chosen color. If you want a more coastal look for this plush, you can also use shades of beige to crochet it. It also has a beautiful texture and colorwork on it. We will crochet it using the ragdoll techniques.
That is to crochet two pieces separately and sew them. It is the CUTEST charm for your beach bag, and you can also attach small pearls to it or give it a character by adding plastic eyes. This lucky star-stuffed charm won’t take more than 10 minutes to finish. So, continue reading for the quick pattern.
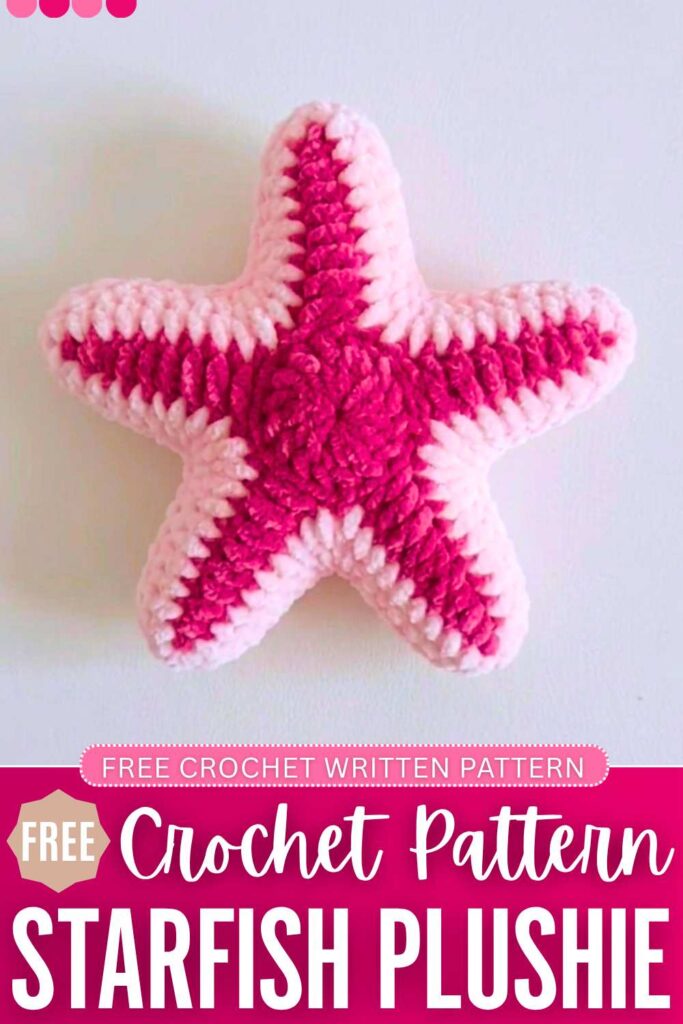
Crochet Starfish Keychain: Round-by-Round Pattern
This quick, 10-minute make is perfect for summer markets and can be easily used as a keychain pendant, bag charm, fridge magnet, or necklace.
Below is the pattern to crochet this miniature Kitty and keychain with the assembly in the end:
Materials Needed
-
Yarn: Chennile yarn (two shades of pink)
-
Crochet Hook: 5mm crochet hook
-
Other Supplies: Fiberfill stuffing, stitch markers, pins, tapestry needle, and scissors
Abbreviations & Terminology
-
-
MR: Magic Ring
-
CH: Chain
-
SL ST: Slip Stitch
-
SC / DC: Single Crochet (US) / Double Crochet (UK)
-
HDC / HTR: Half Double Crochet (US) / Half Treble Crochet (UK)
-
DC / TR: Double Crochet (US) / Treble Crochet (UK)
-
DC3TOG / TR3TOG: Double Crochet 3 Together (US) / Treble Crochet 3 Together (UK)
-
ST(S): Stitch(es)
-
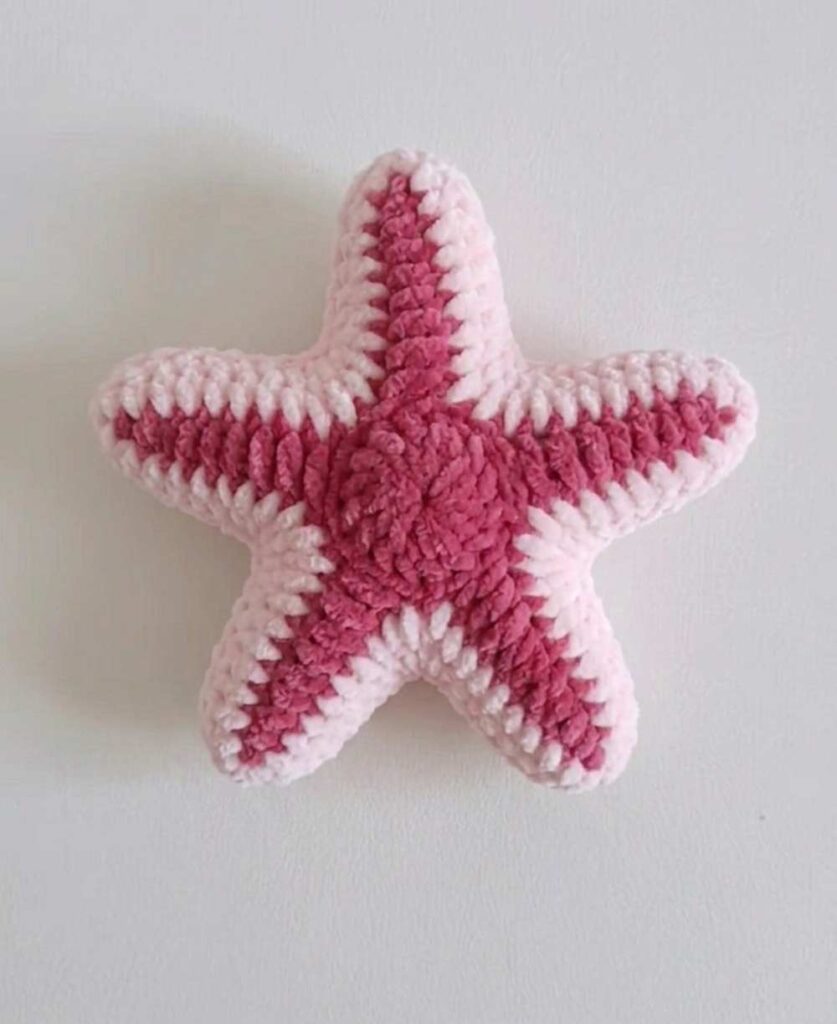
Part 1: Starfish Panels (Make 2)
Round 1: The Center Base
-
-
Make a Magic Ring (MR).
-
CH 3 (this counts as your first DC / TR stitch).
-
Work 14 DC (US) / TR (UK) into the ring.
-
Pull the yarn tail tight to close the circle, and SL ST into the 3rd starting chain. (15 sts)
-
-
Round 2: Creating the 5 Points
-
*CH 10.
-
Starting in the 2nd CH from your hook, crochet back down the chain towards the center: 2 SC (US) / DC (UK), 4 HDC (US) / HTR (UK), 3 DC (US) / TR (UK).
-
Skip 2 stitches on the main Round 1 circle, and SL ST into the next stitch.*
-
Repeat from * to * exactly 4 more times until you have 5 points total.
-
Fasten off the yarn.
-
Round 3: The Edging & Shaping
-
-
Re-attach your yarn with a SL ST in the “valley” space between any two points.
-
CH 3, then work 1 DC (US) / TR (UK) into the same space (this acts as the start of your valley decrease, which will be finished at the very end).
-
Work up the side of the first point: 2 DC (US) / TR (UK), 4 HDC (US) / HTR (UK), 2 SC (US) / DC (UK).
-
At the very top tip of the point: Work 1 SC (US) / DC (UK) into the tip to form the peak.
-
Work down the opposite side of the point: 2 SC (US) / DC (UK), 4 HDC (US) / HTR (UK), 2 DC (US) / TR (UK).
-
-
-
In the valley between the points: Work a DC3TOG (US) / TR3TOG (UK) decrease spanning across the valley to keep the shape crisp.
-
Repeat this sequence (working up, placing 1 st at the peak, working down, and decreasing in the valley) around all 5 points.
-
When you return to the beginning, work 1 DC (US) / TR (UK) in the very first valley, and SL ST into the top of the starting CH 3 to finish the cluster.
-
Make two identical panels. Fasten off the first piece, but leave an extra-long yarn tail on the second piece for sewing.
-
Part 2: Assembly & Finishing
-
-
Place the two starfish pieces together with their wrong sides facing each other.
-
Using a tapestry needle and the long yarn tail, sew the two pieces together stitch-by-stitch, working through both loops of the edges.
-
Stop right before sewing it completely shut to stuff the starfish with fiberfill. Use the back of your crochet hook or a wooden dowel to push the stuffing all the way into the tips of the 5 points.
-
Close the remaining gap, secure with a knot, and weave the loose ends inside the plushie to hide them.
-