
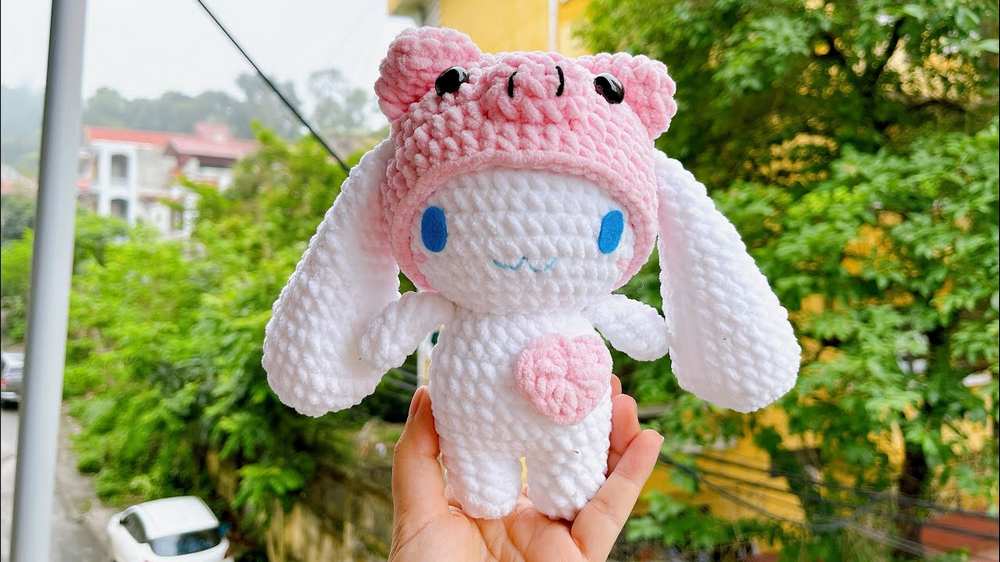
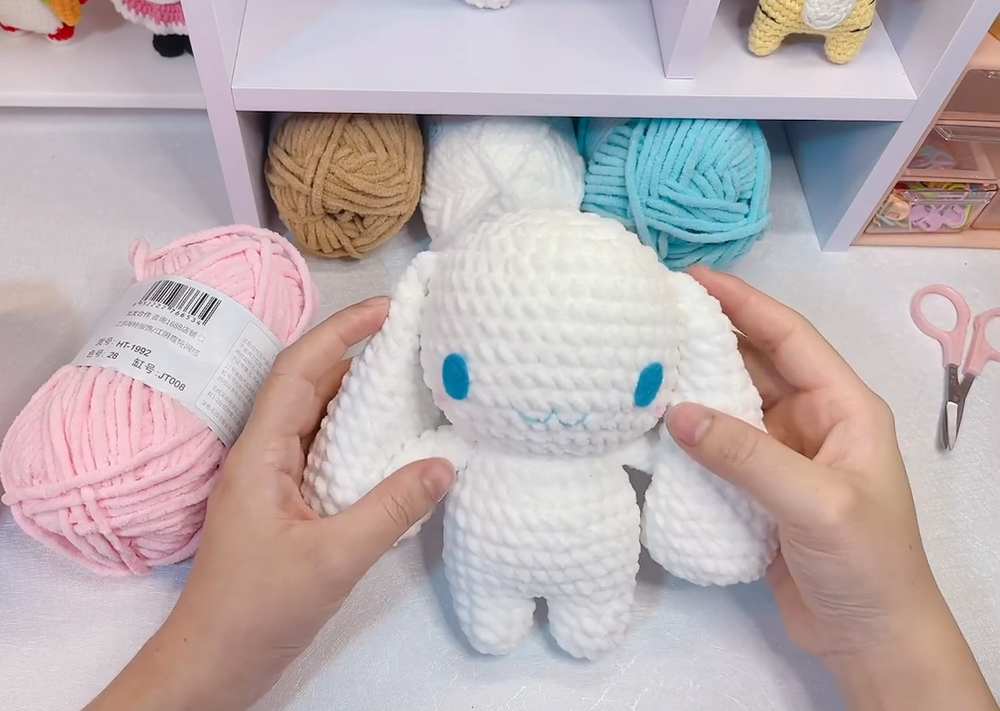
I am back with another CUTE crochet hat pattern to cosplay the Cinnamoroll doll plushie. Last time, you learned how to crochet a bear hat and a brown heart for your Cinnamoroll plush. Just like the last time, I will again provide you with a FREE pattern to crochet the base doll too. This time, we will crochet a hat with a cute baby pig face on it. This suits a lot and fits well with our medium-sized cinnomoroll plushie.
You can also crochet it for any other Sarnio or bunny plushie you have. Also, this fits well with the crochet big capybara plushie for which I have shared a free pattern already. The base pattern is at the end of this tutorial. So, be sure to continue reading this post till the end.
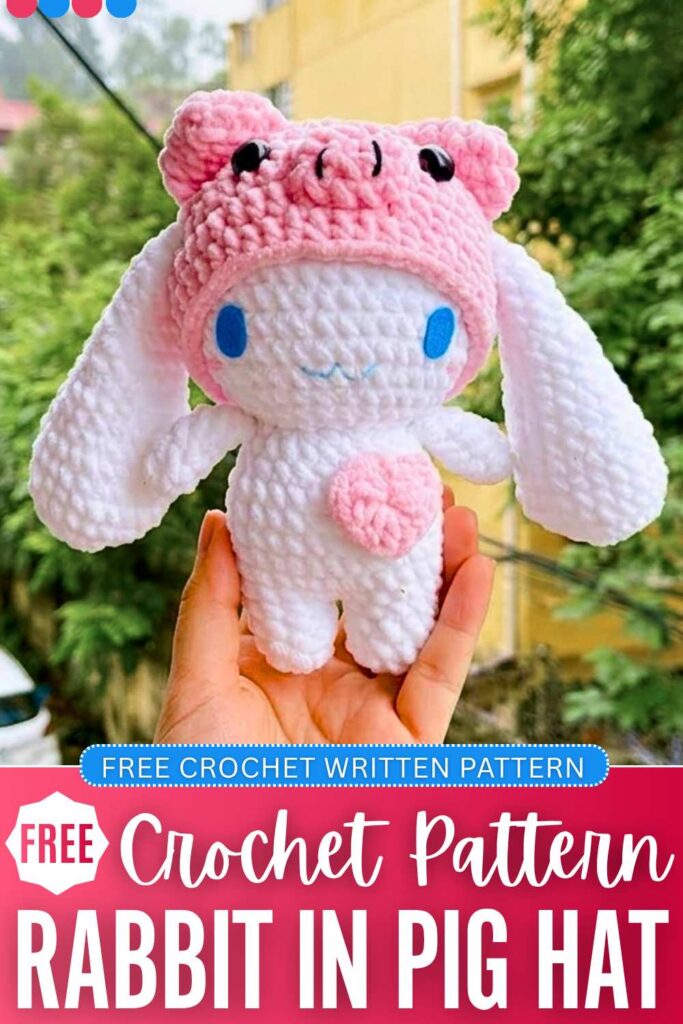
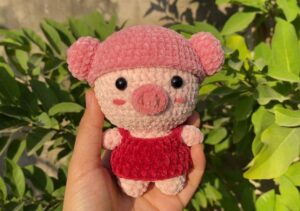
Crochet Miniature Pig Plushie: Round-by-Round Pattern
Below is the pattern to crochet this miniature pig hat and Cinnomoroll plushie with the assembly in the end:
Materials Needed
- Yarn: Chenille/velvet plush yarn in light pink (for the main hat and outer ears) and a darker pink/magenta (for the pig snout). A small scrap of black yarn is needed to sew the nostrils.
- Crochet Hook: 4.5 mm
- Other Tools: Stitch markers, scissors, tapestry needle, safety eyes, sewing pins for positioning, and a tiny crocheted red heart for embellishment.
Abbreviations Used
- ch: Chain
- st / sts: Stitch / Stitches
- sl st: Slip stitch
- sc: Single crochet
- hdc: Half double crochet
- dc: Double crochet
- inc: Increase (work 2 stitches into the same stitch loop)
- hdc-inc: Half double crochet increase (work 2 hdc into the same stitch loop)
1. The Pig Hat (Light Pink)
The hat uses half double crochets worked in joining rounds. Start each round with a chain 2 and finish with a slip stitch into the starting stitch.
- Round 1: Start with a loose magic ring. Ch 2, then work 8 hdc into the ring. Sl st to close the ring. [8 sts]
- Round 2: Ch 2. Work an hdc-inc in every stitch around (starting directly in the same base stitch as your chain). Sl st to join. [16 sts]
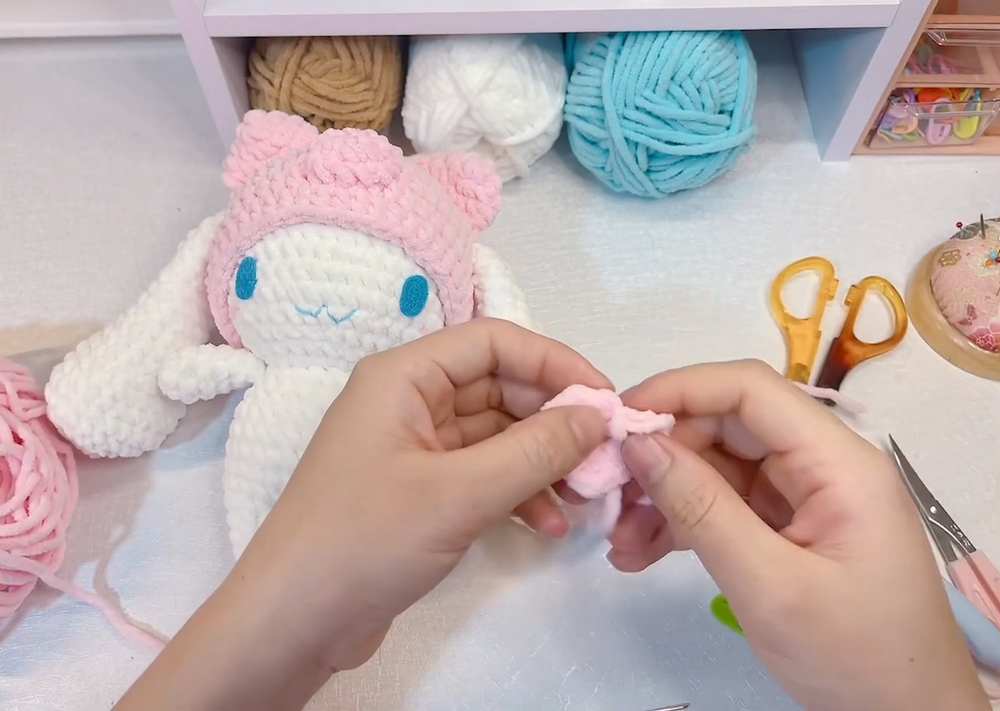
- Round 3: Ch 2. Work a pattern of [1 hdc, 1 hdc-inc] repeated 8 times around. Sl st to join. [24 sts]
- Round 4: Ch 2. Work 1 hdc, then 1 hdc-inc. After that, repeat the sequence [2 hdc, 1 hdc-inc] 7 times around. You will have 1 stitch left at the end; work 1 hdc into it. Sl st to join. [32 sts]
- Round 5: Ch 2. Work a pattern of [3 hdc, 1 hdc-inc] repeated 8 times around. Sl st to join. [40 sts]
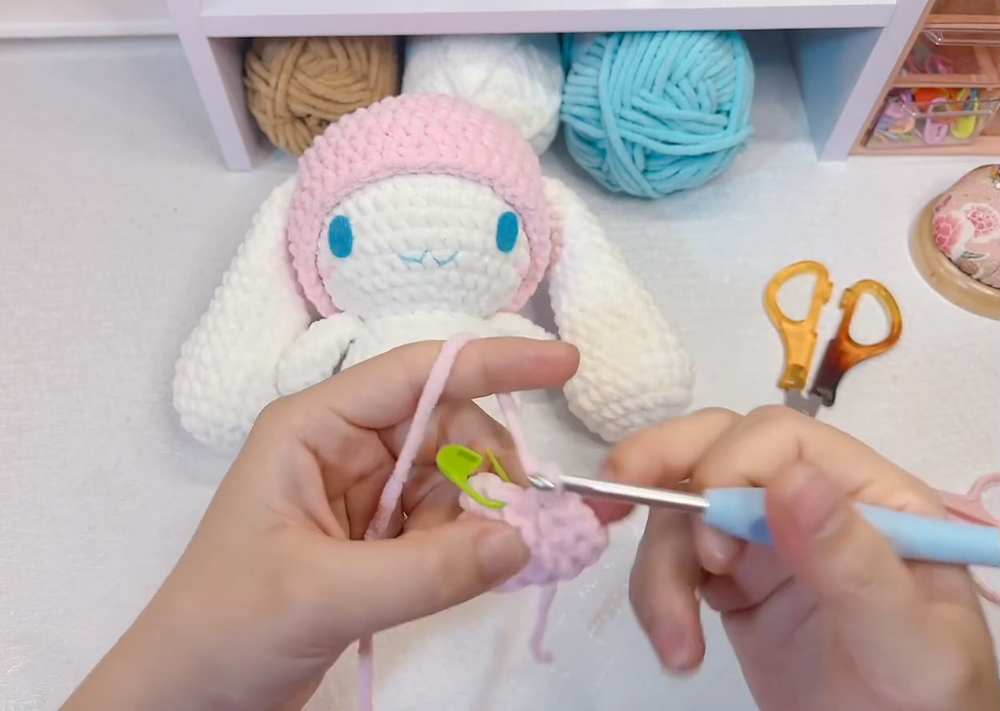
- Round 6: Ch 2. Work a pattern of [19 hdc, 1 hdc-inc] repeated only 2 times around. Sl st to join. [42 sts]
- Round 7 (Ear Slots): This round creates holes for long amigurumi rabbit ears to poke through if you want a removable hat.
- Work 7 hdc across the first section.
- Ch 5, then skip over 4 stitches completely.
- Work 19 hdc across the middle section.
- Ch 5, then skip over 4 stitches completely.
- Work 7 hdc over the remaining stitches. Sl st to join.
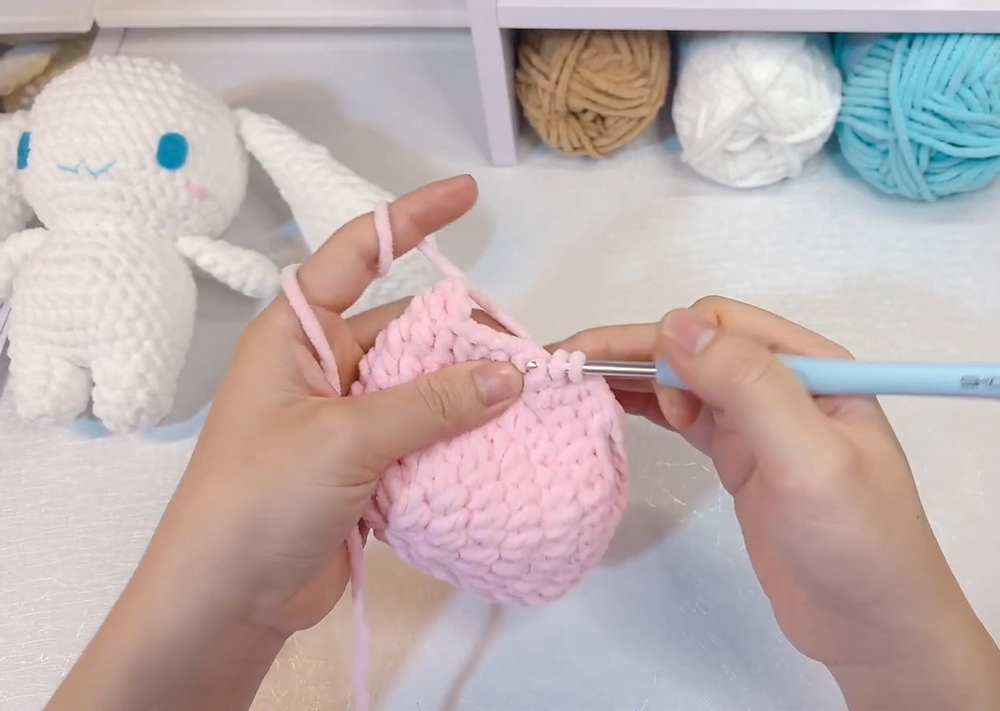
- Rounds 8–10: Ch 2. Work 1 hdc into every stitch across the previous row, working exactly 5 hdc directly into the chain-loops from the previous round. Do not add or reduce any stitches. Work 44 hdc across for all 3 rounds. Fasten off and weave in your ends. [44 sts]
2. The Pig Ears (Make 2 – Light Pink)
The ears are worked in single crochets.
- Round 1: Magic ring, 5 sc. [5 sts]
- Round 2: Work 5 inc (2 sc in each stitch around). [10 sts]
- Round 3: Work a pattern of [1 sc, 1 inc] repeated 5 times around. [15 sts]
- Round 4: Work 15 sc evenly around. Fasten off, leaving a tail long enough to sew onto the hat. [15 sts]
3. The Pig Snout (Darker Pink)
The snout is worked symmetrically around an initial foundation chain.
- Foundation: Ch 5.
- Round 1: Skip the first chain from the hook. Work 3 sc down the chain. In the final chain loop, work 3 sc in the same space to turn the corner. Continue along the backside of the chain, working 2 sc, and finish with a sc-inc in the last space. Sl st to join.
- Round 2: Work 1 inc, 2 sc, 2 inc, 3 sc, and finish with 1 inc. Sl st to close the round. Fasten off, leaving a tail for assembly.
- Nostrils: Thread a tapestry needle with black yarn and embroider two small vertical lines onto the center of the oval snout. Tie off on the back side.
4. Tiny Embellishment Heart (Red)
- Foundation: Ch 3.
- Stitch Pattern: Working entirely into the very first chain loop made, work the following stitches in order: 2 dc, 2 hdc, 1 dc, 2 hdc, 2 dc.
- Finishing: Ch 2, then sl st directly back down into that same starting center loop to form a perfect heart shape. Fasten off and hide the tail.
Assembly Instructions
- Use sewing pins to center and position the pig ears on top of the hat (slanted downward between rounds 4 and 5). Sew them securely to the hat shell.
- Pin the completed snout onto the front lower center of the hat, stuffing a tiny bit of fiberfill behind it to give it volume before sewing it down.
- Add two black safety eyes or buttons to the front of the hat just above the snout corners.
- Glue or sew the red embellishment heart onto the lower cheek area of the pig hat.
Base Pattern
Head Pattern
-
Round 1: 8 X in MR [8]
-
Round 2: 8 V [16]
-
Round 3: (1 X, 1 V) × 8 [24]
-
Round 4: (3 X, 1 V) × 6 [30]
-
Round 5: (Shifted increases) 2 X, 1 V, (4 X, 1 V) × 5, 2 X [36]
-
Round 6: (5 X, 1 V) × 6 [42]
-
Rounds 7–12: 42 X (6 rounds total) [42]
-
Round 13: (5 X, 1 A) × 6 [36]
-
Round 14: (Shifted decreases) 2 X, 1 A, (4 X, 1 A) × 5, 2 X [30]
-
Round 15: (3 X, 1 A) × 6 [24]
-
Round 16: (Shifted decreases) 1 X, 1 A, (2 X, 1 A) × 5, 1 X [18]
-
Cut the yarn, leave a tail for weaving later, and stuff the head firmly, shaping it into a smooth sphere.
Legs & Body Pattern
Legs (Make 2)
-
Round 1: 5 X in MR (crochet loosely to make pulling the ring closed easier) [5]
-
Round 2: 5 V [10]
-
Rounds 3–4: 10 X (2 rounds total) [10]
-
For the First Leg: Fasten off and cut yarn. For the Second Leg: Do not cut yarn; continue to the joining step below.
Body Joining & Continuation
-
Round 5: From the second leg, ch 2. Join to the first leg with a single crochet. Crochet 10 X around the first leg, 2 X along one side of the ch-2, 10 X around the second leg, and 2 X along the opposite side of the ch-2 [24]
-
Round 6: (3 X, 1 V) × 6 [30]
-
Rounds 7–11: 30 X (5 rounds total) [30]
-
Round 12: (3 X, 1 A) × 6 [24]
-
Round 13: 24 X [24]
-
Round 14: (2 X, 1 A) × 6 [18]
-
Stuff the body firmly. Fasten off and leave a long yarn tail for sewing the body directly to the head.
Arms (Make 2)
-
Round 1: 4 X in MR [4]
-
Round 2: 4 V [8]
-
Rounds 3–6: 8 X (4 rounds total) [8]
-
Flatten the top edge of the arm and crochet through both layers together for 3–4 stitches to close the opening. Cut yarn, leaving a tail for assembly.
Ears (Make 2)
-
Round 1: 8 X in MR [8]
-
Round 2: 8 V [16]
-
Round 3: (1 X, 1 V) × 8 [24]
-
Rounds 4–7: 24 X (4 rounds total) [24]
-
Round 8: (4 X, 1 A) × 4 [20]
-
Rounds 9–10: 20 X (2 rounds total) [20]
-
Round 11: (3 X, 1 A) × 4 [16]
-
Rounds 12–13: 16 X (2 rounds total) [16]
-
Round 14: (2 X, 1 A) × 4 [12]
-
Rounds 15–17: 12 X (3 rounds total) [12]
-
Round 18: (2 X, 1 A) × 3 [9]
-
Round 19: (1 X, 1 A) × 3 [6]
-
Flatten the bottom edge of the ear and crochet through both layers to close. Leave a long tail for sewing.