
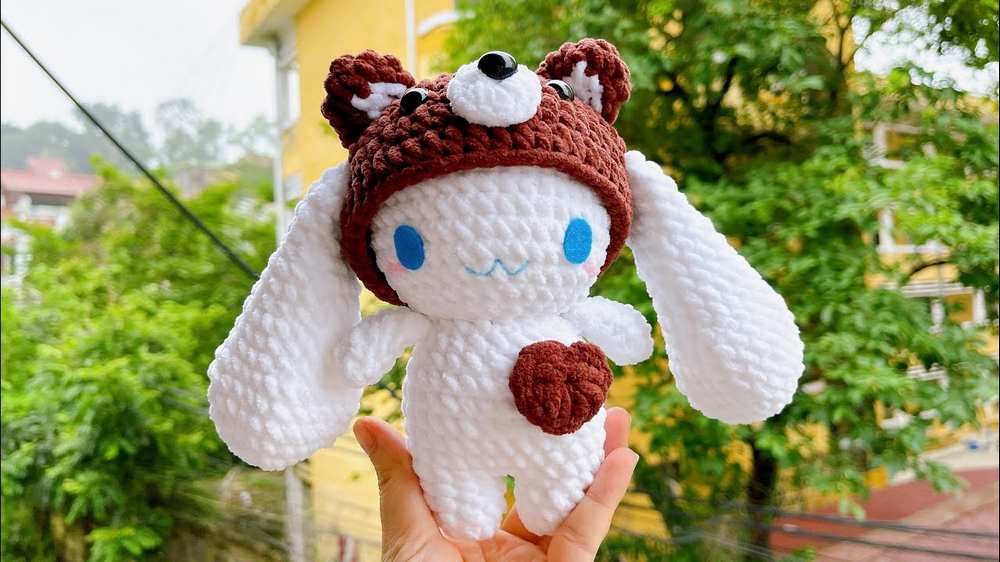
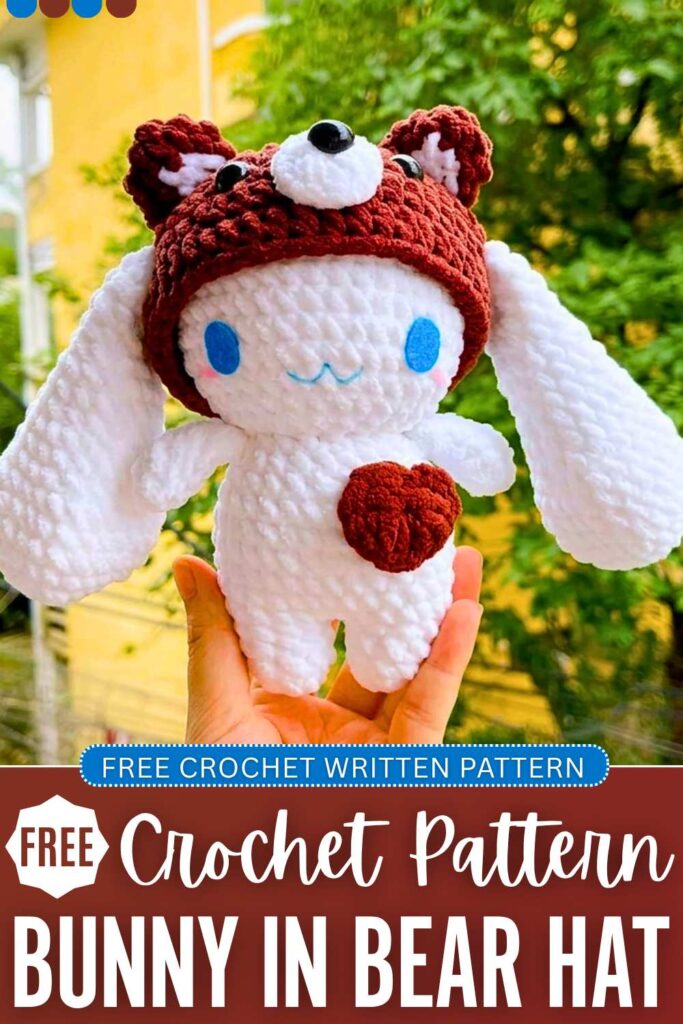
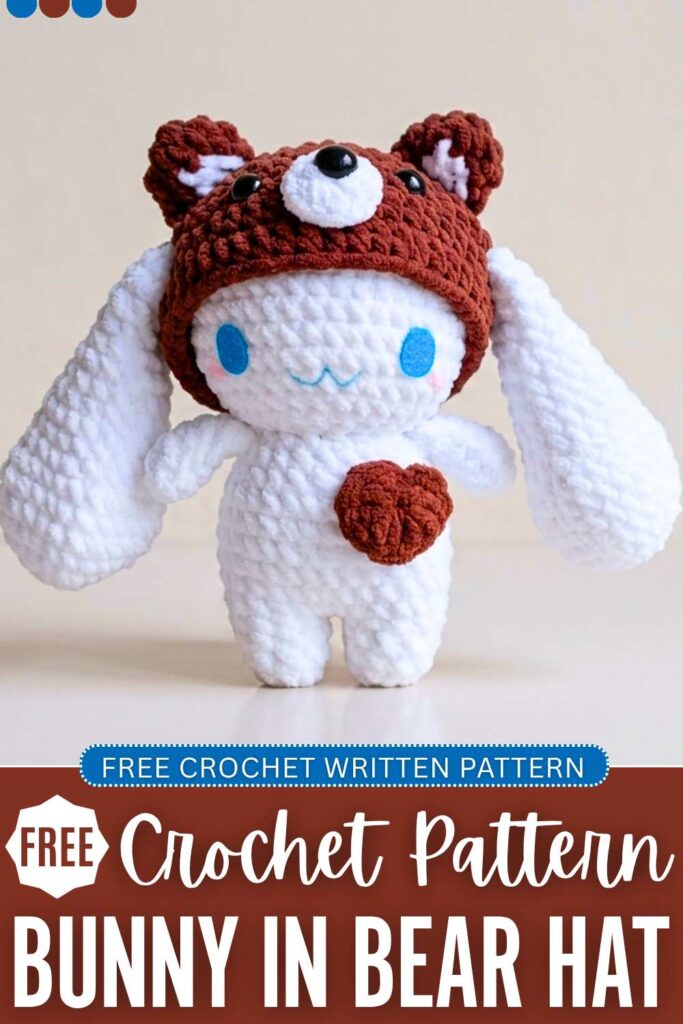
Here is another part of the “cosplay plushie dolls” series. Today, you will learn how to crochet this big Cinnamoroll bunny plushie, wearing a bear hat with a FREE pattern for beginners. It also has a little heart embellishment in case you want to give it as a Valentine’s Day present or any LOVE present. I will also provide a FREE pattern to crochet the base Cinnamoroll doll pattern, here.
This has felt eyes and the mouth in the blue; it appears just a PERFECT replica of the Cinnamoroll. You will love the fluffy stuffed ears of this plushie, as well as the bear face on the hat. With the orange yarn, you can also turn it into a fox cosplay. Also, check the other cosplay plushies, such as the Hello Kitty bee plushie, as it is also from Sanrio.
Crochet Cinnomoral Bunny In Bear Hat: Round-by-Round Pattern
Below is the tutorial for crocheting the plush Cinnomoral wearing a bear hat, using cozy chenille/velvet yarn and a 4.5 mm crochet hook.
Materials Used
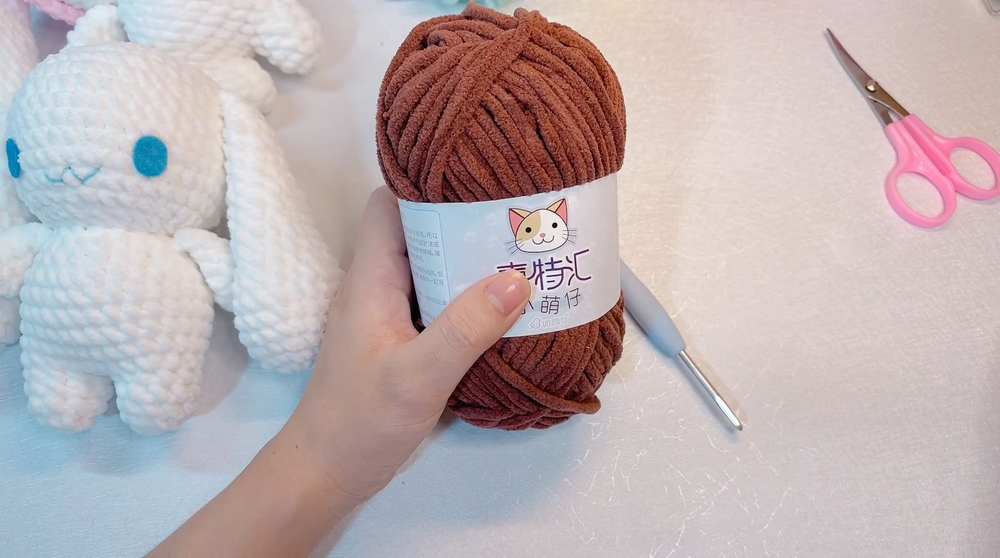
- Yarn: Velvet/chenille yarn. The presenter uses brown (color code #14) for the main body of the bear hat and white for accents.
- Hook Size: 4.5 mm
- Additional Items: Stitch markers, safety triangle nose (size 11), a tapestry needle for sewing, and fabric glue.
The Bear Hat Pattern
The base body of the rabbit is crocheted exactly like the instructor’s previous “frog hat rabbit” tutorial. This video focuses entirely on creating the bear hat modification. Most rows end with a slip stitch (sl st) and begin with a chain-2 space.
- Row 1: Create a magic ring (MR), chain 2, and work 8 half double crochets (hdc) into the ring. Close the ring and sl st to finish.
[8 hdc] - Row 2: Ch 2. Work 8 hdc increases (hdc-inc)—meaning 2 hdc into every stitch around.
[16 hdc] - Row 3: Ch 2. Work a repeating pattern of 1 hdc, 1 hdc-inc all the way around.
[24 hdc] - Row 4: Ch 2. Work 1 hdc, then 1 hdc-inc. Repeat a sequence of 2 hdc, 1 hdc-inc 7 times. Finish the row with 1 hdc in the final stitch.
[32 hdc]
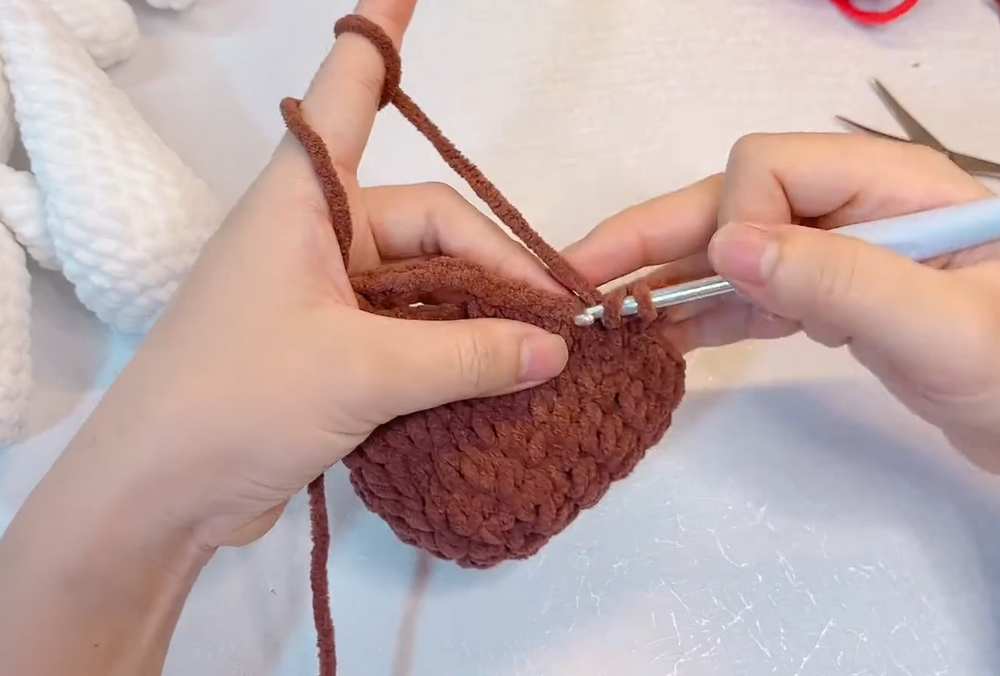
- Row 5: Ch 2. Work a repeating pattern of 3 hdc, 1 hdc-inc all the way around (8 repetitions total).
[40 hdc] - Row 6: Ch 2. Work 19 hdc, 1 hdc-inc. Repeat this sequence one more time.
[42 hdc] - Row 7 (Ear Hole Row):
- Ch 2, work 7 hdc.
- Chain 5 and skip 4 stitches from the previous row (this creates the first ear hole).
- Work 19 hdc across the middle.
- Chain 5 and skip 4 stitches again (for the second ear hole).
- Work 7 hdc to finish the row.
- Rows 8–10: Ch 2. Work 44 hdc evenly all the way around for each row. When working Row 8, make sure to place 5 hdc directly over the 5-chain spaces created in Row 7. Fasten off.
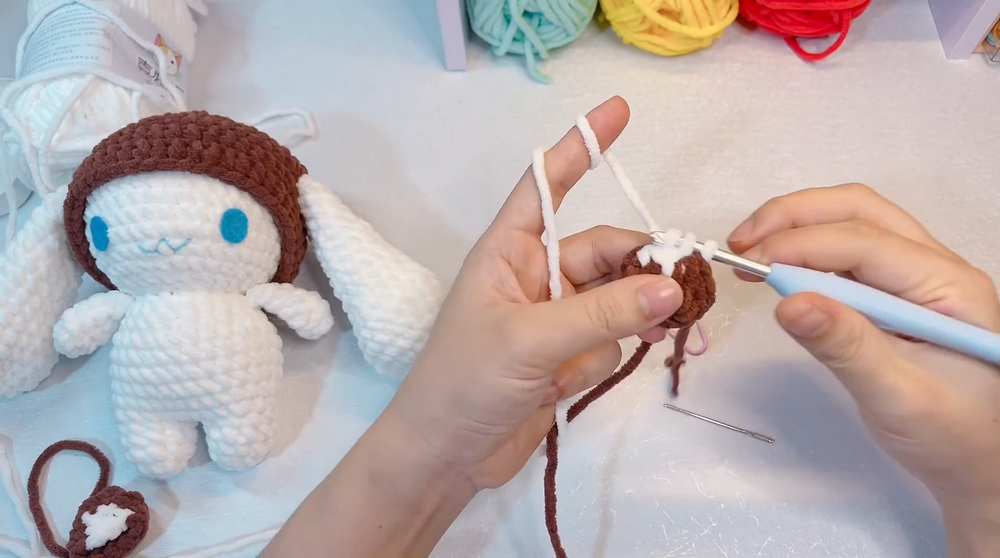
Bear Ears (Make 2)
The ears are worked in continuous rounds using a blend of brown and white yarn to create the inner-ear color change.
- Round 1: In brown yarn, create a MR and work 6 single crochets (sc).
[6 sc] - Round 2: Work 6 sc increases (sc-inc) around.
[12 sc] - Round 3: Work 1 sc in brown (do not pull through the final loop). Switch to white yarn to complete the stitch. Work 2 sc in white. Switch back to brown and work the remaining 9 sc.
[12 sc]
- Round 4: Work 1 sc in brown, then switch to white yarn. Work 3 sc in white. Switch back to brown, work a slip stitch (sl st), work a single crochet decrease (sc-dec), work 4 sc, and finish with a final sc-dec. Fasten off, leaving a long tail for sewing.
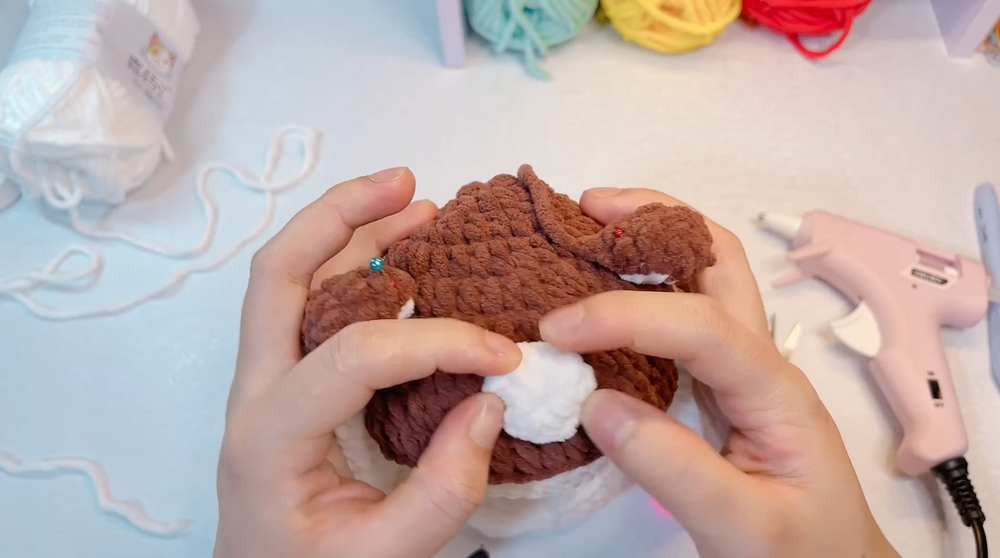
Bear Snout
- Using white yarn, create a chain of 3.
- Work 10 hdc entirely into the very first chain stitch made.
- Join with a sl st to form a neat little circle and fasten off.
Decorative Heart
- Using pink or red yarn, create a chain of 3.
- In the very first chain stitch, work the following sequence to build the heart: 2 double crochets (dc), 2 hdc, 1 dc, 2 hdc, 2 dc.
- Chain 2, make a final sl st back into that same starting center chain, and fasten off.
Assembly & Finishing
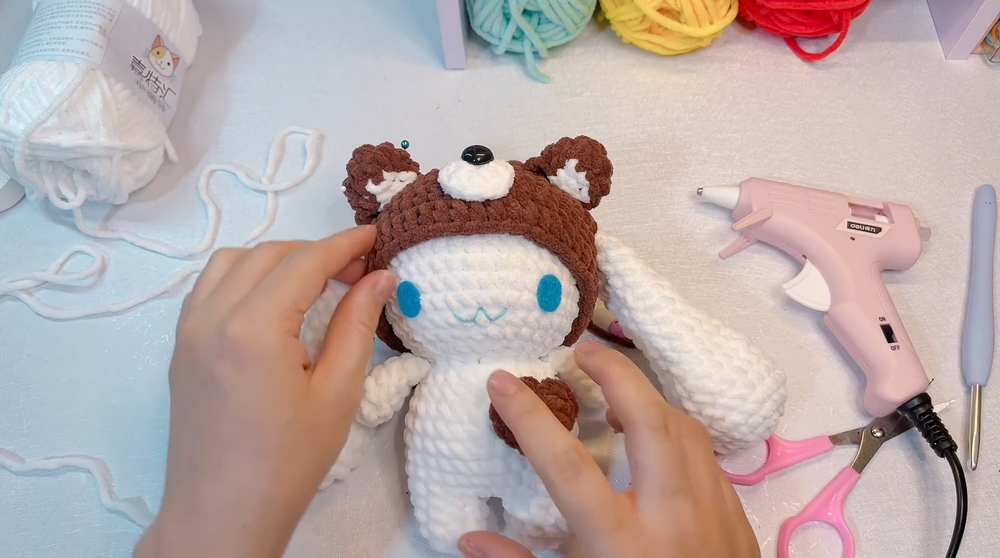
- Ears: Position the ears right above the ear-hole slots on the hat and sew them securely in place using a tapestry needle.
- Snout & Details: Glue or stitch the white snout onto the lower front center of the hat. Insert or attach the size 11 triangle safety nose directly onto the snout.
Base Pattern
Head Pattern
-
Round 1: 8 X in MR [8]
-
Round 2: 8 V [16]
-
Round 3: (1 X, 1 V) × 8 [24]
-
Round 4: (3 X, 1 V) × 6 [30]
-
Round 5: (Shifted increases) 2 X, 1 V, (4 X, 1 V) × 5, 2 X [36]
-
Round 6: (5 X, 1 V) × 6 [42]
-
Rounds 7–12: 42 X (6 rounds total) [42]
-
Round 13: (5 X, 1 A) × 6 [36]
-
Round 14: (Shifted decreases) 2 X, 1 A, (4 X, 1 A) × 5, 2 X [30]
-
Round 15: (3 X, 1 A) × 6 [24]
-
Round 16: (Shifted decreases) 1 X, 1 A, (2 X, 1 A) × 5, 1 X [18]
-
Cut the yarn, leave a tail for weaving later, and stuff the head firmly, shaping it into a smooth sphere.
Legs & Body Pattern
Legs (Make 2)
-
Round 1: 5 X in MR (crochet loosely to make pulling the ring closed easier) [5]
-
Round 2: 5 V [10]
-
Rounds 3–4: 10 X (2 rounds total) [10]
-
For the First Leg: Fasten off and cut yarn. For the Second Leg: Do not cut yarn; continue to the joining step below.
Body Joining & Continuation
-
Round 5: From the second leg, ch 2. Join to the first leg with a single crochet. Crochet 10 X around the first leg, 2 X along one side of the ch-2, 10 X around the second leg, and 2 X along the opposite side of the ch-2 [24]
-
Round 6: (3 X, 1 V) × 6 [30]
-
Rounds 7–11: 30 X (5 rounds total) [30]
-
Round 12: (3 X, 1 A) × 6 [24]
-
Round 13: 24 X [24]
-
Round 14: (2 X, 1 A) × 6 [18]
-
Stuff the body firmly. Fasten off and leave a long yarn tail for sewing the body directly to the head.
Arms (Make 2)
-
Round 1: 4 X in MR [4]
-
Round 2: 4 V [8]
-
Rounds 3–6: 8 X (4 rounds total) [8]
-
Flatten the top edge of the arm and crochet through both layers together for 3–4 stitches to close the opening. Cut yarn, leaving a tail for assembly.
Ears (Make 2)
-
Round 1: 8 X in MR [8]
-
Round 2: 8 V [16]
-
Round 3: (1 X, 1 V) × 8 [24]
-
Rounds 4–7: 24 X (4 rounds total) [24]
-
Round 8: (4 X, 1 A) × 4 [20]
-
Rounds 9–10: 20 X (2 rounds total) [20]
-
Round 11: (3 X, 1 A) × 4 [16]
-
Rounds 12–13: 16 X (2 rounds total) [16]
-
Round 14: (2 X, 1 A) × 4 [12]
-
Rounds 15–17: 12 X (3 rounds total) [12]
-
Round 18: (2 X, 1 A) × 3 [9]
-
Round 19: (1 X, 1 A) × 3 [6]
-
Flatten the bottom edge of the ear and crochet through both layers to close. Leave a long tail for sewing.
Assembly & Details
-
Head to Body: Align the open stitches of Round 16 of the head with Round 14 of the body and sew them securely stitch-for-stitch.
-
Ears placement: Sew the ears to the top of the head between Rounds 6 and 7. The distance between the two ears across the top should be exactly 19 stitches.
-
Arms placement: Sew the arms flat against the body, positioned right against the neckline/collar area.
-
Eyes placement: Cut black or dark felt material into two small oval shapes. Glue them to the face using hot glue between Rounds 9 and 10 of the head, leaving a space of roughly 7 stitches between them.