
Be sure to subscribe to @to2acrochet.
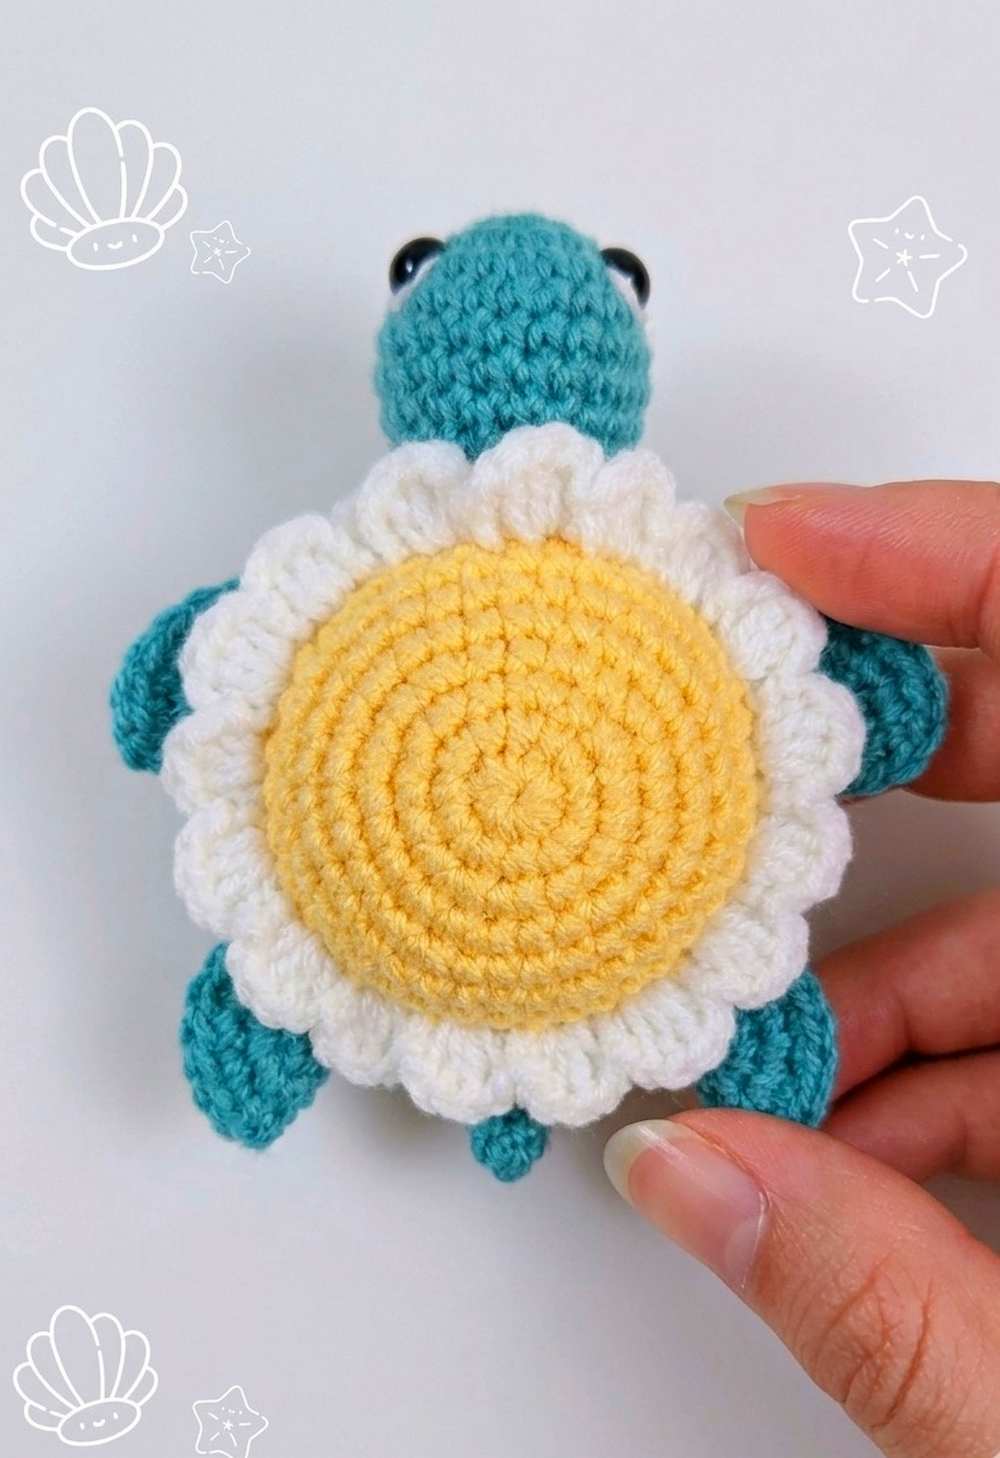
Welcome back with another pattern from the “3 crochet seasonal turtle amigurumi” series. With this last pattern in the series, you will learn how to crochet this CUTE daisy flower shell turtle amigurumi that you can use as a spring bag charm, summer desk buddy, or a huggable plush if you crochet it with the chenille yarn. Now that the series is complete, you can also take a look at the crochet sunflower shell turtle and pumpkin pie turtle pattern, too.
By crocheting these toys, you will have the cutest buddy for 3 seasons. You can also customize it further, such as the rose turtle pattern, as I won’t bring any further ideas after this. This pattern is technically the same as the other crochet turtle amigurumi in this series. Just the colors have been swapped. Anyway, I have shared a full pattern below.
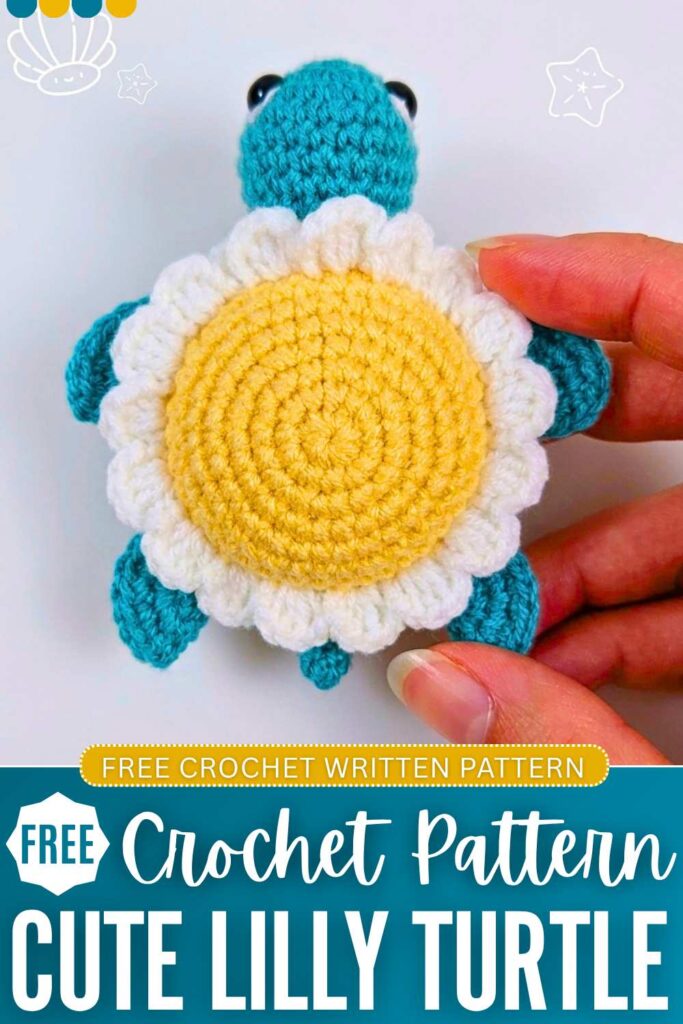
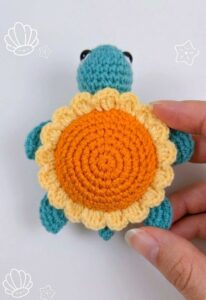
Crochet Daisy Shell Turtle Keychain: Round-by-Round Pattern
Here is the complete crochet pattern for this crochet daisy shell turtle pattern. We will crochet it in many parts. Assembly is in the end:
Materials Needed
- Yarn: Teal (head, flippers, belly, and tiny tail), Pale Yellow (shell center), and White (petals)
- Eyes: 2 plastic safety eyes
- Other Tools: Crochet hook, fiberfill stuffing, tapestry needle, and scissors
Abbreviations Used
- ch: Chain
- st / sts: Stitch / Stitches
- sl st: Slip stitch
- sc: Single crochet
- dc: Double crochet
- inc: Increase (2 sc in the same stitch)
- dec: Decrease (crochet 2 stitches together)
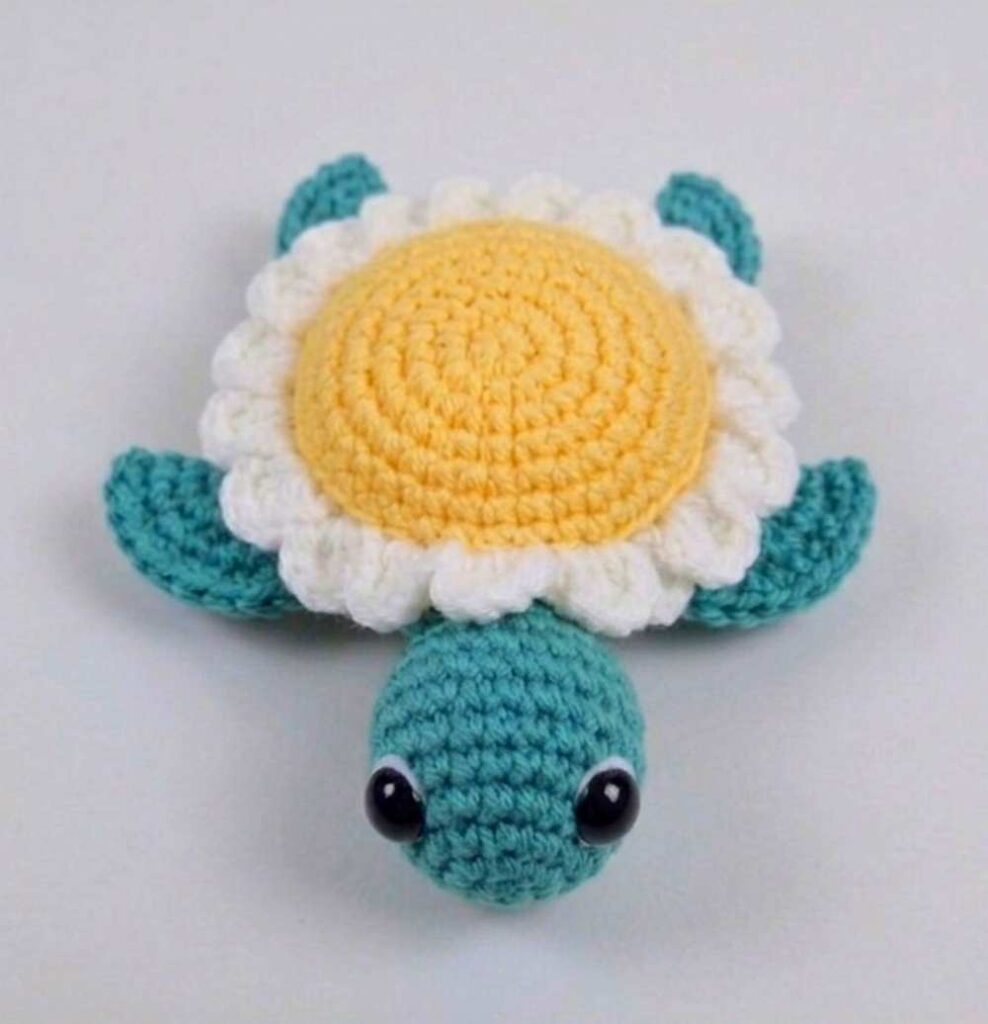
Head Pattern (Teal)
- Round 1: Magic ring, 6 sc [6]
- Round 2: 6 inc [12]
- Round 3: (1 sc, 1 inc) x 6 [18]
- Round 4: (2 sc, 1 inc) x 6 [24]
- Rounds 5–8: 24 sc [24]
- Round 9: (2 sc, 1 dec) x 6 [18]
- Round 10: (1 sc, 1 dec) x 6 [12]
- Rounds 11–13: 12 sc [12]
- Finishing the Neck: Flatten the neck opening and work 5 sc through both layers to close. Ch 1, turn, and work another row of 5 sc across. Fasten off, leaving a long tail for sewing.
Video Tutorial
Flippers & Tiny Tail (Teal)
- Flippers (Make 4):
- Round 1: Magic ring, 6 sc [6]
- Round 2: 6 inc [12]
- Round 3: (1 sc, 1 inc) x 6 [18]
- Round 4: (2 sc, 1 inc) x 6 [24]
- Finishing: Fold in half and work 12 sc through both layers to seal the flipper flat. Fasten off, leaving a long tail.
- Tiny Tail (Make 1):
- Ch 4. Starting in the second ch from the hook, work 1 sl st, 1 sc, 1 hdc. Fasten off, leaving a tail to attach at the back.
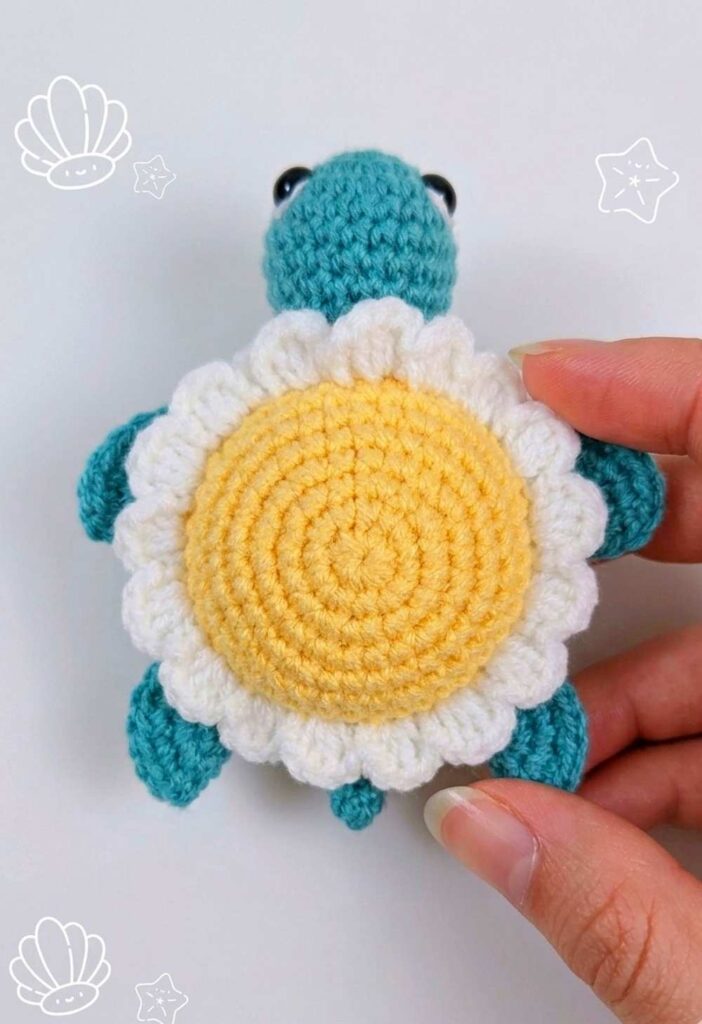
Shell & Belly Pieces
- Top Shell (Pale Yellow):
- Round 1: Magic ring, 6 sc [6]
- Round 2: 6 inc [12]
- Round 3: (1 sc, 1 inc) x 6 [18]
- Round 4: (2 sc, 1 inc) x 6 [24]
- Round 5: (3 sc, 1 inc) x 6 [30]
- Round 6: (4 sc, 1 inc) x 6 [36]
- Rounds 7–8: 36 sc [36]. Fasten off seamlessly.
- Belly Piece (Teal):
- Repeat the Top Shell pattern through Round 7 [36]. Fasten off.
Petals & Layer Joining (White)
- Setup: Place the Pale Yellow top shell and Teal belly piece together with wrong sides facing inward.
- Standard Petals: Join White yarn through both pieces. Ch 2, work 3 dc into the next stitch (going through both layers), ch 2, and sl st into the next stitch. Repeat this sequence around the body.
- Head Opening: When you reach the front section where the head will sit, leave an opening of about 6 stitches. Work 3 petals through the Pale Yellow top shell loops only, skipping the Teal belly stitches beneath them.
- Completion: Once past the head area, resume joining both layers together. Remember to stuff the shell with fiberfill before finishing your last few petals.
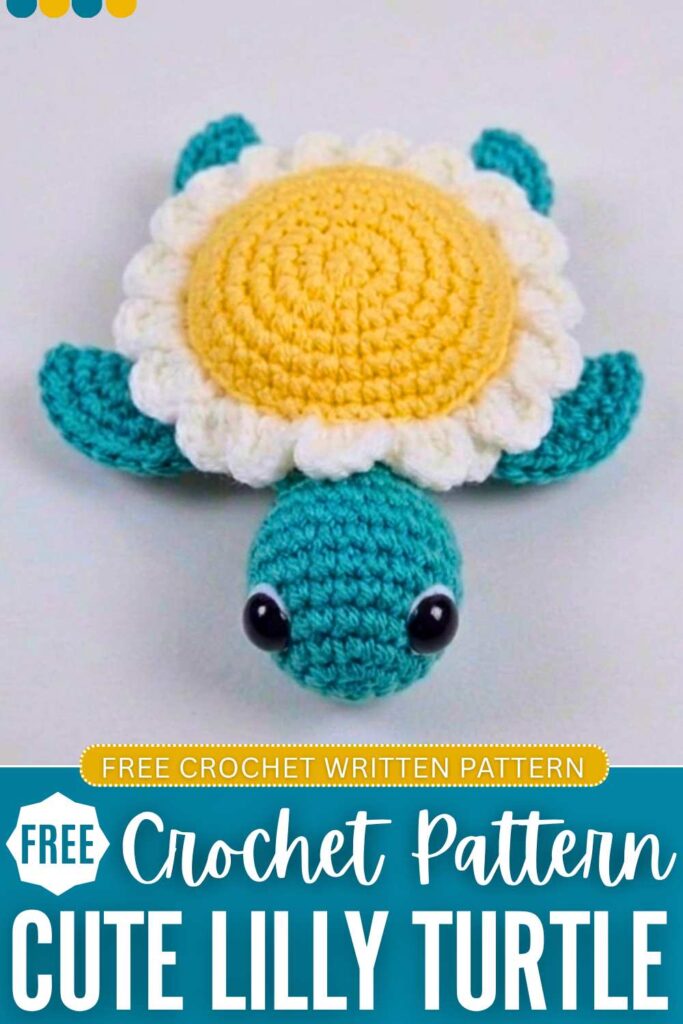
Final Assembly
- Head: Slide the flat neck tab into the front gap of the shell. Sew it securely to both the top and bottom layers of the shell.
- Flippers & Tail: Sew the 4 flippers symmetrically onto the underside of the Teal belly piece. Sew the tiny tail to the back, centered between the rear flippers.
- Eyes: Position and secure the safety eyes onto the sides of the head.
About "Todo a Crochet"
She crochets cute little amigurumi with detailed step-by-step instructions for everything. We liked the turtle amigurumi of her so much and therefore are sharing the pattern, here.