
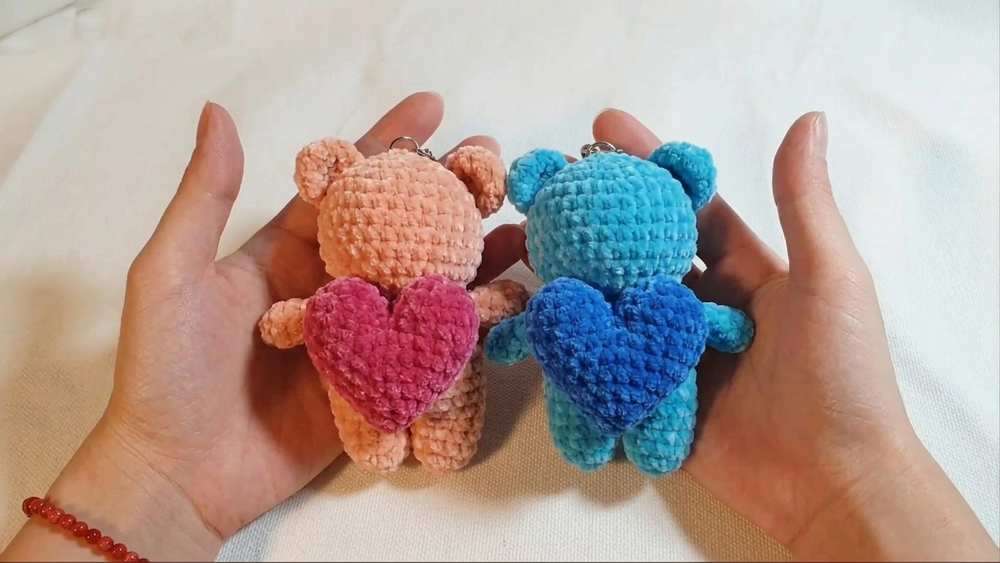
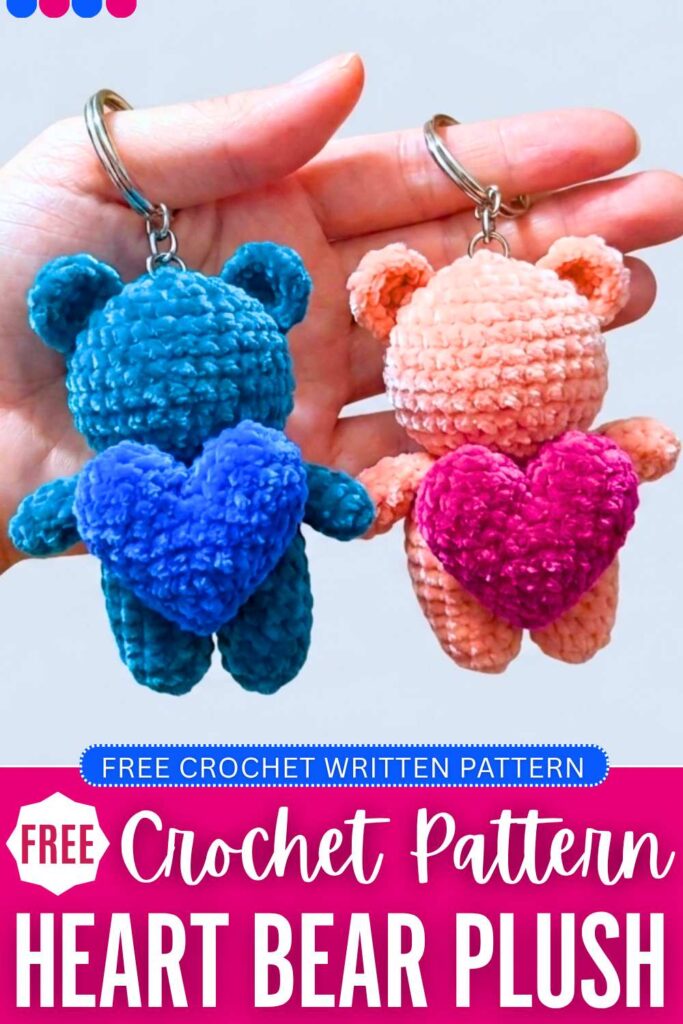
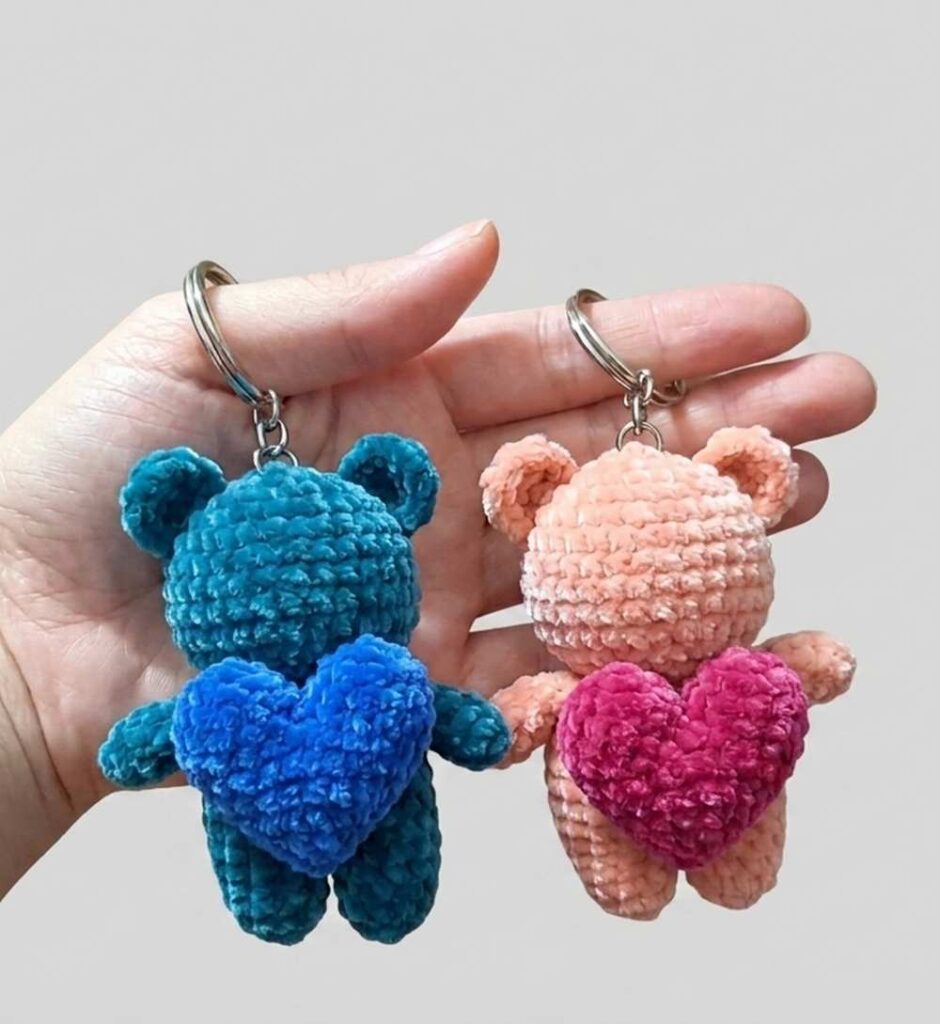
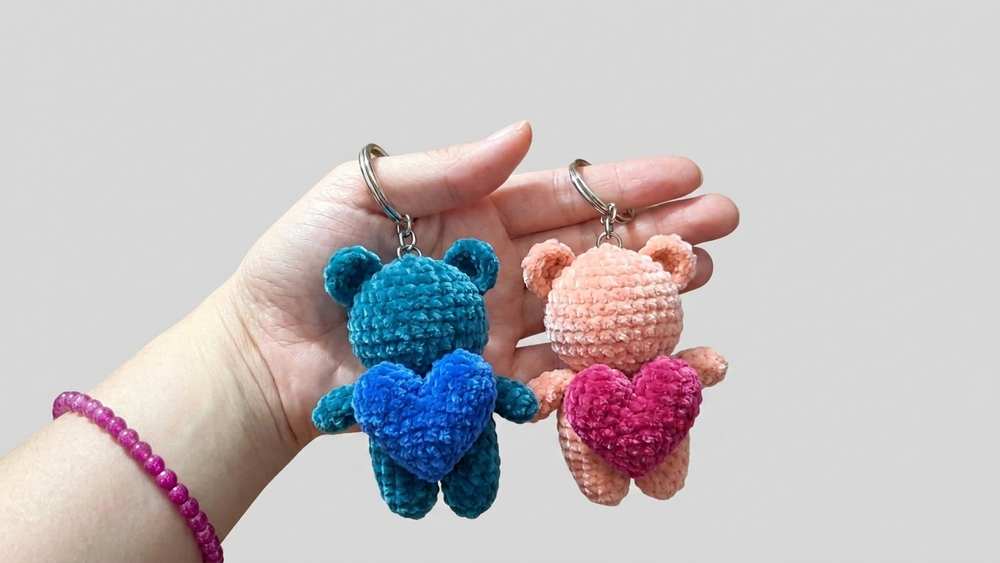
Couples don’t need any reason to exchange gifts. That’s why you should crochet this pair of bears holding a stuffed heart plushies today with this free pattern for beginners. This is a set of low-sew, bear plushies with a minimal design; they don’t have safety eyes or embroidery mouth.
Also, the bears will be crocheted in unusual colors such as blue and pink. This is CLEVER as the receiver can focus only on the crochet heart, which symbolizes LOVE.
They will end up small enough to be used as plush keychains. Both bears share the same pattern, and you will want to crochet a blue and a pink version. Well, definitely crochet it for Valentine’s Day or anniversaries. Now, continue reading for the full pattern.
Crochet Heart Holding Bears Plush: Round-by-Round Pattern
Follow this written crochet pattern for a couple of bear plushies with the assembly in the end:
Materials Needed
- Yarn: Plush yarn or 4-ply cotton yarn (such as Cotton Việt Nam 125g) in Brown/Beige (for the bear) and Red/Pink (for the heart).
- Crochet Hook: 2.5 mm – 5mm crochet hook
- Other Tools: Polyester fiberfill stuffing, stitch marker, tapestry needle, scissors, pins, glue (optional for attaching the heart), and a keychain ring.
Abbreviations Used (US Terms)
- MR: Magic Ring
- ch: Chain
- sc: Single crochet
- inc: Increase (2 sc in the same stitch)
- dec: Invisible decrease (sc 2 stitches together using front loops only)
- sl st: Slip stitch
1. The Heart
First Piece:
- Round 1: Start with a MR. Work 6 sc into the ring.
[6 sts] - Round 2: Work 6 inc around.
[12 sts] - Round 3: Work 12 sc around.
[12 sts] - Finishing: Sl st into the next stitch, cut the yarn, and weave in the end.
Second Piece & Connection:
- Rounds 1–3: Repeat the same steps as the first piece, but do not cut the yarn at the end of Round 3.
- Round 4 (Joining): Insert your hook into any stitch of the first piece. Work 12 sc around the first piece, then continue directly onto the second piece and work 12 sc around it.
[24 sts] - Round 5: Work 24 sc around.
[24 sts] - Round 6: 4 sc, 2 dec, 8 sc, 2 dec, 4 sc.
[20 sts] - Round 7: Work 20 sc around.
[20 sts] - Round 8: 3 sc, 2 dec, 6 sc, 2 dec, 3 sc.
[16 sts] - Round 9: 2 sc, 2 dec, 4 sc, 2 dec, 2 sc.
[12 sts] - Stuffing: Lightly pack the heart with a small amount of fiberfill. Do not overstuff; keep it relatively flat so it sits neatly against the bear’s chest.
- Round 10: Work 6 consecutive decreases (6 dec).
[6 sts] - Finishing: Cut the yarn, weave the tail through the front loops of the remaining 6 stitches, pull tight to close, and hide the yarn tail inside.
2. The Arms (Make 2)
- Round 1: Start with a MR. Work 6 sc into the ring.
[6 sts] - Round 2: Work 6 sc around.
[6 sts] - Rounds 3–5: Work 6 sc around for 3 continuous rounds.
[6 sts] - Finishing: Lightly stuff a tiny bit of fiberfill into the tip (optional), sl st into the next stitch, and cut the yarn leaving a tail for sewing.
3. The Ears (Make 2)
- Round 1: Start with a MR. Work 6 sc into the ring.
[6 sts] - Round 2: Repeat a pattern of [1 sc, 1 inc] 3 times around.
[9 sts] - Finishing: Sl st into the next stitch, cut the yarn, and leave a long tail for sewing.
4. The Head
- Round 1: Start with a MR. Work 6 sc into the ring.
[6 sts] - Round 2: Work 6 inc around.
[12 sts] - Round 3: Repeat a pattern of [1 sc, 1 inc] 6 times around.
[18 sts] - Round 4: Repeat a pattern of [1 sc, 1 inc, 1 sc] 6 times around.
[24 sts] - Round 5: Repeat a pattern of [3 sc, 1 inc] 6 times around.
[30 sts] - Rounds 6–8: Work 30 sc around for 3 rounds.
[30 sts] - Round 9 (Cheek Shaping): 8 sc, 1 inc, 1 sc, 1 inc, 9 sc, 1 inc, 1 sc, 1 inc, 7 sc.
[34 sts] - Round 10: Work 34 sc around.
[34 sts] - Round 11: 2 sc, [1 sc, 1 dec] 5 times, 2 sc, [1 sc, 1 dec] 5 times.
[24 sts] - Round 12: Repeat a pattern of [2 sc, 1 dec] 6 times around.
[18 sts] - Finishing: Sl st into the next stitch, cut the yarn, and weave in the end. Pack the head firmly with fiberfill stuffing.
5. The Legs & Body
Legs (Make 2):
- Round 1: Start with a MR. Work 5 sc into the ring.
[5 sts] - Round 2: Work 5 inc around.
[10 sts] - Rounds 3–4: Work 10 sc around for 2 rows.
[10 sts] - Finishing Leg 1: Sl st to the next stitch, cut the yarn, and weave in the end.
- Finishing Leg 2: Do not cut the yarn. Keep it on your hook to connect to the first leg.
Body:
- Round 5 (Joining): Bring Leg 1 over. Join them together and work a pattern of [4 sc, 1 inc] 4 times completely around both legs.
[24 sts total] - Rounds 6–8: Work 24 sc around for 3 rows.
[24 sts] - Round 9: Repeat a pattern of [3 sc, 1 inc] 6 times around.
[30 sts] - Round 10: Work 30 sc around.
[30 sts] - Round 11: Repeat a pattern of [3 sc, 1 dec] 6 times around.
[24 sts] - Round 12: Repeat a pattern of [2 sc, 1 dec] 6 times around.
[18 sts] - Round 13: Work 18 sc around.
[18 sts] - Finishing: Sl st to the next stitch, cut the yarn leaving a long tail for sewing. Stuff the body firmly with fiberfill.
6. Assembly & Details
- Head & Body: Use the long tail from the body to sew the neck opening directly to the bottom opening of the head stitch-for-stitch (both have 18 stitches).
- Ears: Symmetrically pin the ears onto the sides of the head spanning across Rounds 3 to 5. Sew them securely in place.
- Arms: Position and sew the arms symmetrically on the sides of the upper torso right below the neck line.
- Face Details: Using a strand of black thread or fine black yarn, embroider minimalist closed “sleepy” eyes and a small nose/mouth combination onto the center of the head.
- Heart Attachment: Place the red crocheted heart onto the center of the bear’s chest between its paws. Secure it in place using hot glue or stitch it down neatly with a matching thread.
- Keychain Ring: Loop your metal keychain attachment through the top center of the head to complete the project!