
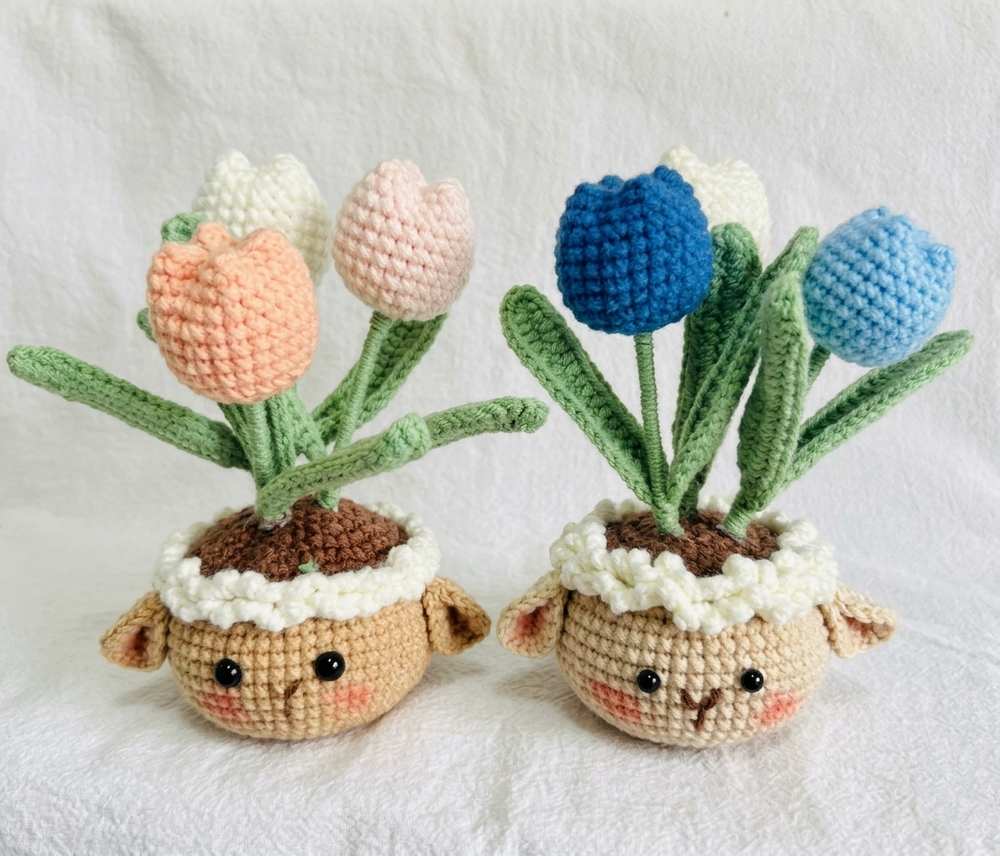
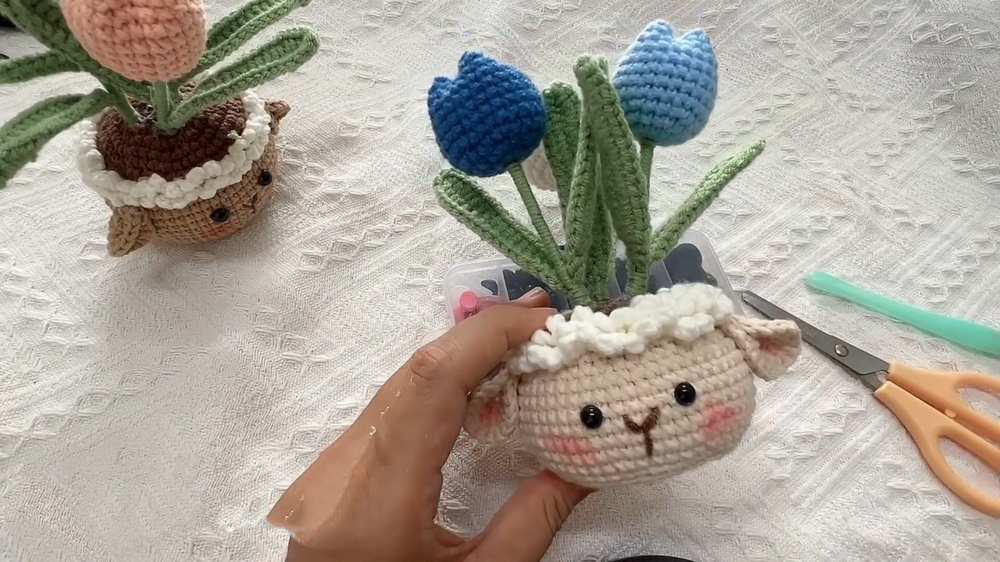
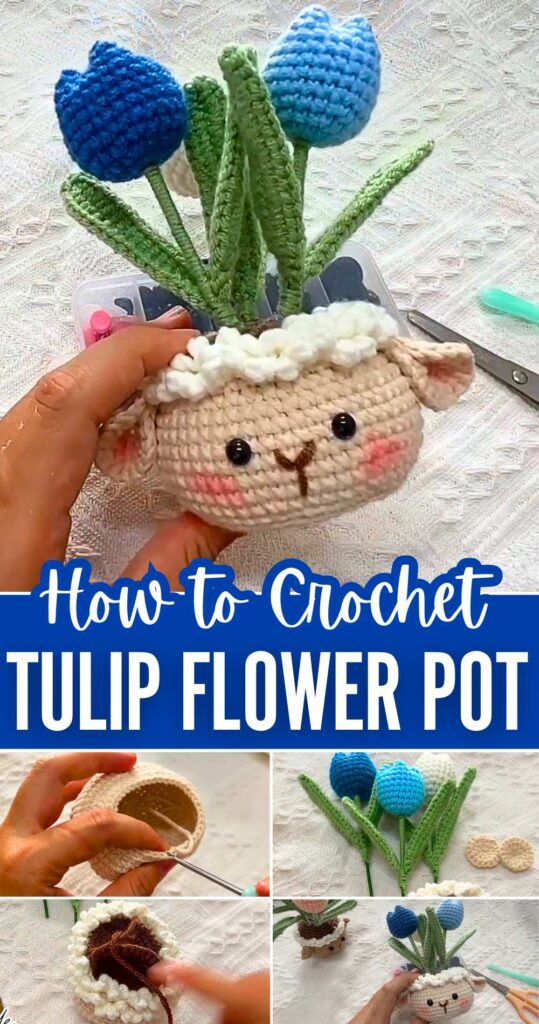
Learn how to crochet a KAWAII potted flower decoration that features many tulip flowers and a CUTE sheep face pot with this pattern. This crochet pot is similar to one made of pipe cleaner flower pots I discussed in the “pipe cleaner ” section of the ” potted flower decor” series. But now it is crocheted, and so it should be an Eternal room decoration and a Valentine’s Day gift.
We will use the “Pinch and Sew” method to crochet each tulip flower and wrap the craft wire with thin yarn to crochet the stems. You will want to crochet either of the two variations, which differ in the colors only. Now, continue reading for this amigurumi pot plant for beginners.
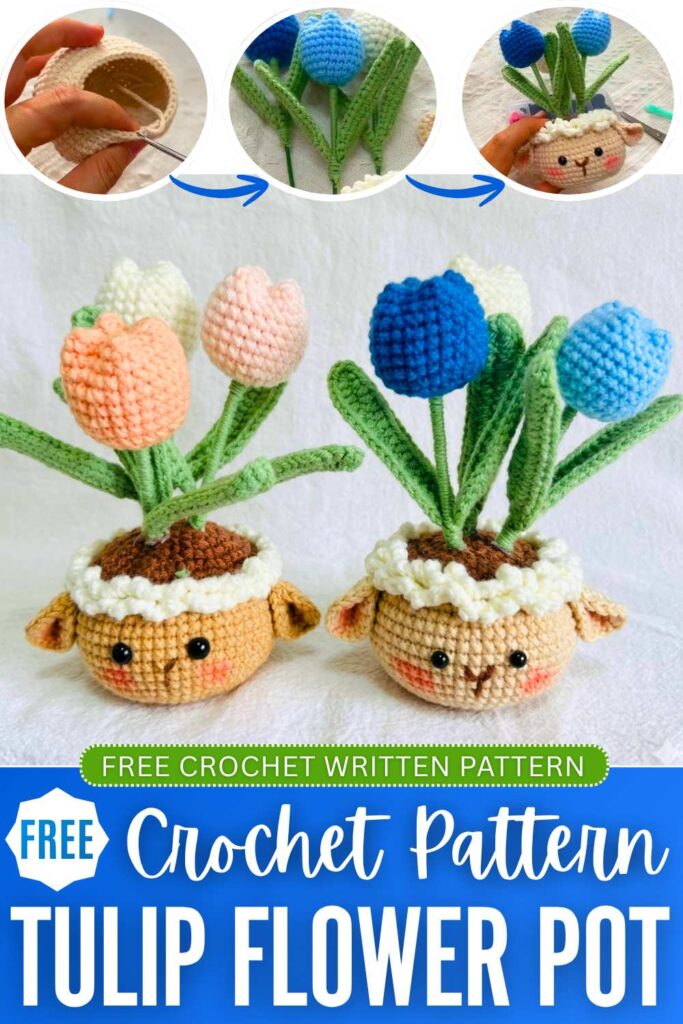

Crochet Kawaii Tulip Pot: Round-by-Round Pattern
Below is the free crochet pattern for this CUTE room decoration, kawaii tulip with a SMILING character, with the assembly in the end:
Materials
- Milk cotton yarn (Brown for soil/pot, White for sheep wool, Green for leaves, and your choice of colors for the Tulips and skin)
- 3.0 mm crochet hook
- Floral wire (thin for leaves, thick for stems)
- Fiberfill stuffing
- Plastic safety eyes or small black beads
- Hot glue
- Yarn needle and scissors
- A piece of cardboard or plastic for the pot base
- Pink blush
Abbreviations (US Terms)
- MR: Magic Ring
- ch: Chain
- sc: Single crochet
- hdc: Half double crochet
- inc: Increase (2 sc in one stitch)
- dec: Decrease (sc 2 together)
- slst: Slip stitch
- BLO: Back Loop Only
- FLO: Front Loop Only
- sts: Stitches
Quick Making Guide:
Pot Base & Body (Brown Yarn)
R1: MR, 8 sc (8 sts)
R2: 8 inc (16 sts)
R3: (1 sc, 1 inc) repeat 8 times (24 sts)
R4: (1 sc, 1 inc, 1 sc) repeat 8 times (32 sts)
R5: (3 sc, 1 inc) repeat 8 times (40 sts)
R6: (2 sc, 1 inc, 2 sc) repeat 8 times (48 sts)
R7: BLO, 48 sc (48 sts)
R8: (5 sc, 1 inc) repeat 8 times (56 sts)
R9-R14: 56 sc (56 sts)
R15: (5 sc, 1 dec) repeat 8 times (48 sts)
R16: (2 sc, 1 dec, 2 sc) repeat 8 times (40 sts)
R17: BLO, 40 sc (40 sts)
Fasten off and hide the yarn tail.
Sheep Wool (White Yarn)
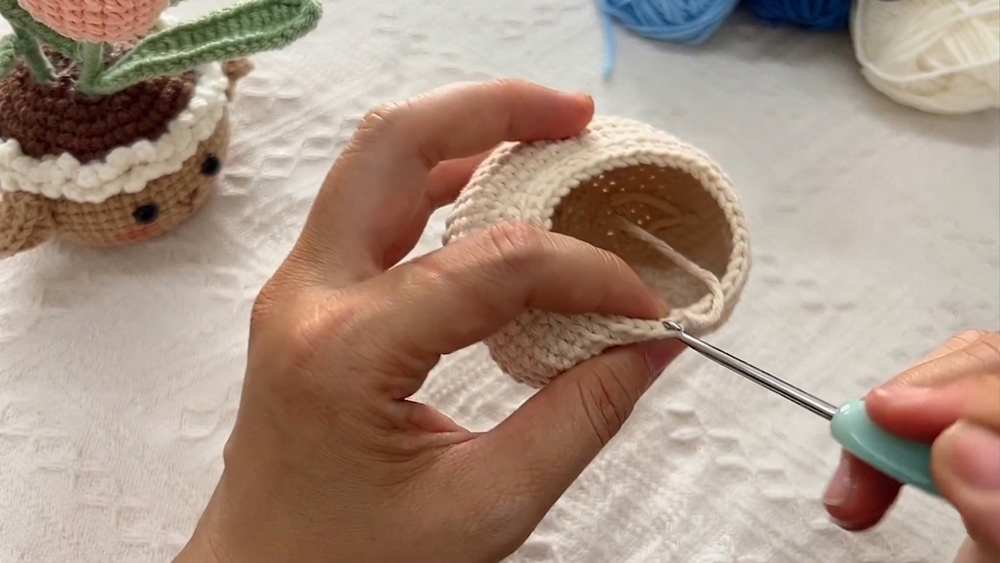
Attach white yarn to the exposed FLO of R17.
ch 4, slst into the next front loop – repeat this pattern entirely around R17.
Once finished with R17, move down to the exposed front loops of R16 and repeat the
ch 4, slst into the next front loop around to create a fluffy double layer of wool.
Fasten off and hide the ends.
Soil Top (Brown Yarn)
R1: MR, 8 sc (8 sts)
R2: 8 inc (16 sts)
R3: (1 sc, 1 inc) repeat 8 times (24 sts)
R4: (1 sc, 1 inc, 1 sc) repeat 8 times (32 sts)
R5: (3 sc, 1 inc) repeat 8 times (40 sts)
Fasten off, leaving a very long tail (around 30-40cm) for sewing later.
Sheep Ears (Make 2, Cream/Skin Yarn)
R1: MR, 6 sc (6 sts)
R2: 6 inc (12 sts)
Fasten off. Pinch the circles in half and use a small dab of hot glue to hold the folded ear shape.
Sheep Arms (Make 2, Cream/Skin Yarn)
R1: MR, 6 sc (6 sts)
Fasten off.
Tulip Flowers (Make 3 in different colors)
R1: MR, 6 sc (6 sts)
R2: 6 inc (12 sts)
R3: (1 sc, 1 inc) repeat 6 times (18 sts)
R4: (1 sc, 1 inc, 1 sc) repeat 6 times (24 sts)
R5-R11: 24 sc (24 sts)
Fasten off, leaving a long tail. Stuff the flower halfway with fiberfill.
Squeeze the top opening flat, pinch the center points together, and sew them shut in a cross (+) shape to form the 4 distinct tulip petals.
Leaves (Make 6, Green Yarn)
ch 20. Place a thin piece of wire against the chain so you can crochet over it.
Row 1: Starting in the 2nd ch from the hook:
1 slst, 2 sc, 13 hdc, 2 sc, 3 sc in the very last ch.
Rotate the piece to work on the opposite side of the chain (continuing to hide the wire):
2 sc, 13 hdc, 2 sc, 1 slst in the last st.
Fasten off. Twist the exposed wire ends together.
Wrap the excess green yarn around the bottom wire to hide it, and secure it with a tiny bit of glue.
Assembly
- Cut a small cardboard circle the exact size of the pot’s base and glue it inside the bottom of the pot so it stands perfectly flat.
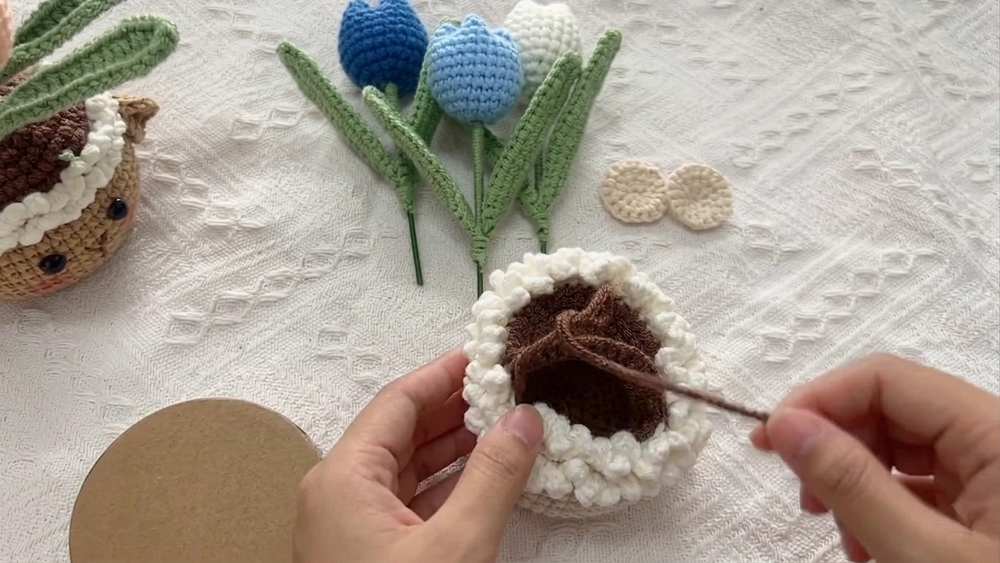
- Using the long brown yarn tail from the Soil Top, sew it to the inner loops of the Pot opening. Before closing it completely, stuff the pot firmly with fiberfill.
- Prepare the flower stems using the thick floral wires. Use hot glue to attach the tulips to the tops of the stems. Wrap the stems with green yarn (if not pre-wrapped) and attach 2 leaves to the sides of each stem using glue.
- Puncture holes into the soil on the top of the pot and insert the finished tulip stems firmly.
- Glue the folded ears to the upper sides of the pot’s fluffy edge.
- Glue the tiny arms and the safety eyes to the front of the pot.
- Apply a little bit of pink blush to the cheeks just below the eyes to finish.
Learn with the Video Tutorial

About "Talha"
Hey, I’m Talha, the Crafter on Craftstive.com. I love to share guides on folding cute origami models and paper crafts, and I am always ready to inspire your next craft project with my weekly craft discussions.