
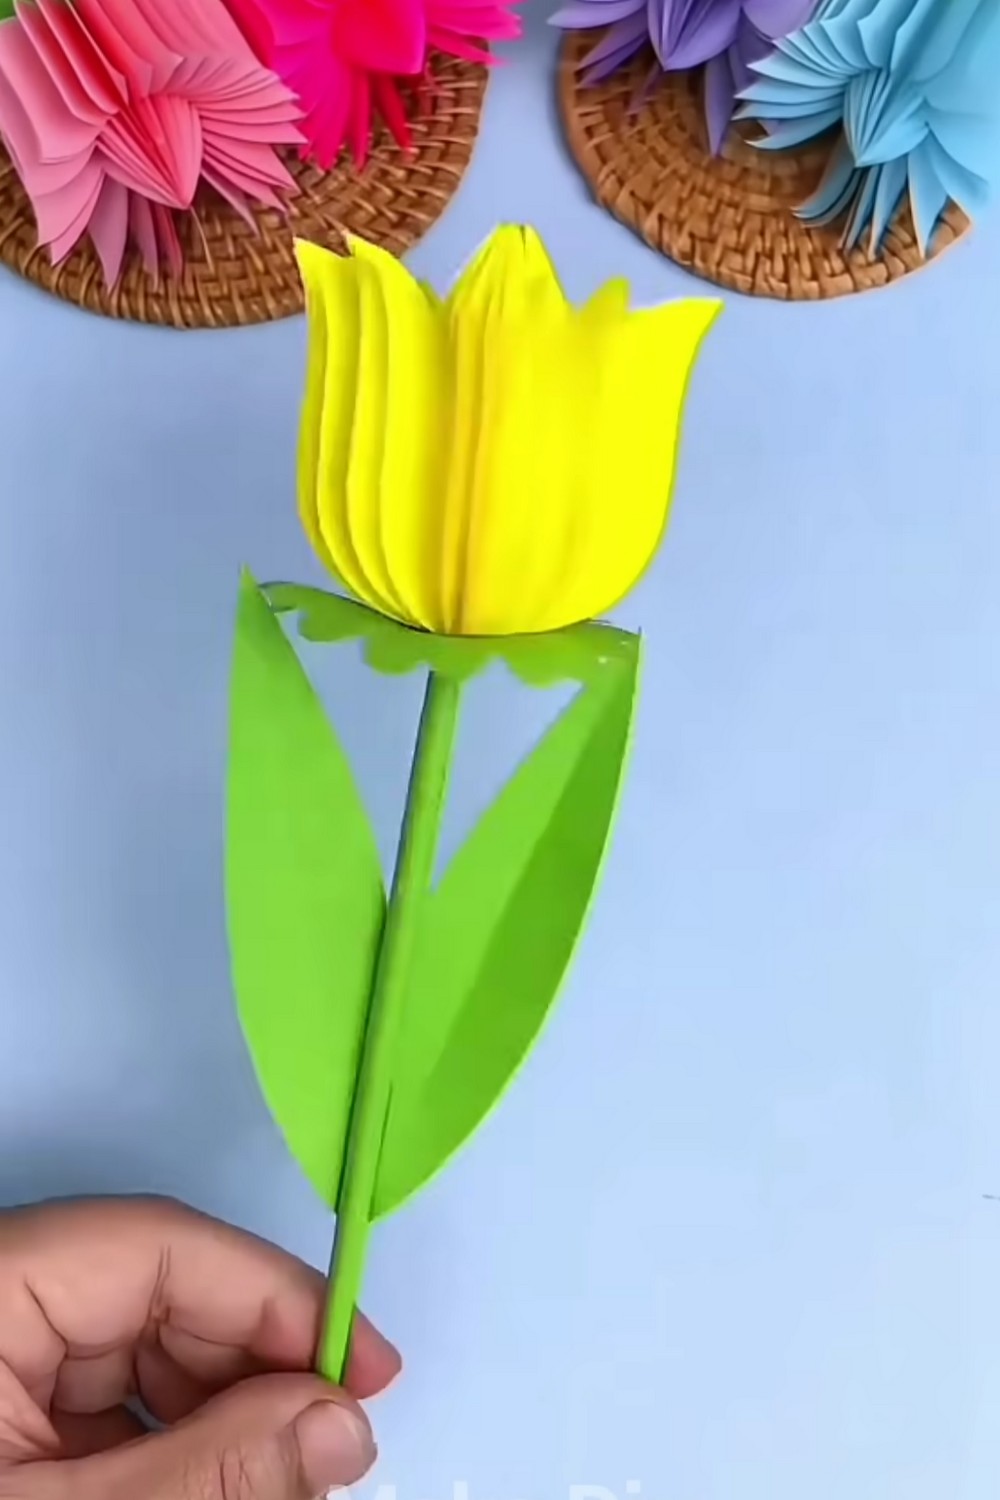
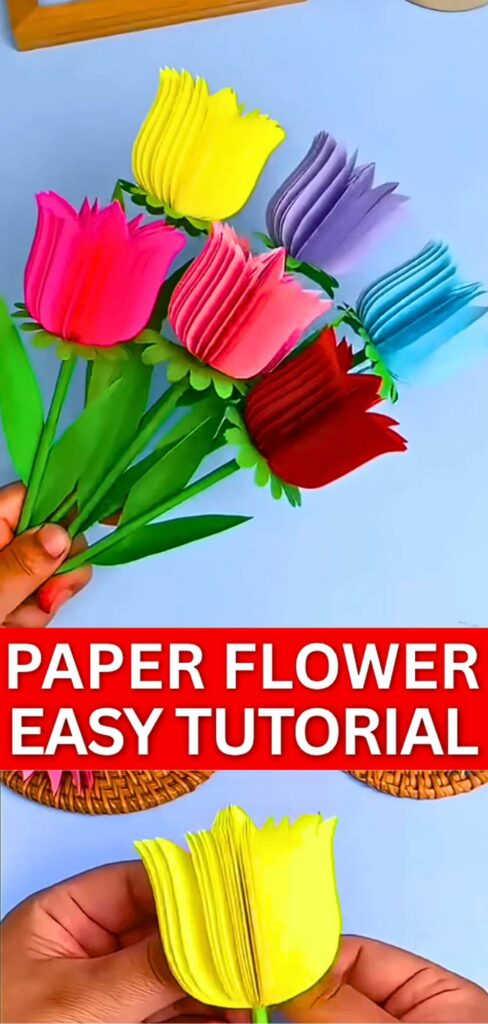
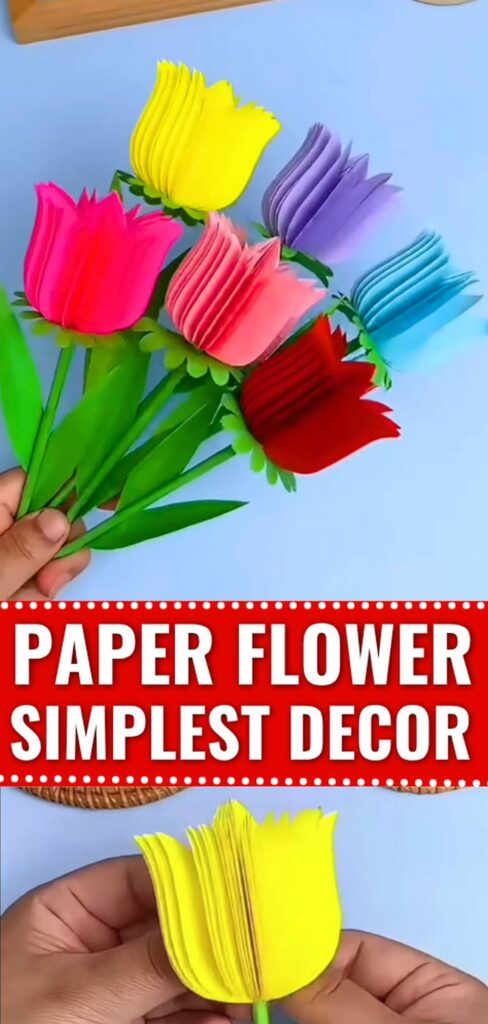
These instructions will show you how to craft a PERFECT 3D tulip flower out of paper in 5 simple steps. Prepare it as a Mother’s Day gift, graduation, add to a bouquet, or put in your vase as a welcoming “spring memory” decoration for guests. Yellow, purple, pink, red, blue, or even parrot, you can make it in any color. Luckily, it is not an origami tulip!
As you see, it has a NICE tulip shape and is pretty bulky. All this depends on how perfect your tulip sketch (print the template) is as a guide and how many folded tulip petals you layer.
We shall also make a paper stem, a sepal, and slice leaves for it. You can put up one in less than 12 minutes, so make it this summer for sure to add color in that season. Continue reading as I shall explain to you step-by-step on making it below.
Skill Needed: Sketching, precise cutting, and basic origami
Craft Type: For adults
Time: 15 – 20 minutes
Technique Introduction: With this tulip craft, you can practice the following techniques:
- Cut a perfect sepal by folding a square sheet many times so each leaf of the sepal is symmetrical to the other.
- Making a paper tube by folding a rectangular piece of paper.
- The method of joining the petals so you end up with a 3D head of the flower (most important!)
- Making a punch hole

Paper Tulip Guide: Step-by-Step Instructions
Follow these step-by-step instructions to make this paper flower by yourself:
Materials Needed
- Yellow Craft Paper: For the tulip petals, or you can use purple, pink, red, or blue.
- Green Craft Paper: For the flower stem.
- Pen or Pencil: To sketch the petal shape.
- Scissors: For cutting out the shapes.
- Craft Glue: Liquid craft glue or gum stick will also work fine and is recommended.
Step 1: Fold and Sketch the Petal Shape
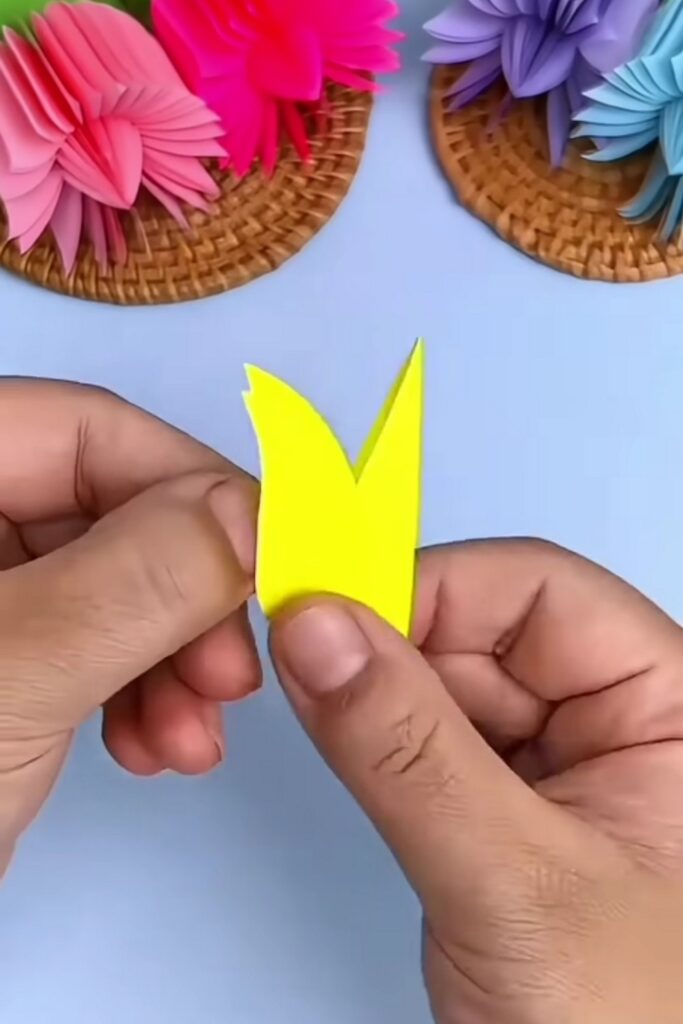
Start with a small rectangle of yellow craft paper. Fold the rectangle in half. On the top layer, use a pencil to outline half a tulip flower using the folded edge.
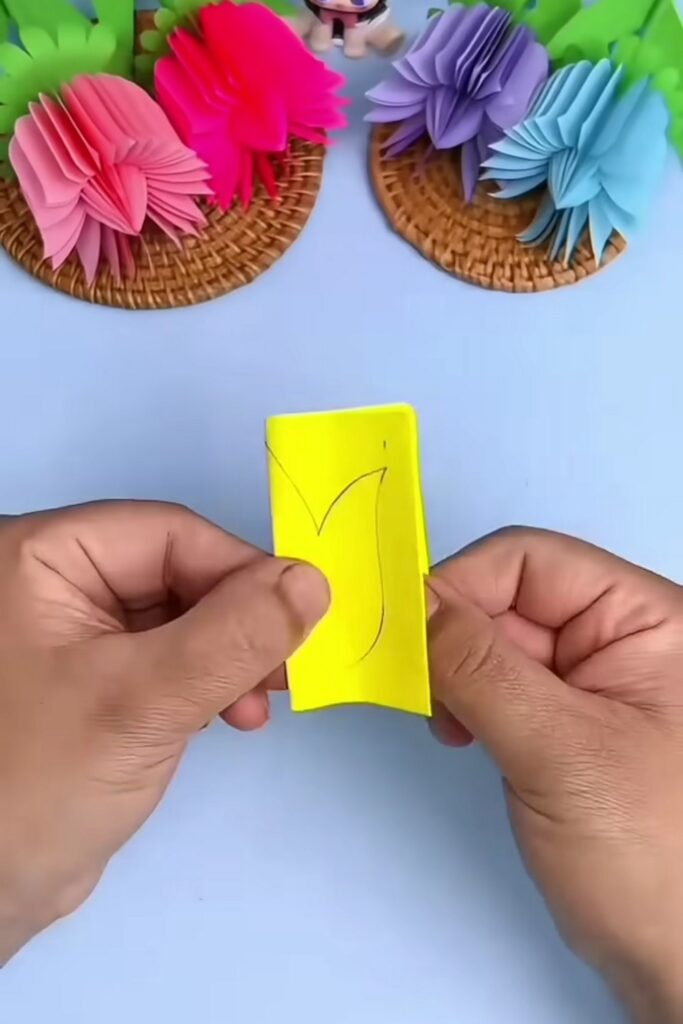
The sketch should have a smooth, curved bottom and scalloped, pointed tips at the top. You can also download the picture and use it as a guide.
Step 2: Cut Out the Shape
Keep the yellow paper folded in half.

Take your scissors and carefully cut along the line you just sketched.

Step 3: The Flat Tulip
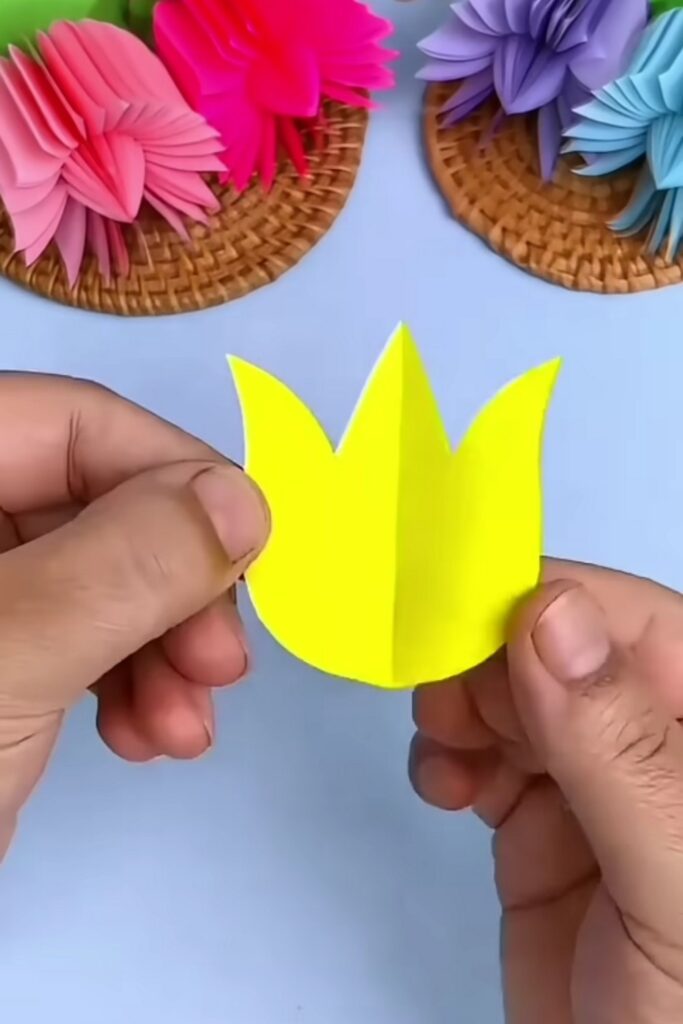
Unfold the paper you just cut. You will now have a perfectly symmetrical, flat tulip shape.
Step 4: Fold the Petal in Half
Take that flat tulip shape and fold it back in half along the original center crease. You must be accurate with the cutting and be sure that all the petals you cut are equally accurate.
Step 5: Make Multiple Petals
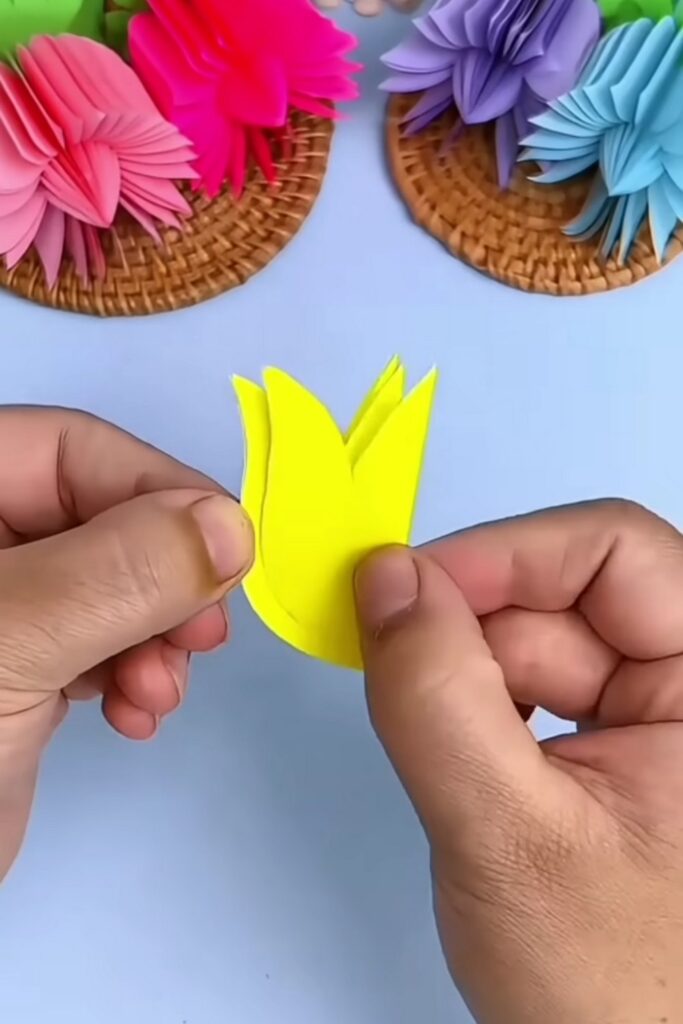
To give the flower its 3D volume, you need more than one petal piece. Repeat Steps 1 through 4 to make multiple identical, folded tulip pieces (using 4 to 9 pieces usually provides a nice, full shape). Stack them together to make sure they are roughly the same size. Keep each of the pieces folded in half.
Step 6: Glue the Petals Together
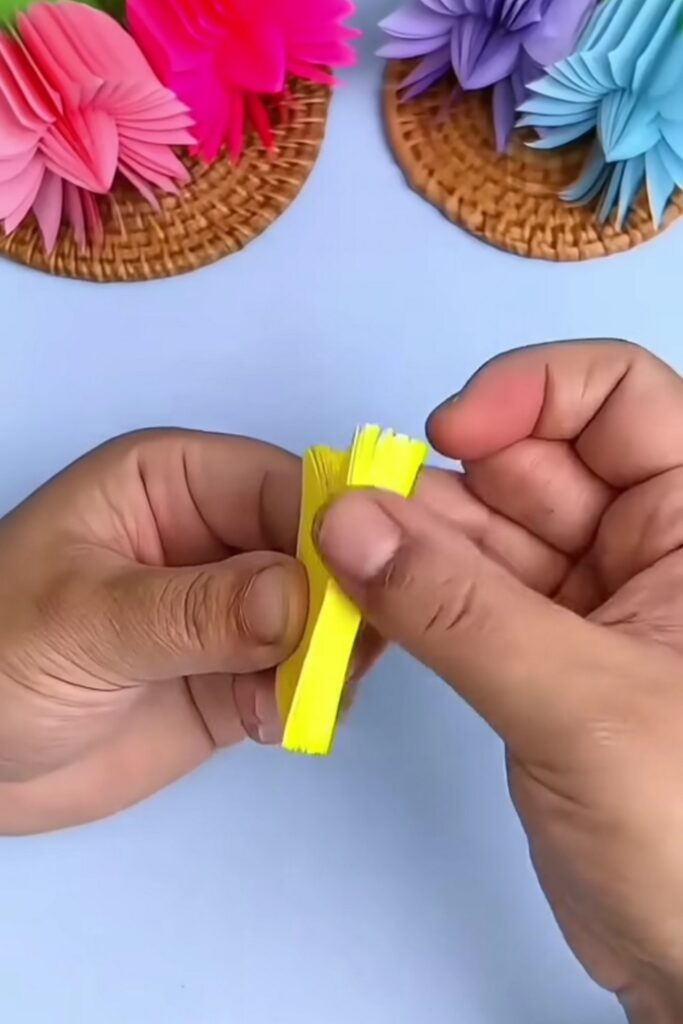
Stack all the tulip pieces and attach them from the back of the folding hinge, apply a thin layer of glue, and rub with your finger all around the back.
Step 7: Roll the Stem
Take a piece of green craft paper. Starting from one corner, roll the paper tightly and diagonally inward to create a long tube as the stem.
Once you reach the end of the paper, secure the last corner with a small amount of glue to keep the stem from unrolling.

Step 8: Attach the Flower to the Stem
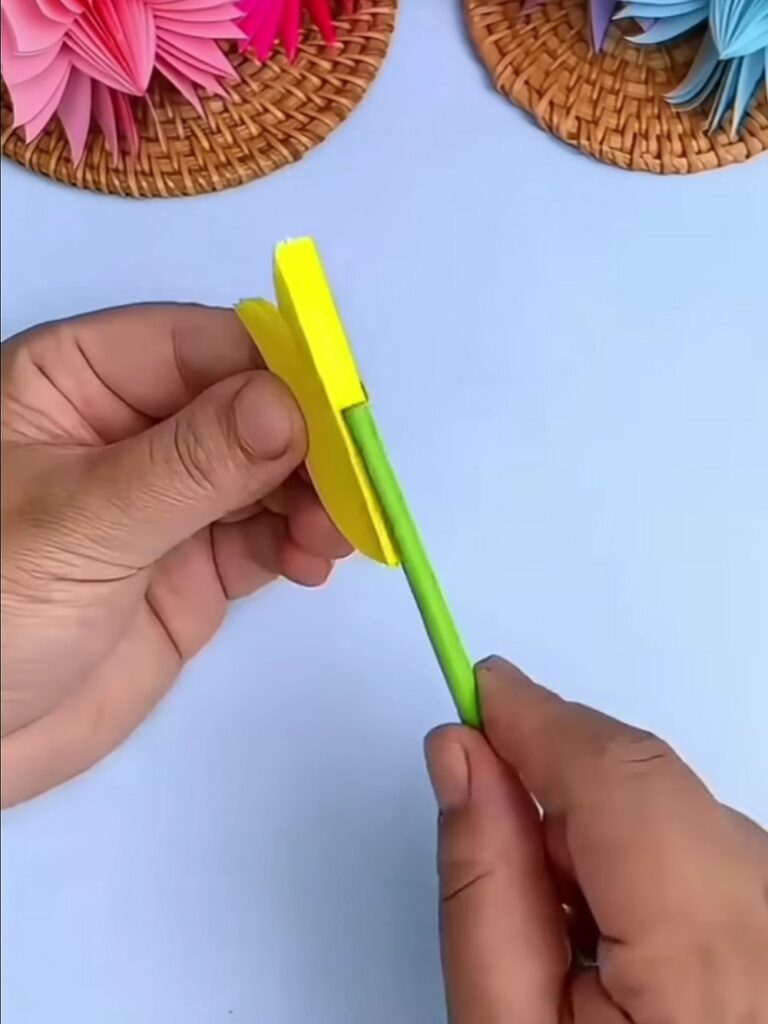
Apply a little more glue to the back of the stack and attach the stem to it. Be sure the stem does not surpass half of the height of the petal stack.
Step 9: Open the Flower
Once the glue has dried enough to hold the stem securely, gently fan out the individual yellow petal flaps. Space them evenly around and glue the first and the last petal. This way, you will have a voluminous head for the flower.
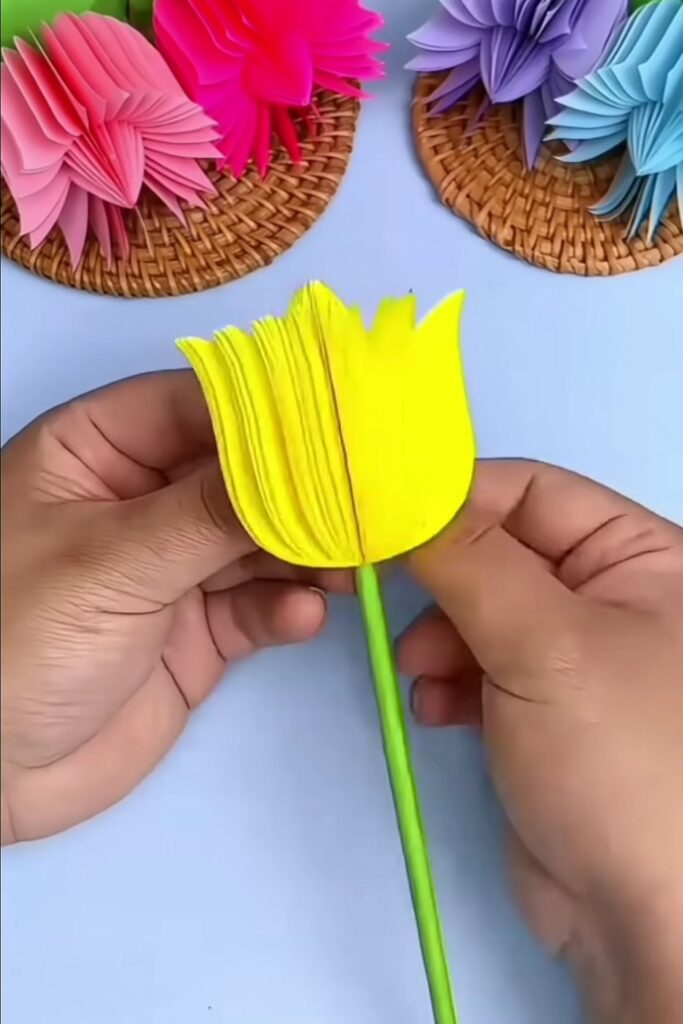
Step 10: Fold and Cut the Sepal (The “Heart” Method)
- Start with a small square of green craft paper.
- Square Fold: Fold the square in half to make a rectangle, then in half again to form a smaller square.
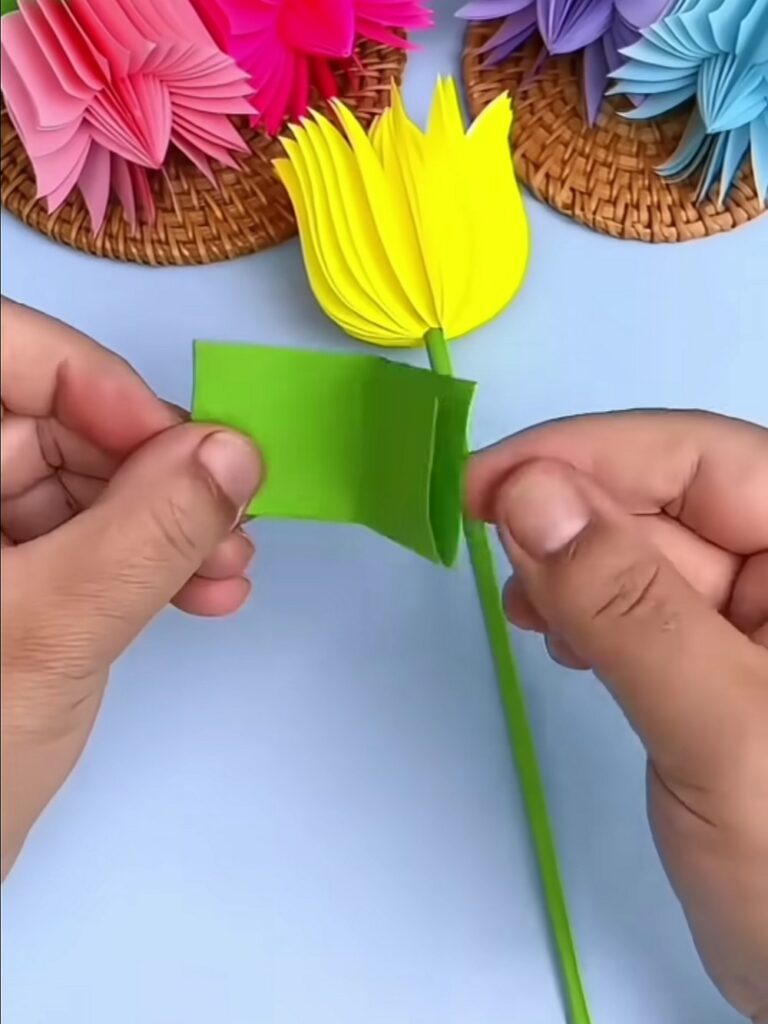
- Triangle Fold: Fold that small square diagonally to create a triangle.
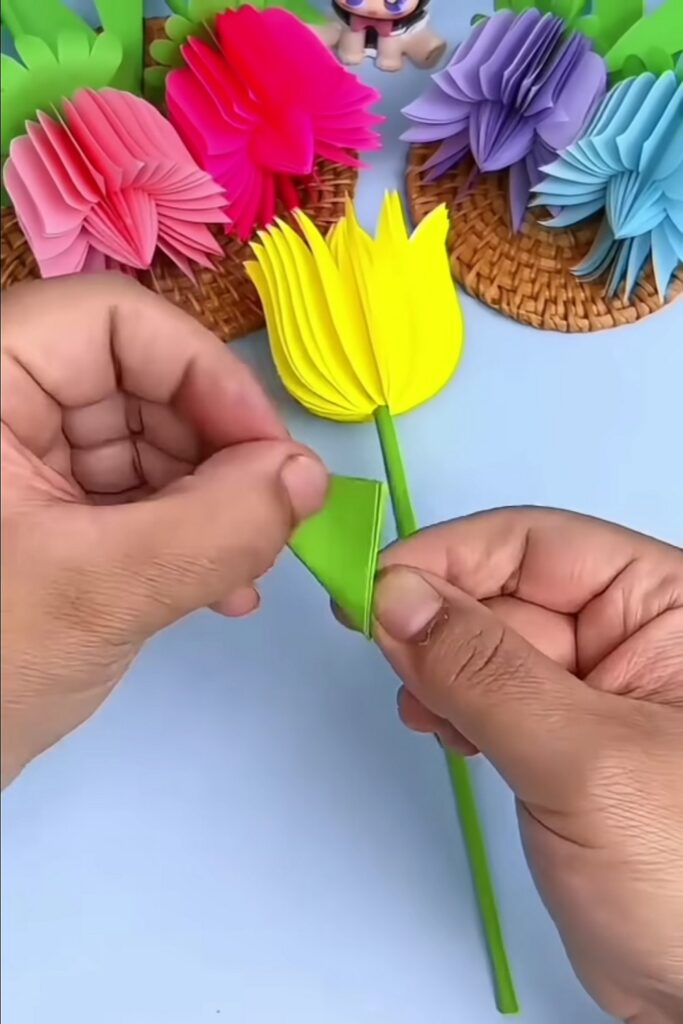
- The Heart Cut: Hold the triangle by the folded center point. Use your scissors to cut an elongated heart shape (or a deep “U” shape) starting from the open edges and curving toward the center.
- The Center Notch: Snip a tiny bit off the very tip of the folded point to create a center hole.
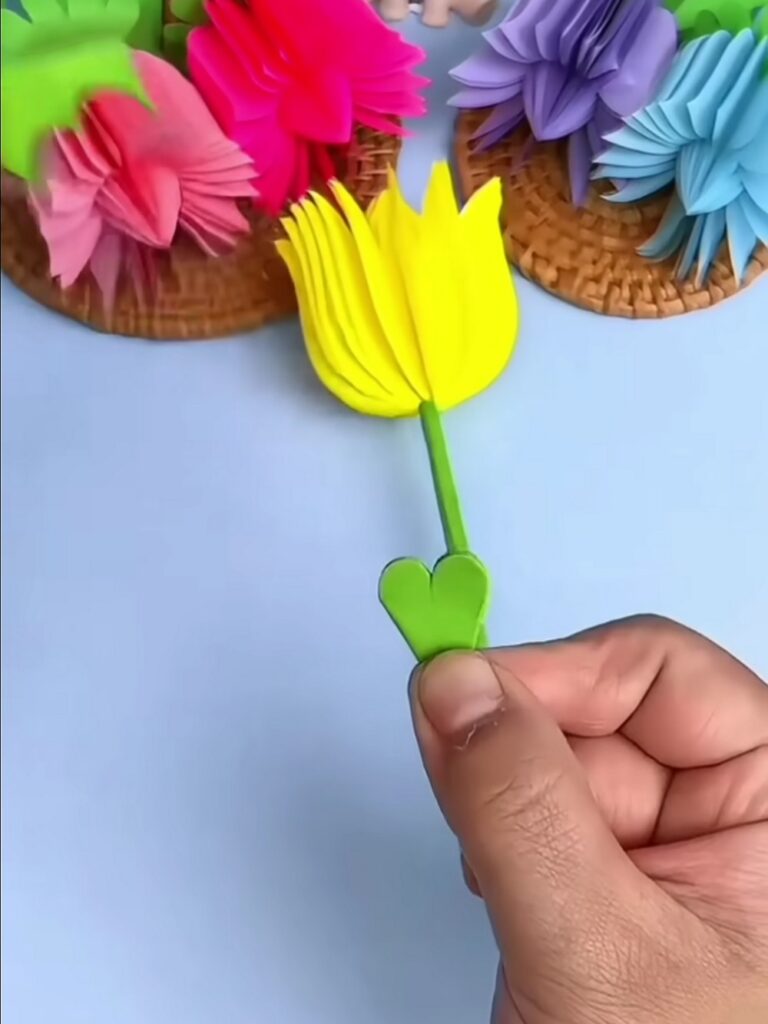
Step 11: Unfold and Slide
Carefully unfold the paper. You will see a green, circular sepal with eight rounded lobes that look like tiny leaves.
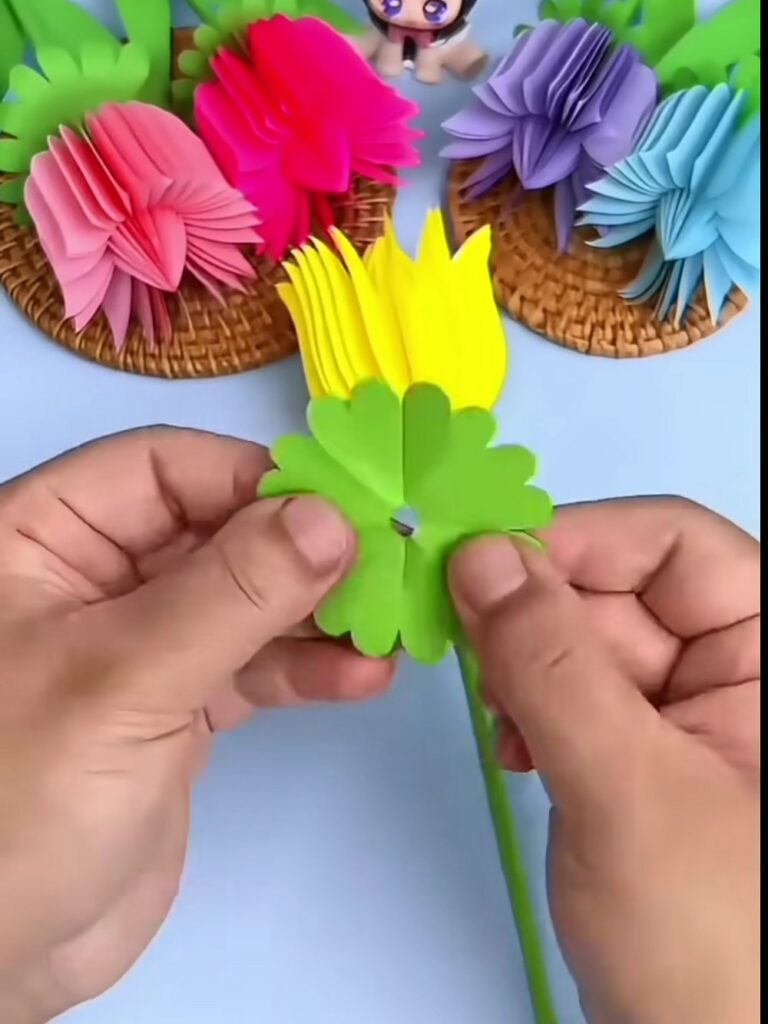
Slide the bottom of your green stem through the center hole you just snipped.
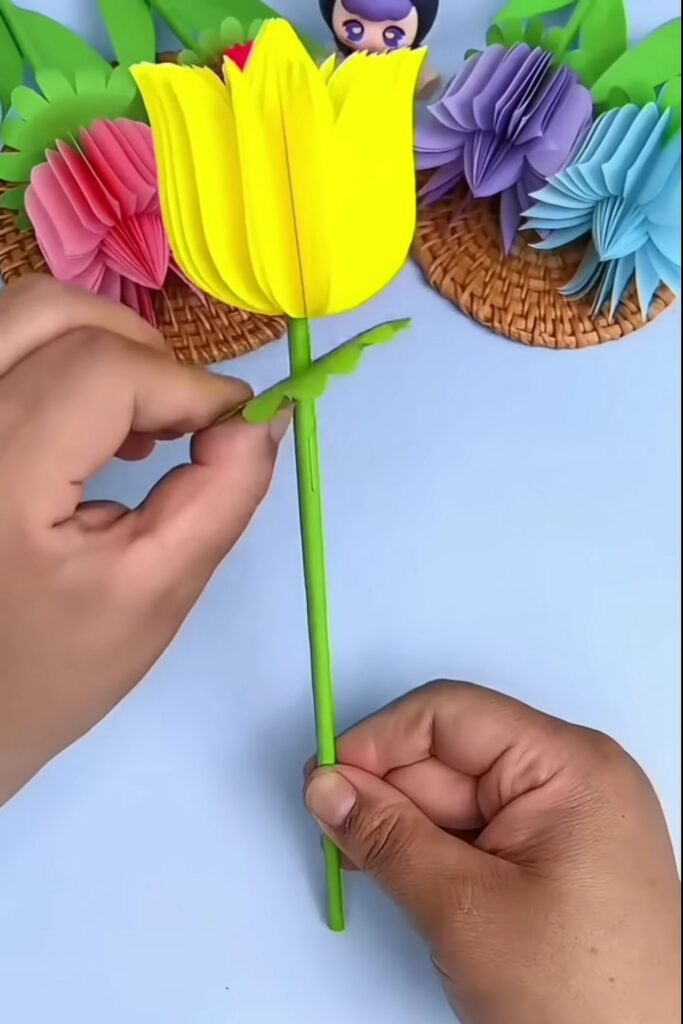
Step 12: Glue the Base
Move the sepal all the way up the stem until it touches the bottom of the yellow tulip petals. Apply a small dab of glue to the stem just below the flower and press the sepal against it. This hides the connection point where the flower meets the stem.
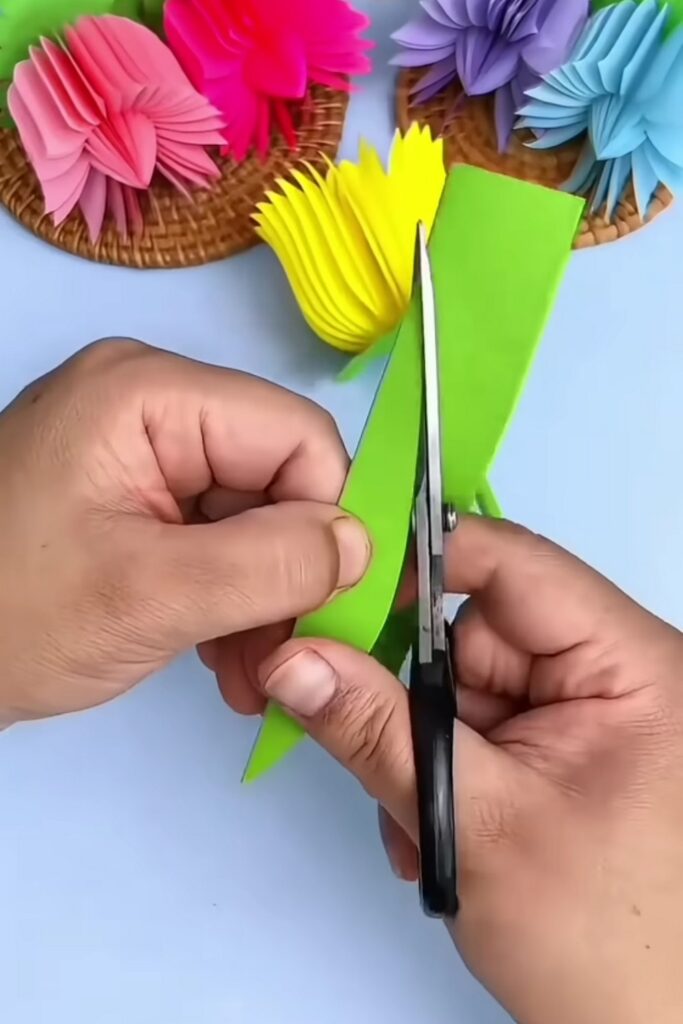
Step 13: Shape the Tapered Leaf
Cut a long, wide strip of green paper. Fold it in half lengthwise and cut a long, sweeping curve that tapers to a sharp point at the top. This makes the tall leaf seen in real tulips.
Feels Difficult?
Step 14: Attach the Leaf
Apply glue to the bottom base of the leaf. Wrap it around the lower half of the green stem. You can use your thumb to gently pull and curve the paper leaf outward so it bows gracefully away from the stem.
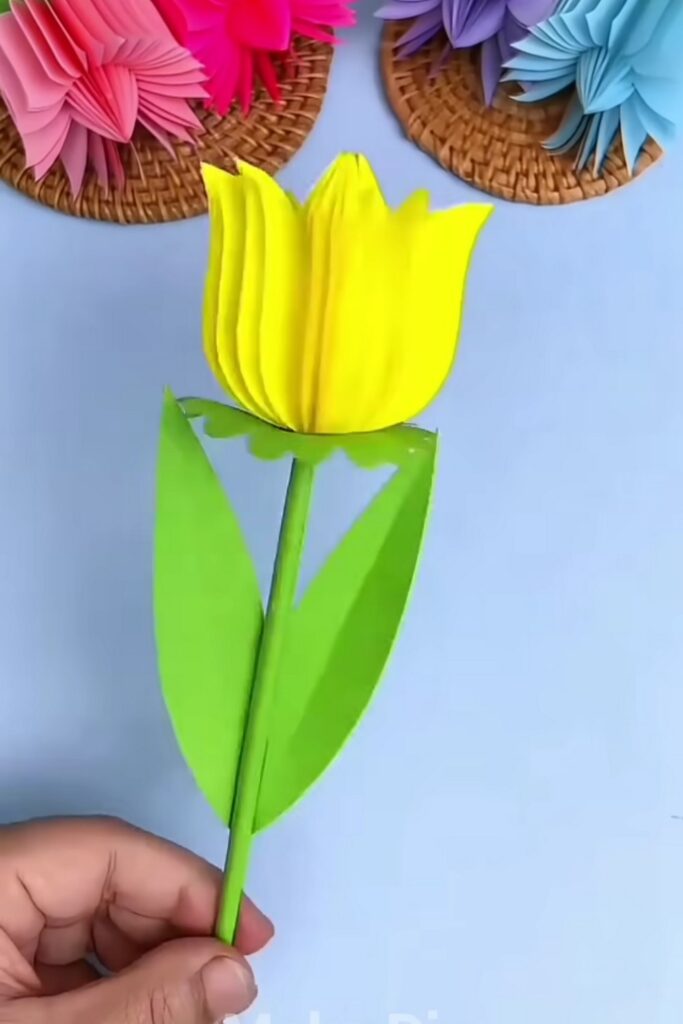
And that’s how you can make a tulip flower out of paper for you and the kids.
Was this Tutorial Helpful? Tell us in the Comments.
Your feedback is a great way for us to improve the tutorials. Did you find the tutorial helpful? Be sure to subscribe to the creator’s channel!
About "MAKE DIY via YouTube"
She is running one of the most special corner of paper crafts that are all quick and easier and require no skill!

About "Talha"
Hey, I’m Talha, the Crafter on Craftstive.com. I love to share guides on folding cute origami models and paper crafts, and I am always ready to inspire your next craft project with my weekly craft discussions.