
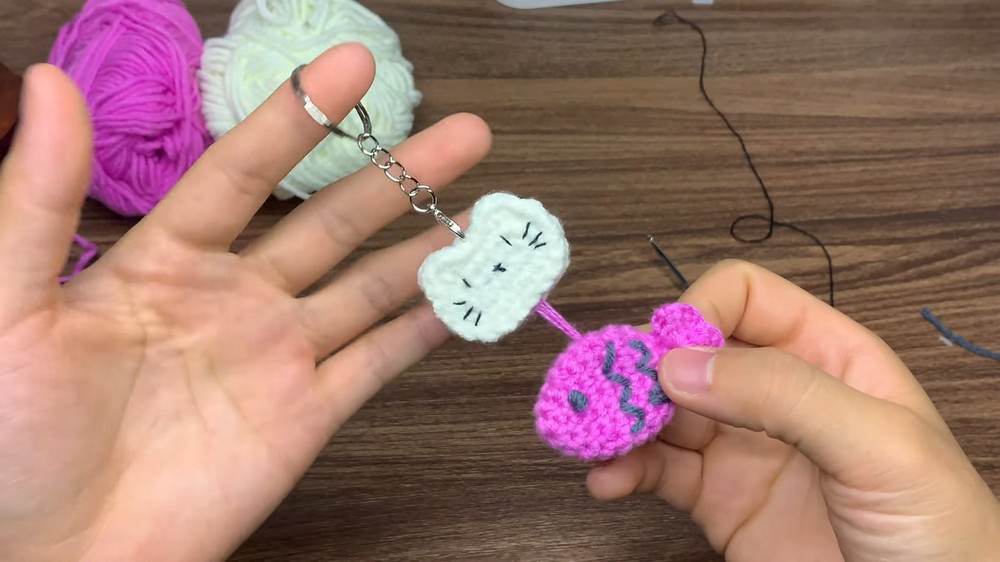
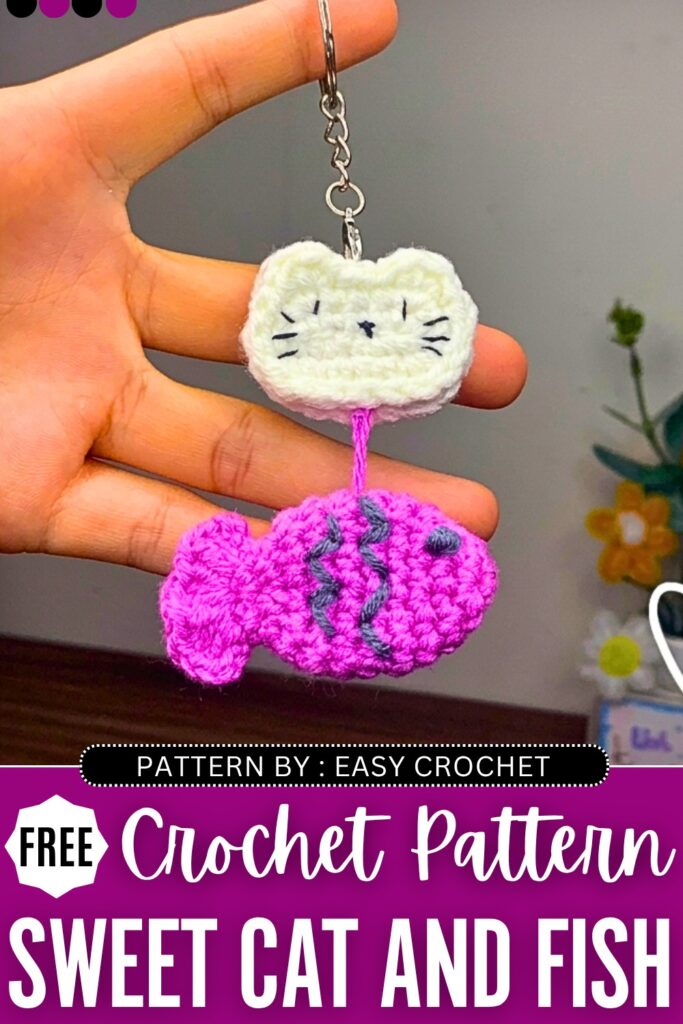
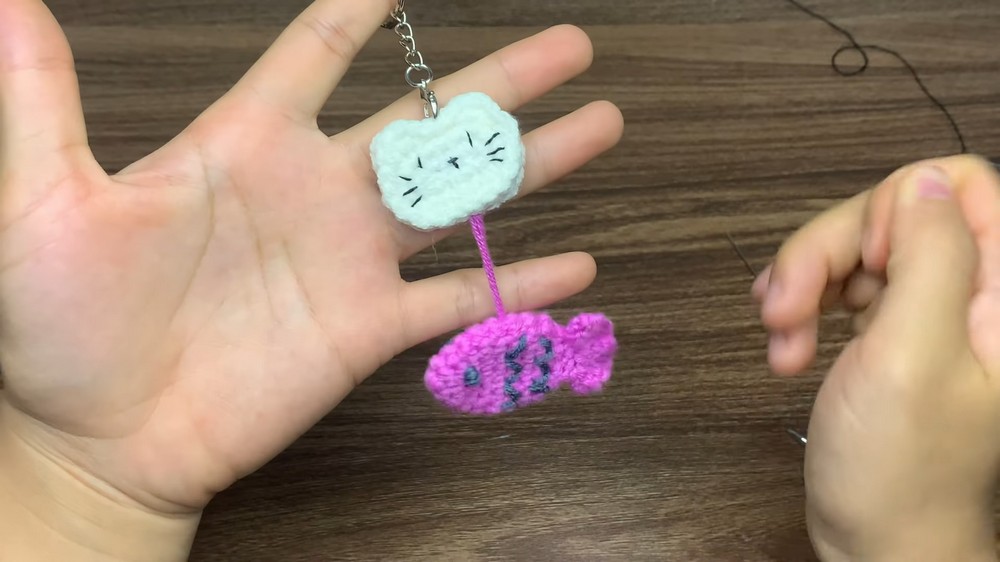
Let’s crochet this cute & miniature no-stuffing cat face and little fish keychain and bag charm with this free pattern. This 15-minute crochet summer accessory is designed for beach tote bags and small pouches. Many of you might have already heard or maybe crocheted the grilled fish amigurumi. This pattern will crochet the same fish but in another color-combo.
We will also crochet a small kawaii marshmallow cat face. So, it will make an irresistible present for a foodie, too. You will also love the wavy embroidery spots on the body of the fish and the kawaii face embroidery of the white cat. Overall, this is the best summer bag charm, so continue reading for the full pattern.
Crochet Cat & Fish Bag Charm: Round-by-Round Pattern
This adorable two-piece crochet keychain features a simple amigurumi fish and a cute cat head. The fish is made in continuous rounds, while the cat head is made by crocheting two flat pieces and assembling them.
Materials Needed
- Yarn: 5-ply Milk Cotton yarn (approximately 2mm thick). The tutorial uses orange/yellow for the cat and fish, plus a small amount of white for the cat’s face and fish details.
- Crochet Hook: 2.5 mm hook
- Tools:
- Tapestry needle for weaving ends and embroidering.
- Stitch markers (or a scrap piece of contrasting yarn).
- Black embroidery thread or thin yarn (for the facial features).
- Hot glue gun or fabric glue (for attaching the two cat head pieces together, though they can also be sewn).
- A keychain ring/clip.
Abbreviations (US Crochet Terms)
- MR: Magic Ring
- Ch: Chain
- Sc: Single crochet
- Hdc: Half double crochet
- Dc: Double crochet
- Inc: Increase (2 sc in the same stitch)
- Dec: Decrease (single crochet 2 stitches together)
- Sl st: Slip stitch
- St(s): Stitch(es)
Quick Making Guide
- Pattern Structure: The fish is worked in a continuous spiral from nose to tail, closing flat at the end to create the tail fins. The cat head consists of two identical flat pieces glued or sewn back-to-back.
- Technique Tip: Use a stitch marker or a scrap piece of yarn to mark the first stitch of every round on the fish to keep track of your stitch counts.
- Assembly: Facial features are embroidered onto the flat cat piece before gluing/sewing the front and back together to hide the messy threads inside.
Part 1: The Fish
The fish is worked in continuous rounds. Do not slip stitch to join at the end of each round unless instructed.
Round 1: Create a Magic Ring, ch 1, work 6 sc into the MR. Pull tight. (6 sts)
Round 2: (1 sc, 1 inc) repeat 3 times around. (9 sts)
Round 3: (1 sc, 1 inc, 1 sc) repeat 3 times around. (12 sts)
Round 4: (3 sc, 1 inc) repeat 3 times around. (15 sts)
Rounds 5–8: 1 sc in every stitch around. (15 sts for 4 rounds)
Round 9: (3 sc, 1 dec) repeat 3 times around. (12 sts)
Round 10: 6 dec. (6 sts)
Pinch the opening flat so the remaining 6 stitches align perfectly on top of each other (3 stitches on each side).
Creating the Tail:
- Sl st into the first stitch. Ch 1.
- Insert your hook through both layers of the flattened opening (the first stitch of the front layer and the corresponding stitch on the back layer). Work 1 sc through both layers.
- Work 1 sc through both layers of the next stitch.
- Work 1 sc through both layers of the final stitch. You have now closed the fish with 3 sc across the edge.
- Top Fin: Chain 3. Turn your work. In the first sc space, work 2 dc.
- Chain 1. In the next (middle) sc space, work (1 hdc, 2 dc, 1 hdc) all in the same space.
- Chain 1. In the final sc space, work 2 dc.
- Chain 3, and sl st into the same final space to anchor the fin.
- Fasten off and weave in your ends.
Part 2: The Cat Head
You will need to make two identical pieces for the cat head.
Round 1 (The Base Chain & Oval):
- Create a slip knot and Ch 6.
- Skip the first chain from the hook. Work 1 sc in the 2nd chain.
- Work 1 sc in each of the next 3 chains. (You have 4 single crochets total).
- In the final chain, work 3 sc all into the same chain space. (This turns your work around to the bottom side of the chain).
- Working along the bottom loops of the chain: work 1 sc in each of the next 3 spaces.
- Work 2 sc (an inc) in the final space.
- Sl st to the very first sc to join the round. Pull tight.
Round 2:
- Ch 1.
- Work 1 inc in the first st.
- Work 3 sc.
- Work 3 inc (2 sc in each of the next 3 stitches at the curve).
- Work 3 sc.
- Work 2 inc (2 sc in each of the last 2 stitches).
- Sl st to the first st to join. Pull tight.
Round 3 (Creating the Ears):
- Ch 1, pull tight.
- Sl st into the first stitch.
- First Ear: In the next stitch, work (1 sc, 1 hdc, 1 sc) all in the same stitch space.
- Sl st into the next 3 stitches.
- Second Ear: In the next stitch, work (1 sc, 1 hdc, 1 sc) all in the same stitch space.
- Sl st into each of the remaining 12 stitches around the face.
- Fasten off. Use a needle for an invisible finish by threading the yarn tail through the first stitch of the round and back down through the center of the last stitch. Weave in ends.
Make a second piece exactly the same way.
Part 3: Assembly & Details
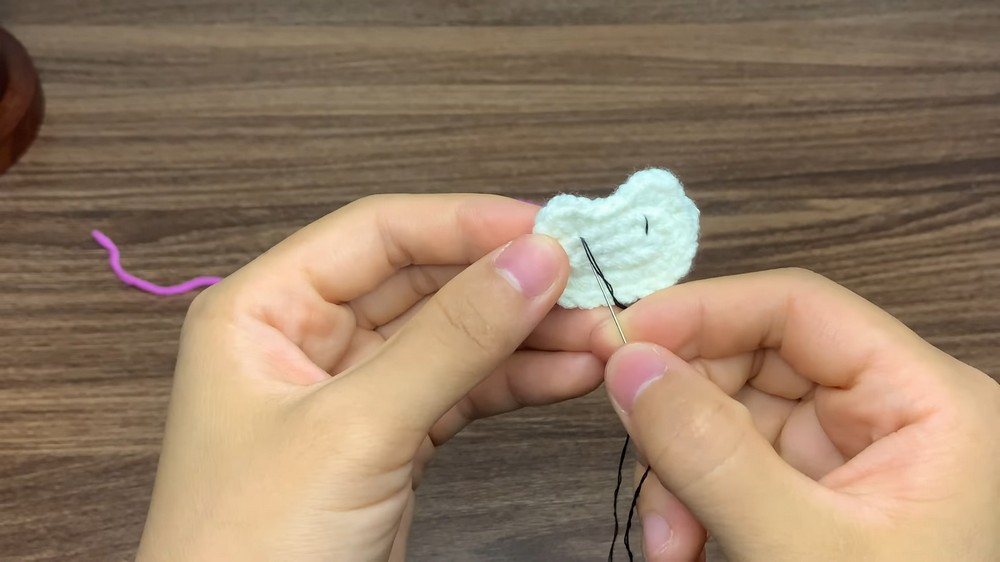
- Facial Features (Cat): Take one of your cat head pieces to serve as the front face. Using black embroidery thread and a needle, embroider two small horizontal lines for the closed, happy eyes, a small triangular nose, and the classic inverted “Y” shaped mouth. Use a small amount of white yarn to embroider cheeks or highlights next to the eyes.
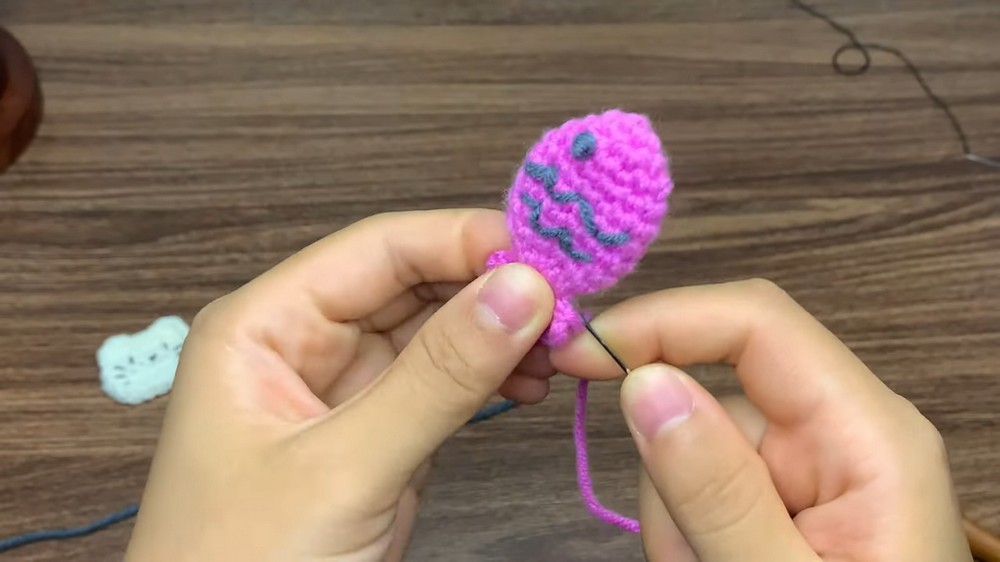
- Fish Details: Use white yarn to stitch a small cross or line on the side of the fish for an eye.
- Assemble the Head: Take the embroidered front cat piece and the plain back cat piece. Place them wrong-sides together (so the neat sides are facing outward). Use a hot glue gun or fabric glue carefully around the edges to secure them together. Alternatively, you can leave a long tail on the back piece and sew them together.
- Attach Keychain: Use a piece of yarn to sew the top of the cat’s head to your keychain clip. Thread another small piece of yarn through the bottom of the cat’s chin and attach it to the mouth of the fish so it dangles beneath the cat. Fasten off and hide all knots.
& Details
-
Facial Features (Cat): Take one of your cat head pieces to serve as the front face. Using black embroidery thread and a needle, embroider two small horizontal lines for the closed, happy eyes, a small triangular nose, and the classic inverted ‘Y’ shaped mouth. Use a small amount of white yarn to embroider cheeks or highlights next to the eyes.
-
Fish Details: Use white yarn to stitch a small cross or line on the side of the fish for an eye.
-
Assemble the Head: Take the embroidered front cat piece and the plain back cat piece. Place them wrong-sides together (so the neat sides are facing outward). Use a hot glue gun or fabric glue carefully around the edges to secure them together. (Alternatively, you can leave a long tail on the back piece and sew them together).
-
Attach Keychain: Use a piece of yarn to sew the top of the cat’s head to your keychain clip. Thread another small piece of yarn through the bottom of the cat’s chin and attach it to the mouth of the fish so it dangles beneath the cat. Fasten off and hide all knots.

About "Talha"
Hey, I’m Talha, the Crafter on Craftstive.com. I love to share guides on folding cute origami models and paper crafts, and I am always ready to inspire your next craft project with my weekly craft discussions.