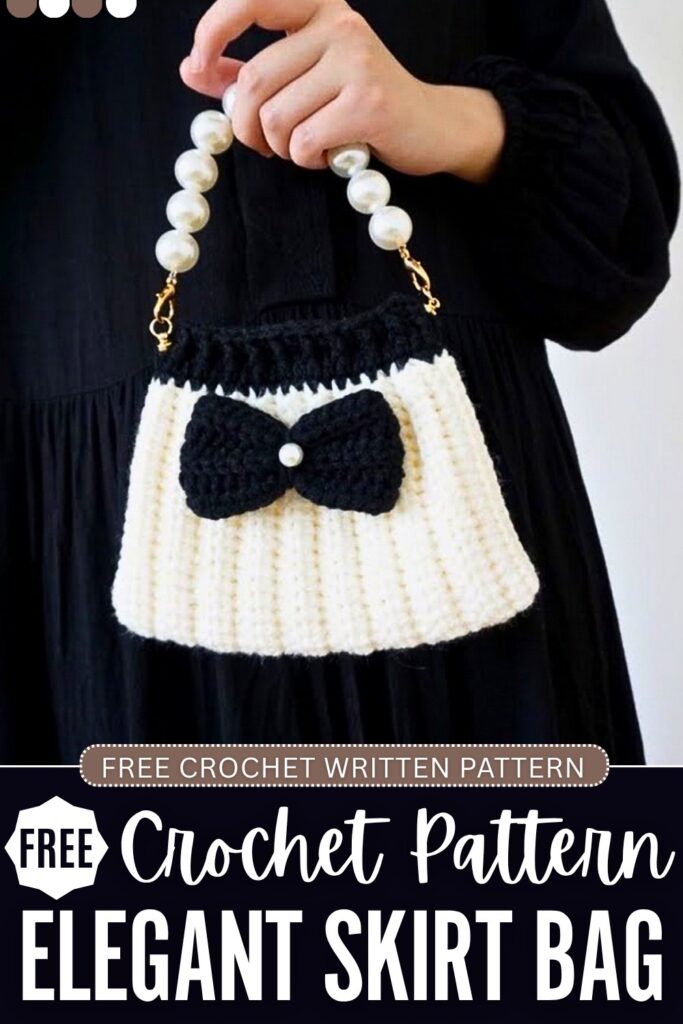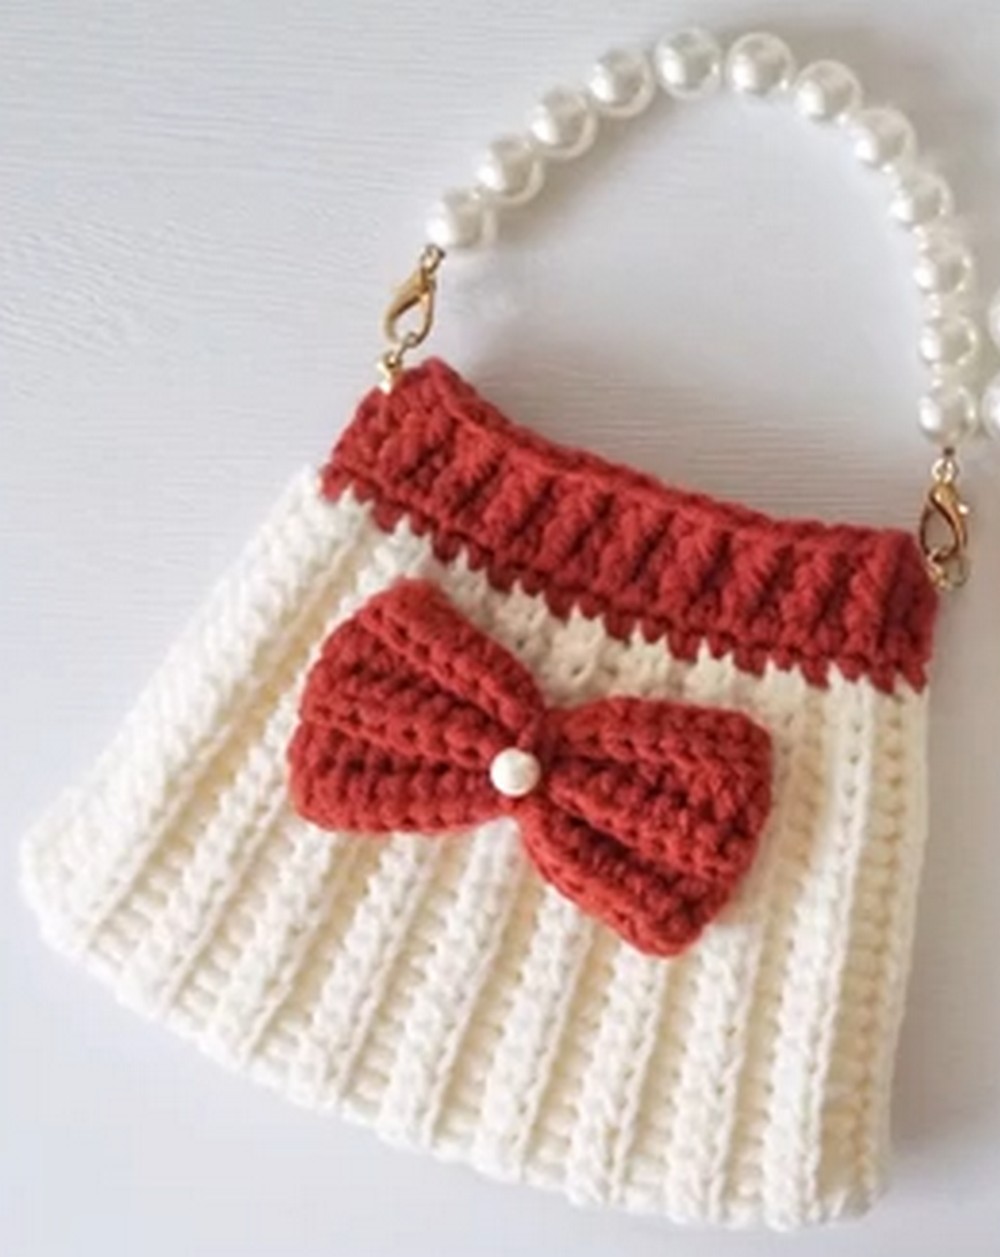
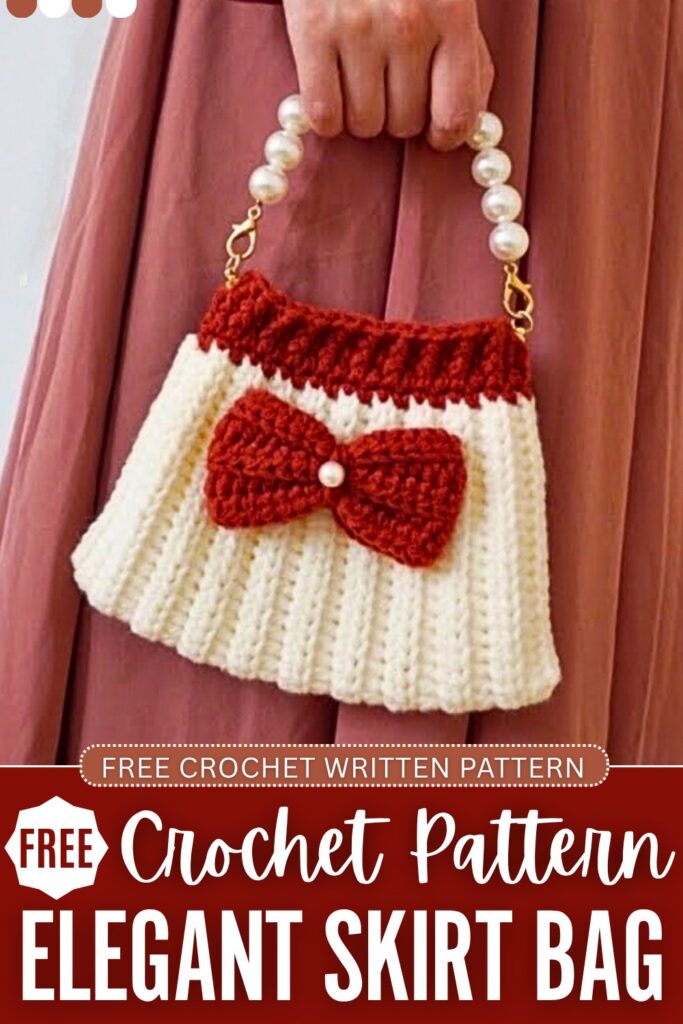
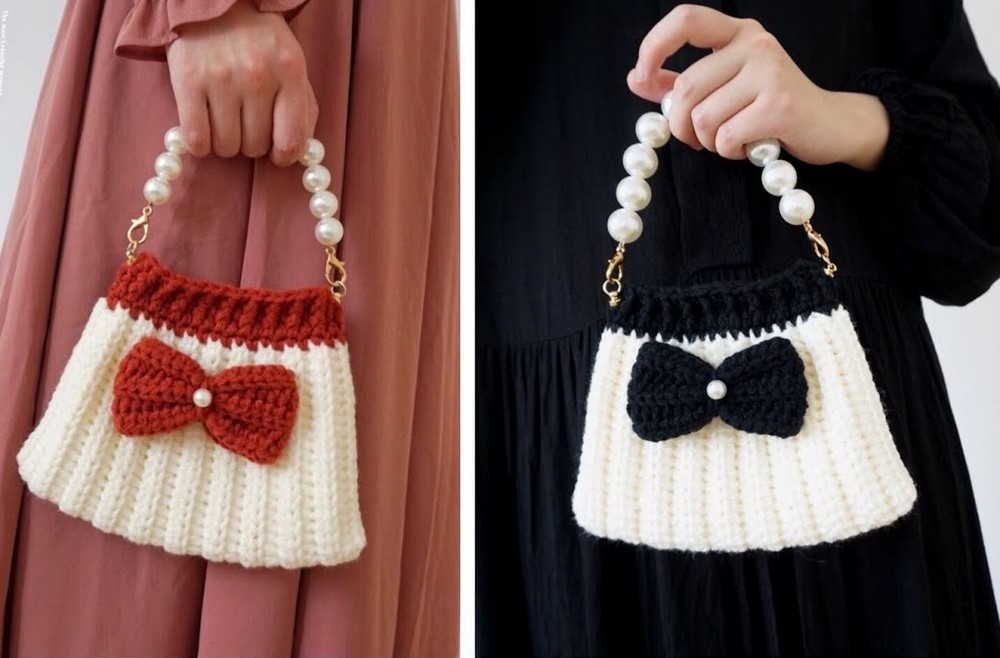
Let’s crochet a beautiful ribbed crochet purse hat you can match with your skirt following this pattern. This bag has classy vertical ribbing made using FPDC & BPDC and a crochet bow in the middle. I have named the “skirt bag” so you can couple the contrasting color with your dress.
It also has a bag handle made of pearls supported by metal clasps. You can also replace that with usual crochet handles. Unlike the crochet monster bag, pig garlic bag, and chick pouch, it is for adults!
You should crochet it for occasions such as weddings, parties, or other formal events you have to attend. Looks REALLY elegant and appealing and can easily fit your coin purse, phone, and makeup essentials. Now, continue reading for the full crochet bow purse pattern.

Crochet Elegant Purse Pattern: Round-by-Round Instructions
This crochet skirt bag with a beautiful bow detail is a fun and surprisingly simple project, primarily utilizing half double crochets in the back loops to create an elegant pleated texture. It is perfect for carrying a phone and small essentials!
Quick Making Guide
- Skill Level: Advanced Beginner
- Method: Worked flat in rows (for both the main bag body and the bow), joined at the sides with slip stitches, and finished with a top border worked in the round.
- Construction: The bag body is crocheted sideways to create vertical ribs. It is folded in half and seamed. A contrasting top edge is added in the round, using front post double crochets to continue the ribbed look. Finally, a separate bow is crocheted, cinched, adorned with a pearl, and sewn onto the front.
Materials Needed
- Yarn: 8-ply Milk Cotton yarn in two colors (e.g., White for the main bag and Red for the top border). If you prefer that beautiful, high-quality velvety plush finish you often use for your projects, you can absolutely substitute this with a super bulky chenille or velvet yarn! Just be sure to use a larger hook (around 5.0 mm- 6.0 mm) to match the yarn.
- Crochet Hook: 4.5 mm hook (if using the standard milk cotton).
- Hardware: Metal D-rings or rivet studs, and a chain strap.
- Accessories: One large pearl bead for the bow center.
- Tools: Stitch markers, a large-eye tapestry/sewing needle, and scissors.
Abbreviations (US Terms)
- Ch: Chain
- Sl st: Slip stitch
- Sc: Single crochet
- Hdc: Half double crochet
- Dc: Double crochet
- FPdc: Front Post double crochet
- BLO: Back Loop Only
- St(s): Stitch(es)
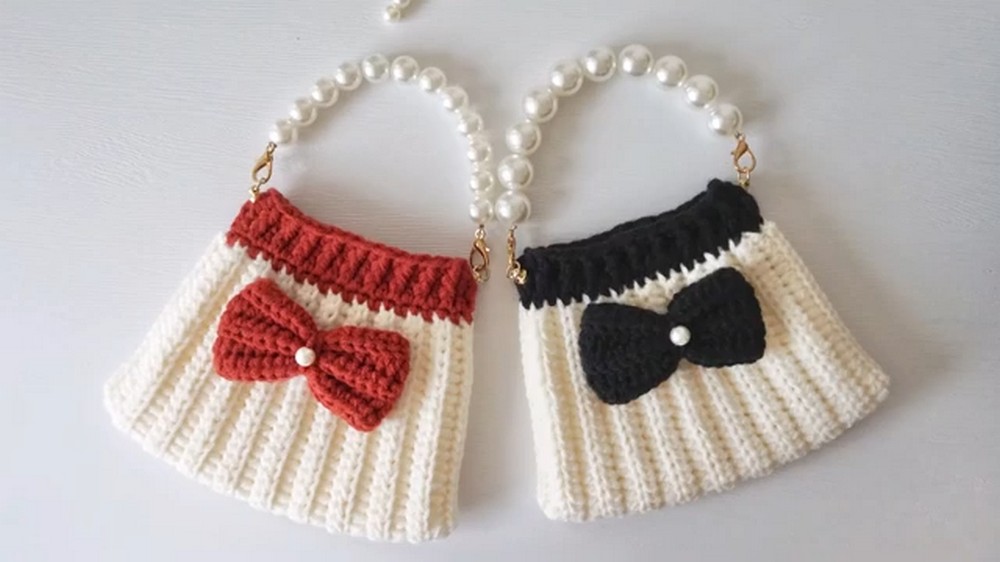
Bag Body (Main Color)
Foundation Chain: Leaving a tail, chain 41.
Row 1:
- Skip the first chain from your hook (the 41st chain).
- Working into the top half-loop of the chain: Work 1 Sc into the next chain. (Place a stitch marker in this first Sc).
- Work 1 Hdc into each of the next 38 chains.
- Work 1 Sc into the very last chain. (Place a stitch marker in this last Sc). (You should have 40 stitches total: 1 Sc, 38 Hdc, 1 Sc).
Row 2:
- Ch 1, and turn your work.
- For this row and all following rows of the main body, you will work in the Back Loop Only (BLO). To find the back loop, look at the top “V” of the stitch from above; work into the loop furthest away from you.
- Work 1 Sc in the BLO of the first stitch. (Move your stitch marker up).
- Work 1 Hdc in the BLO of the next 38 stitches.
- Work 1 Sc in the BLO of the last stitch. (Move your stitch marker up).
Rows 3 to 19: Repeat the exact pattern from Row 2. You will work a total of 19 rows.
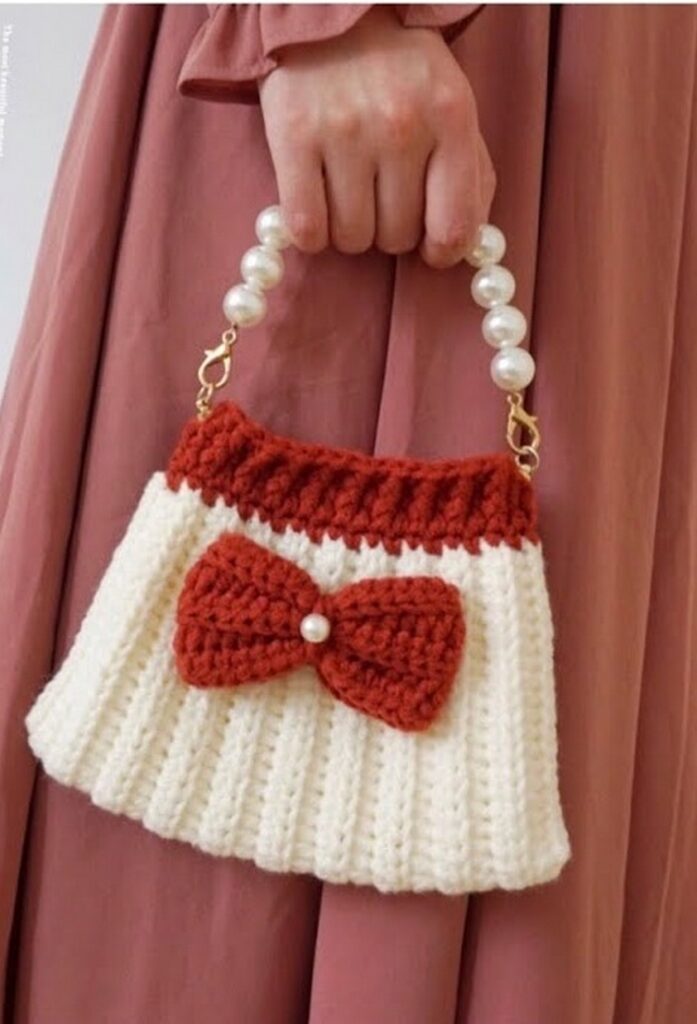
Seaming the Bag:
- Fold the ribbed rectangle in half so the short ends meet.
- Ch 1. Working through both layers at once, slip stitch the side edges together to close the side of the bag. You will work 20 Sl sts down the side.
- Fasten off and cut the yarn.
- Reattach your yarn at the top corner of the other open side, and repeat the slip stitch seaming process (20 Sl sts) to close the second side of the bag. Fasten off.
Top Border (Contrasting Color)
Round 1:
- Attach your contrasting yarn (Red) at the top edge, near one of the side seams. Ch 1.
- Evenly space Sc stitches around the entire top opening of the bag. To do this naturally with the ribbed texture: work 1 Sc into each “valley” (indented row) and 1 Sc into each “peak” (raised row).
- Work exactly 20 Sc around the top. Sl st into the first Sc to join.
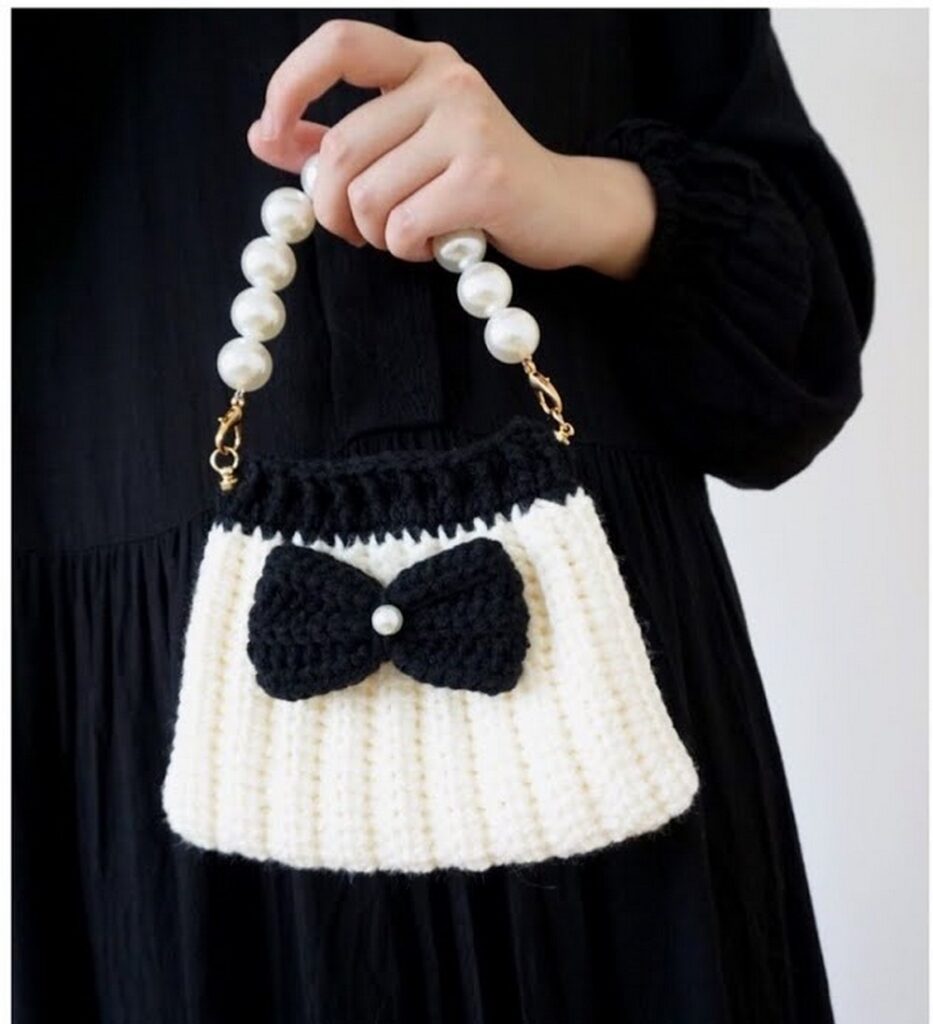
Round 2:
- Ch 2.
- Work 1 Dc into each of the 20 stitches around.
- Sl st to the first Dc to join.
Round 3:
- Ch 2.
- Work 1 standard Dc into the first stitch.
- Work 1 FPdc (Front Post Double Crochet) around the post of the next stitch. (This pushes the stitch forward to align perfectly with the raised ribs of the bag body below).
- Repeat this pattern: (1 regular Dc, 1 FPdc) around the entire top edge.
- Sl st to join. Fasten off and weave in all ends using your tapestry needle.
The Bow (Main Color)
Foundation Chain: Leaving a tail, chain 33.
Row 1:
- Skip the first chain from the hook.
- Working into the top loops: 1 Sl st in the next ch. (Place a stitch marker here).
- 14 Hdc in the next 14 chains.
- 2 Sl st in the next 2 chains. (This creates the cinched middle of the bow).
- 14 Hdc in the next 14 chains.
- 1 Sl st in the very last chain. (Total: 32 stitches).
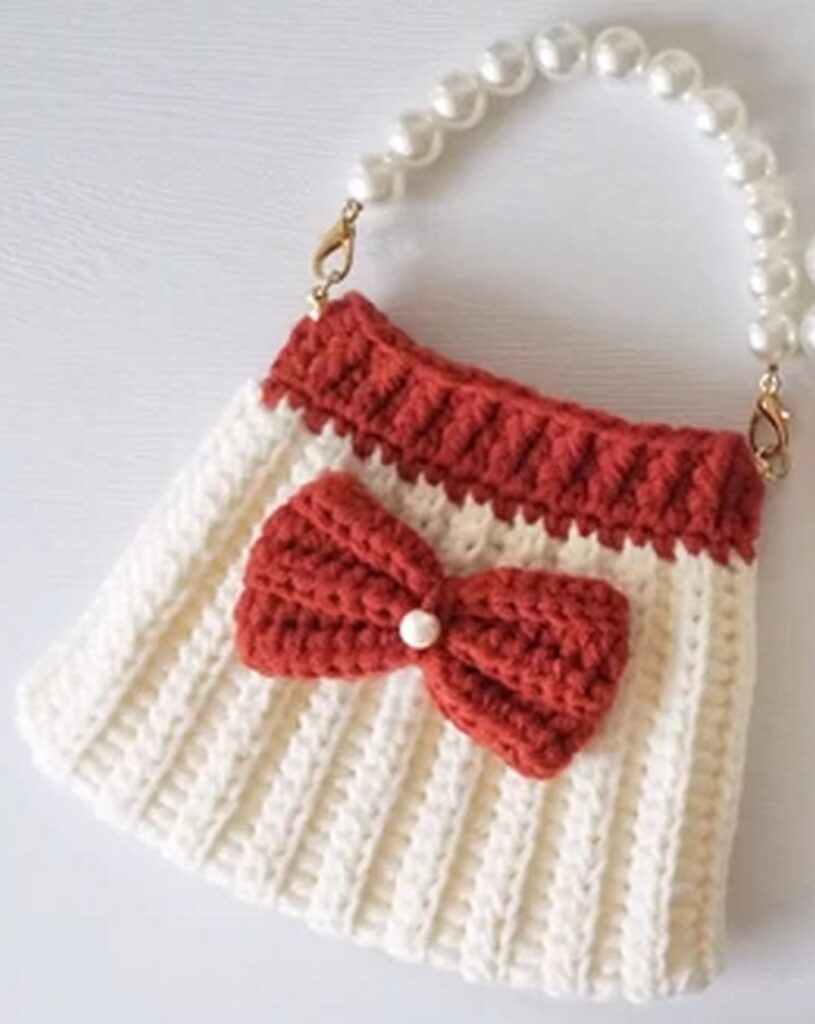
Row 2:
- Ch 1, turn.
- For the entire bow, work in the Back Loop Only (BLO).
- 1 Sl st in BLO of the first st.
- 14 Hdc in BLO.
- 2 Sl st in BLO (the center cinch).
- 14 Hdc in BLO.
- 1 Sl st in BLO in the last st.
Rows 3 to 5: Repeat Row 2 exactly. You will complete 5 total rows for the bow. Fasten off, leaving a very long tail for wrapping and sewing.
Assembling the Bow:
- Use a tapestry needle and the long tail to seam the short ends of the bow together (forming a loop).
- Wrap the long tail yarn tightly around the center of the bow multiple times to cinch it beautifully.
- Before tying it off, string your large pearl bead onto the yarn and position it securely in the middle of the wraps. Knot the yarn firmly at the back to secure the pearl and the cinch.
Final Assembly
- Attach the Bow: Thread your long yarn tail from the bow onto your tapestry needle. Sew the bow securely onto the upper-middle front of the bag body. Tip: Only pick up the surface threads of the bag body so your stitches don’t show on the inside of the bag! Tack down the four corners of the bow slightly so it doesn’t flop around.
- Add Hardware: Attach your rivet studs or D-rings to the top side edges of the bag (make sure they are even on both sides).
- Attach Strap: Clip your chain strap onto the hardware.
Your beautiful pleated bag is now ready to use!
Save for Later!