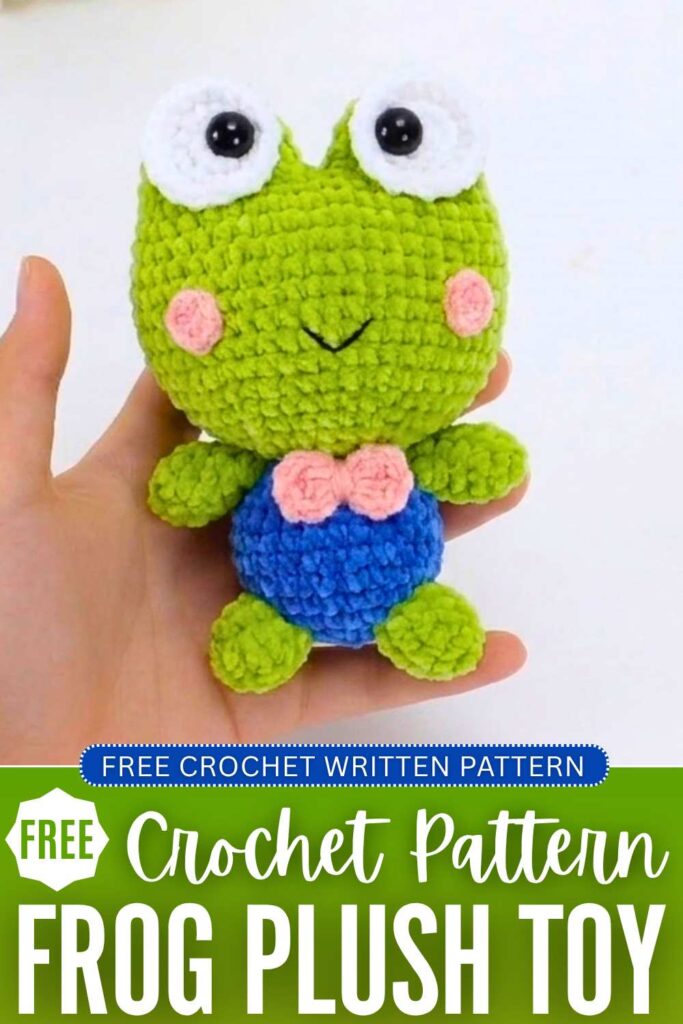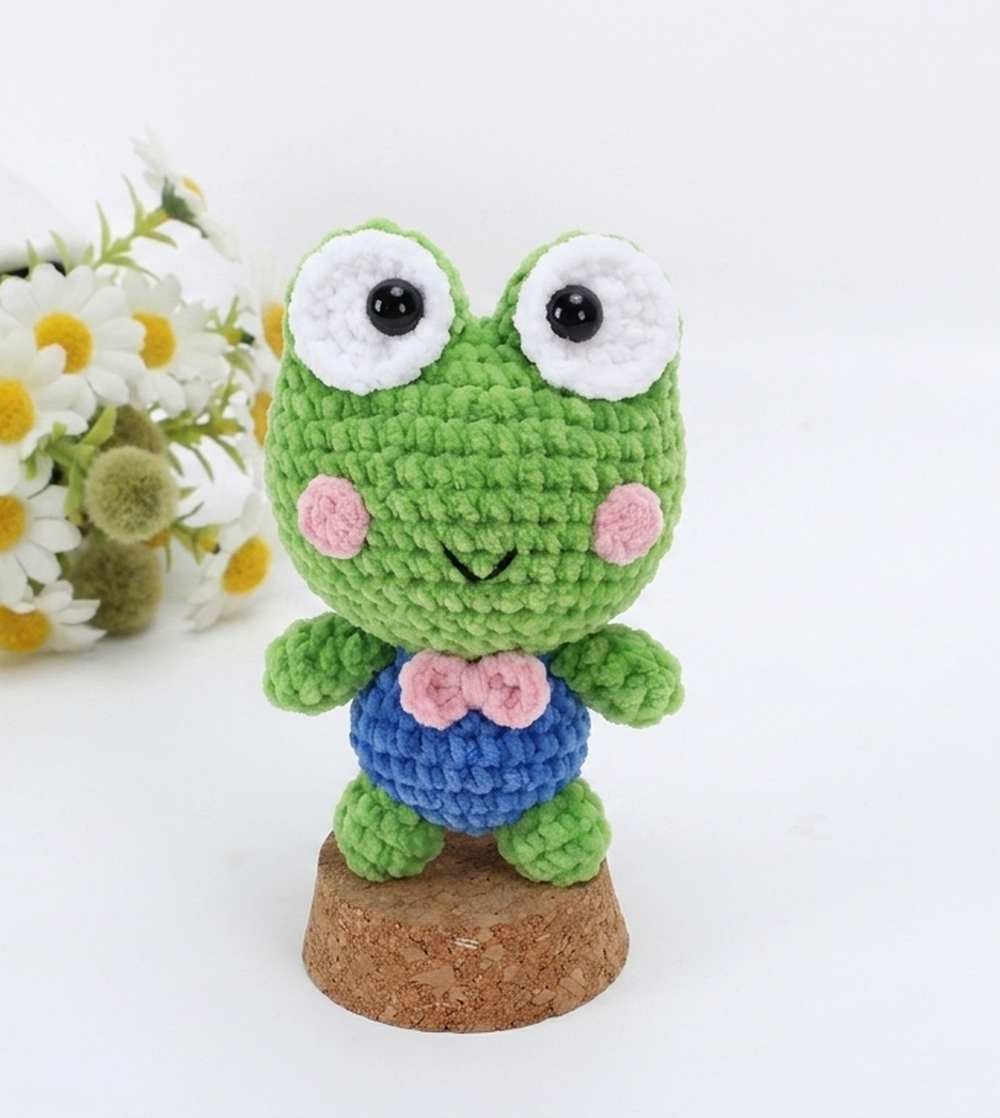
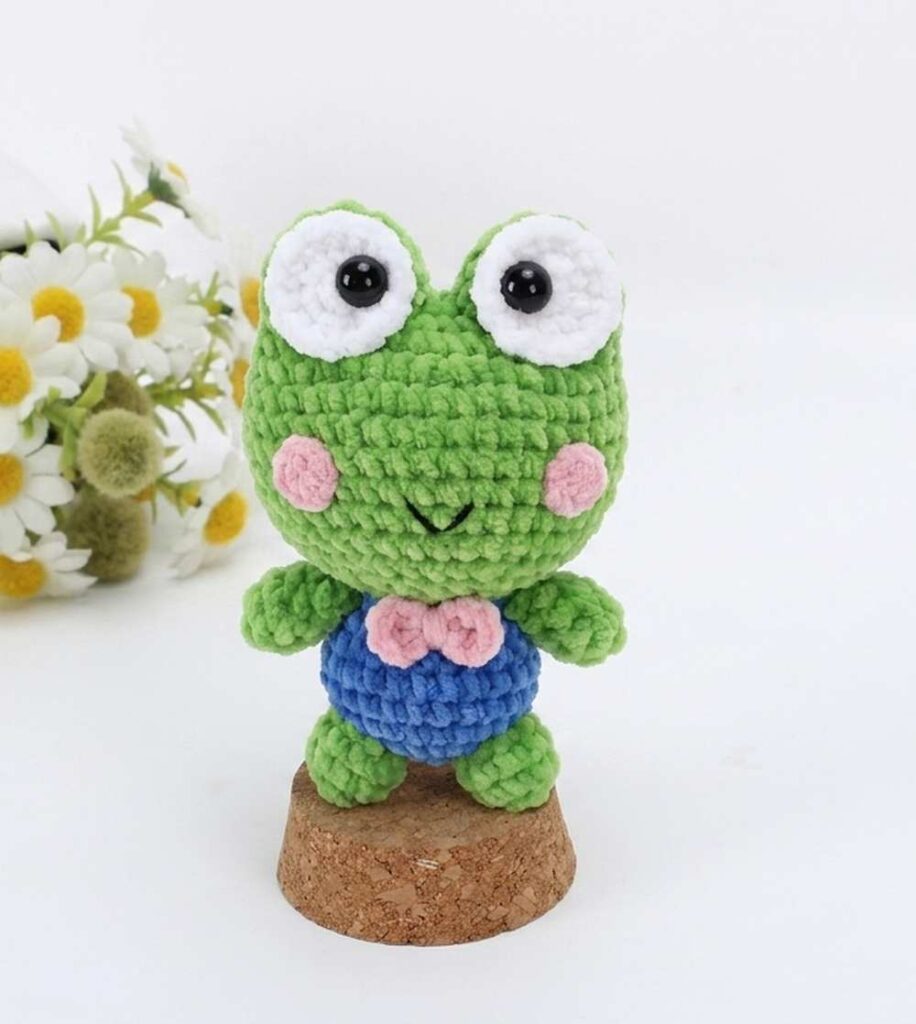
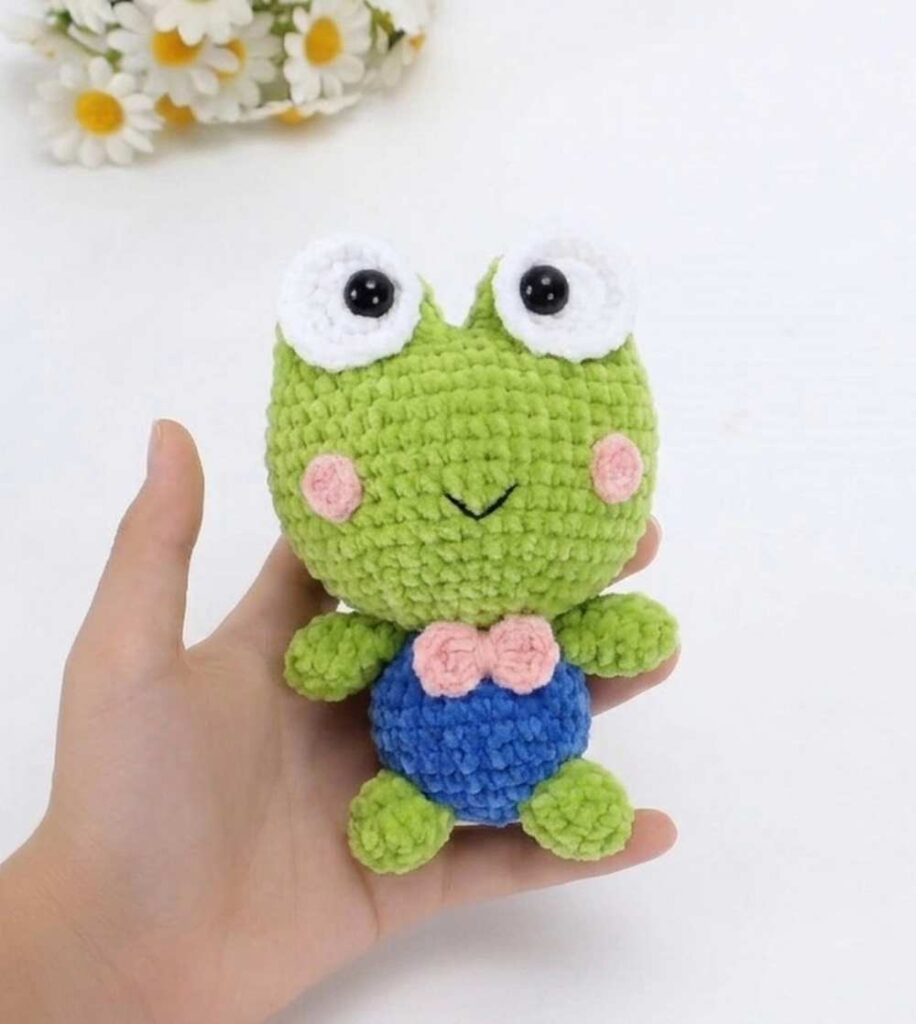
Looking for the CUTEST birthday gift for a little one? I can’t imagine a better crochet gift than this crochet googly-eyed baby frog doll amigurumi plush that you can crochet with a FREE pattern here. Well, it is a crochet Kerropi plushie that you can crochet using the thin plush yarn or regular yarn, super bulky yarn, too.
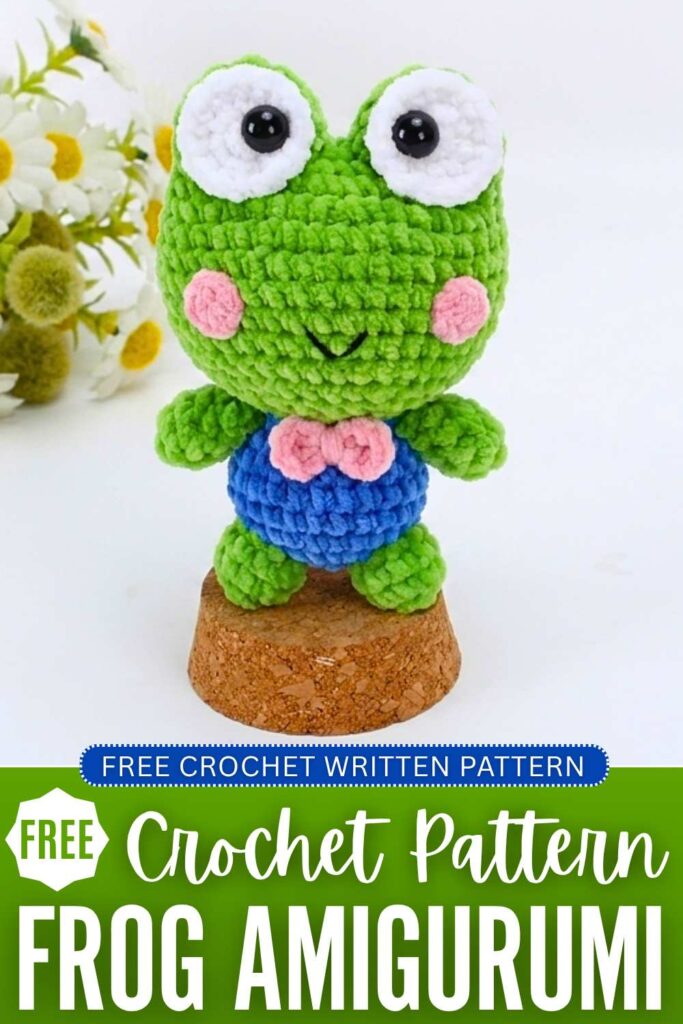
Our frog plushie has cute blush on the cheeks and wears a small bow tie & a blue shirt. In this pattern, I will provide the written instructions to crochet this frog buddy amigurumi. It is as cute as the crochet daisy-holding frog plush and the swim ring frog.
We shall start with the head, which is the biggest part of this plushie frog. You can crochet it in different shades of green, such as the Sanrio Keropi character. Now, continue reading for the full pattern to crochet this amigurumi frog.
Crochet Keropi Frog Plushie Pattern: Written Instructions
This adorable frog amigurumi is a perfect quick make, constructed starting with the two large eye bumps that join together to form a seamless head. Styled for the fall season, the frog features a festive orange body and a tiny pumpkin accessory.
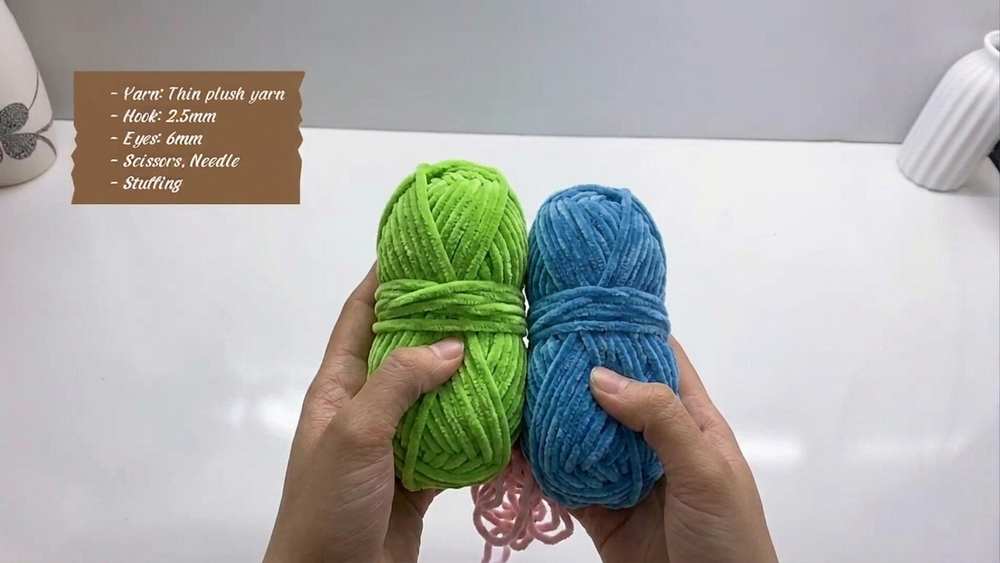
Materials
- 4-ply milk cotton yarn or thin plush yarn in Green (head, arms, legs), Orange (body, pumpkin), White (eye whites), Pink (blush), and Black (mouth detail).
- 2.5 mm crochet hook
- Fiberfill (PP cotton) for stuffing
- Yarn needle for sewing
- Stitch markers
- Scissors
Abbreviations (US Terms)
- MR – Magic Ring
- ch – chain
- sc – single crochet
- inc – increase (2 sc in the same stitch)
- dec – invisible decrease (sc 2 together)
- sl st – slip stitch
- st/sts – stitch/stitches
- ( … ) x N – repeat the instructions between the parentheses N times
Pattern Instructions
Head (Green Yarn)
First Eye Bump
Round 1: 6 sc in a MR (6)
Round 2: 6 inc (12)
Round 3: (1 sc, 1 inc) x 6 (18)
Round 4-6: 18 sc (18)
Fasten off and pull the yarn through. Use an invisible join to close the round.
Second Eye Bump
Round 1-6: Repeat Rounds 1-6 of the first eye bump, but do not fasten off at the end of Round 6.
Joining the Eyes
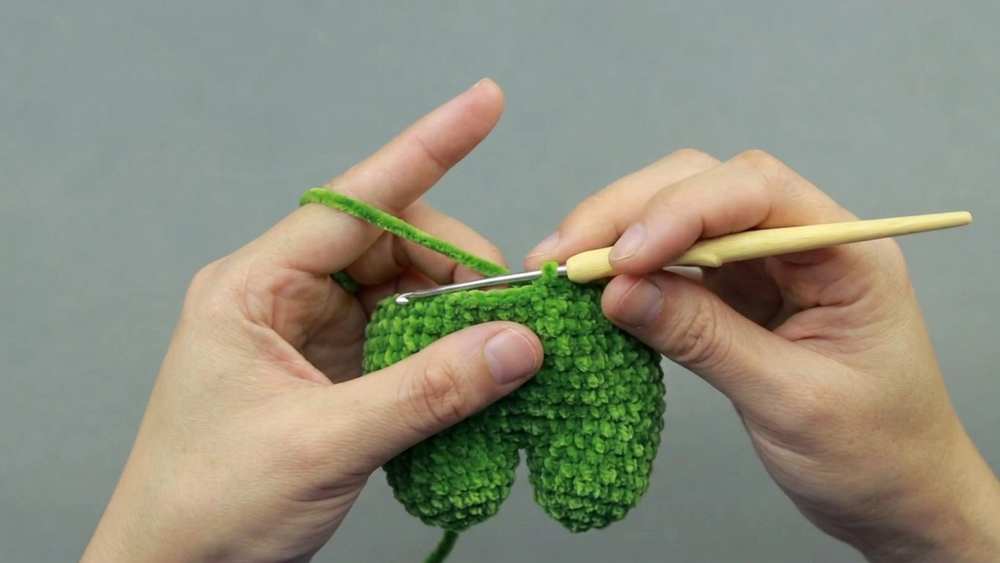
Round 7: Sl st into the first stitch of the first eye bump to connect them. Sc in the same stitch, and place your marker. Sc in the remaining 17 sts around the first eye. To prevent a hole at the join, pick up the loop from the fasten-off of the first eye and crochet it together with the first sc of the second eye. Sc in the remaining 17 sts around the second eye. (36)
Round 8: (5 sc, 1 inc) x 6 (42)
Round 9: (6 sc, 1 inc) x 6 (48)
Round 10-17: 48 sc (48)
Round 18: (6 sc, 1 dec) x 6 (42)
Round 19: (5 sc, 1 dec) x 6 (36)
Round 20: (4 sc, 1 dec) x 6 (30)
Round 21: (3 sc, 1 dec) x 6 (24)
Round 22: (2 sc, 1 dec) x 6 (18)
Fasten off, leaving a long tail for sewing. Stuff the head firmly with fiberfill, ensuring the eye bumps are nicely shaped.
Body (Orange Yarn)
Round 1: 6 sc in a MR (6)
Round 2: 6 inc (12)
Round 3: (1 sc, 1 inc) x 6 (18)
Round 4: (2 sc, 1 inc) x 6 (24)
Round 5: (3 sc, 1 inc) x 6 (30)
Round 6: (4 sc, 1 inc) x 6 (36)
Round 7: (5 sc, 1 inc) x 6 (42)
Round 8-12: 42 sc (42)
Round 13: (5 sc, 1 dec) x 6 (36)
Round 14: 36 sc (36)
Round 15: (4 sc, 1 dec) x 6 (30)
Round 16: 30 sc (30)
Round 17: (3 sc, 1 dec) x 6 (24)
Round 18: 24 sc (24)
Round 19: (2 sc, 1 dec) x 6 (18)
Fasten off, leaving a long tail. Stuff the body firmly.
Arms (Make 2, Green Yarn)
Round 1: 6 sc in a MR (6)
Round 2-8: 6 sc (6)
Fasten off, leaving a tail for sewing. Do not stuff.
Legs (Make 2, Green Yarn)
Round 1: 6 sc in a MR (6)
Round 2: 6 inc (12)
Round 3-5: 12 sc (12)
Round 6: (1 sc, 1 dec) x 4 (8)
Round 7-10: 8 sc (8)
Fasten off, leaving a tail for sewing. Stuff the bottom lightly, leaving the top flat.
Details & Accessories
Eye Whites (Make 2, White Yarn)
Round 1: 6 sc in a MR (6)
Round 2: 6 inc (12)
Fasten off, leaving a tail.
Blush (Make 2, Pink Yarn)
Round 1: 6 sc in a MR (6)
Fasten off, leaving a tail.
Pumpkin Accessory (Orange & Green Yarn)
With Orange Yarn:
Round 1: 6 sc in a MR (6)
Round 2: 6 inc (12)
Round 3: (1 sc, 1 inc) x 6 (18)
Round 4-6: 18 sc (18)
Round 7: (1 sc, 1 dec) x 6 (12)
Stuff lightly.
Round 8: 6 dec (6)
Fasten off, leaving a long tail. Thread the tail onto a needle. Run it down through the center hole to the bottom and back up the outside 5-6 times to create the pumpkin ridges. Pull tight to shape and secure the yarn.
With Green Yarn: Attach at the top, ch 3, sl st down the chain to create a small stem. Fasten off.
Assembly
- Head & Body: Sew the head to the body stitch by stitch using the 18 stitches on the final rounds of both pieces.
- Arms & Legs: Sew the arms to the sides of the body just below the neck seam. Sew the legs to the bottom front of the body so the frog sits up properly.
- Face: Sew the white eye patches onto the front of the eye bumps. Add safety eyes to the center of the whites, or embroider black pupils. Sew the pink blush circles right below the eyes.
- Mouth: Use a strand of black yarn to stitch a small, triangular smile exactly halfway between the two blush circles.
- Finishing Touch: Sew your completed pumpkin accessory onto the frog’s body.
Save for Later!