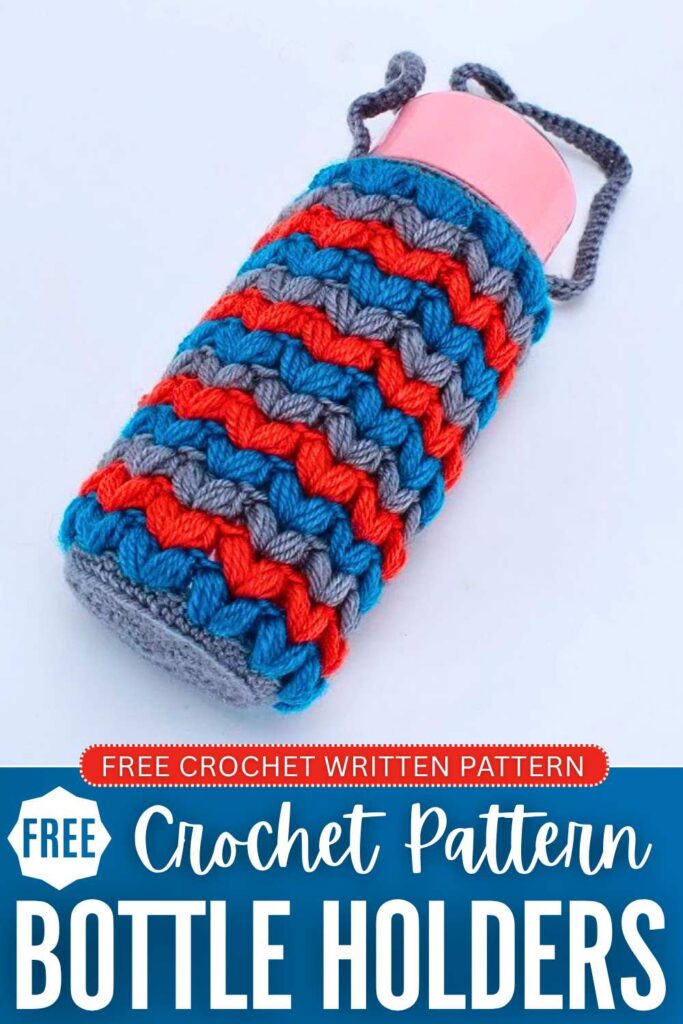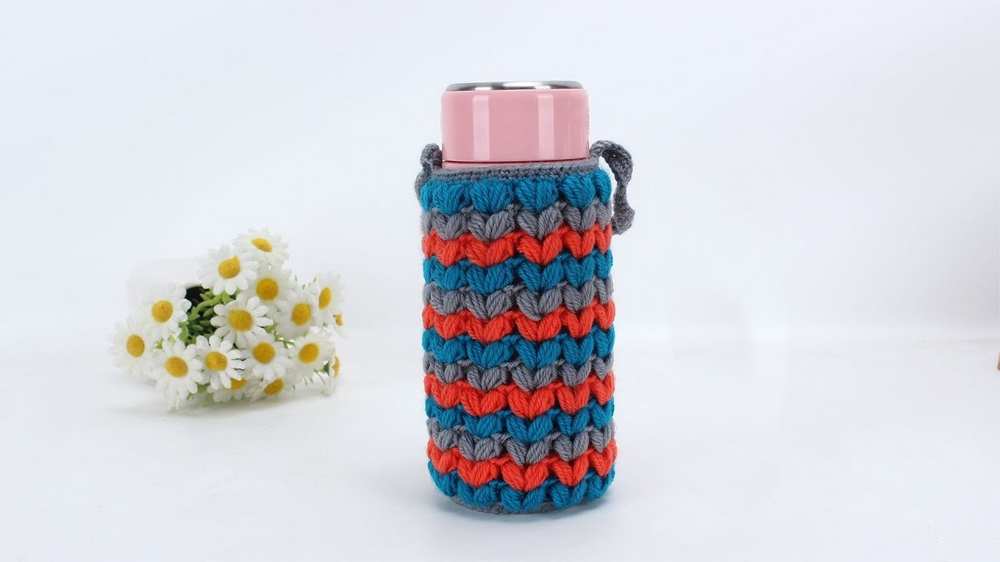
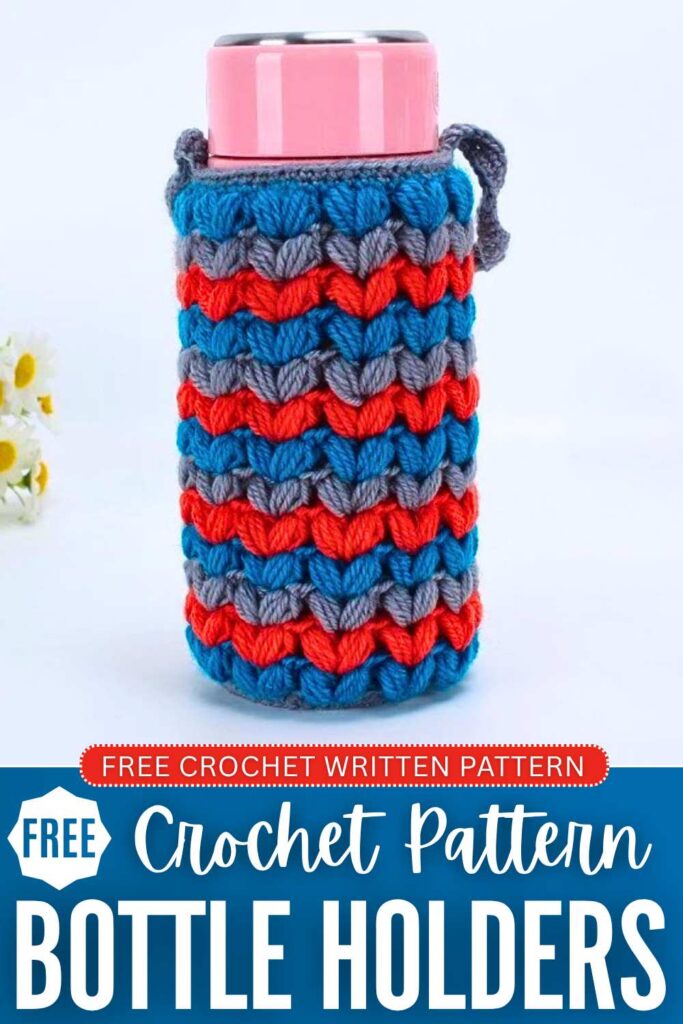
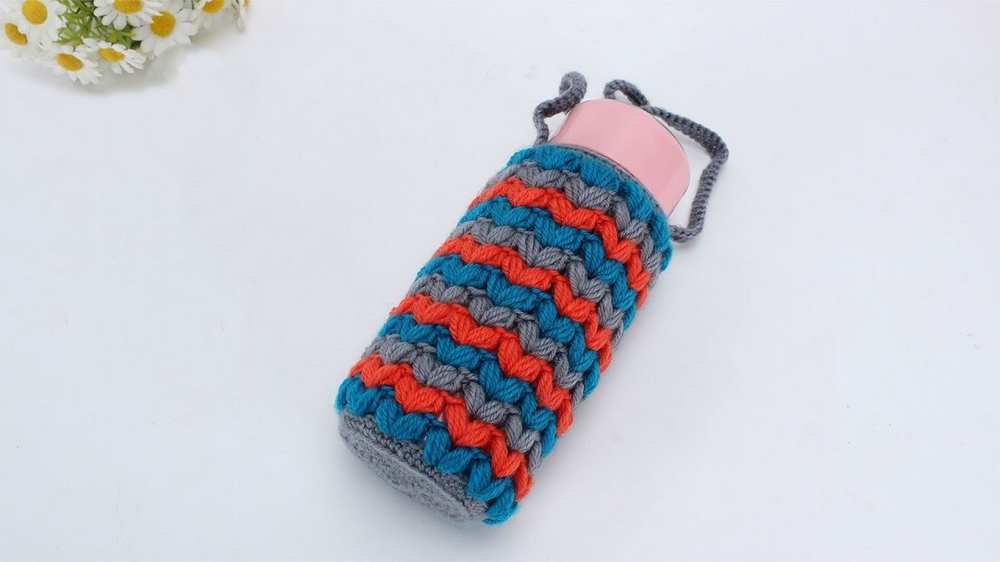
Of all the crochet traditional water bottle holder patterns I have shared so far, today’s one will be the MOST fun. So, let’s crochet this elegant striped and puffy water bottle holder with a FREE pattern for absolute beginners. This holder features a colorwork of puff V-stitch with the usual single crochet base.
You can crochet this holder for a tumbler, a can, and even a mineral water bottle. The handle is also made from just the single crochet. So, beginners can easily crochet this water bottle holder within 1.5 hours.
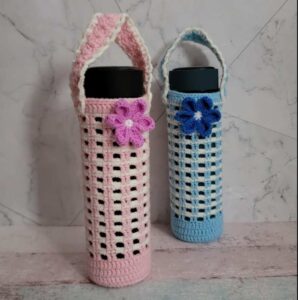
The grey, orange, and blue seem to me a decent and UNIQUE color-combo, but you can also go with a rainbow, boho, or couquette combo. The construction is similar to the mesh water bottle holder and square grid holder. So, continue reading for the full crochet pattern.
[ez-toc]
Crochet Puff Stitch Water Bottle Holder Pattern: Written Instructions
This project creates a highly textured, custom-made crochet water bottle holder or cup sleeve featuring a decorative wheat-ear/flower design.
The construction begins from the bottom up with a flat, circular base worked in sturdy single crochet stitches.
The body uses a thick, insulating fabric formed by interlocking pairs of puff stitch clusters, which provide excellent protection and temperature retention for your beverage.
By alternating three contrasting yarn colors, a beautiful layered floral appearance is achieved across the surface of the holder.
The handle is crocheted seamlessly into the upper rim, creating a secure and practical carrying strap.
This design is fully customizable; you can adapt it to fit any bottle or cup diameter by simply adjusting the circular base to stop at any round that ends in a multiple of 4 stitches.
Materials
- Medium-weight yarn in three contrasting colors (Grey for the base and rims, along with Blue and Orange for the flower accents)
- 2.5 mm crochet hook
- Stitch markers
- Tapestry needle
- Scissors
Abbreviations (US Terms)
- MR: Magic Ring
- ch: Chain
- sc: Single Crochet
- hdc: Half Double Crochet
- inc: Increase (two single crochet stitches worked into the same stitch)
- BLO: Back Loop Only
- sl st: Slip Stitch
- puff: 4-hdc puff stitch (Yarn over, insert hook into the designated stitch or space, and pull up a loop to the height of a chain-2 space. Repeat this process 4 times total in the same stitch or space. You will have 9 loops on your hook. Yarn over and pull through all 9 loops simultaneously, then chain 1 to secure and lock the puff stitch closed.)
Detailed Crochet Pattern Steps
The Base (Using Grey Yarn)
- Round 1: Form a magic ring, chain 1 (this starting chain does not count as a stitch), and work 6 single crochet stitches into the ring. Tighten the tail and join with a slip stitch to the very first single crochet. Total stitch count is 6.
- Round 2: Chain 1, work 1 single crochet increase into every stitch around. Join with a slip stitch to the first stitch of the round. Total stitch count is 12.
- Round 3: Chain 1, repeat a sequence of 1 single crochet followed by 1 single crochet increase a total of 6 times around. Join with a slip stitch. Total stitch count is 18.
- Round 4: Chain 1, repeat a sequence of 2 single crochets followed by 1 single crochet increase a total of 6 times around. Join with a slip stitch. Total stitch count is 24.
- Round 5: Chain 1, repeat a sequence of 3 single crochets followed by 1 single crochet increase a total of 6 times around. Join with a slip stitch. Total stitch count is 30.
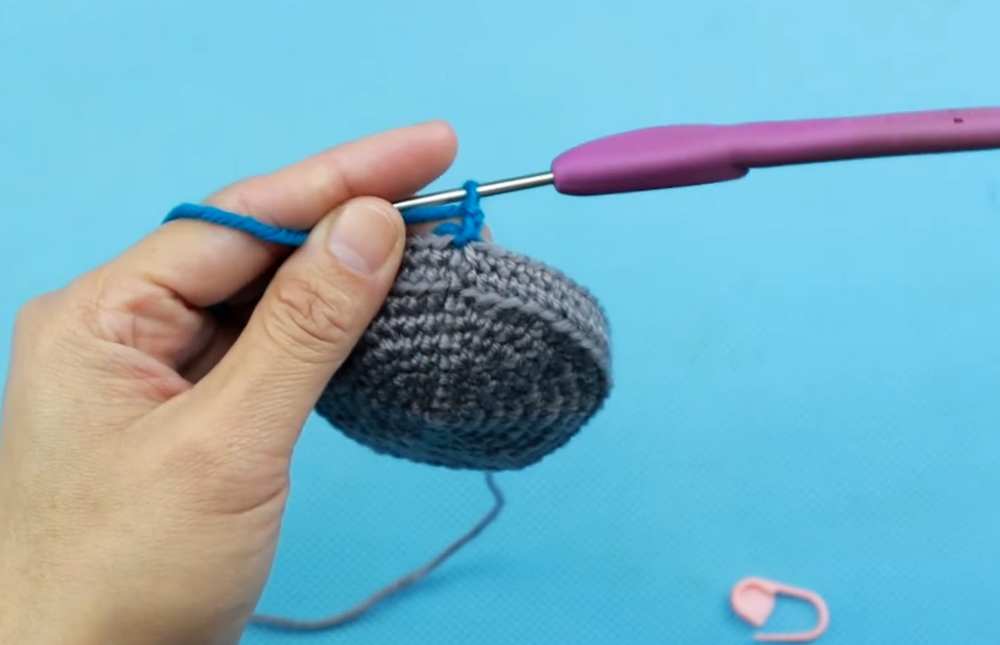
- Round 6 to Round 7: Continue expanding the circle incrementally by adding one additional single crochet before each increase per round (Round 6 consists of 4 single crochets and an increase repeated 6 times; Round 7 consists of 5 single crochets and an increase repeated 6 times). Join each round with a slip stitch.
- Round 8: Chain 1, repeat a staggered sequence of 3 single crochets, 1 single crochet increase, and 3 single crochets a total of 6 times around. Join with a slip stitch. Total stitch count is 48. This completes your base, providing a multiple of 4 stitches needed for the body.
The Body – Transition & Textured Flower Design
- Body Round 1: Chain 1. To create a crisp, distinct rim that transitions from the base to the wall, work strictly in the Back Loop Only (BLO) of each stitch. Crochet 1 single crochet into every stitch around without making any increases. Join with a slip stitch. Total stitch count is 48.
- Body Round 2: Chain 1. Working normally through both loops, crochet 1 single crochet into every stitch around. When you reach the very last single crochet stitch, insert your hook and pull up a loop, but do not complete the final pull-through with the Grey yarn. Drop the Grey yarn, pick up your Blue yarn, and pull it through the final two loops to complete the stitch. Join with a slip stitch using the Blue yarn. Total stitch count is 48.
- Body Round 3 (Blue Yarn): Chain 2 (this serves as a height guide). Skip the first single crochet stitch of the row. In the second stitch, work your first flower cluster: crochet 1 puff stitch, chain 1, and work a second puff stitch all directly into that same second stitch. Next, chain 1 to finish the cluster. Skip the next 3 stitches entirely. In the 4th stitch, repeat the cluster sequence by working 1 puff stitch, chain 1, 1 puff stitch, and chain 1. Repeat this entire sequence all the way around the rim. You will complete a total of 12 flower clusters. On the final pull-through of your last puff stitch, drop the Blue yarn and pull through with the Orange yarn to change colors. Join with a slip stitch to the closing chain of your very first puff stitch.
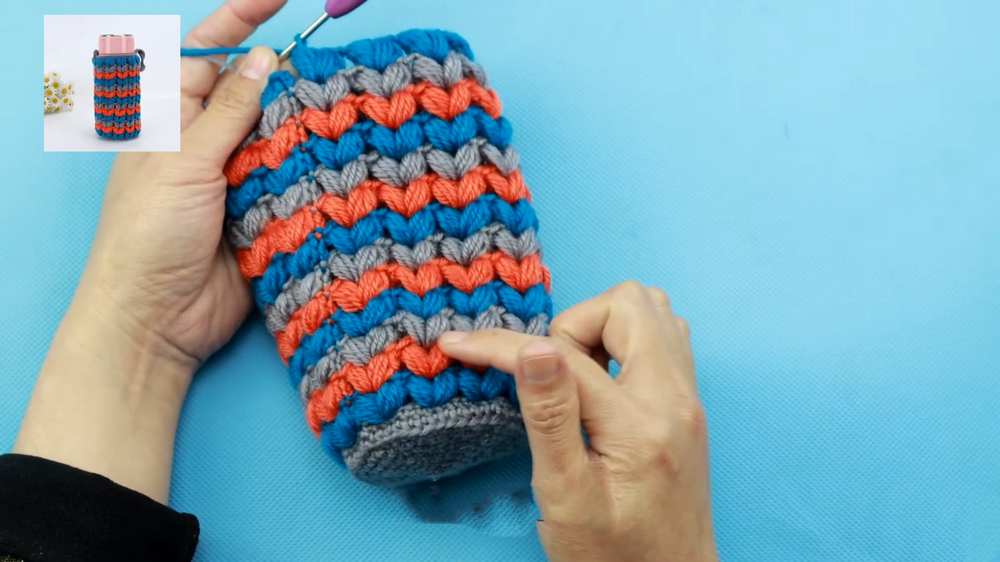
- Body Round 4 (Orange Yarn): Chain 2. For this round, your stitches will be placed directly into the chain-1 spaces located between the puff pairs of the previous round. Work a flower cluster consisting of 1 puff stitch, chain 1, 1 puff stitch, and chain 1 into each of the 12 spaces around. On the final step of the last cluster, drop the Orange yarn and pick up your Grey yarn. Join with a slip stitch.
- Body Round 5 (Grey Yarn): Chain 2. Repeat the cluster instructions from the previous round, working your flower clusters directly into the spaces between the puff stitch pairs below. Continue repeating this textured body pattern while following your color rotation sequence (Grey, Blue, Orange) for each subsequent round until your sleeve reaches your desired water bottle height. The tutorial showcases a total of 13 completed rounds of flower clusters.
Top Rim and Seamless Handle (Using Grey Yarn)
Top Rim Round 1: After finishing your final round of flower clusters, switch completely back to your Grey yarn. Chain 1, and work 1 single crochet into every stitch across the top edge (placing stitches carefully into the tops of the puffs and the spaces between them) to establish a uniform top rim of 48 single crochets. Join with a slip stitch, but do not cut the yarn.
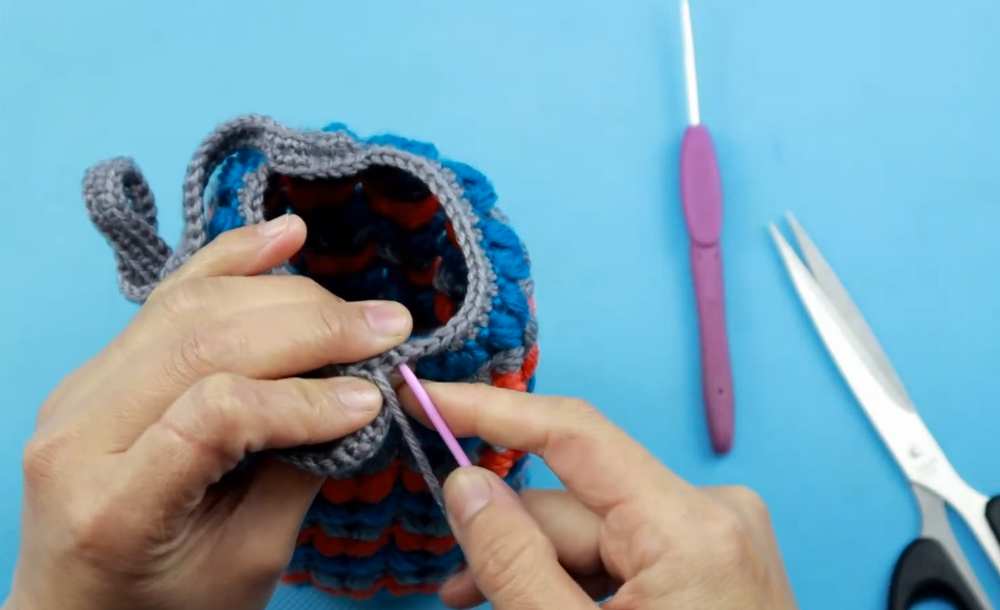
Creating the Strap: From your current slip stitch position, begin chaining a long strip of stitches to form your handle.
Customize the length of this chain depending on how long you want your carrying strap to be. Once the chain reaches your preferred length, stretch it straight across to the exact opposite side of the bottle holder rim (count 24 stitches over), insert your hook into that rim stitch, and attach the strap securely using a slip stitch.
Strap First Row: Without breaking the yarn, work 1 single crochet into each stitch around the remaining half of the top rim until you reach the starting base of your strap. When you hit the strap base, work 1 single crochet into every chain stitch along the handle strip until you reach the opposite side. Secure it to the rim edge with a slip stitch.
Strap Second Row: Turn or loop your work slightly to add a second layer of durability to your handle. Work a second row of 1 single crochet into each of the single crochet stitches you just placed along the handle, moving all the way back to the other end. Secure with a slip stitch.
Final Rim Finishing: Crochet 1 single crochet into each of the remaining unworked stitches along the top rim of the bottle holder until you reach your original starting point.
Assembly Completion: Cut your yarn, leaving a long tail. Thread the tail onto a tapestry needle and create an invisible seamless finish into the first stitch of the rim. Securely weave the remaining tail through the inside stitches of the rim to hide it, then snip off any excess yarn. Your custom bottle holder is now complete and ready to use.