
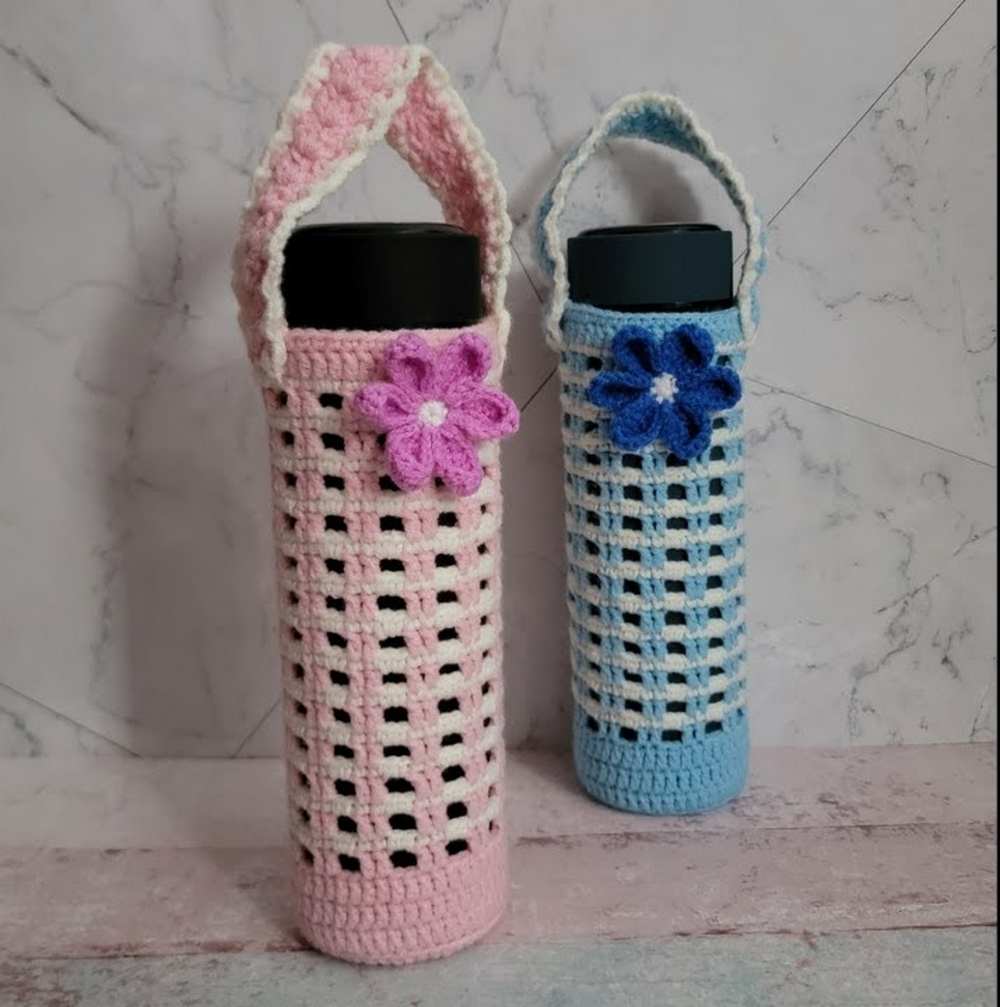
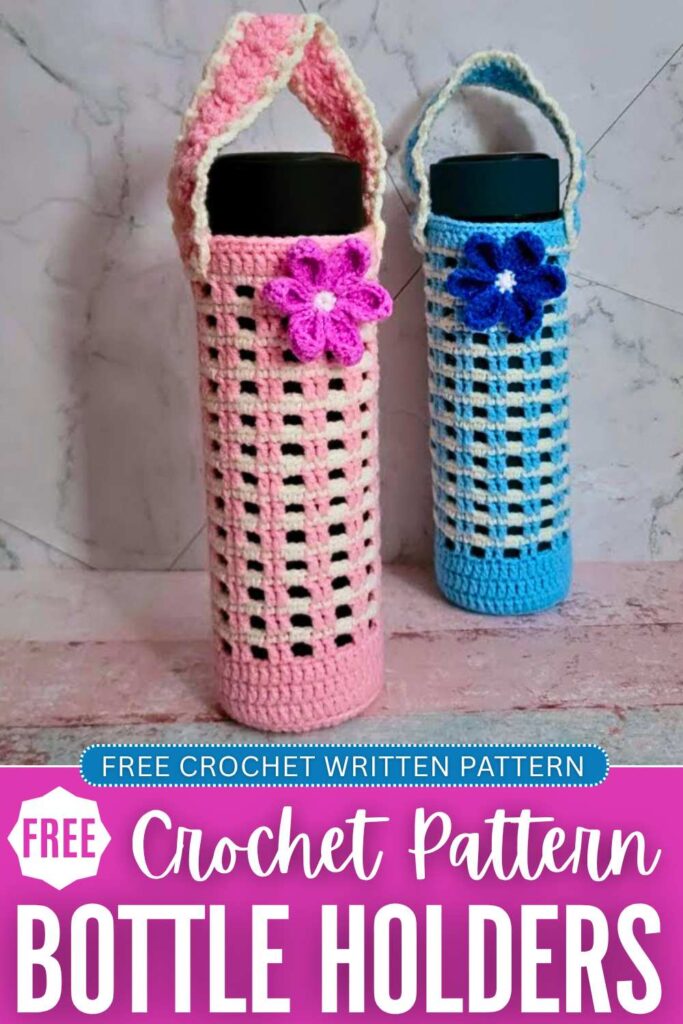
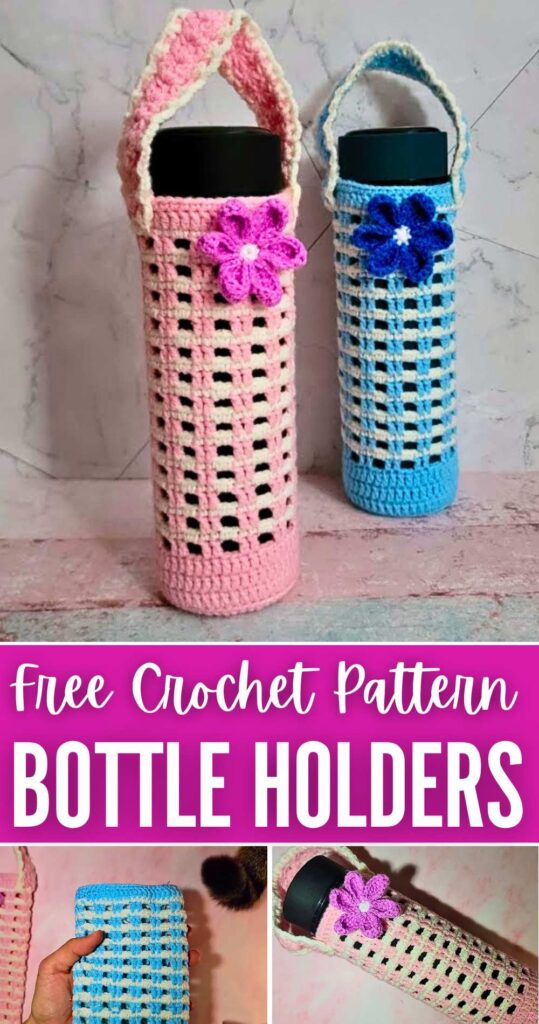
Looking for a beautiful upgrade to the traditional square grid mesh water bottle holder? Learn how to crochet this double-thick and multi-colored mesh water bottle holder with a FREE pattern for beginners. You can either crochet the blue or pink version of this crochet square mesh water bottle holder.
This crochet tumbler & cup holder also has an elegant cluster stitch strap with a white solid edging. Also, an optional flower bag charm that you will learn in the same pattern.
There will be a solid base as well as some rounds of solid stitches, so it can retain the structure well. To me, it is even elegant that the previous of the square-grid mesh holder for beginners. Now, continue reading for the full bottle holder pattern.
Crochet Colorwork Water Bottle Holder Pattern: Written Instructions
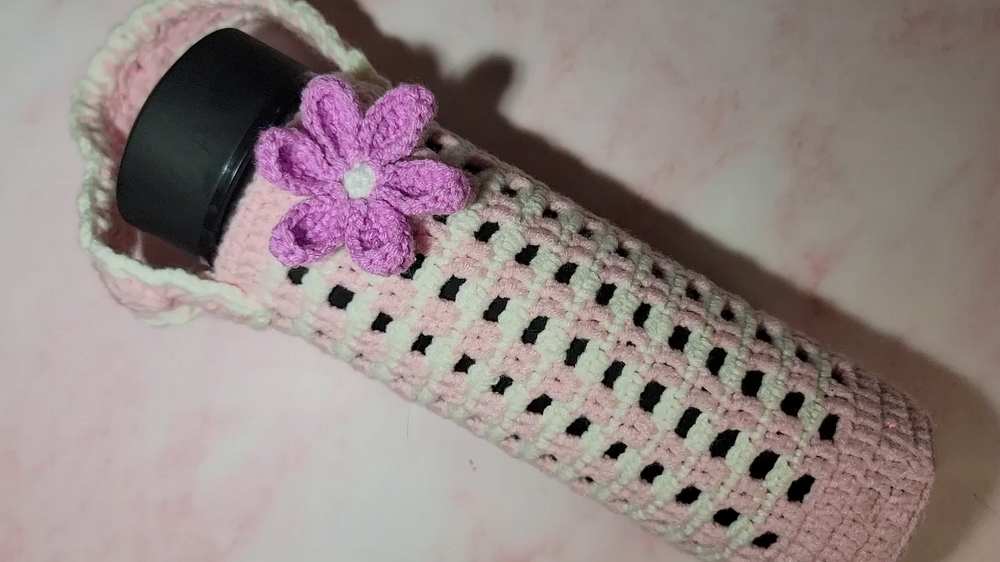
This beautiful and functional crochet water bottle bag is the perfect accessory for staying hydrated on the go! Featuring a solid, sturdy base and an airy grid-stitch body, this design creates a checkered “mesh” effect that snugly holds your water bottle.
A contrasting color line adds a lovely, subtle detail between the open grid rows. The true highlight of this project, however, is the elegant strap, which incorporates puff/cluster stitches and a delicate scalloped lace edge. It is completely customizable to fit your specific bottle size and desired strap length. Let’s get crocheting!
Materials Needed
- Yarn: Medium/Worsted Weight Cotton Yarn (Cotton is highly recommended to absorb condensation and prevent stretching). You will need a Main Color for the bag and strap, and a Contrast Color for the single crochet stripes.
- Hook: Crochet hook appropriate for your yarn (typically 3.0 mm, 3.5 mm, or 4.0 mm).
- Yarn Needle: Tapestry needle for weaving in ends, sewing the strap, and creating an invisible finish.
- Scissors
- Stitch Markers (optional)
- Decorative Crochet Applique/Flower (optional)
Abbreviations (US Terms)
- MR: Magic Ring
- Ch: Chain stitch
- Sl st: Slip stitch
- SC: Single Crochet
- DC: Double Crochet
- BLO: Back Loop Only (inserting your hook only into the back loop of the V-shape stitch)
- Inc: Increase (working 2 stitches into the same stitch)
- SC2tog: Single Crochet 2 together (a decrease stitch)
- Sk: Skip
- Sp: Space
- Cluster (2-DC Cluster): Yarn over, insert hook into space, yarn over, pull up a loop, yarn over, pull through 2 loops. Repeat once more in the same space. Yarn over, pull through all 3 loops on your hook.
Pattern Instructions
The Base
To start, we will crochet a flat circle for the bottom of the water bottle. The base needs to be a multiple of 4 stitches to ensure the grid pattern works later.
- Round 1: Make a Magic Ring. Ch 1, work 12 SC into the ring. Pull the tail to close the ring tightly. Sl st to the first SC to join. (12 sts)
- Round 2: Ch 3 (counts as a DC). Work 1 DC in the same stitch. Work 2 DC in each stitch around. Sl st to join. (24 sts)
- Round 3: Ch 3 (counts as a DC). Work 1 DC in the same stitch (Inc). 1 DC in the next stitch. Repeat Inc, 1 DC around. Sl st to join. (36 sts)
- Round 4: Ch 3 (counts as a DC). Work 1 DC in the same stitch (Inc). 1 DC in each of the next 2 stitches. Repeat Inc, 2 DC around. Sl st to join. (48 sts)
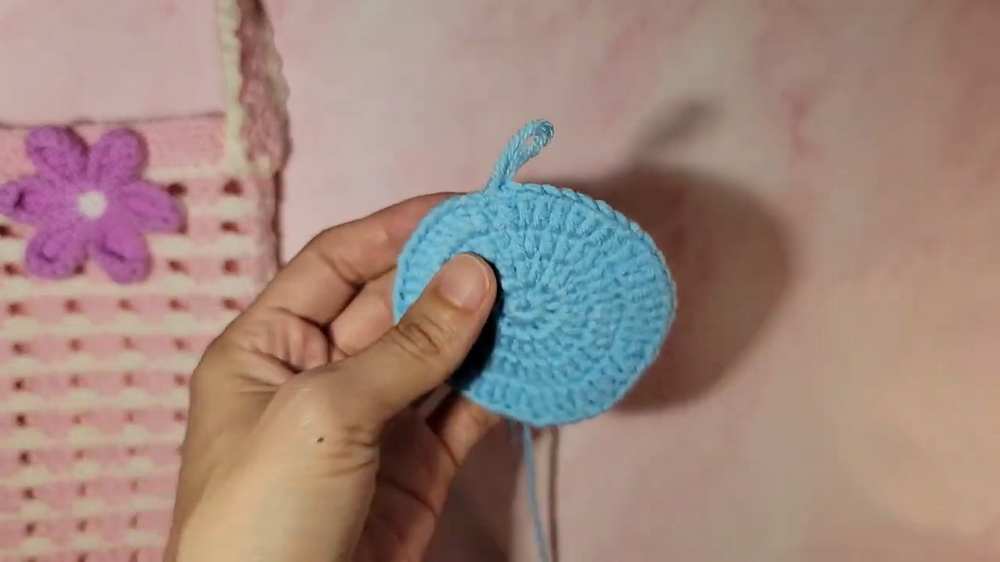
Size Check: 48 stitches is the standard size used in the tutorial. If your water bottle has a wider base, continue adding increase rounds following the same math (e.g., Round 5 would be Inc, 3 DC) until it matches your bottle, ensuring your final stitch count is a multiple of 4.
The Body
- Round 5: Ch 3 (counts as a DC). Working in the Back Loop Only (BLO), work 1 DC in each stitch around. Sl st to join. (48 sts)
- Round 6 & Round 7: Ch 3. Working under both loops normally, work 1 DC in each stitch around. Sl st to join. (48 sts)
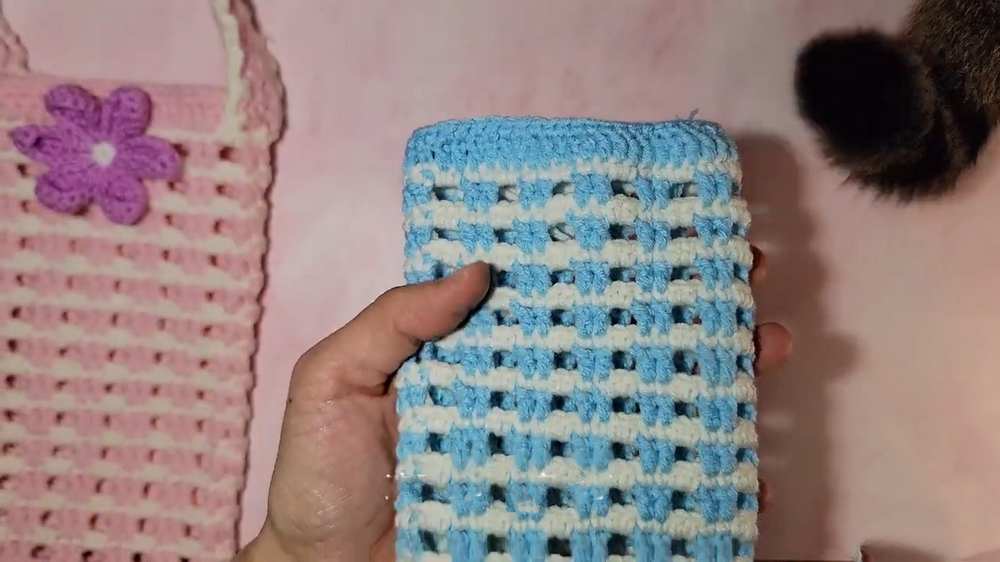
- Round 8 (The Grid Round): Ch 3, 1 DC in the next stitch. Repeat Ch 2, Sk 2 stitches, 1 DC in each of the next 2 stitches around, ending with Ch 2, Sk 2 stitches. Sl st to join. Drop your Main Color and join your Contrast Color.
- Round 9: With the Contrast Color, Ch 1. Work 1 SC in each stitch around (place 1 SC in the top of every DC, and place 2 SC into every Ch-2 space). Sl st to join. Drop the Contrast Color and pick the Main Color back up. (48 sts)
- Body Height: Repeat Rounds 8 and 9 consecutively until the bag reaches the desired height of your water bottle.
- Next-to-Last Round: With the Main Color, Ch 3. Work 1 DC in each stitch around. Sl st to join. (48 sts)
- Final Round: Ch 1. Work 1 SC in each stitch around. (48 sts)
Finishing the Body: Do not slip stitch to close this final round. Instead, cut the yarn and thread it onto your yarn needle. Create a flat, invisible finish by sewing through the first stitch and back down through the middle of the last stitch. Weave in your ends.
The Strap
- Row 1: Ch 5. In the 3rd chain from your hook, work a Cluster group: (1 Cluster, Ch 1, 1 Cluster) all in the same chain. Skip 1 chain, and work 1 DC in the very last chain.
- Row 2: Ch 3, turn your work. Working directly into the Ch-1 space situated exactly between the two clusters of the previous row, work another Cluster group: (1 Cluster, Ch 1, 1 Cluster). Work 1 DC into the top of the turning chain from the previous row.
- Strap Length: Repeat Row 2 over and over until the strap reaches your preferred length (test it by draping it over your shoulder or cross-body). Fasten off.
Lace Edge on Strap
With your Main Color, attach the yarn to the bottom side edge of the strap you just completed.
- Ch 3, work 1 SC into the side edge of the very first row, Ch 3.
- Next, work a SC2tog decrease across the side edges of the next 2 rows.
- Repeat the pattern of Ch 3, work a SC2tog decrease across the side edges of the next 2 rows all the way up the side of the strap.
- When you reach the top end of the strap: Ch 3, SC in the corner, Ch 3, and Sl st directly into the center of the strap’s end.
- Work your way down the opposite side of the strap identically: Ch 3, SC, Ch 3, then repeat (SC2tog, Ch 3) down the side edges.
- Finish with a Sl st in the center of the strap’s starting end. Fasten off, leaving a very long tail for sewing.
Assembly
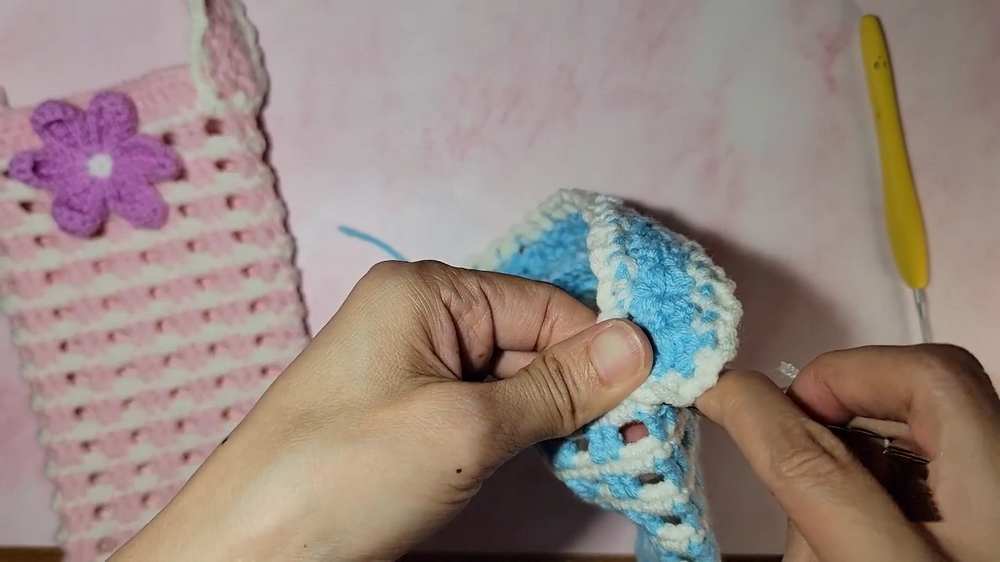
- Thread the long tail of the strap onto your yarn needle.
- Securely sew one end of the strap to the inside top edge of the water bottle bag body.
- Making sure the strap is not twisted, sew the opposite end of the strap to the directly opposite side of the bag.
- Weave in any remaining loose ends.
- (Optional) Sew on your favorite crochet flower or decorative applique onto the front of the bag for a personalized touch.
Learn with the Video Tutorial