
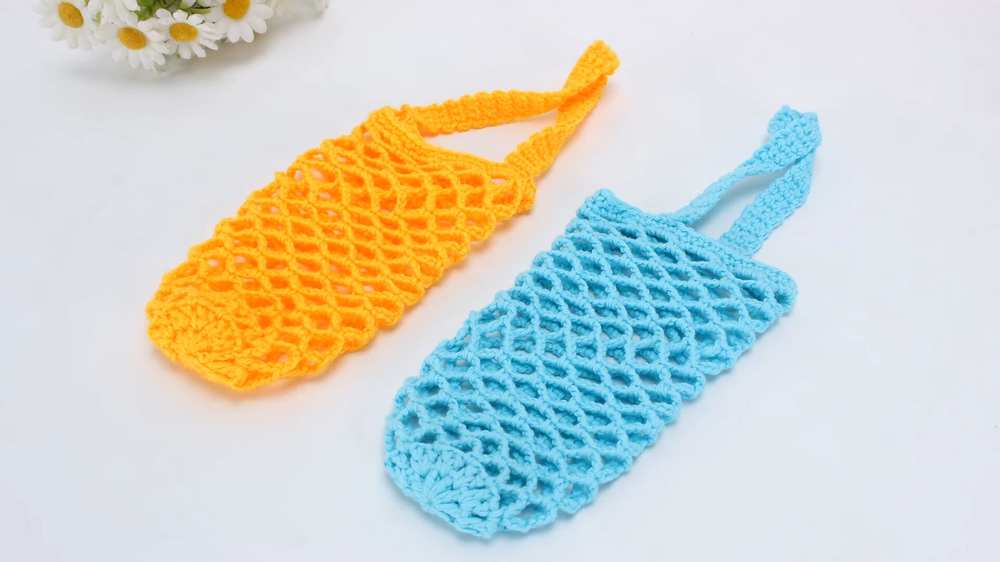
Let’s continue the “reversible & traditional water bottle holder” series and crochet this elegant mesh water bottle holder with a FREE pattern. Unlike the classical mesh cup holder, this has the fishnet mesh, which looks much more elegant. You can use the ordinary bottle, tumbler, or juice cups in this crochet water bottle holder. This time, there is a double crochet strap.
Crochet Beautiful Mesh Water Bottle Holder
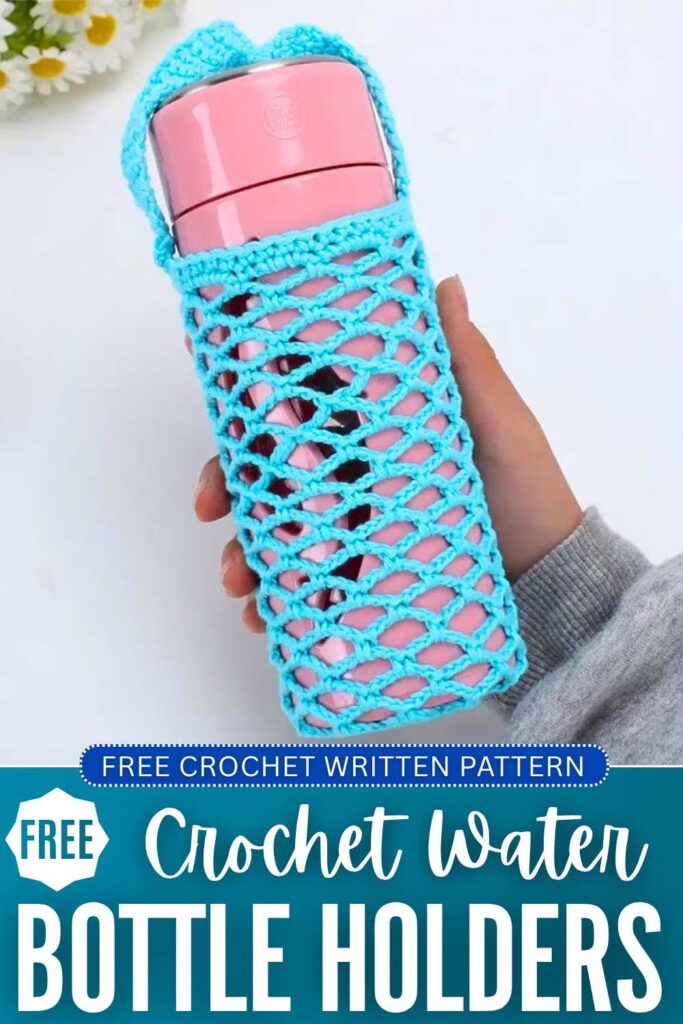
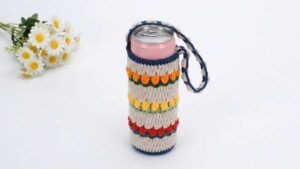
The base will also be stylized using the cluster double crochet separated by a chain-1 space. Overall, this is the only crochet water bottle holder you need this summer. You can also crochet this mesh holder for spring, just like the tulip stitch holder. Now, continue reading for the full pattern.
Crochet Fishnet Mesh Water Bottle Holder: Written Instructions
This simple, practical, and beautiful crochet water bottle holder is worked from the bottom up, featuring an intricate yet beginner-friendly fishnet mesh design.
It begins with a solid round base that can be customized in size, transitions into a flexible open-work mesh body that stretches to fit your bottle, and finishes with a sturdy border and a strap.
Whether you are a beginner looking for a quick DIY tutorial or an experienced crocheter, this step-by-step pattern is a fantastic way to create a stylish and reusable bottle carrier.
Materials
- Yarn (a sturdy, non-stretch cotton yarn is highly recommended for bottle holders.
- 2.5mm Crochet hook.
- Stitch markers.
- Scissors.
- Yarn needle (for weaving in ends).
Abbreviations (US Terms)
- MR – Magic Ring
- Ch – Chain
- Sc – Single Crochet
- Dc – Double Crochet
- Trc – Treble Crochet (yarn over twice)
- Sl st – Slip Stitch
- Sp – Space
- V-st – V-stitch (Double crochet, chain 1, double crochet all in the same space)
- Rnd – Round
Pattern Instructions
The Base
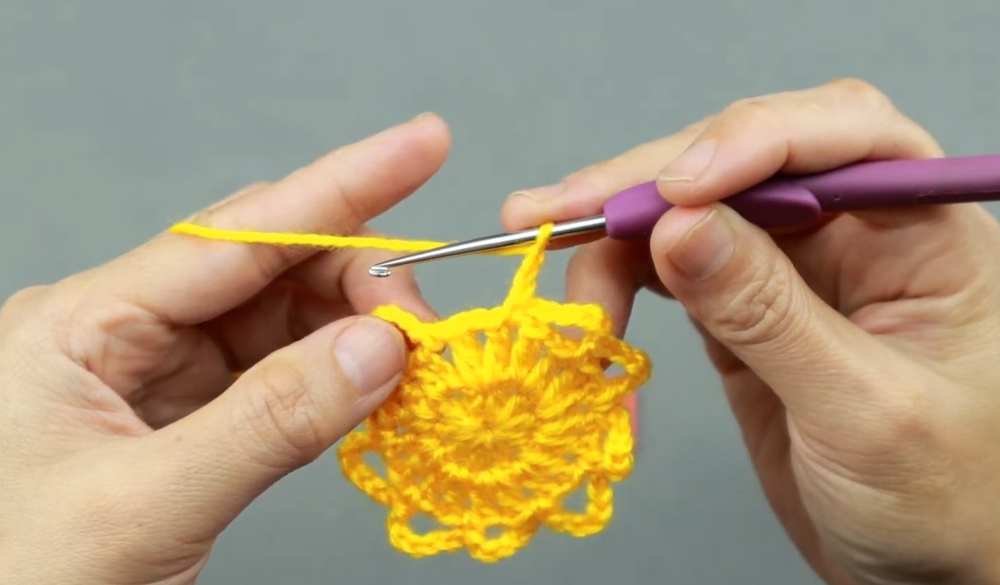
- Rnd 1: Start by making a magic ring. Ch 3 (this counts as your first dc), and place a stitch marker in the 3rd chain. Ch 1 (this acts as the space separating the stitches). Work 1 dc into the magic ring, then ch 1. Repeat this process (dc, ch 1) 8 more times so you have a total of 10 dc stitches separated by chain-1 spaces. Pull the magic ring tight and sl st into the marked 3rd chain to join.
- Rnd 2: Sl st over into the first ch-1 space. Ch 3 (counts as your first dc and place a marker in the 3rd chain), ch 1, and work another dc into the same space to complete your first V-st. Move to the next ch-1 space and work a V-st (dc, ch 1, dc). Repeat this all the way around, placing one V-st in every ch-1 space. Join with a sl st into the marked 3rd chain.
(Note: If you want a larger base, you can start Rnd 1 with 11 or 12 dc; for a smaller base, start with 8 or 9 dc.)
The Fishnet Body
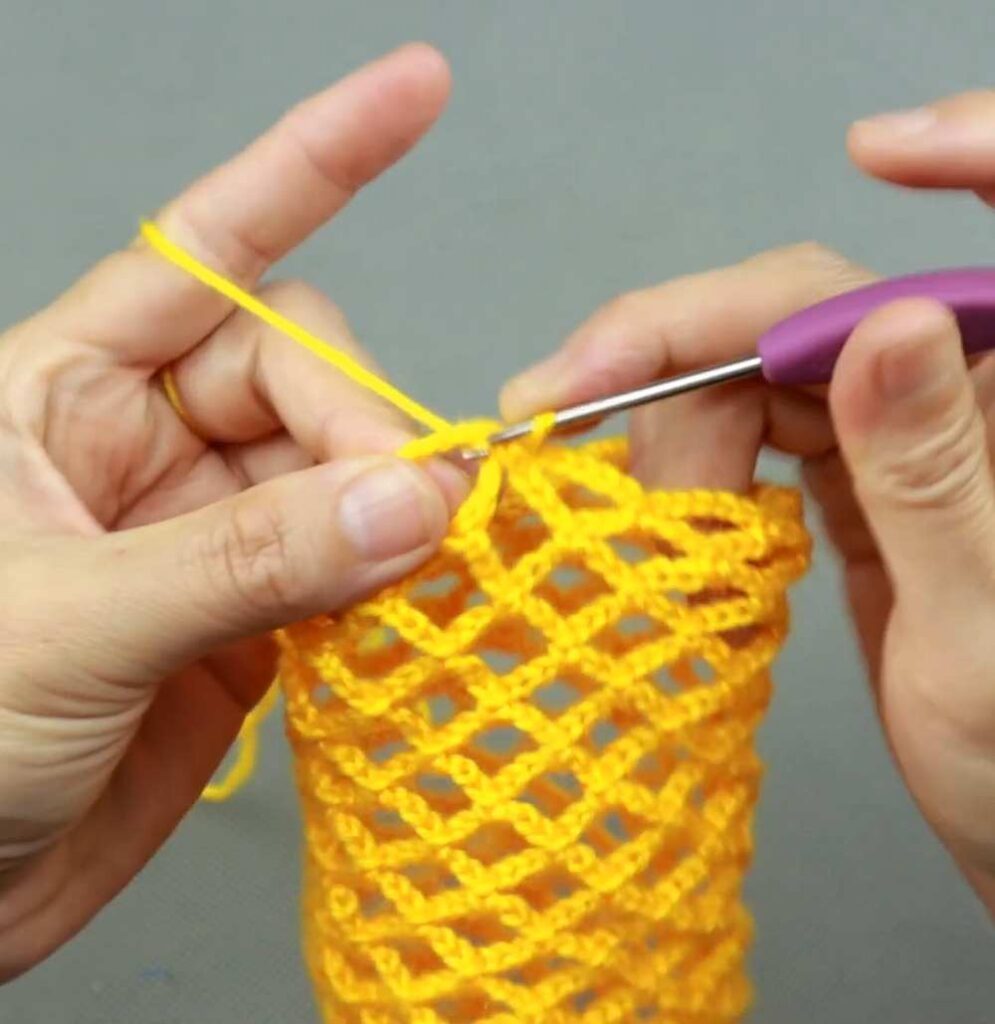
- Rnd 3: You will now be working in the gaps between the V-stitches. Sl st until your hook is in the space directly before the next V-st. Ch 6, skip the entire V-st (the 2 dcs originating from the same space), and sc into the gap between the V-stitches. Continue to ch 6 and sc into the gap between V-stitches around the round. For the final loop of the round, you need a special join to keep your hook at the top of the loop: Ch 3, then make a Trc (yarn over twice) into the starting gap.
- Rnd 4: From the top of the loop you just created, ch 6, and sc directly into the next ch-6 loop. Continue to ch 6 and sc into the next loop around the body. Close the round exactly the same way as Rnd 3: Ch 3, then Trc into the base loops of the starting stitch.
- Rnd 5 and on: Repeat the Rnd 4 instructions, continuing to build the fishnet loops until the bottle holder reaches the desired height to fit your specific cup or bottle.
The Top Border
- Border Rnd 1: Once you reach the top, the loops will be made slightly smaller to bring the top edge in. Ch 5, and sc into the next loop. Repeat this (ch 5, sc in next loop) all the way around. You can mark your first stitch to keep track. For the final join, make your last ch 5 and sl st directly into the top of the Trc from the previous round.
More
- Border Rnd 2: Ch 1. Work 4 sc directly around the first ch-5 space. Continue working 4 sc into every ch-5 space around the entire border. Sl st into the first sc to join.
- Border Rnd 3: Ch 1. Sc in each stitch around. Sl st to the first sc to join.
The Strap and Assembly
- Row 1: Do not fasten off after the border. Ch 1, then work 1 sc into the next 3 stitches.
- Row 2: Ch 1, turn your work, and sc into each of the 3 stitches.
- Strap continuation: Repeat Row 2, turning and single crocheting, until the strap reaches your desired length.
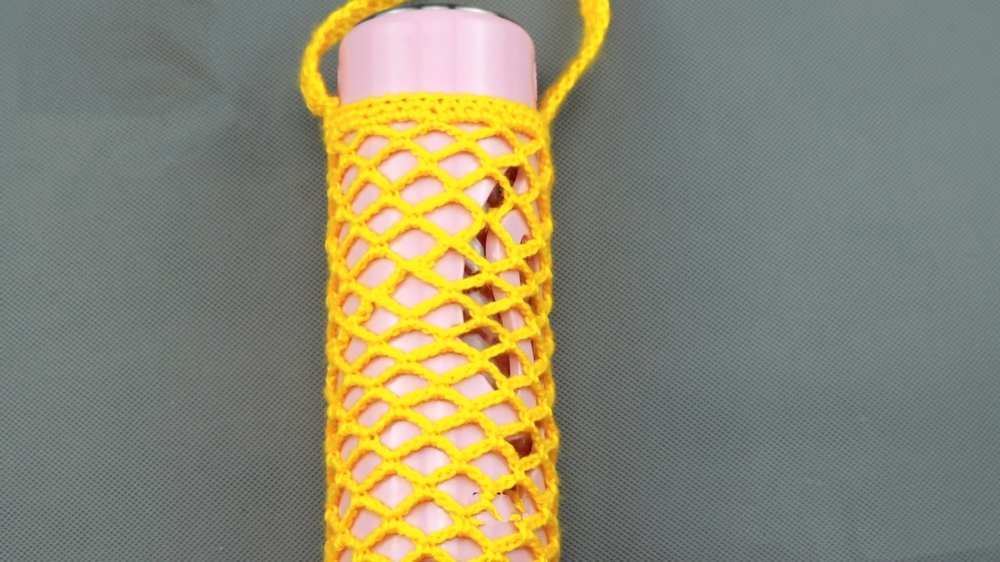
- Attaching the strap: Ensure the strap is not twisted. Fold the bottle holder flat to locate the 3 stitches on the exact opposite side of the top border. With the wrong side facing you, sl st the 3 stitches of the strap to the 3 corresponding stitches of the opposite border to join them together.
- Finishing: Pull the yarn through, cut it, and use a yarn needle to weave in any loose ends securely. Your beautiful mesh bottle holder is now complete!