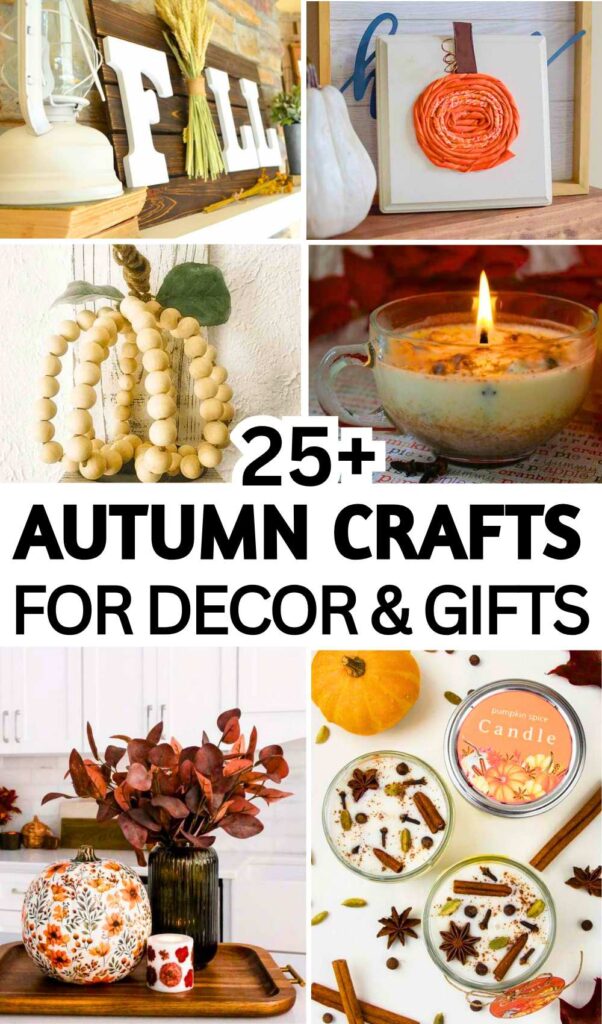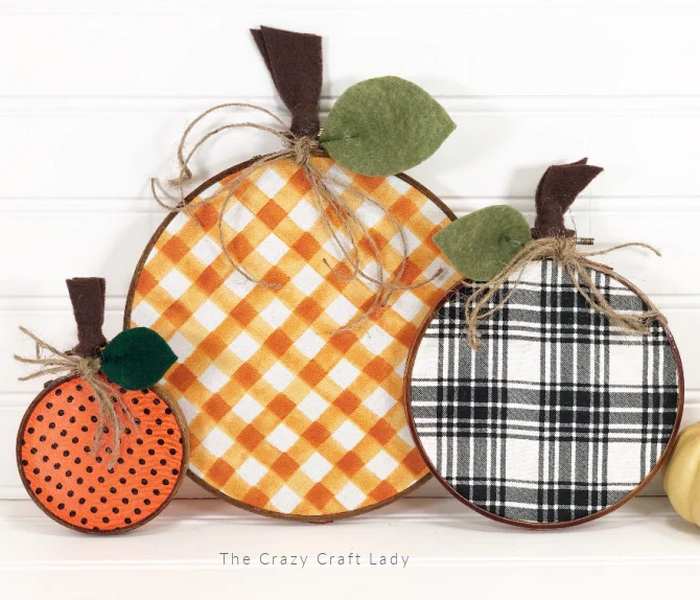
This collection is a group of beautiful, easy DIY autumn projects that will help make your home feel cozy for the season. From rustic farmhouse pumpkins and scented candles to handmade dishes and wall art, these ideas use simple steps to help you get professional-looking results. It is a great guide for anyone who wants to add a personal, handmade touch to their space without spending a lot of money or feeling stressed.
Autumn Crafts to Gift & Decorate Your Home
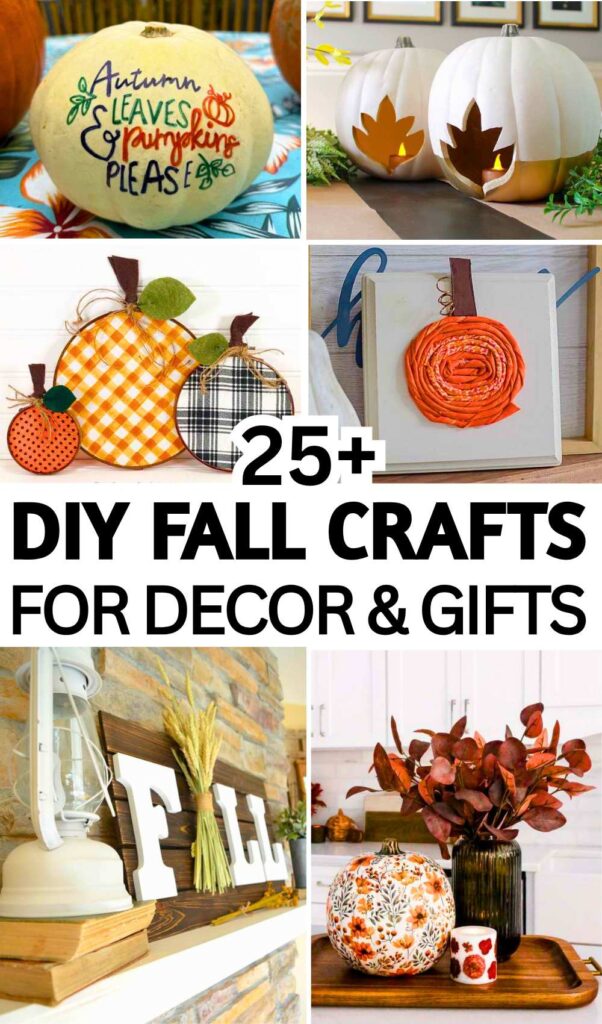
The ideas I have gathered focus on projects that are fun and easy to make, no matter how much experience you have. Many of these, like the no-sew embroidery hoop pumpkins or decorated paper crafts, show that you don’t need fancy tools or expensive supplies to create something lovely. By using simple things like wood, fabric, and clay, these projects turn everyday items into charming decorations that you can reuse every single year.
Each item in this list was chosen because it is both useful and stylish. Whether you are making something practical like cork coasters and candles, or pretty decor like leaf art and pumpkin vases, every project has clear and simple instructions. These guides make it easy to use what you already have at home, letting you create a warm, personalized look for fall that is just as fun to make as it is to show off.
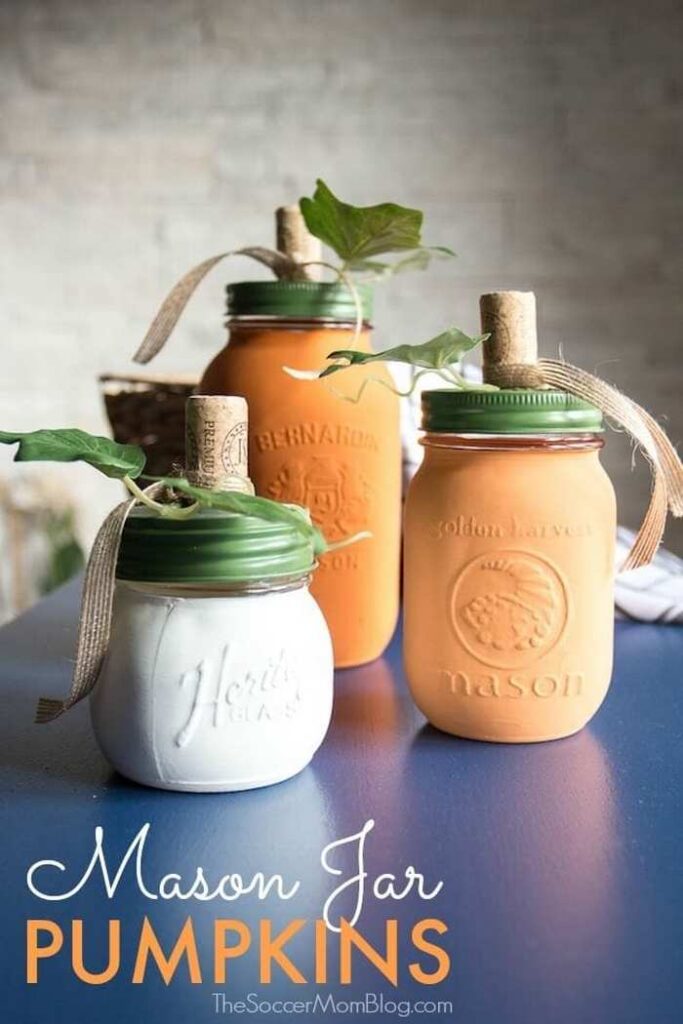
Mason Jar Pumpkins
Transform your space with these super cute embroidery hoop pumpkins. This easy project uses wooden embroidery hoops, fall-inspired plaid fabrics, and felt cuts to make the perfect farmhouse style additions for your autumn home decor. You don’t need to be a sewing pro because there is absolutely no sewing required.
To make this quick craft, paint your wooden hoops with brown acrylic craft paint. Fit your plaid fabric into the hoops, pull tight, and trim away the excess from the back. Use hot glue to attach your dark brown felt pumpkin stems, olive green felt leaves, and natural jute twine at the top to complete this beautiful set.
DIY Cork Trivets
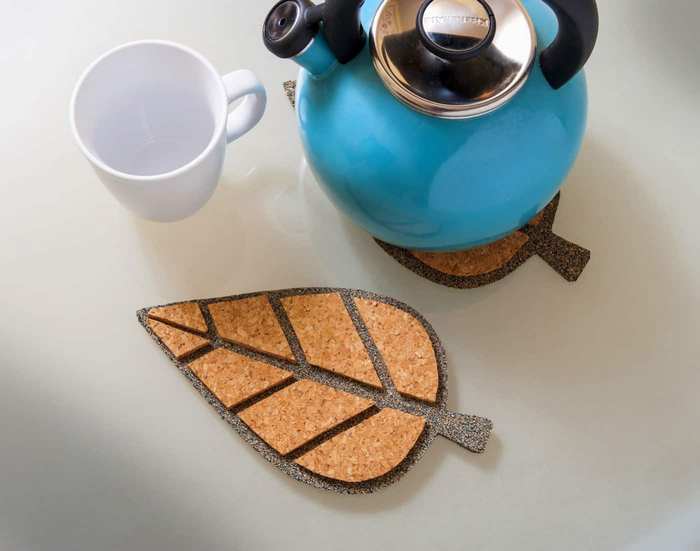
Create a stunning, Scandinavian-inspired look for your kitchen table with these DIY cork trivets. These beautiful hot pads manage to be both pretty and practical, acting as the perfect heat-resistant surface to set down your tea kettle, Dutch oven, or warm baking dishes. They look like high-end boutique finds, but you can easily make a set yourself right at home without needing any expensive specialty tools.
To start crafting this simple project, download and enlarge the free printable leaf template to two different sizes. Tape your larger leaf printout to a dark brown cork tile, and trace around the outer edge using a sharp craft knife on a cutting mat. Cut out the individual leaf pieces from a lighter cork sheet, arrange them neatly on top of your darker base layer, and secure them down with a hot glue gun.
DIY Wood Beaded Farmhouse Pumpkin
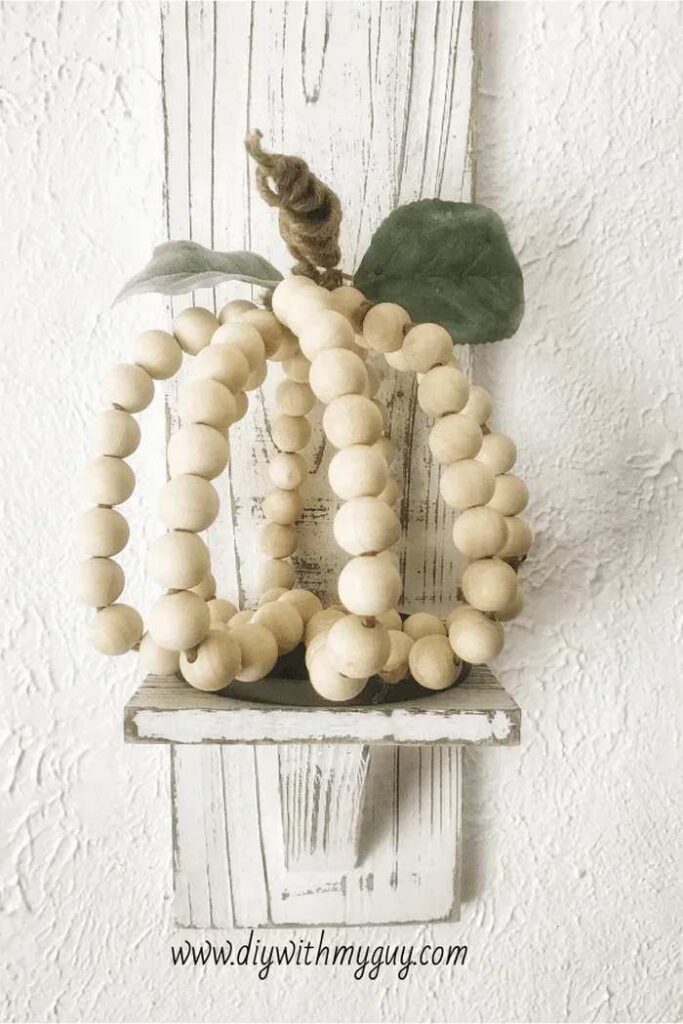
Add a touch of beautiful Scandinavian farmhouse style to your fall vignette with this simple DIY wood bead pumpkin. If you love minimalist fall decor that feels clean, rustic, and unique, this gorgeous handmade creation is the perfect addition to a cozy living space. It is incredibly cheap to put together, takes only about 20 minutes from start to finish, and provides a lovely natural woodland touch using very minimal craft supplies.
To assemble this quick autumn craft, you only need three basic supplies: natural wooden beads, jute-covered wire, and faux lamb’s ear leaves. Cut your wire into equal strands, twist the center sections together to form a baseline “X” shape, and thread eleven beads onto each piece of jute. Bring all the loose ends up together at the center, wrap them with an extra piece of wire to form a structured pumpkin stem, and finish by hot gluing two soft green leaves to the top.
Embroidery Hoop Pumpkins
Add a touch of cozy farmhouse style to your home with these super cute embroidery hoop pumpkins. This quick and easy craft is an awesome way to update your autumn home decor using basic craft supplies you probably already have lying around in your craft room. You do not need to be a sewing pro because this beautiful fall project requires absolutely zero sewing to put together.
To get started on this simple project, paint your wooden hoops with dark brown acrylic craft paint and set them aside to dry. Next, fit your choice of fall-inspired plaid fabrics loosely into the hoops, pull the fabric gently from the back so it is tight, and trim away the excess fabric with scissors. To finish, use a hot glue gun to attach your dark brown felt pumpkin stems, olive green felt leaves, and natural jute twine to the top of each hoop pumpkin.
DIY Sheet Music Watercolor Fall Leaves
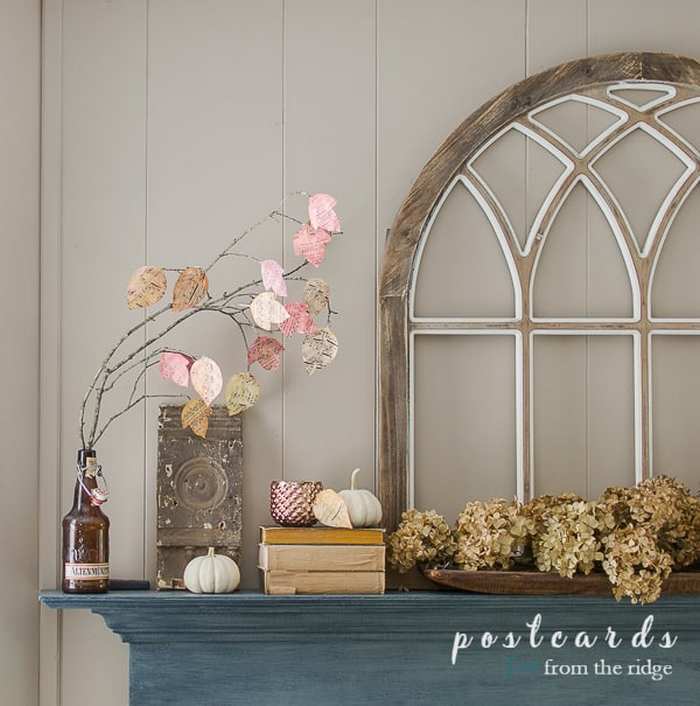
Bring a warm and original look to your fall mantel with these DIY sheet music watercolor leaves. This thrifty project uses vintage sheet music or old book pages to make stunning, custom autumn foliage that looks incredibly beautiful tucked into a vase. It is a fantastic, budget-friendly way to add a cozy touch to your family room without spending a fortune on seasonal store decor.
To create this super simple craft, first cut your vintage pages into your favorite leaf shapes using a Cricut machine or regular scissors. Next, use watercolor pencils or regular watercolor paint to brush soft golden yellows, oranges, or warm reds onto the delicate paper to build up a vibrant autumn hue. To finish, gather a few bare branches from your yard and use a hot glue gun to attach your colorful watercolor leaves directly to the wood.
Fall Napkin Luminaries
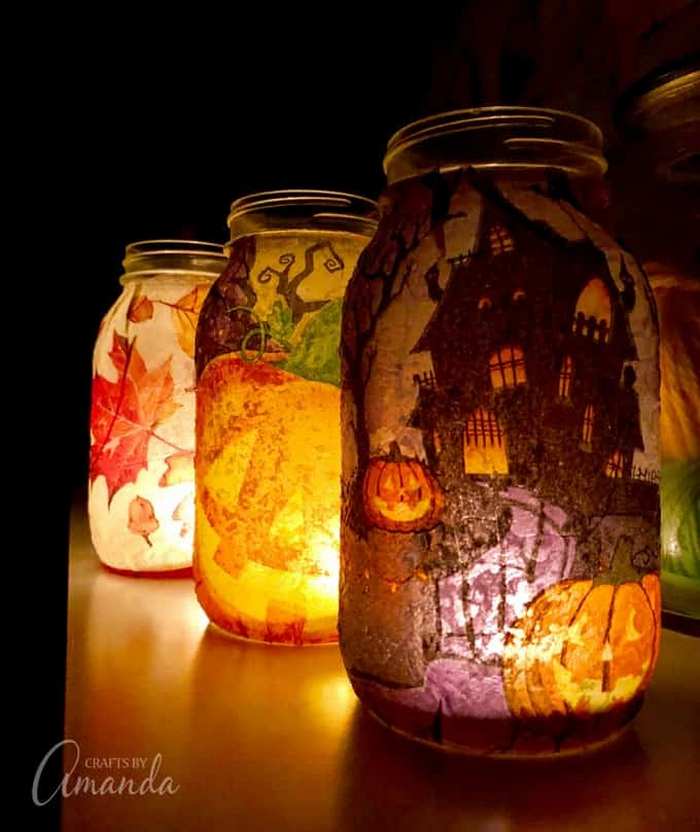
Add a beautiful glow to your windows, mantle, or Thanksgiving table with these stunning fall napkin luminaries. This project uses pretty fall and Halloween paper napkins to turn plain glass jars into atmospheric, glowing lanterns. It is an exceptionally easy adult craft project that is perfect for a cozy girls’ night in or a relaxing afternoon activity.
To start your luminary craft, first wash and dry a clear glass jar, then prepare your paper napkins by separating the ply and cutting out your favorite patterns. Use a large paintbrush to apply a thin coat of Mod Podge directly to the front of the jar to prime the glass and make it tacky. Lay the jar on its side, gently press your napkin cutouts onto the wet surface from the center outward, and carefully brush another coat of Mod Podge right over the top of the entire delicate napkin design.
Little Wool Ball Acorn DIY
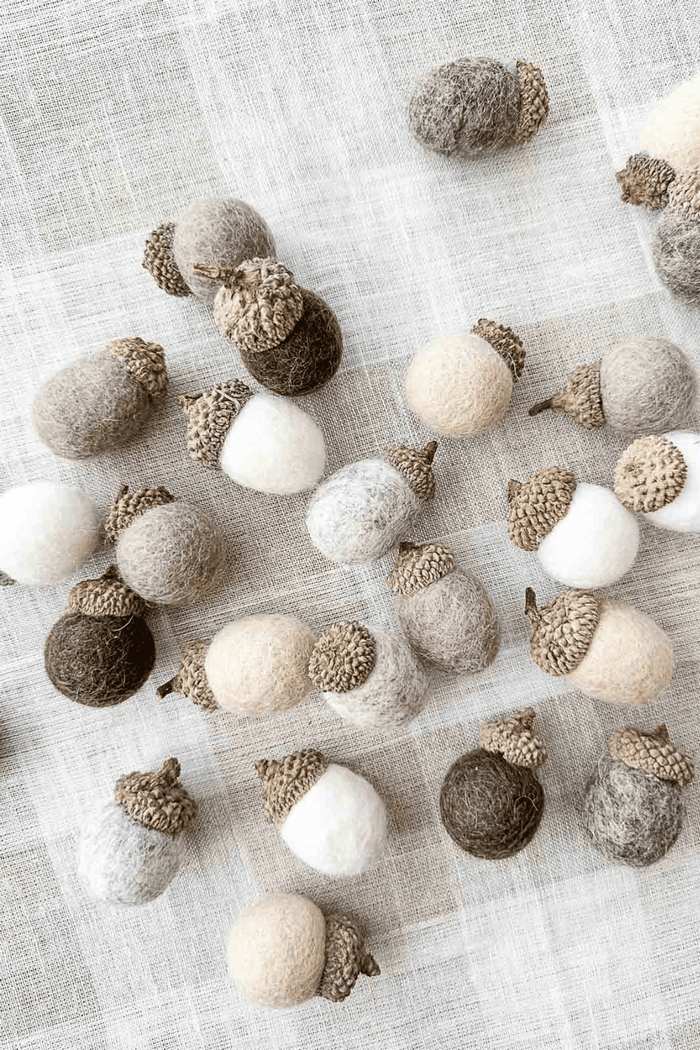
Bring a warm and cozy woodland feel to your autumn vignettes with these sweet felted wool ball acorns. This simple and addictive fall craft uses pre-made wool balls and real or faux acorn caps to build custom decorations without any tedious needle felting required. They are a delightful detail to scatter across a table, cluster together inside a wooden bowl, or string onto a beautiful fall garland.
To make these sweet little wooly acorns, start by separating the acorn tops from their bodies, discarding any caps with cracked sections. Keep the 20mm wool felt pom pom balls round for chubby acorns, or lightly wet your hands and roll softer wool balls between your palms to shape them into a slightly elongated elliptical look. Run a generous amount of hot glue around the inside edge of your acorn caps, firmly press the dry wool felt bodies into place, and hold them upright for a minute until secure.
Easiest DIY Fall Sign Ever
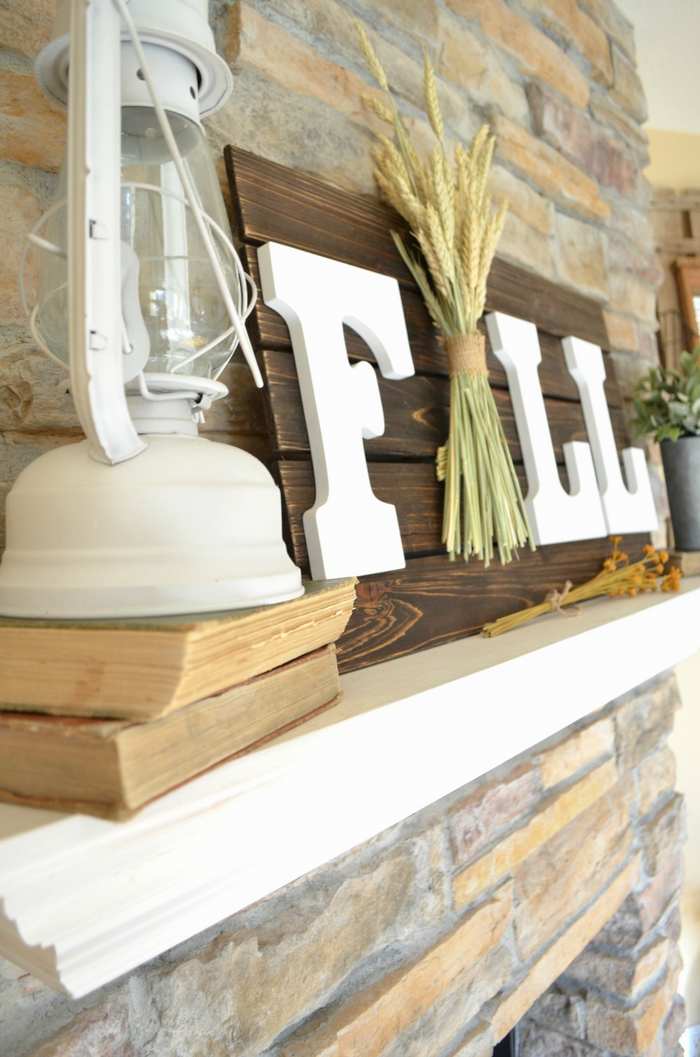
Add a gorgeous farmhouse touch to your home with the easiest DIY fall sign ever. If you are in the mood for a quick, fast-paced project that is hard to beat, this rustic creation takes only about 45 minutes to complete from start to finish. It is a fantastic, budget-friendly way to add a nice autumn touch to your fall decor while keeping your seasonal crafting completely simple and stress-free.
To construct this easy sign, start by applying one heavy coat of Minwax wood stain to a craft wooden pallet using a foam brush. Let it soak in for five minutes, then go over the entire thing with a handy dandy sanding block, focusing mostly on the edges to achieve a weathered, rustic look. Slap on some wood glue to attach the white letters directly to the pallet slats, leaving a blank space for the letter “A.” Complete the project by tying a small bundle of craft wheat stems together with twine, wrapping it with burlap, and securing it in place with a tiny nail.
Pumpkin Centerpiece for the Holidays
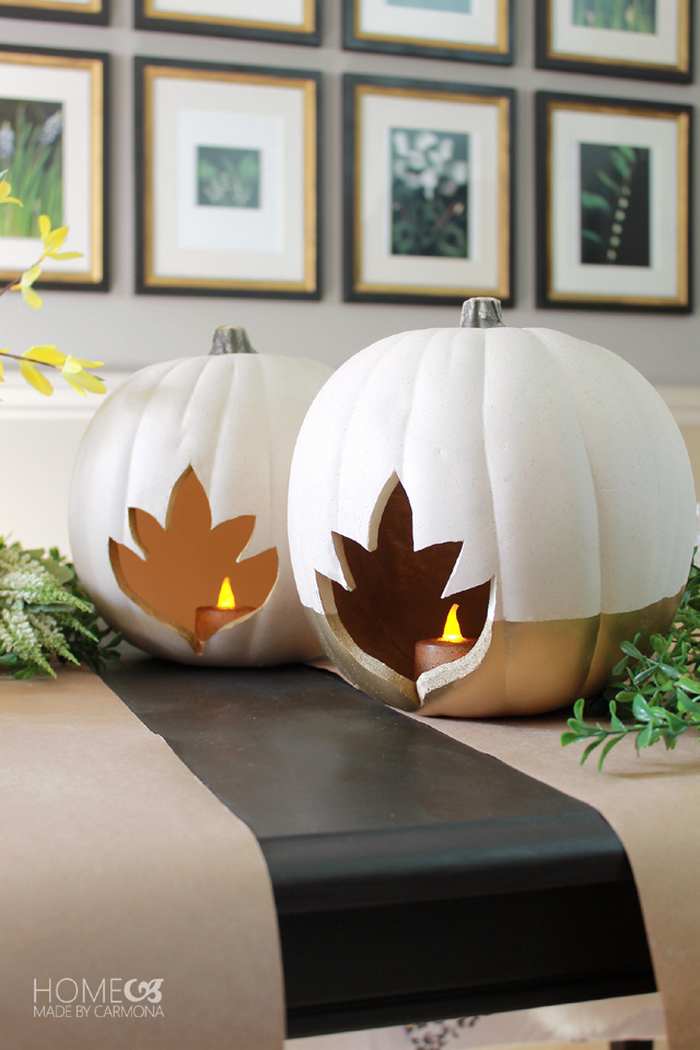
Craft a stunning holiday tablescape in minutes with this beautiful pumpkin centerpiece. Perfect for busy holiday dinner hosting, this clever project relies on reusable, versatile decor items that allow you to set a custom table without wasting valuable meal preparation time. After just 15 minutes of work, you will have beautiful, custom-designed decor that can be displayed on a bookshelf or mantel all season long and packed away for years to come.
To create this custom centerpiece, draw and cut a leaf template out of regular paper so it easily bends with the curve of carvable foam pumpkins. Trace the shape onto your pumpkins and perform your carving at a slight outward angle, starting at the smallest leaf tips and working outward so you can easily pop the carved piece right out. Complete your festive table setting by nesting your custom pumpkins inside a DIY wire basket alongside colorful fall foliage, silk flowers, and safe, wax-dipped battery-powered tealights that flicker like a real candle.
Easy DIY Hand Lettered Painted Pumpkins
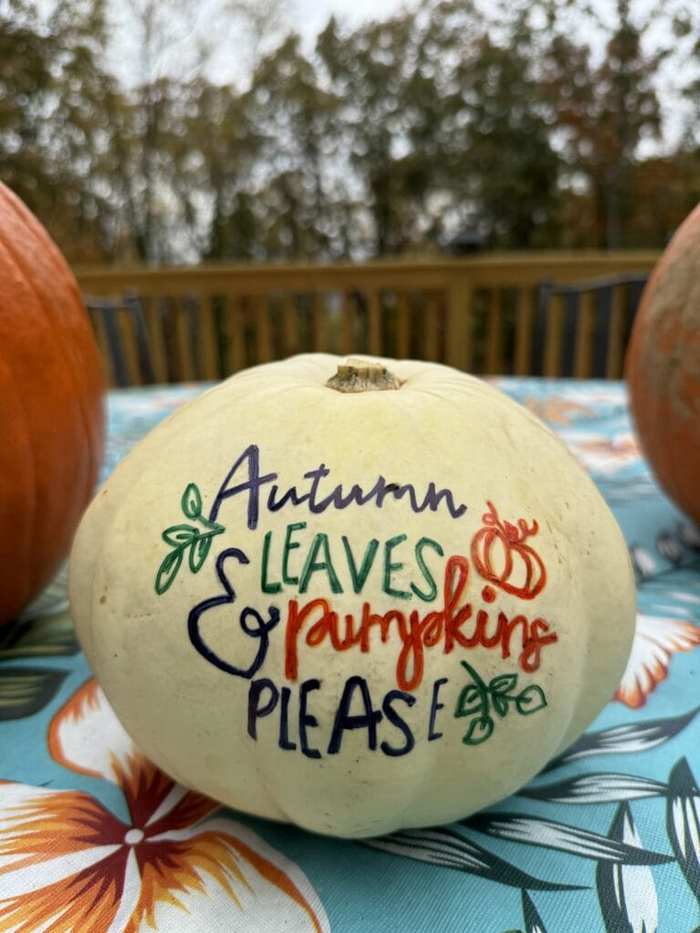
Welcome autumn onto your porch or mantel with these easy DIY hand-lettered painted pumpkins. If you are looking for a simple, budget-friendly project to create gorgeous seasonal decorations, this custom craft is perfect for you. You don’t need any expensive stencils or special artistic talent to achieve beautiful, professional-looking results that will look amazing with the rest of your fall home decor.
To make these simple statement pieces, paint the main body of cheap plastic or paper mache pumpkins with a clean coat of white chalk paint. Once dry, use a sharp pencil to lightly sketch out welcoming autumn phrases, family monograms, or short words like “blessed” directly onto the smoothest side of the pumpkin. Complete your rustic, hand-lettered creations by tracing right over your pencil lines with a permanent black Sharpie or an oil-based paint pen, slowly thickening your downstrokes to form a stunning faux calligraphy design.
DIY Napkin Pumpkin
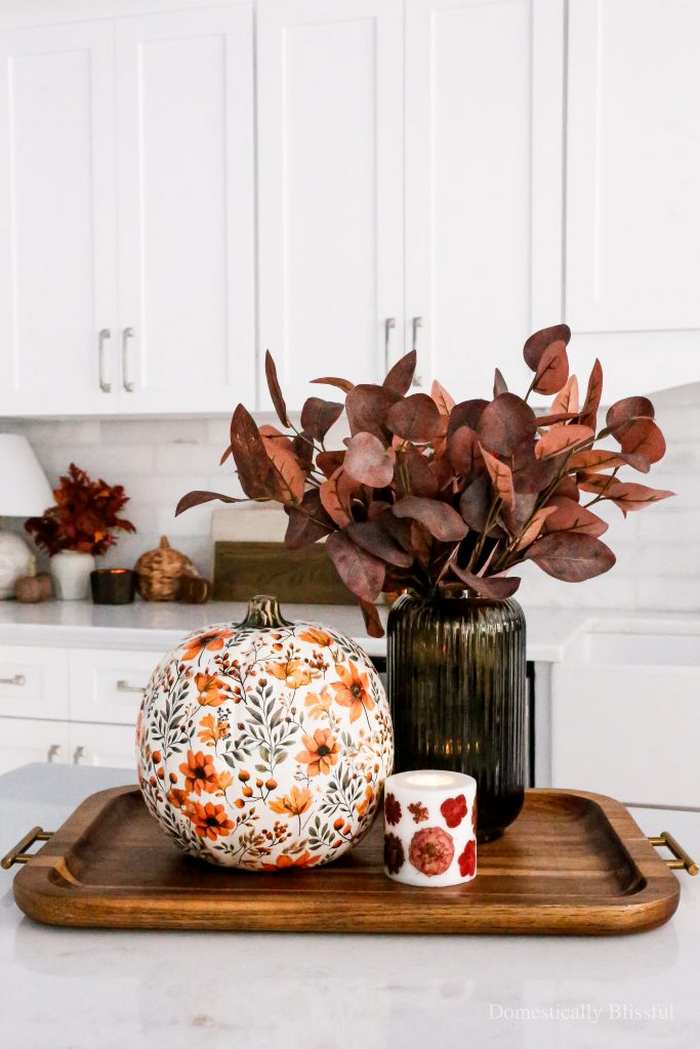
Fall in love with your seasonal crafting by piecing together a gorgeous DIY napkin pumpkin. This beginner-friendly craft is one of the best ways to upgrade plain faux pumpkins using your favorite patterned paper napkins. It is a wonderfully simple project that lets you piece patterned paper together like a puzzle, embracing beautiful imperfection to create custom, high-end autumn accents that you can display year after year.
To start this easy fall project, pull apart the napkins to separate and completely remove the blank inner paper layer. Cut out individual segments from the printed design, brush a smooth layer of Mod Podge onto a small area of your pumpkin, and place the napkin piece directly on top. Gently pat the paper down, apply an extra coat of sealer right over the surface to secure it, and repeat until the top is covered. Once dry, flip the pumpkin into a small bowl to keep it from rolling, finish decoupaging the base, and use a sharp craft knife to carefully trim away any paper overlapping the stem.
Use Mode Podge On Clay Tags
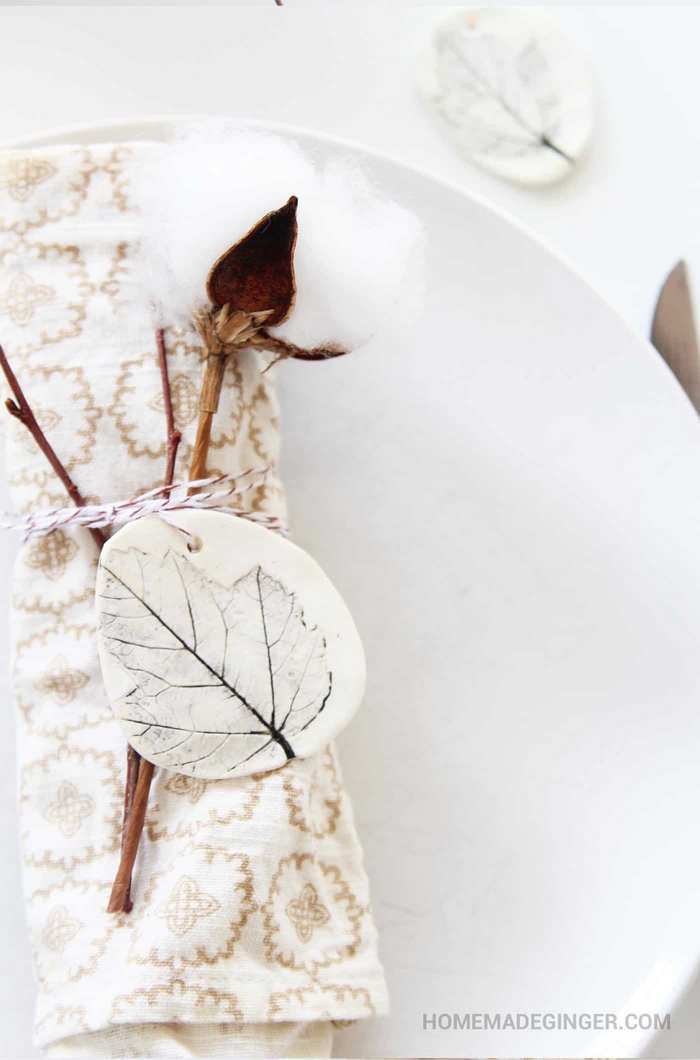
Elevate your handmade jewelry collection by crafting gorgeous, custom polymer clay pendants using Mod Podge. This easy and satisfactory DIY project is an awesome way to transfer beautifully patterned graphics directly onto clay sheets without needing any special stamping equipment or drawing skills. By applying a creative image transfer technique, you can quickly build stunning, personalized wearable art pieces that are perfect to show off on a necklace chain or pass along as thoughtful handmade gifts.
To make these custom necklaces, first condition your polymer clay by squishing and kneading it until soft, then roll it into a uniform sheet using an acrylic roller. Cut out your printed design template, place the image face down on the clay, burnish it well to get rid of any air bubbles, and spray a few squirts of water onto the paper backing. Gently run a finger across the wet paper to roll the fibers away, trim around your graphic using a sharp craft knife, bake the clay per package instructions, and finish your piece with several thin coats of Mod Podge Dimensional Magic.
Homemade Autumn Spice Soy Candles
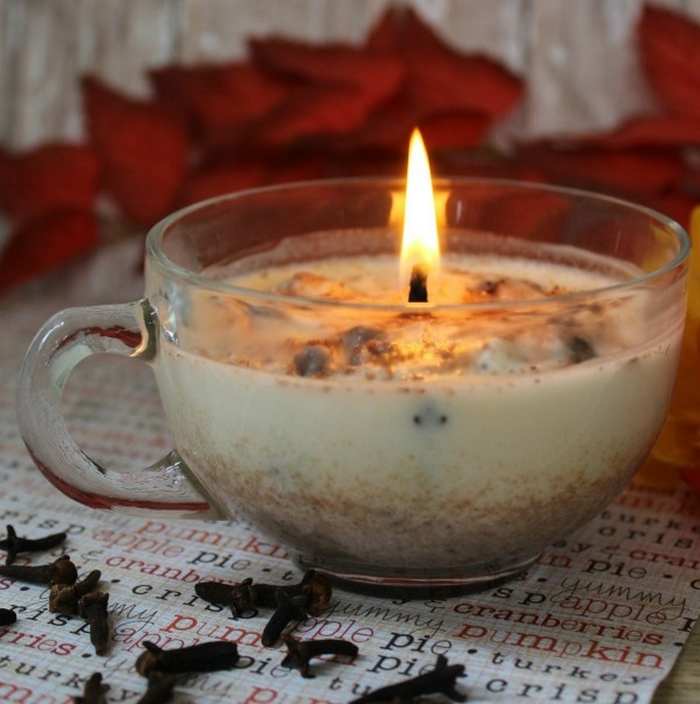
Fill your home with the cozy, comforting aromas of the season by pouring your own homemade autumn spice soy candles. Making your own candles is a surprisingly simple and rewarding DIY project that lets you skip the expensive store-bought prices and control exactly what goes into your wax. By blending clean-burning soy with rich seasonal fragrances, you can easily create custom, highly scented jars that bring instant warmth to a crisp fall evening or serve as beautiful, thoughtful handmade gifts.
To pour these aromatic candles, secure a cotton wick to the bottom center of clean half-pint mason jars using glue dots or a dab of hot glue. Melt your soy wax flakes completely in a double boiler over medium heat until the temperature reaches about 180°F (). Stir in a custom fragrance blend of cinnamon, clove, nutmeg, and orange essential oils, then carefully pour the scented liquid wax into your prepared jars, using a pencil or a wick centering clip to keep the wick standing perfectly straight as the candle cools and solidifies over the next 24 hours.
DIY Pumpkin Spice Candles
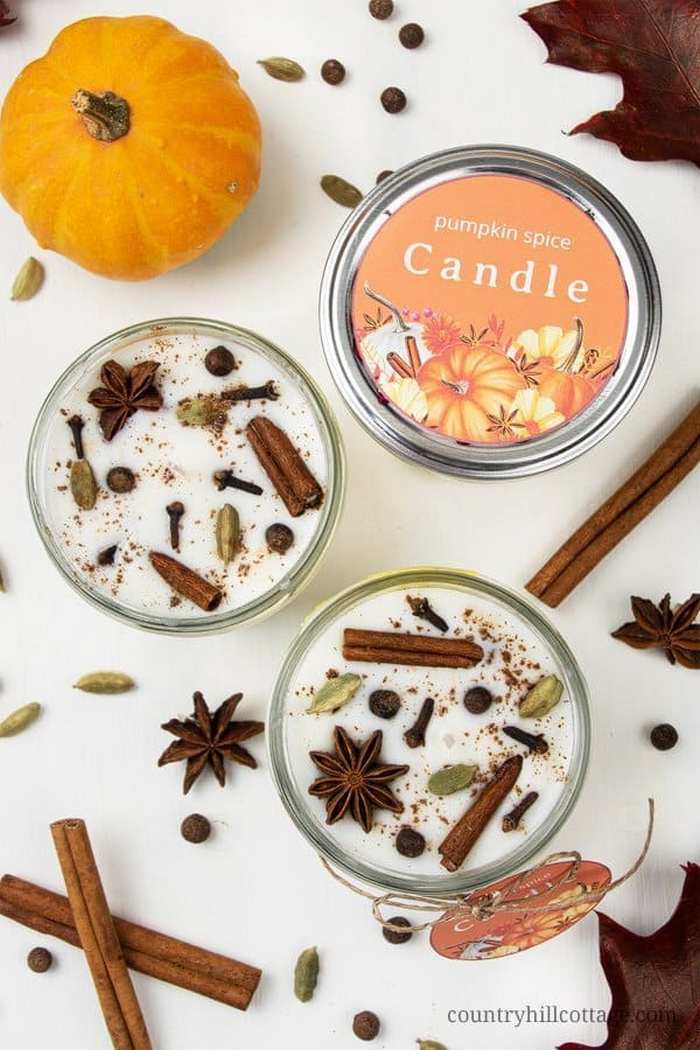
Fill your home with the cozy and nostalgic aromas of autumn by pouring these gorgeous DIY pumpkin spice candles. Creating your own clean-burning soy candles is a surprisingly simple and rewarding project that allows you to skip expensive boutique price tags. By infusing natural wax with rich seasonal colors and warm spices, you can easily craft custom jars that bring instant warmth to a crisp fall evening or serve as beautiful, thoughtful handmade gifts.
To make these highly scented candles, secure a cotton wick to the bottom center of clean glass jars using glue dots. Melt your soy wax flakes completely in a double boiler over medium heat, stirring in small pinches of real pumpkin pie spice and a few drops of orange candle dye for a warm, festive color. Stir in your favorite pumpkin spice fragrance oils, carefully pour the liquid wax into your prepared jars while using a wick centering clip to keep it straight, and let the candles set completely for 24 hours before trimming the wick.
Fabric Pumpkins on Wood Board
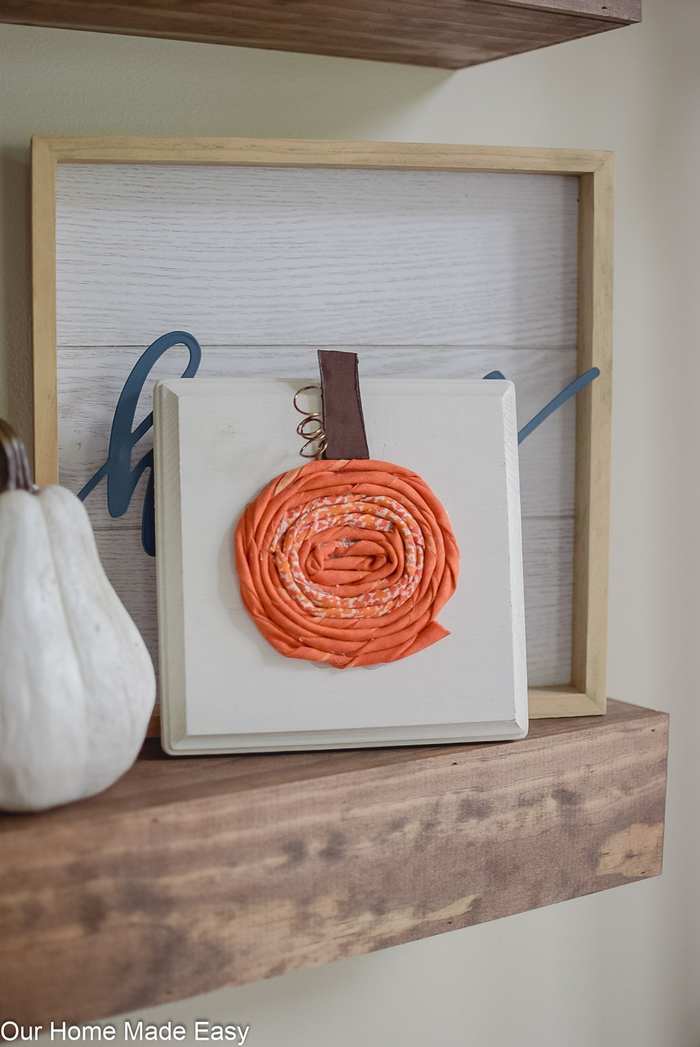
Bring a touch of cozy, dimensional farmhouse style to your home with these quick and easy fabric pumpkins on a wood board. This unique 30-minute craft combines soft textures and natural wood elements to create a gorgeous piece of rustic wall art or mantel decor. It is a fantastic, budget-friendly way to make a big statement with your autumn decorations using simple craft supplies you likely already have lying around your craft room.
To construct this easy fall sign, start by applying a clean coat of white or gray paint to a pre-assembled wooden craft board to serve as your background. While the board dries, cut out three pumpkin templates from your favorite fall-inspired fabrics, such as plaid or neutral cotton prints. Wrap individual pieces of twine around the fabric shapes to create a structured, plump pumpkin look, secure them flat to the painted wood board using a hot glue gun, and finish your creation by attaching real twigs or dark brown felt for the pumpkin stems.
No-Sew Hand Towel Wall Hanging
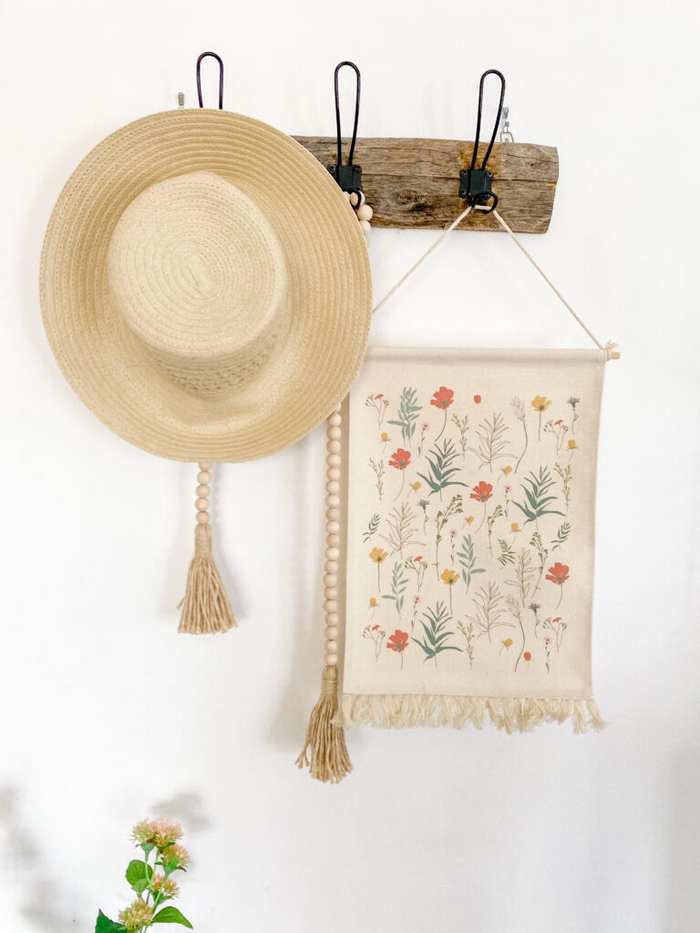
Brighten up your home for spring with this genius no-sew hand towel wall hanging Easter craft. If you love quick, budget-friendly projects that look like high-end boutique decor, this clever project is perfect for you. It is a fantastic way to transform an ordinary seasonal hand towel into a gorgeous piece of custom wall art, and you do not need any sewing machine or complicated stitching skills to put it together.
To assemble this simple Easter craft, iron out any wrinkles in a festive holiday hand towel, fold the top edge down about an inch to create a straight pocket, and secure the fold flat with a thin strip of iron-on fusible fabric tape. Slide a thin wooden dowel right through the pocket, and tie a length of natural jute twine or pretty ribbon to both exposed ends of the wood to serve as your hanger. Finish off the rustic look by sliding a couple of wooden beads onto the twine and clipping a bunch of faux spring greenery to the top corners with hot glue.
Autumn Leaf Clay Trinket Dishes
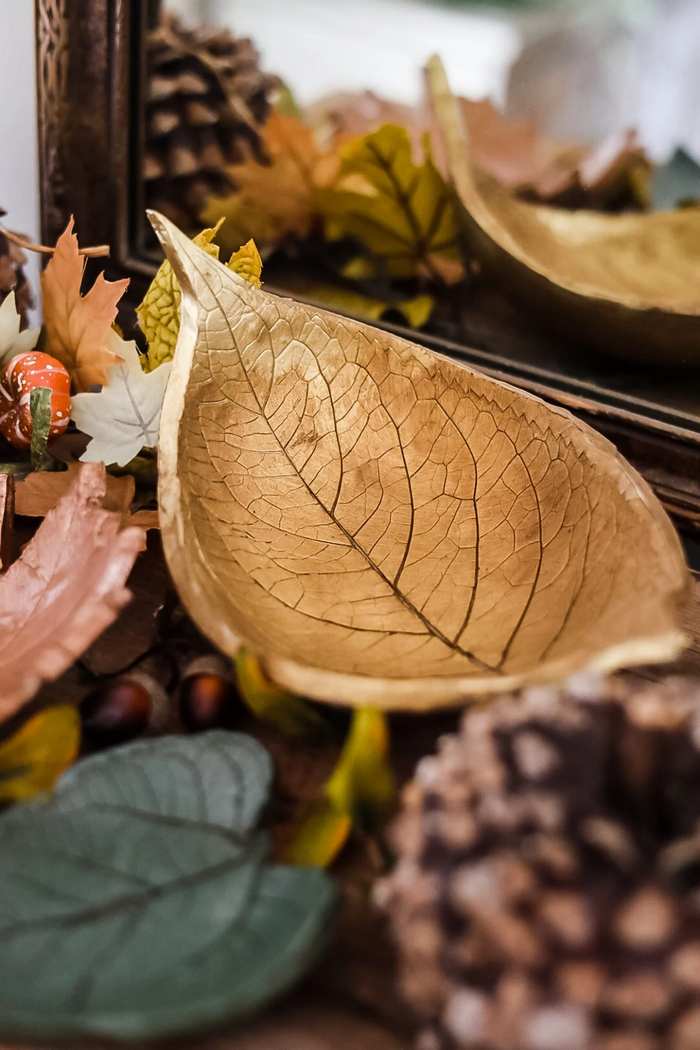
This simple and satisfactory DIY project is an awesome way to capture the detailed texture of seasonal foliage using easy-to-work-with air-dry clay. They are the perfect little catch-all bowls to place on your nightstand, vanity, or entry table to hold jewelry and keys, and they make wonderful, high-end looking handmade gifts for friends and family.
To shape these delicate trinket dishes, roll out a piece of white air-dry clay into a uniform sheet using an acrylic roller or rolling pin. Gather a fresh, heavily veined fall leaf from your yard, press it firmly face-down into the clay, and roll over it gently to stamp the beautiful organic texture into the surface. Use a sharp craft knife to carefully trace and cut out around the leaf silhouette, lift the clay shape, and rest it inside a small shallow bowl or dish so the edges curve upward naturally while drying completely over the next 24 hours.
DIY Pumpkin Vase
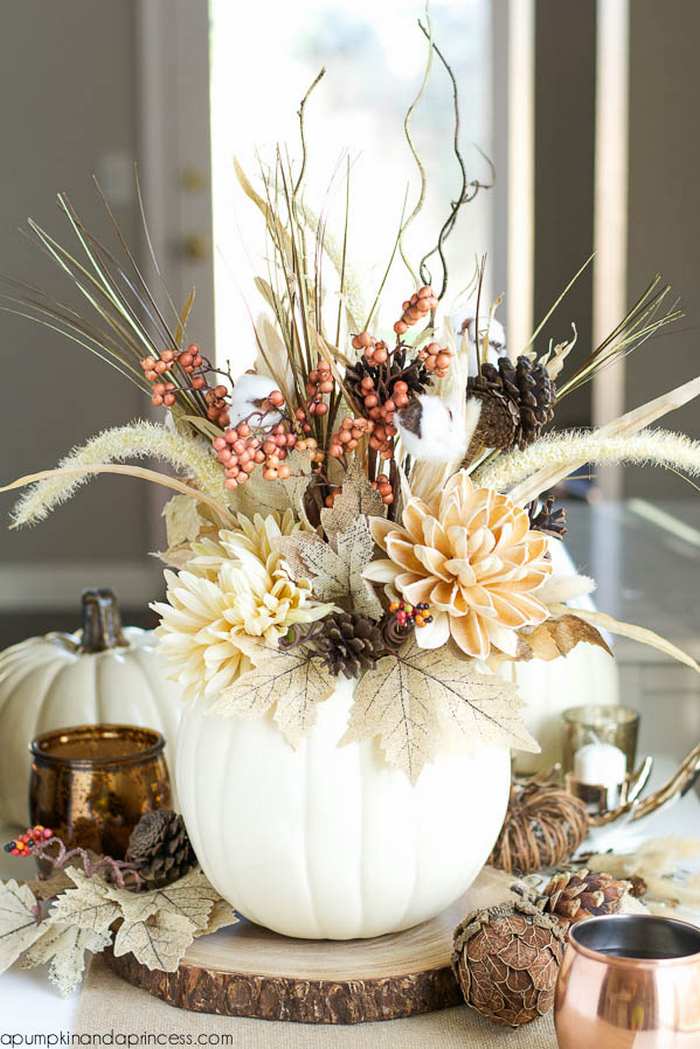
Create a stunning seasonal floral arrangement with this gorgeous DIY pumpkin vase. Perfect for adding a fresh touch to your autumn tablescape, this quick and easy project transforms an ordinary faux pumpkin into a beautiful, rustic centerpiece. It is a fantastic, budget-friendly way to display your favorite fall blooms on a mantel, entryway table, or right in the middle of your Thanksgiving dinner spread.
To create this beautiful vase, use a sharp craft knife to carefully cut a circular opening around the stem of a carvable craft pumpkin. Scoop out any loose foam from the interior, and place a small glass jar or a plastic cup filled with water directly inside the hollow pumpkin shell. Trim your selection of fresh or silk autumn flowers, such as mums, hydrangeas, and faux berry sprigs, and arrange the stems neatly inside the hidden water container to complete your festive floral display.