
Subscribe to Easy crochet! The video tutorial & instructions are below!
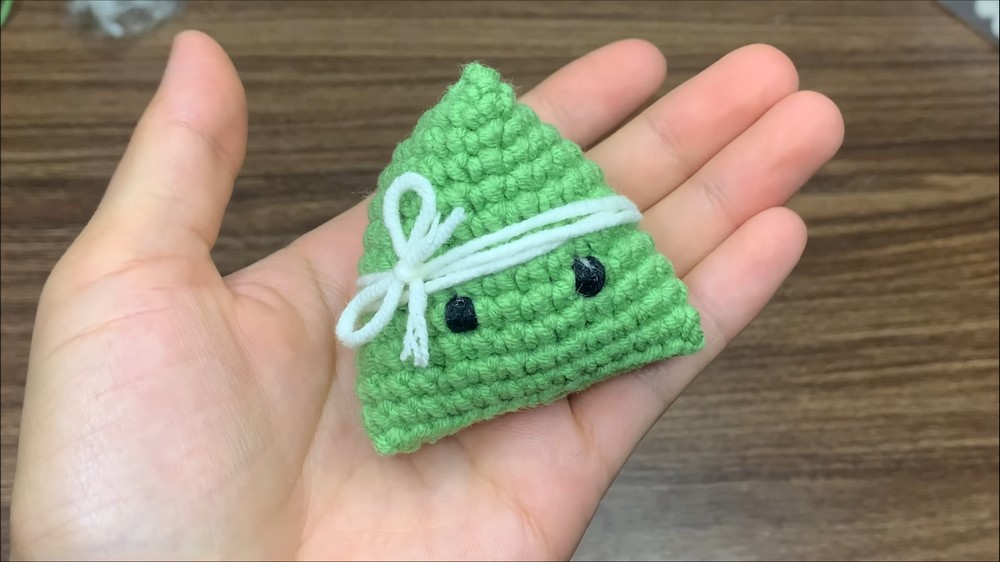
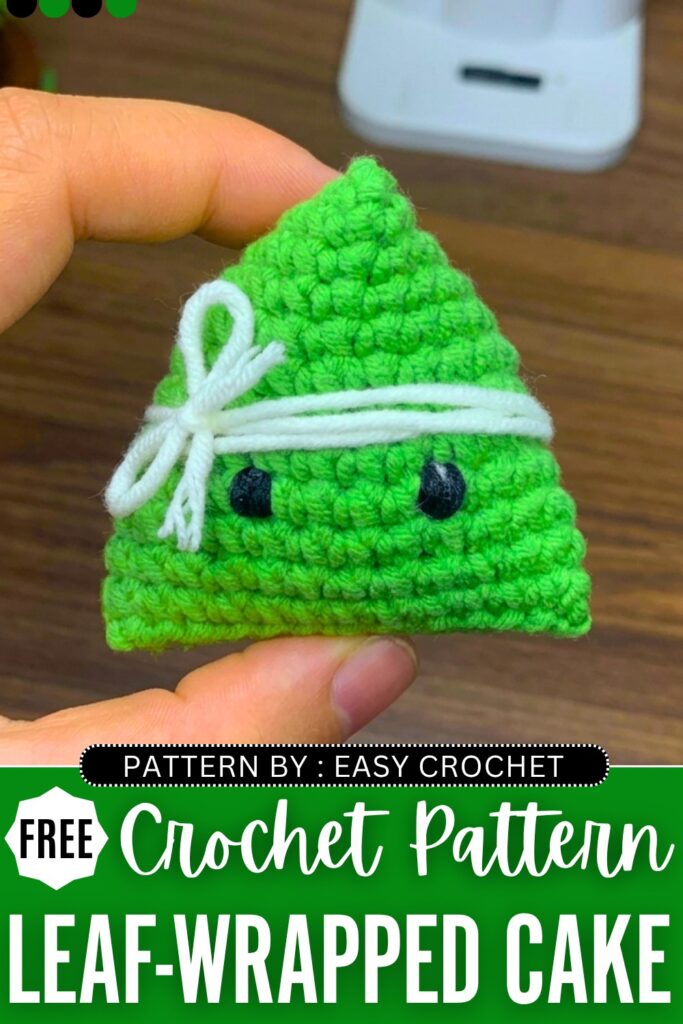
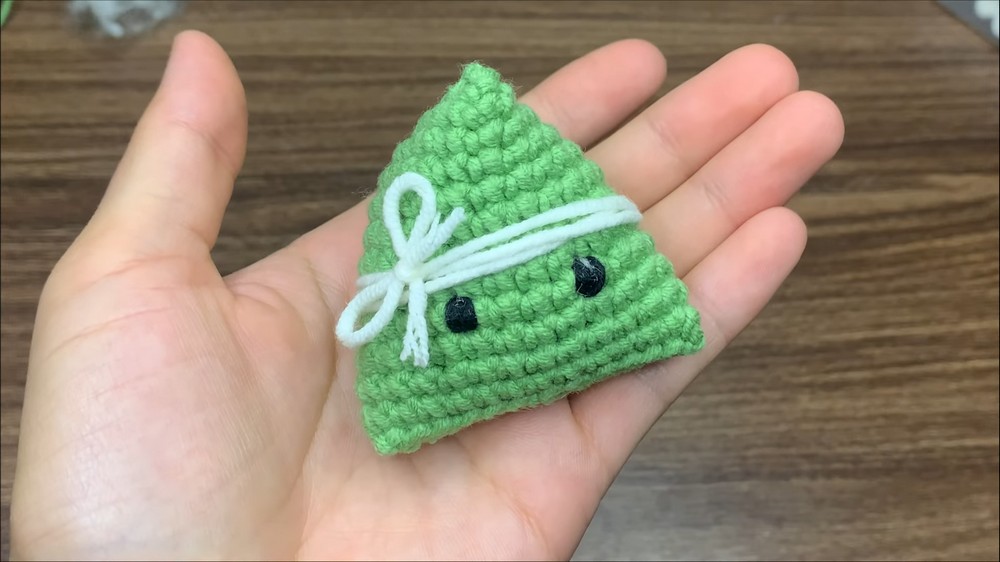
Wanna crochet a UNIQUE food amigurumi? Let’s crochet this no-sew kawaii leaf-wrapped cake amigurumi with a FREE quick pattern for absolute beginners. This crochet leaf-wrapped cake also has embroidered eyes and a white string wrapped around it that looks like its headband.
This amigurumi leaf-wrapped cake has a mild character that makes it a MUST-HAVE bag charm for your beach tote bag. Even though it looks complicated, construction is super simple.
That’s because we only have to crochet a bottom-up pouch from an oval base and sew to make that pyramid shape. Kids will love this amigurumi leafy cake, and you can also turn it into an AirPods case. Now, continue reading for the full crochet leaf-wrapped cake keychain.
[ez-toc]

Kawaii Crochet Leaf-Wrapping Cake Amigurumi: Written Instructions
This project is a simple amigurumi leaf-wrapped cake. You will crochet a small, chubby cake. You will make an oval base, crochet the sides, and stuff the inside. This handmade amigurumi is perfect for Trading Pictures.
You can take a product photo of this finished amigurumi. Just put the cake in the center of a clean white background. Make sure to keep exactly a 35% margin on all sides so the object is clear and prominent.
Materials Needed
- Yarn: Susan’s Family 5 yarn (or any yarn around 2mm thick)
- Hook: 2.5 mm crochet hook
- Stuffing: Fiberfill cotton stuffing
- Extra Yarn: A small amount of black yarn for the eyes
- Tools: Tapestry needle for sewing and stitch markers
Videdo Tutorial?
Abbreviations
- ch – chain
- sc – single crochet
- sl st – slip stitch
- inc – increase (putting 2 single crochets in the exact same stitch)
Crochet Pattern
Starting the Base
First, leave a slightly long yarn tail and make a slip knot.
Chain 13.
Skip the very last chain you just made (the 13th chain).
Insert your hook into the 12th chain. Make 1 sc in this chain.
Place a stitch marker in this first single crochet so you do not lose your spot.
Now, make 1 sc in each of the next 10 chains.
You should have 11 single crochet stitches on this side.
In the very last chain on this side, make 3 sc all in the same exact chain.
Now, you will turn your work to crochet down the opposite side of the starting chain.
Make 1 sc in each of the next 10 stitches along the other side. Make sure to crochet over your starting yarn tail to hide it inside the stitches.
In the final stitch on this side, make 2 sc in the same stitch.
To finish the round, make a sl st into the very first marked stitch.
You now have a total of 26 stitches around the oval.
Making the Body
Round 2:
Chain 1.
Make 1 sc in the exact same stitch where you just made your slip stitch.
Move your stitch marker up to this new first stitch.
Make 1 sc in every single stitch around the oval.
You will make 25 more single crochets. You will have a total of 26 single crochets for this round.
Make a sl st into the first marked stitch to join the round.
Rounds 3 to 12:
For the next ten rounds, you will repeat the exact same steps as Round 2.
Chain 1.
Make 1 sc in each of the 26 stitches around.
Make a sl st to join at the end of every round.
Stop crocheting when you have completely finished Round 12.
Assembly and Stuffing
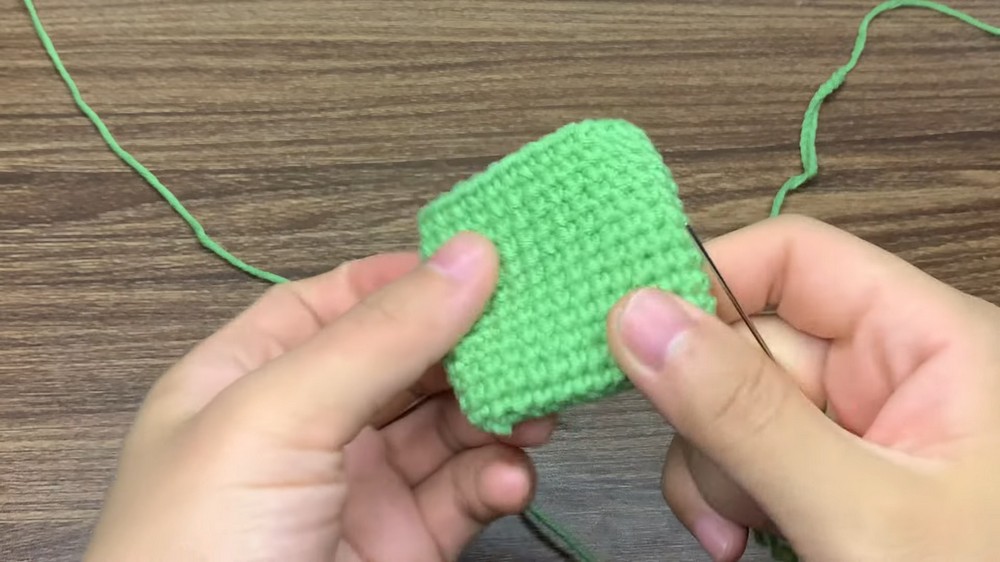
After Round 12, cut your yarn. You must leave a very long yarn tail for sewing the top closed.
Count 14 stitches away from your hook.
Pinch the top of the cake flat so that the first stitch and the 14th stitch match up together.
Thread your tapestry needle with the long yarn tail.
Sew the top opening closed by passing the needle through the stitches on the front side and the back side at the same time.
Stop sewing when you are halfway across the top opening.
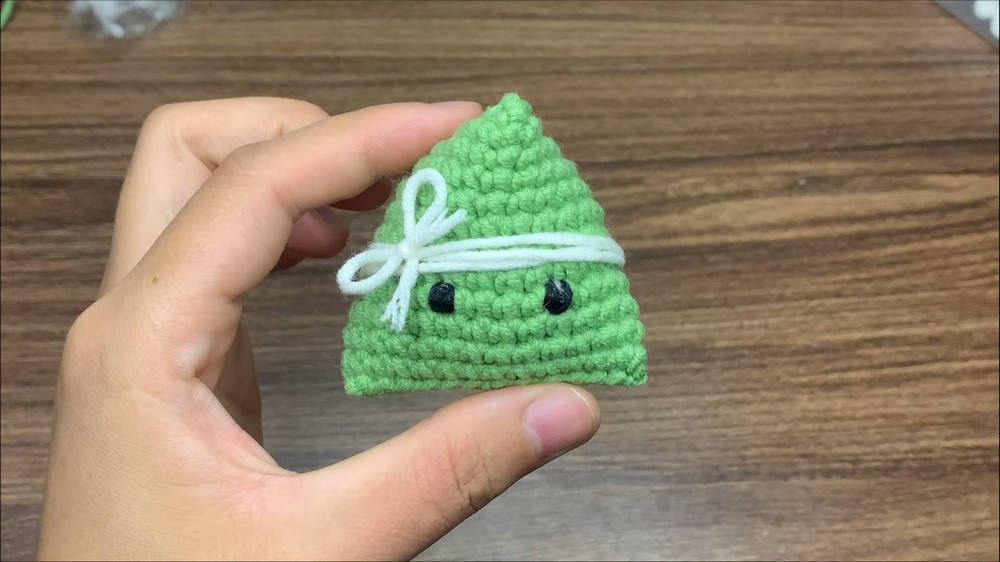
Take your fiberfill stuffing and stuff the inside of the cake. Stuff it until the cake is full and chubby.
Continue sewing the rest of the top completely closed.
Hide the extra yarn tail deep inside the body and cut off the excess yarn.
Adding the Face
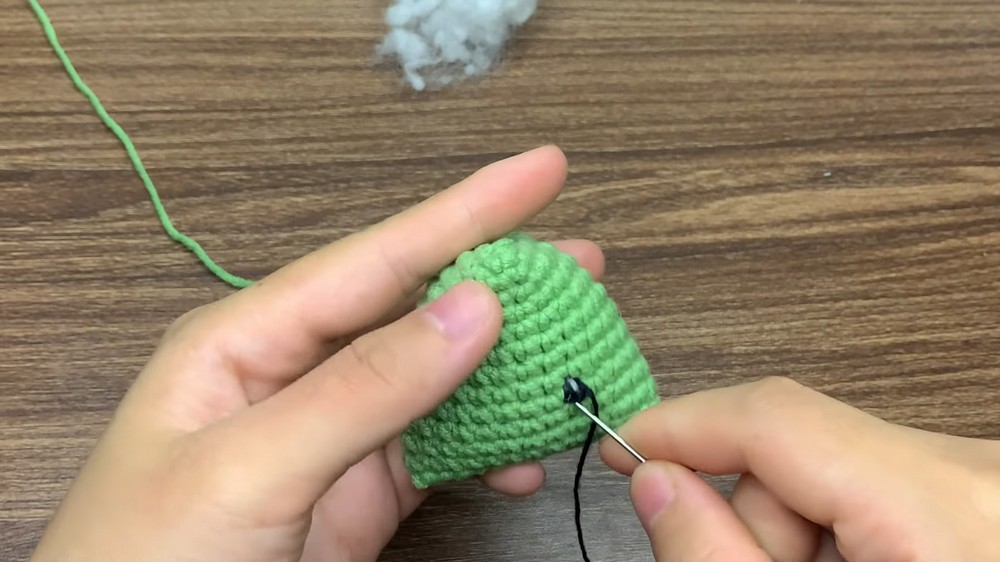
Thread your needle with a small amount of black yarn.
Sew two little curved lines for the eyes on the front side of the cake. This gives the cake a cute face.
Fasten off and hide the black yarn ends inside the amigurumi. Your little cake is now complete!