
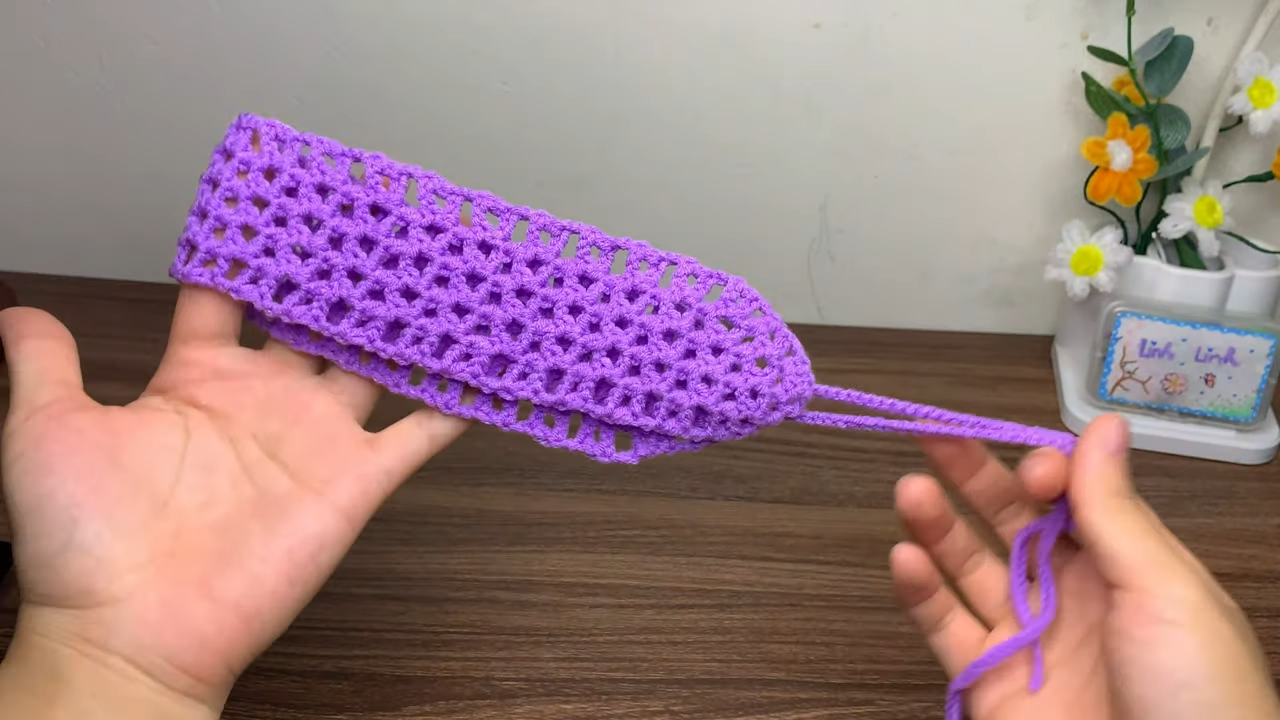
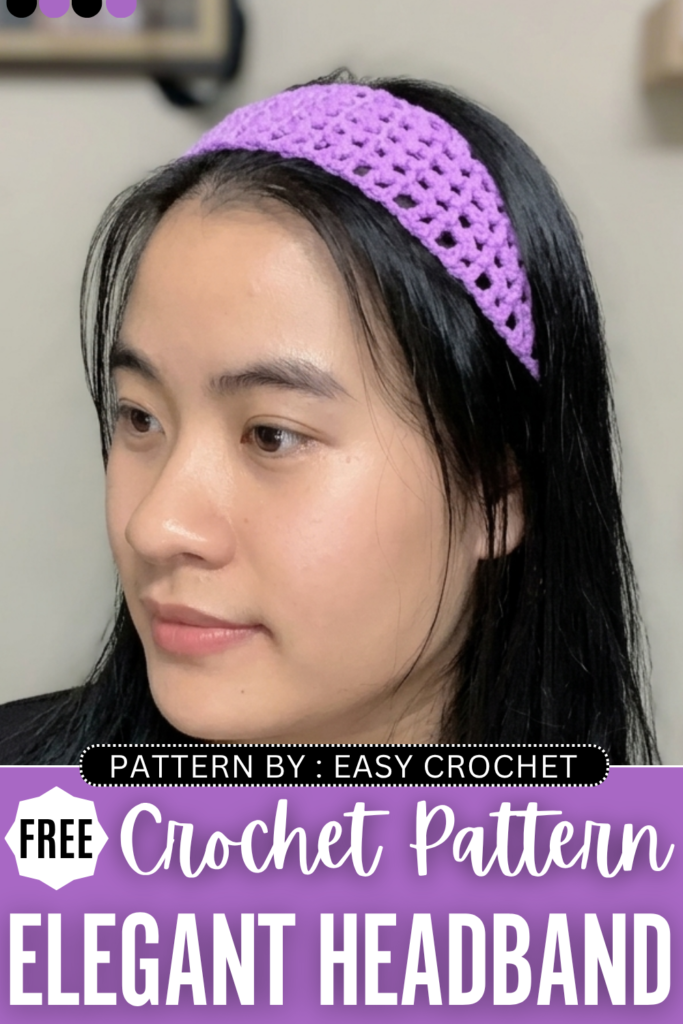
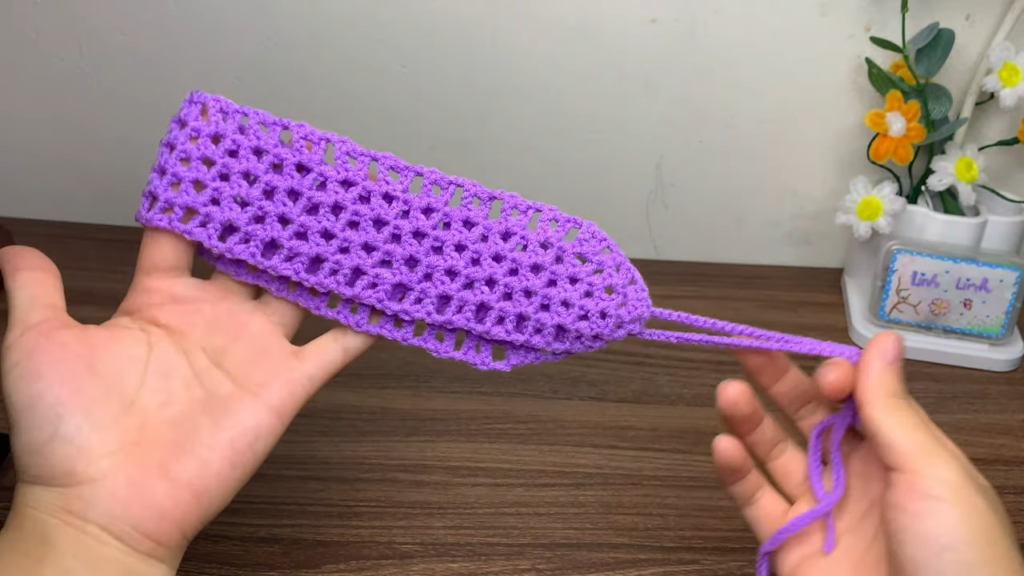
Finally, let’s learn how to crochet the square mesh stitch headband for summer with the FREE pattern for absolute beginners. It will be a solid-colored crochet headband, so you can choose any color from purple to red to even teal. While it is crocheted in the back-and-forth rows, there is also a small amount of shaping involved.
However, it is as easy as the mesh stitch bandana and the basic headband. You can crochet it in less than 45 minutes. The pattern works up fast and also requires fewer stitches for the same reason.
It is a part of “Fastest crochet projects.” You see, last time, I shared a FREE pattern to crochet a bow out of one crochet piece. Now, you can crochet this bandana using half double crochet and cotton yarn. You can also prepare it as a quick gift.
[ez-toc]
Free Crochet Mesh Texture Headband for All Skill Levels
About This Project
-
- This is a highly beginner-friendly tutorial for a beautiful mesh crochet headband (or hairband).
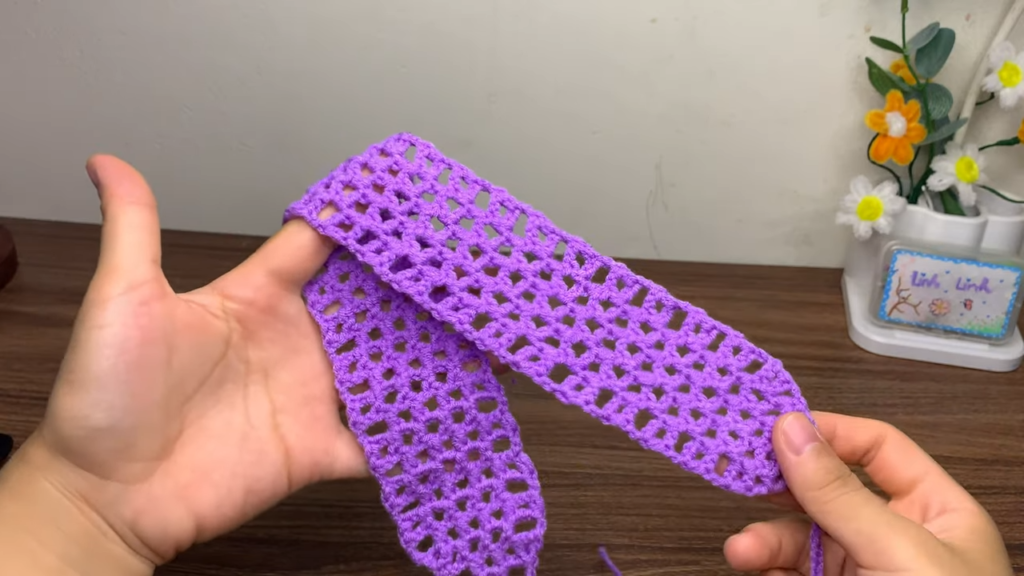
- The design uses a classic filet crochet style, which creates a lightweight, breathable, and flexible net-like fabric that works up incredibly fast.
- It features long chain ties on both ends, making it fully adjustable to fit any head size perfectly.
- The construction is clever but simple: you start with the first tie, gradually increase the mesh squares to build the width, work straight rows for the main body of the headband, and finally decrease back down to a point to create the second tie.
Materials Needed
-
- Yarn: 50g of Milk Cotton Yarn (Approx. 2.0 mm thickness). The video uses black, but any color works great.
- Hook: 2.5 mm crochet hook.
- Extras: A pair of scissors.
Abbreviations (US Crochet Terms)
-
- Ch: Chain
- HDC: Half Double Crochet
- Ch-sp: Chain space
- St / Sts: Stitch / Stitches
- HDC2tog (Decrease): Half Double Crochet two together (Used to reduce the number of mesh squares at the end of the project).
Pattern Instructions
First Tie & Base
-
-
- Start by making a secure slip knot.
- Ch 50. (This forms your first tie. If you prefer a longer or shorter tie, you can adjust this number to your liking).
-
Row 1 (Increase – 2 Mesh Squares)
-
-
- Ch 5 more. (This counts as your very first HDC and a Ch-2 space).
- Place 1 HDC into the 50th chain you made originally (which is the 6th chain from your hook).
- Ch 2.
- Place another 1 HDC into the exact same chain stitch as the previous one.
- You have now created a tiny triangle with 2 open mesh squares.
-
Row 2 (Increase – 3 Mesh Squares)
-
-
- Ch 5 and turn your work.
- Place 1 HDC onto the top of the very first HDC post from the previous row.
- Ch 2.
- Place 1 HDC onto the top of the next HDC post.
- Ch 2.
- Place 1 HDC into the 3rd chain of the turning chain-5 from the previous row.
- You have increased the row and should now have 3 mesh squares.
-
Row 3 (Increase – 4 Mesh Squares)
-
-
- Ch 5 and turn.
- Place 1 HDC onto the first HDC post.
- Ch 2, then place 1 HDC onto the next HDC post.
- Ch 2, then place 1 HDC onto the next HDC post.
- Ch 2, then place 1 HDC into the 3rd chain of the turning chain-5.
- You now have 4 mesh squares.
-
Row 4 (Increase – 5 Mesh Squares)
-
-
- Ch 5 and turn.
- Place 1 HDC onto the first HDC post.
- Continue with the pattern: Ch 2, 1 HDC in the next HDC post. Repeat this across the posts.
- End with Ch 2, and 1 HDC into the 3rd chain of the turning chain-5.
- You have reached 5 mesh squares. The increasing section is now complete.
-
Rows 5 to 44 (Main Body – Maintaining 5 Mesh Squares)
-
-
- Ch 5 and turn.
- To stop increasing and keep the edges straight, skip the very first HDC post directly below your chain, and place 1 HDC into the next HDC post instead.
- Continue the pattern: Ch 2, 1 HDC into the next HDC post. Repeat this across.
- End the row with Ch 2, and 1 HDC into the 3rd chain of the turning chain-5.
- Repeat this exact row to maintain the 5-square width until the headband reaches your desired length. In the video, the creator completes 44 total rows so the mesh body measures about 34 cm (which fits a standard adult head well). You can do fewer rows if making this for a child.
-
Row 45 (Decrease – 4 Mesh Squares)
-
-
- Ch 5 and turn.
- Place 1 HDC into the next HDC post, Ch 2, 1 HDC into the next HDC post, Ch 2, 1 HDC into the next HDC post, Ch 2.
- Now, decrease to angle the edge inwards: Work an HDC2tog across the last HDC post and the 3rd chain of the turning chain. (Yarn over, pull up a loop in the HDC post, yarn over, pull up a loop in the 3rd chain, and pull through all the loops to merge them together).
-
Row 46 (Decrease – 3 Mesh Squares)
-
-
- Ch 5 and turn.
- Place 1 HDC into the next HDC post, Ch 2, 1 HDC into the next HDC post, Ch 2.
- Work your HDC2tog decrease across the last HDC post and the 3rd chain of the turning chain.
-
Row 47 (Decrease – 2 Mesh Squares)
-
-
- Ch 5 and turn.
- Place 1 HDC into the next HDC post, Ch 2.
- Work your HDC2tog decrease across the last HDC post and the 3rd chain of the turning chain.
-
Row 48 (Final Decrease to a Point)
-
-
- Ch 2 and turn.
- Work an HDC2tog across the only remaining HDC post and the 3rd chain of the turning chain to fully close the top into a sharp point.
-
Second Tie & Finishing
-
-
- Without breaking the yarn from the tip of the point you just created, Ch 50 (or match the exact number of chains you created for your first tie).
- Cut the yarn, leaving a small tail, and pull it tightly through the final loop to fasten off.
- You can leave a tiny bit of the tail for a tassel effect as shown in the video, or weave the end in with a tapestry needle.
- Your crochet mesh headband is fully complete!
-
Learn with Video Tutorial

About "Talha"
Hey, I’m Talha, the Crafter on Craftstive.com. I love to share guides on folding cute origami models and paper crafts, and I am always ready to inspire your next craft project with my weekly craft discussions.