
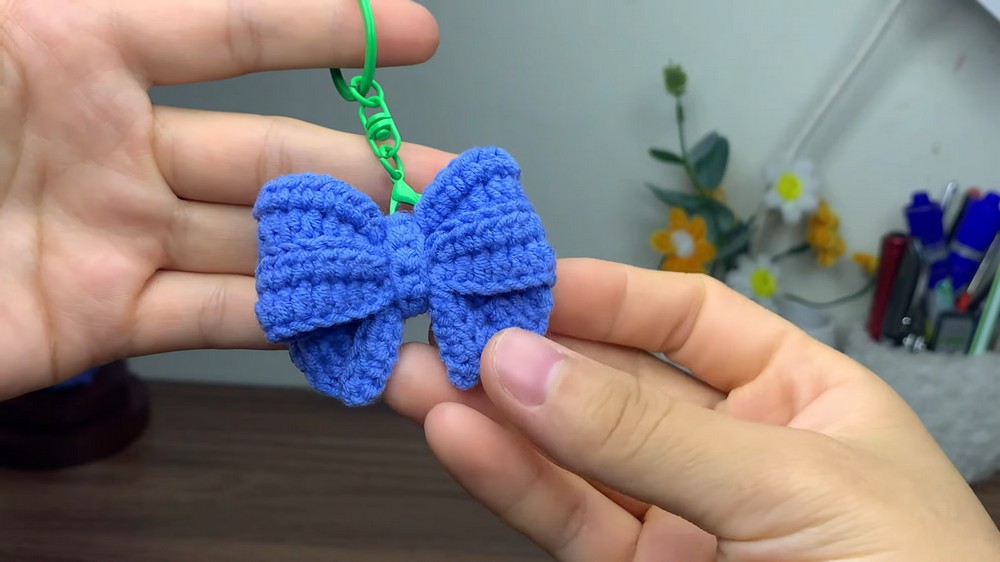
Welcome to another part of the “FASTEST crochet projects” series. This series contains some REALLY quick, easy, and beginner-friendly projects. Today, you will learn how to crochet this quick little bow keychain out of cinched crochet ribbed rectangles and some basic sewing.
This is a 10-minute crochet project that you can use to adore the crochet plushies, make hair clips, or use as a small keychain. You can crochet it in any color. You can make it no-sew with the help of hot glue, too.
For this project, we will start with the 51 chains to make a small bow. You can crochet the cinched rectangle in any other length to make a big bow. This is the same strip as we used in the crochet paper bow. Anyway, it is the BEST Valentine’s Day and Father’s Day present, and others decoration, charm and the present.
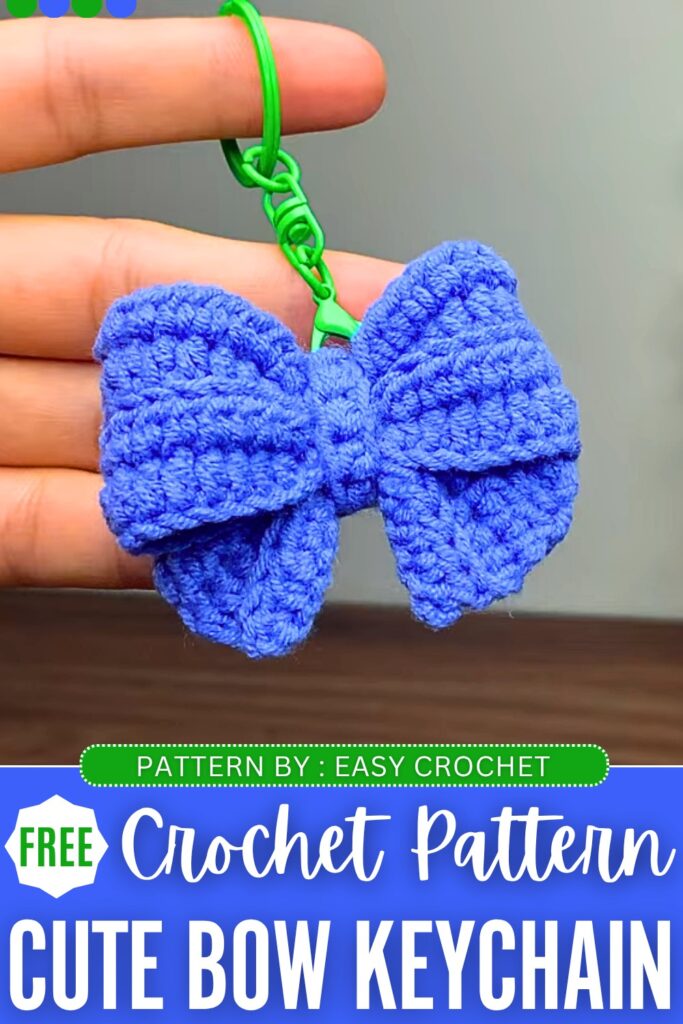
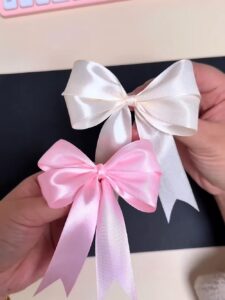
Crochet Basic Bow Keychain PATTERN
This pattern teaches you how to create a beautiful, structured crochet bow using half double crochets and slip stitches. The combination of stitches creates natural ribbing and cinching for a perfect bow shape. This project is great for hair clips, bag charms, or keychains.
Quick Making Guide
- Skill Level: Beginner
- Method: Worked flat in rows, back and forth, mainly using the back loop only (BLO) to create a ribbed texture.
- Construction: The main body of the bow is crocheted as one long continuous piece. It is then folded inwards from both sides and seamed. A smaller middle strap is crocheted separately and wrapped around the center to cinch it.
Materials Needed
- Yarn: Baby Yarn (approximately 1.5mm thickness). You can use any yarn, but sport or DK weight works very well.
- Crochet Hook: 2.5 mm hook.
- Tools: Yarn/Tapestry needle and Scissors.
Abbreviations (US Terms)
- Ch: Chain
- Sl st: Slip stitch
- Hdc: Half double crochet
- BLO: Back Loop Only
- St(s): Stitch(es)
Pattern Instructions
The Main Bow Body
Foundation Chain: Leave a moderate tail when making your slip knot. Chain 51.
Row 1:
- Skip the very first chain from your hook (the 51st chain).
- Work 1 Hdc in the next 5 chains.
- Work 1 Sl st in the next 4 chains. (Pull these firmly but not too tight; they create the cinched part of the bow’s tail).
- Work 1 Hdc in the next 14 chains.
- Work 1 Sl st in the next 4 chains. (This creates the cinched middle of the bow).
- Work 1 Hdc in the next 14 chains.
- Work 1 Sl st in the next 4 chains.
- Work 1 Hdc in the last 5 chains. (You should have worked into 50 chains in total).
Row 2:
- Ch 2, and turn your work.
- From this row forward, you will work in the Back Loop Only (BLO) for every stitch.
- Work 1 Hdc (in BLO) in the next 5 sts.
- Work 1 Sl st (in BLO) in the next 4 sts.
- Work 1 Hdc (in BLO) in the next 14 sts.
- Work 1 Sl st (in BLO) in the next 4 sts.
- Work 1 Hdc (in BLO) in the next 14 sts.
- Work 1 Sl st (in BLO) in the next 4 sts.
- Work 1 Hdc (in BLO) in the last 5 sts.
Rows 3 & 4: Repeat the exact same sequence as Row 2. You will complete 4 total rows. Once Row 4 is finished, Ch 1 and fasten off. Leave a very long yarn tail (about 12–15 inches) for sewing the bow together.
The Center Wrap
Foundation Chain: Leave a small starting tail. Chain 11.
Row 1:
- Skip the first chain from the hook.
- Work 1 Hdc in each of the remaining 10 chains.
- Ch 1, fasten off, and leave a tail for sewing.
Assembly
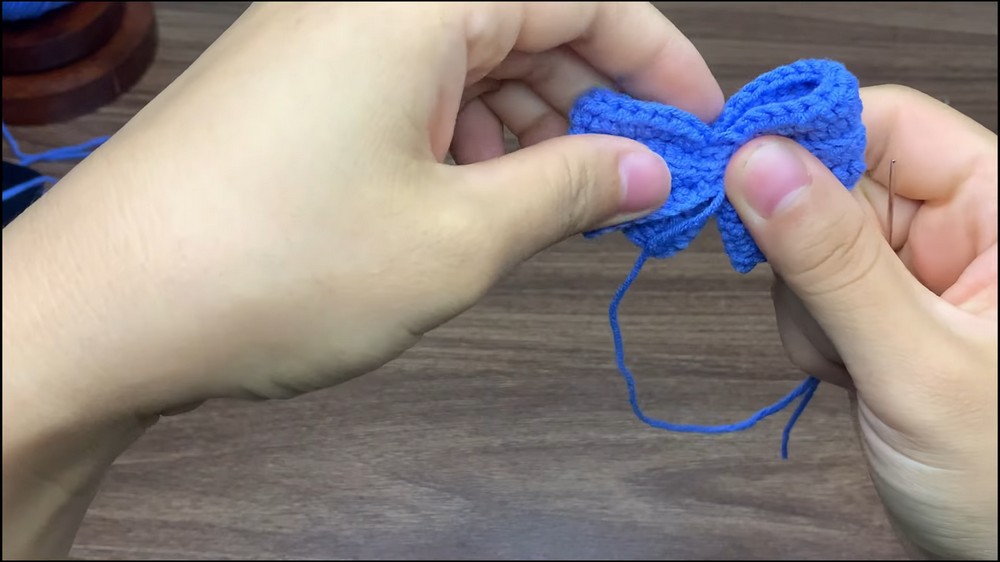
- Prepare the Main Body: Take your main bow piece. Weave in the short starting tail using your tapestry needle, leaving only the long finishing tail hanging.
- Fold the Bow: Lay the piece flat. You will notice three “cinched” areas made by the slip stitches (one in the exact middle, and two on the sides).
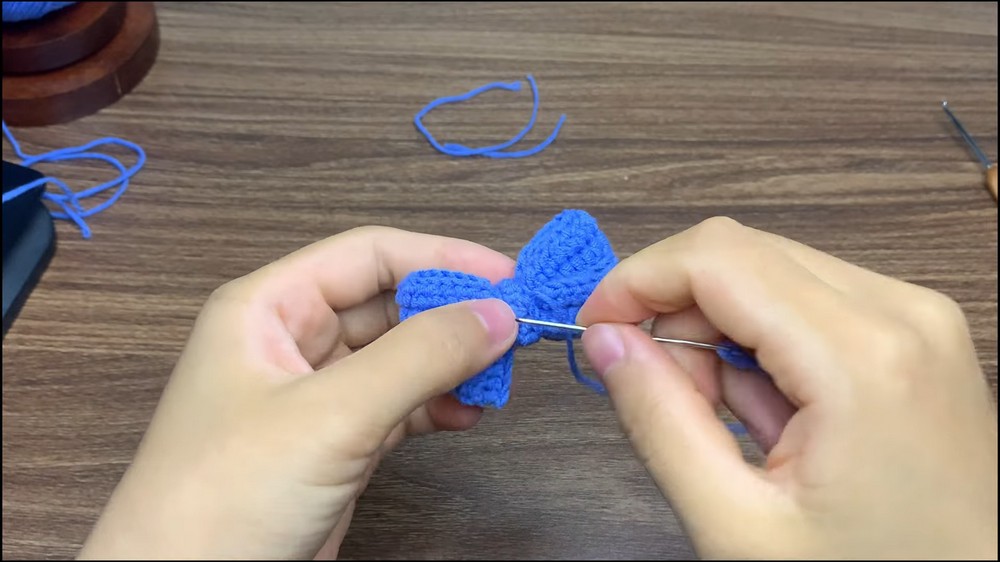
- Seam the Loops: Using your tapestry needle threaded with the long tail, fold the left side of the bow inwards so its cinched part lines up with the middle cinched part. Do the same with the right side. The piece should now look like a bow with two loops and two tails pointing downwards.
- Sew the Center: Run your needle through all layers at the center cinched section to tack everything securely in place. Wrap the working yarn tightly around the center a couple of times to cinch the middle further, then knot it securely at the back.
- Attach the Wrap: Take the small Center Wrap piece. Wrap it around the cinched middle of the bow to hide the sewing and yarn wraps.
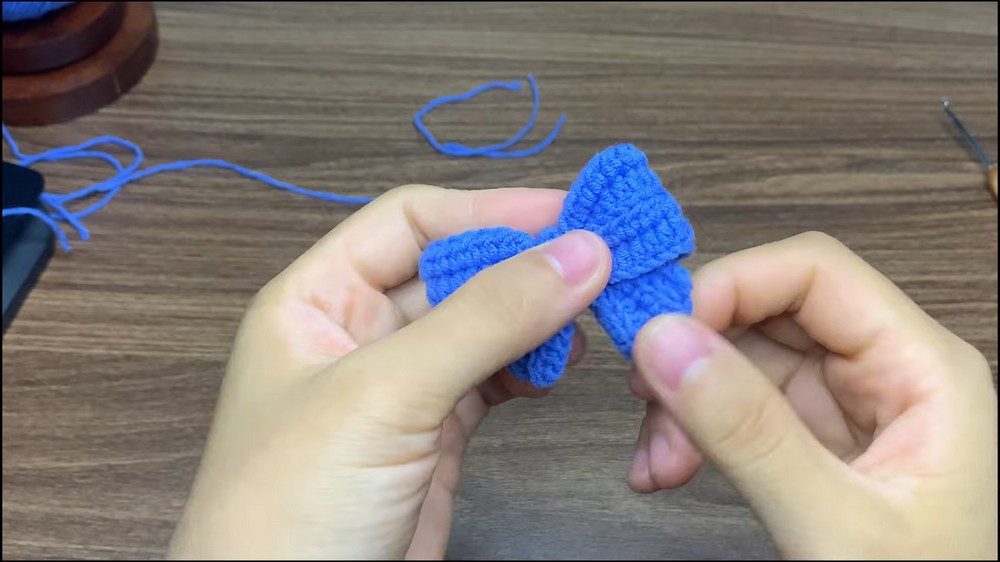
- Final Seam: Using the tails from the Center Wrap, whip stitch the two ends of the wrap together at the back of the bow. Fasten off securely and hide all remaining yarn tails inside the center wrap.
Your beautiful crochet bow is now complete and ready to be attached to a hair clip or keychain!