
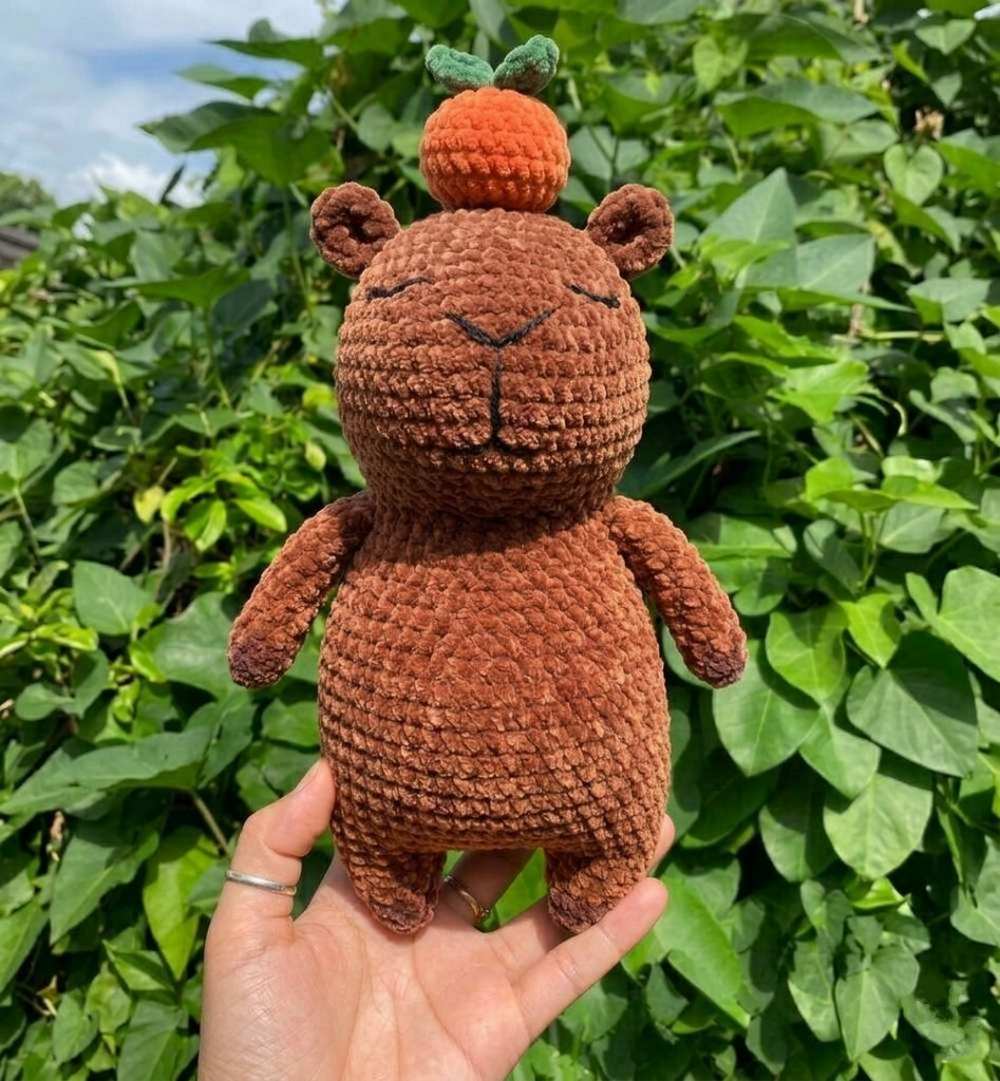
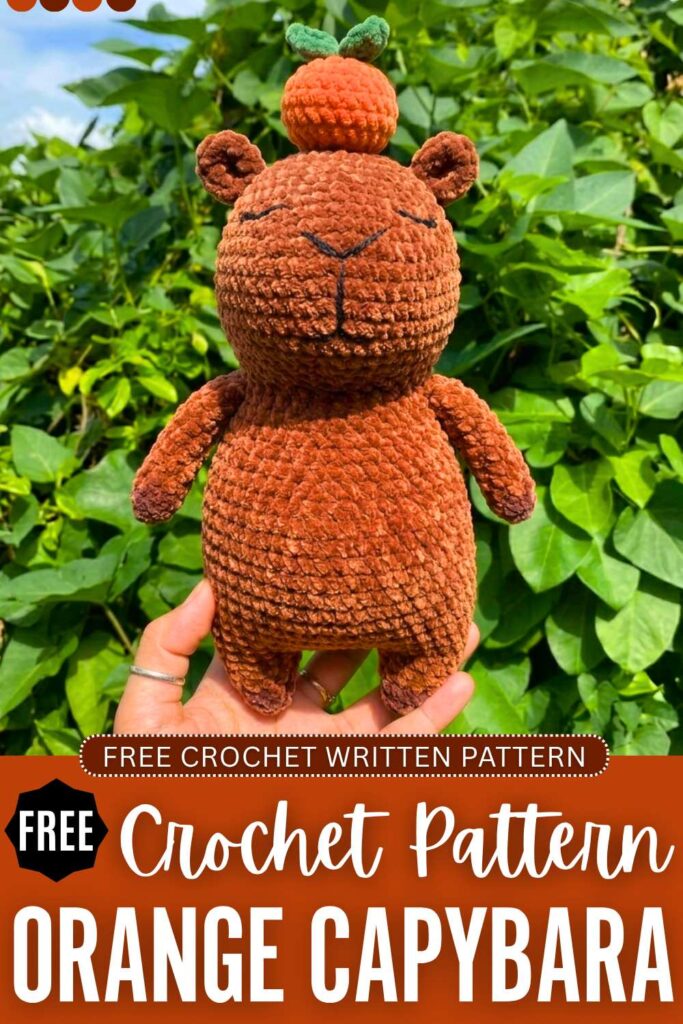
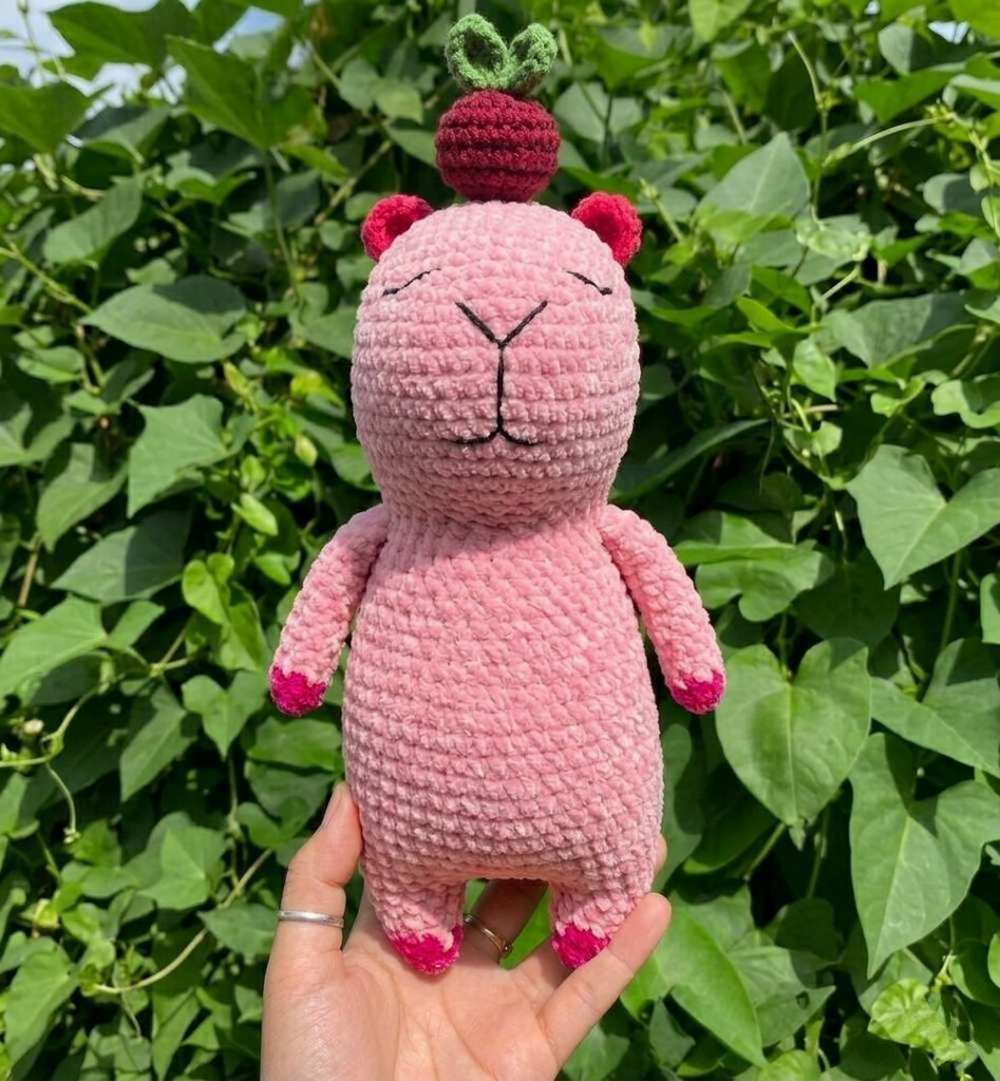
Learn how to crochet a big sleeping capybara plush with an orange plushie on the top with this pattern. Soon, I will also share a pattern to crochet the “cherry on top” capybara plushie. For now, crochet this low-sew giant capybara doll with the signature kawaii capybara embroidery and snuggly body.
Kids won’t resist but to snuggle with it all day long. While I am introducing this as a summer plushie, you can definitely crochet it for fall, Thanksgiving, and even Halloween.
We will crochet it from the bottom up by joining the two leg parts. I like the face of this capybara, and also guide you in detail on how to embroider it. Now, continue reading for the complete crochet capybara doll pattern.
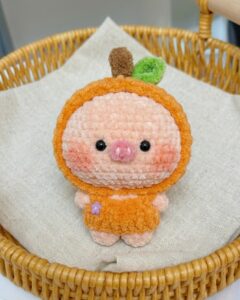
Crochet Orange Sleeping Capybara Plush: Round-by-Round Pattern
Below is the pattern to crochet this orange holding capybara plushie with the assembly in the end:
Abbreviations (US Terms)
- MR: Magic Ring
- ch: Chain
- sc: Single crochet
- inc: Increase (2 sc in one stitch)
- dec: Decrease (sc 2 together)
- hdc: Half double crochet
- dc: Double crochet
- tr: Treble (triple) crochet
- sl st: Slip stitch
- [ … ]: Work stitches inside brackets into the same stitch
- *: Repeat instructions inside parentheses the specified number of times
Materials Needed
- Yarn: Chenille super bulky yarn in brown, orange, and green.
- Crochet Hook: 5mm
- Embroidery Thread
- Stuffing: Fiberfill polyester stuffing
- Tools: Yarn needle, stitch markers, scissors, and a keychain ring (optional)
1. Legs & Lower Body Setup
The legs are started in a darker accent color (e.g., dark pink/brown) for the hooves and transitioned to the main lighter body color.
Leg Base (Make 2)
- R1: Using dark color, MR, 6 sc (6)
- R2: (sc, inc) * 3 (9)
- R3: 9 sc (9)
- Change to light main color.
- R4: 8 sc, inc (10)
- R5: 10 sc (10)
Leg Extension Panels
To shape the upper leg joints before joining them into the full body:
- R6: sc, inc, 4 sc, inc, 3 sc (12)
- R7: (3 sc, inc) * 3 (15)
- R8: 15 sc (15)
Joining Instructions:
- Cut the yarn on the first leg and set it aside.
- Do not cut the yarn on the second leg.
- From the second leg, ch 10, then join to the first leg with a slip stitch or single crochet to begin working the body rounds below.
2. Main Body & Head (Móc Liền Thân)
- R9: 15 sc around the first leg, 10 sc along one side of the ch-10 space, 15 sc around the second leg, 10 sc along the opposite side of the ch-10 space. (50)
- R10: 15 sc, inc, 8 sc, inc, 15 sc, inc, 8 sc, inc (54)
- R11: 15 sc, inc, 10 sc, inc, 15 sc, inc, 10 sc, inc (58)
- R12 – R26: 58 sc around (58 for 15 rounds)
- R27: 8 sc, dec, 27 sc, dec, 19 sc (56)
- R28: 56 sc (56)
- R29: 8 sc, dec, 26 sc, dec, 18 sc (54)
- R30: 54 sc (54)
- R31: 8 sc, dec, 25 sc, dec, 17 sc (52)
- R32: 52 sc (52)
- R33: 8 sc, dec, 24 sc, dec, 16 sc (50)
- R34: 50 sc (50)
- R35: 8 sc, dec, 23 sc, dec, 15 sc (48)
- R36: 48 sc (48)
- R37: 8 sc, dec, 22 sc, dec, 14 sc (46)
- R38: 46 sc (46)
- R39: 8 sc, dec, 21 sc, dec, 13 sc (44)
- R40: 44 sc (44)
- R41: 8 sc, dec, 20 sc, dec, 12 sc (42)
- R42: 8 sc, dec, 19 sc, dec, 11 sc (40)
- R43 – R45: 40 sc around (40 for 3 rounds)
Head Shaping (Muzzle Expansion)
- R46: 14 sc, 8 inc, 18 sc (48)
- R47 – R48: 48 sc around (48 for 2 rounds)
- R49: 19 sc, 6 inc, 23 sc (54)
- R50: 54 sc (54)
- R51: 20 sc, inc, 9 sc, inc, 23 sc (56)
- R52 – R54: 56 sc around (56 for 3 rounds)
- Begin stuffing the lower body firmly with fiberfill.
- R55: 10 sc, dec, 32 sc, dec, 10 sc (54)
- R56: 54 sc (54)
- R57: 10 sc, dec, 30 sc, dec, 10 sc (52)
- R58: 52 sc (52)
- R59: 8 sc, dec, 8 sc, (dec, 2 sc) * 4, 8 sc, dec, 8 sc (46)
- R60: 18 sc, 5 dec, 18 sc (41)
- R61: 16 sc, 5 dec, 15 sc (36)
- R62: 2 dec, 7 sc, (3 sc, dec) * 3, 8 sc, dec (30)
- R63: (3 sc, dec) * 6 (24)
- R64: (2 sc, dec) * 6 (18)
- Finish stuffing the head completely before closing.
- R65: (sc, dec) * 6 (12)
- R66: 6 dec (6)
- Fasten off, weave tightly through the remaining front loops to close, and hide the tail.
3. Limbs & Accessories
Arms (Tay) – Make 2
- Start in dark color.
- R1: MR, 7 sc (7)
- R2 – R3: 7 sc (7 for 2 rounds)
- Change to light main color.
- R4: 6 sc, inc (8)
- R5 – R18: 8 sc around (8 for 14 rounds)
- Fasten off, leaving a long tail for sewing.
Orange (Quả cam)
- R1: MR, 6 sc (6)
- R2: 6 inc (12)
- R3: (sc, inc) * 6 (18)
- R4: (2 sc, inc) * 6 (24)
- R5 – R7: 24 sc around (24 for 3 rounds)
- R8: (2 sc, dec) * 6 (18)
- Stuff with a small amount of fiberfill.
- R9: (sc, dec) * 6 (12)
- R10: 6 dec (6)
- Fasten off, secure tightly.
Leaf (Lá)
- R1: MR, 5 sc (5)
- R2: inc, 2 hdc inc, [dc, tr, dc], 2 hdc inc, inc
- Fasten off, leaving a tail to attach directly to the top of the finished orange.
4. Assembly Details
- Arm Placement: Pin and sew the arms symmetrically on the sides of the body, directly nestled between Round 42 and Round 43 (right at the transition where the neck area begins to expand into the muzzle).
- Orange Accessory: Place the finished orange on top of the capybara’s head or secure it between its paws using the remaining yarn tails.
Placement: Locate R56 to R58 near the top of the head.
Positioning: Pin the ears symmetrically on either side of the head’s top curve, roughly 5 to 6 stitches apart from each other.
Sewing: Sew the base of the ears down in a slightly curved line to give them an open, realistic look.
Step 4: Facial Embroidery (Eyes, Nose, & Mouth)
Eyes: Using a long strand of black embroidery thread or thin black yarn, insert your needle from the bottom of the neck up to Round 52 (level with the top of the muzzle).
Stitch a sleepy, closed-eye line spanning across 3 stitches horizontally, slanting slightly downward at the outer edge. Repeat on the other side.
Nose & Mouth: Find the exact center-front of the expanded muzzle (Round 49–R50).
- Stitch a wide, upside-down “V” shape for the nostrils.
- From the center point of that “V”, drop a straight vertical line down about 3 to 4 rounds.
- Finish with a small horizontal line at the bottom to create the iconic flat capybara mouth line.

About "Talha"
Hey, I’m Talha, the Crafter on Craftstive.com. I love to share guides on folding cute origami models and paper crafts, and I am always ready to inspire your next craft project with my weekly craft discussions.