
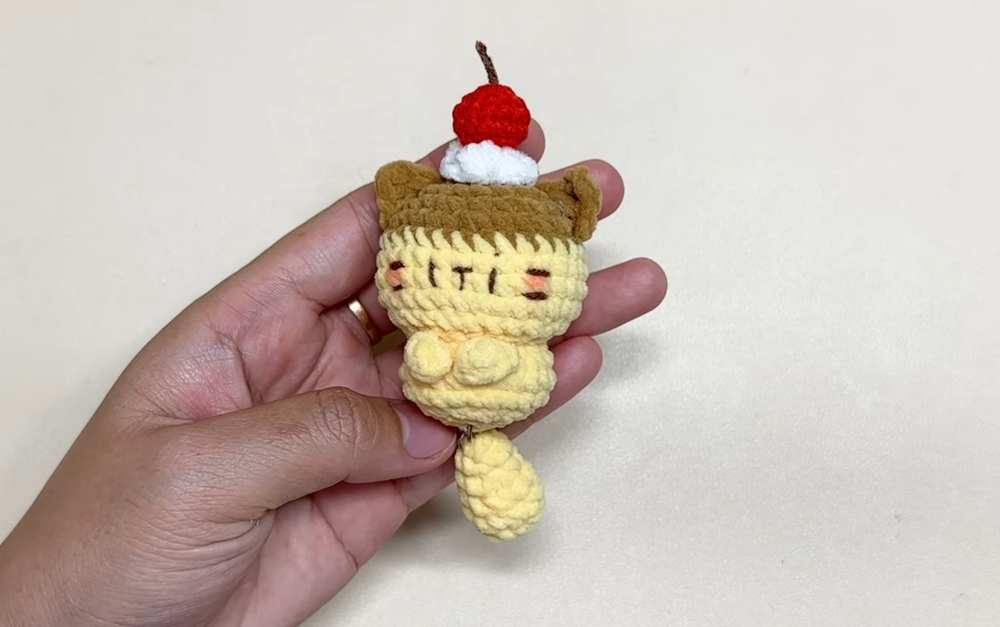
Looking for the CUTEST crochet dessert plushie as a present for kids? Learn how to crochet this kawaii, miniature, and low-sew pudding cat plushie with a FREE pattern for absolute beginners. It is all crocheted in the colors of a pudding with a stuffed cherry on top. It is perfect for dessert parties, birthday parties, and fridge decoration, or simply being used as a bag charm for your beach tote bag.
Crochet Pudding Kitty Cat Plushie Pattern
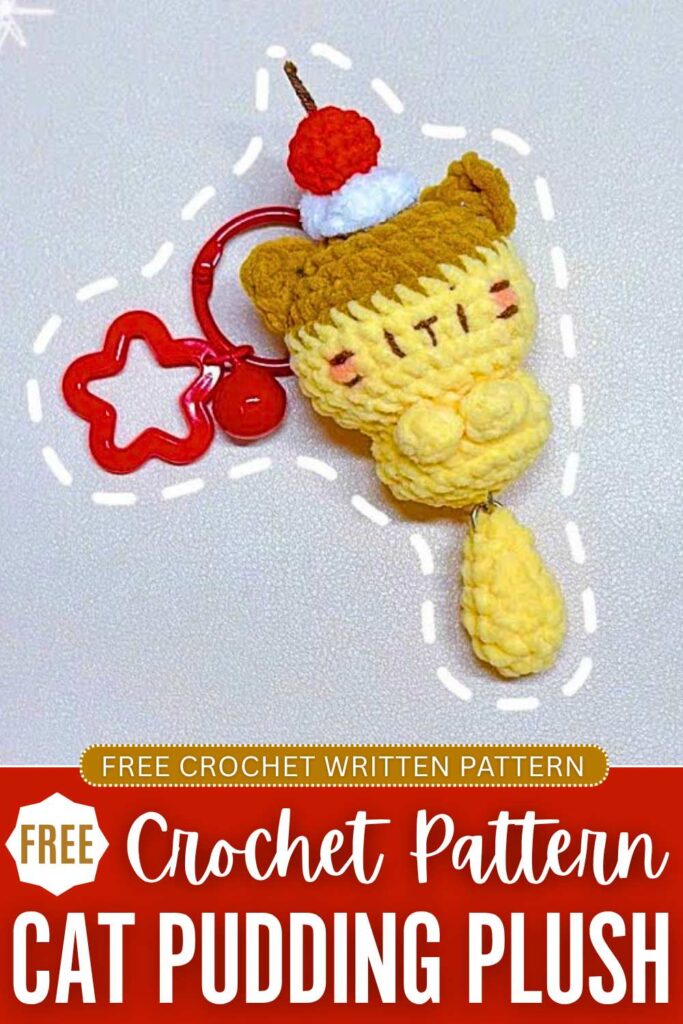
To reduce the sewing, we shall crochet the arms of the cat using the bobble stitch. As for the stuffed tail, so it can swirl in the air as you carry the bag, we will crochet it separately and attach it with a metal chain. Now, continue reading for the full crochet cat plushie pattern (we are using the thin plush yarn!).
Crochet Sweet Kitty Plush: Round-by-Round Pattern
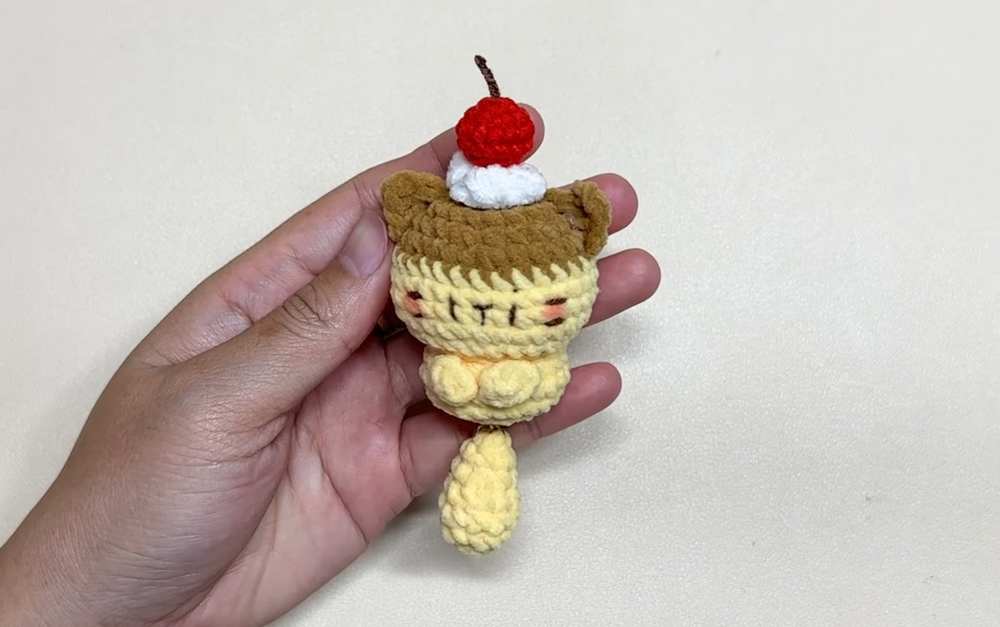
This adorable “Pudding Kitty” amigurumi project combines the sweet charm of a caramel custard dessert with a chubby, lovable cat. Crocheted primarily with velvety plush yarn, the design is shaped like a classic crème caramel, featuring a deep coffee-brown top that mimics a caramel glaze and a soft yellow body.
The clever use of front-loop-only stitches creates a distinct, flared separation between the kitty’s round head and its bottom base.
To finish off the dessert theme, the kitty is topped with an asymmetrical pair of ears, a dollop of textured whipped cream, and a bright red cherry. This soft, squishy companion makes for a perfect little plushie or a chunky keychain attachment!
Materials Needed
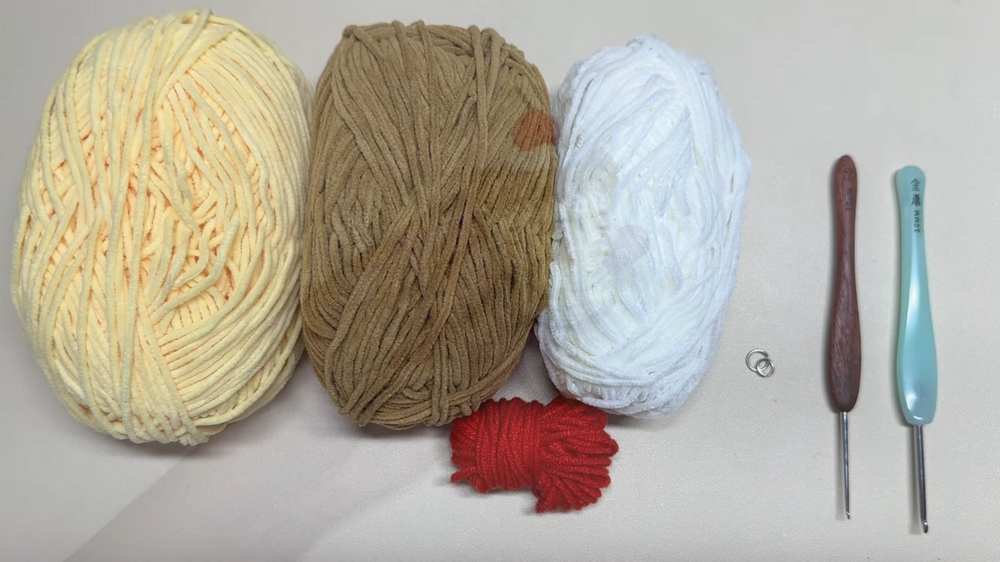
- Chenille / Plush Yarn (Chunky weight): Coffee Brown, Yellow, and Cream White.
- Milk Cotton Yarn (Sport/DK weight): Red (for the cherry) and a small amount of Black or Dark Brown (for embroidering the facial features).
- Crochet Hooks:
- 3.0 mm (for all plush yarn parts: body, ears, tail, and cream).
- 2.0 mm (for the milk cotton cherry).
- Fiberfill Stuffing
- Tapestry / Yarn Needle (for sewing and embroidery)
- Scissors
- Stitch Markers
- Fabric Glue (optional, for attaching the ears if you prefer not to sew)
- O-ring / Keychain ring (optional, for attaching the tail or making it a keychain)
Abbreviations (Standard US Terms)
- MR: Magic Ring
- ch: chain
- sc: single crochet
- hdc: half double crochet
- dc: double crochet
- inc: increase (2 single crochet stitches in the same stitch)
- dec: invisible decrease (single crochet 2 stitches together)
- FLO: Front Loops Only
- sl st: slip stitch
- st(s): stitch(es)
- dc4tog / cluster: 4 double crochet cluster worked into the same stitch
- R: Round / Row
- ( … ) x N: Repeat the instructions inside the parentheses N times
- [ … ]: Total number of stitches at the end of the round
Pattern Instructions
Body & Head
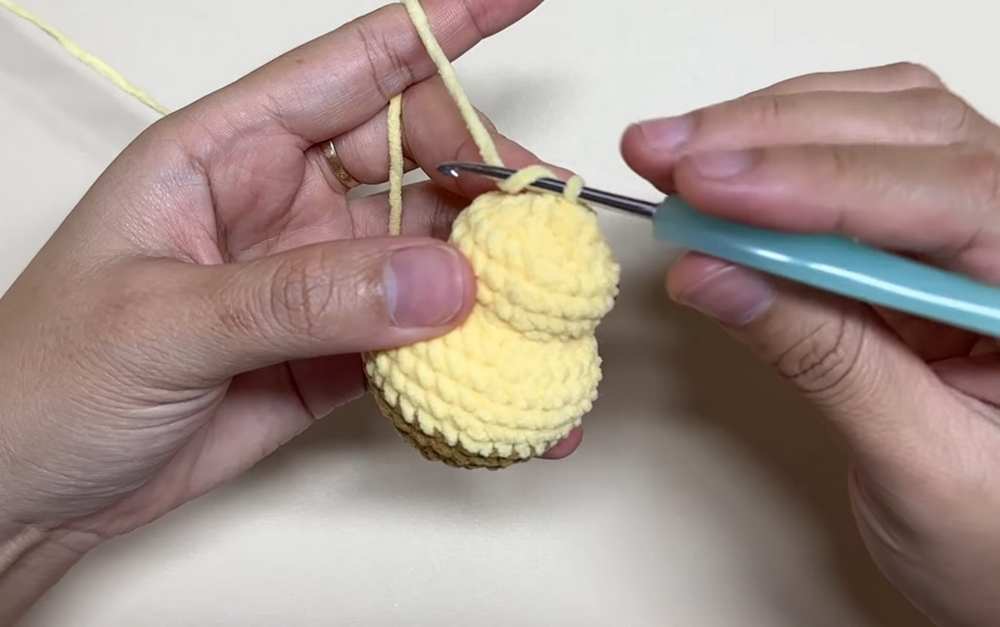
Use the 3.0 mm hook. Start with Coffee Brown plush yarn. R1: Create a MR, work 6 sc into the ring. sl st to the first st to close. [6] R2: ch 1, 6 inc. [12] R3: ch 1, (1 sc, 1 inc) x 6. [18] R4: (2 sc, 1 inc) x 6. [24] R5: (3 sc, 1 inc) x 6. [30] Change to Yellow plush yarn. Make sure to pull the brown yarn tight and weave in the ends. R6 – R9 (4 rounds): 30 sc. [30] R10: (3 sc, 1 dec) x 6. [24] R11: 12 dec. [12] Firmly stuff the head portion with fiberfill before continuing. R12: Work this round in FLO (Front Loops Only). (1 sc, 1 inc) x 6. [18] R13: (3 sc, 1 inc) x 4, 1 sc in each of the last 2 sts. [22] R14 – R15 (2 rounds): 22 sc. [22] R16: 11 dec. [11] Stuff the bottom body portion with fiberfill. R17: 5 dec, 1 sc in the last st. [6] Sl st to the first st, fasten off, and leave a long tail. Weave the tail through the front loops of the remaining 6 stitches and pull tight to close the hole. Hide the yarn tail inside the body.
Ears
The two ears are slightly asymmetrical to give the kitty a quirky, cute expression. Use the 3.0 mm hook and Coffee Brown plush yarn.
Ear 1: ch 3. Working back down the chain (starting from the 2nd ch from the hook): 1 sc, 1 dc in the next ch. Fasten off, leaving a tail for sewing.
Ear 2: ch 3. Working back down the chain (starting from the 2nd ch from the hook): 1 hdc, 1 sc in the next ch. Fasten off, leaving a tail for sewing.
Tail
Use the 3.0 mm hook and Yellow plush yarn. R1: Create a MR, work 6 sc into the ring. [6] R2: (1 sc, 1 inc) x 3. [9] R3 – R4 (2 rounds): 9 sc. [9] R5: (1 sc, 1 dec) x 3. [6] R6: 6 sc. [6] Sl st to close, ch 1, and fasten off. Leave a tail for attaching it to the body.
Whipped Cream Dollop
Use the 3.0 mm hook and Cream White plush yarn. ch 2. Working entirely into the very first chain you made:
- Make a 4-dc cluster (dc4tog).
- Make a second 4-dc cluster in the same chain.
- Make a third 4-dc cluster in the same chain. Fasten off, leaving a tail. Push the clusters upward from underneath so it forms a puffy 3D dollop shape.
Cherry
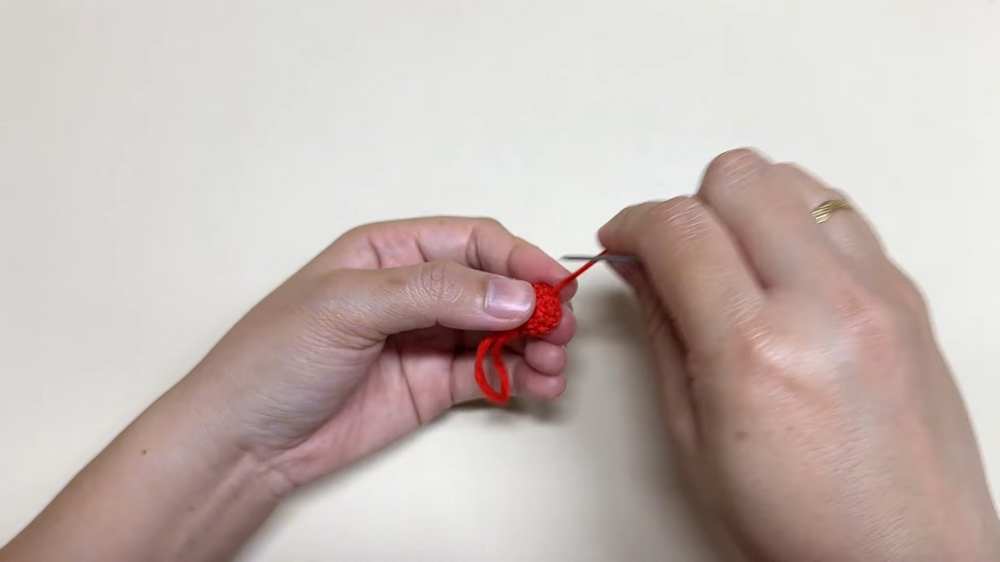
Use the 2.0 mm hook and Red Milk Cotton yarn. R1: Create a MR, work 6 sc into the ring. [6] R2: 6 inc. [12] R3 – R4 (2 rounds): 12 sc. [12] R5: 6 dec. [6] (Stuffing the cherry is optional since it is very small). Fasten off, leaving a tail. Weave the tail through the front loops of the final stitches to close the hole perfectly.
Assembly Instructions
- Attach the Ears: Pin the ears to the top sides of the head on the Coffee Brown section, spanning between R2 and R5. Sew them securely in place (or use fabric glue as shown in the video).
- Embroider the Face: Split a strand of the black/dark brown milk cotton yarn to make it thinner. Embroider two simple eyes between R7 and R8. The eyes should be spaced exactly 3 stitches apart.
- Attach the Tail: Sew the tail to the lower back of the body. You can use an O-ring at the base of the tail/body connection if you intend to turn this into a keychain.
- Attach the Dessert Toppings: Sew or glue the Cream White dollop securely to the top center of the head (between the ears). Finish it off by attaching the Red Cherry directly on top of the cream.
Learn with the Video Tutorial