
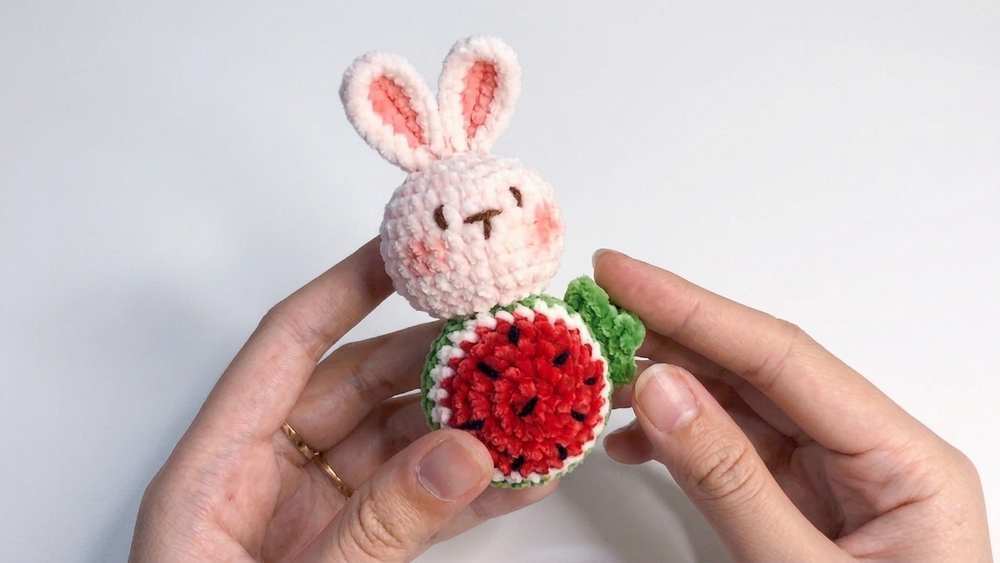
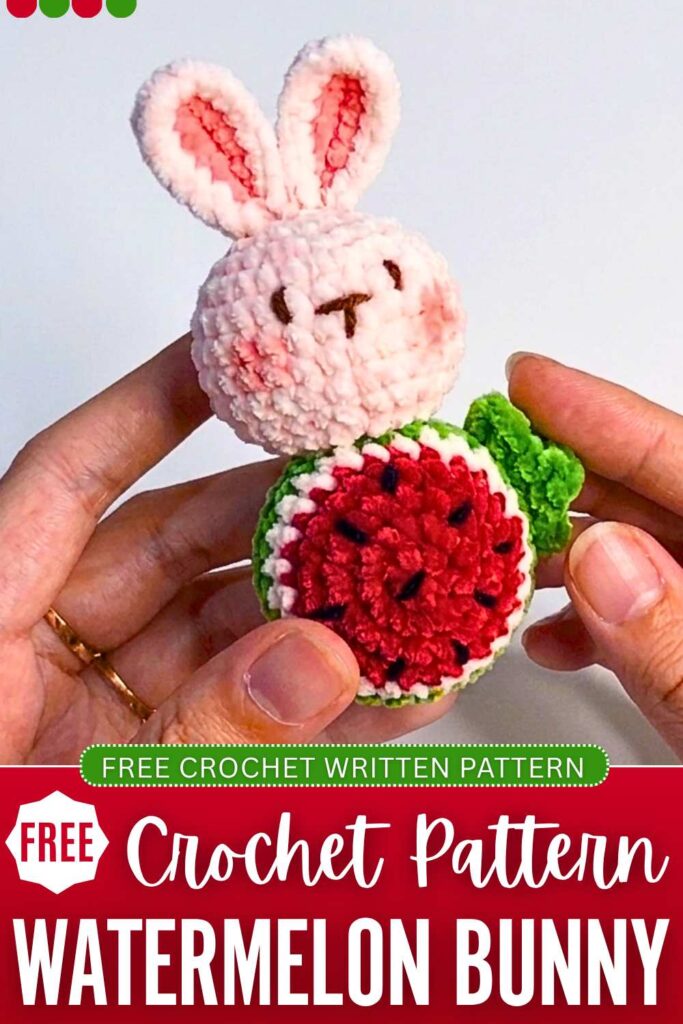
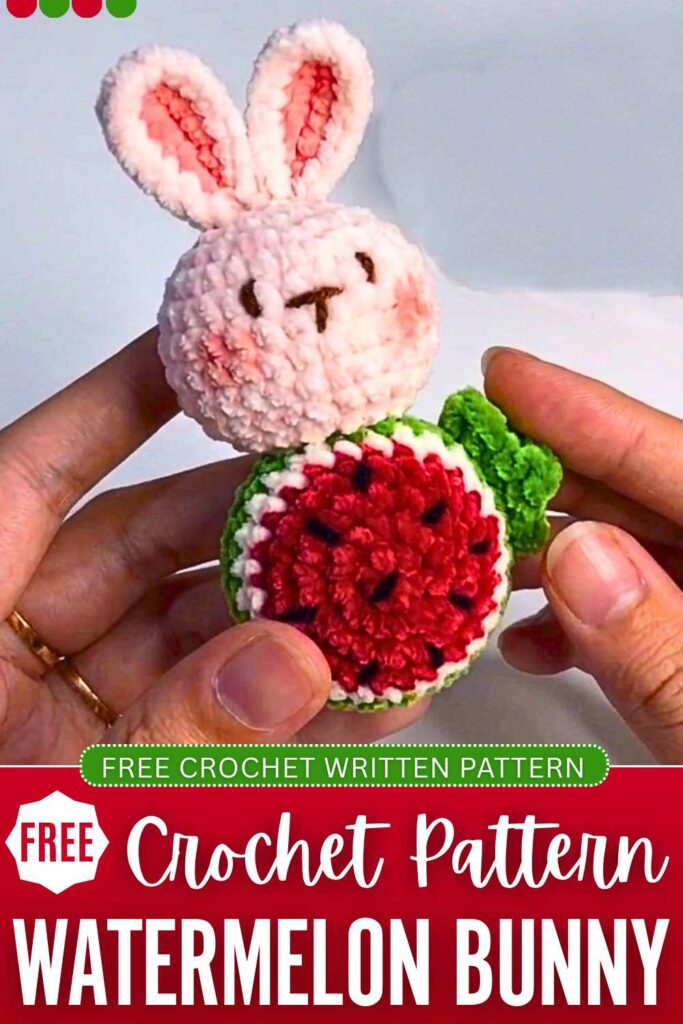
Last week, I shared the pig watermelon plushie pattern. Now, continuing the series, today, you can learn how to crochet this little bunny watermelon plushie with a free pattern. The concept is the same; we are going to crochet a Miffy face plushie with long ears and a full watermelon as its bottom. This is one of the cutest ways to turn the all-year-round animal amigurumi into a summer bag charm.
This time, the watermelon is actually sliced amigurumi with embroidery seeds and a crochet vine as well. It is quick to crochet; you can make one in less than 45 minutes and then use it as a beach tote bag charm. Now, continue reading for the full plushie pattern.
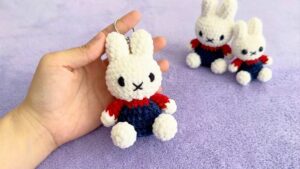
Crochet Fruity Miffy Bunny Plush Pattern: Round-by-Round Instructions
Here is the crochet pattern to make this cute, fruity watermelon miffy bunny plush. Assembly is in the end, and you can also learn with a video tutorial:
Materials Needed
- Yarn: Cotton or plush or milk cotton yarn in Red, Light Pink, White, Green, and a small amount of Black (for embroidering the seeds).
- Crochet Hook: 2.5mm crochet hook
- Stuffing: Polyester fiberfill.
- Tools: Tapestry needle, scissors, and a hot glue gun (optional, for attaching the head and leaf).
- Extra: A pre-made amigurumi bunny head and a bit of makeup blush for the cheeks.
Abbreviations (US Terms)
- MR: Magic Ring
- ch: Chain
- sc: Single crochet
- dc: Double crochet
- inc: Increase (2 sc in the same stitch)
- dec: Decrease (sc 2 stitches together)
- sl st: Slip stitch
- st(s): Stitch(es)
- picot: chain 3, then slip stitch into the base of the chain (the 4th loop from the hook) to create a small point.
Pattern Instructions
Watermelon Base
Start with Red yarn. The creator works in joined rounds, meaning at the end of each round you will slip stitch to the first stitch to join, and chain 1 to begin the next round.
- Round 1: Make a MR with 6 sc. Join. (6 sts)
- Round 2: 6 inc. Join. (12 sts)
- Round 3: (1 sc, 1 inc) repeat 6 times. Join. (18 sts)
- Round 4: (1 sc, 1 inc, 1 sc) repeat 6 times. Join. (24 sts)
- Round 5: Change to Light Pink yarn. (3 sc, 1 inc) repeat 6 times. Join. (30 sts)
- Round 6: Change to White yarn. 1 sc in each st around. Join. (30 sts)
- Round 7: Change to Green yarn. 1 sc in each st around. Join. (30 sts)
- Round 8: 1 sc in each st around. Join. (30 sts)
- Round 9: (3 sc, 1 dec) repeat 6 times. Join. (24 sts)
- Round 10: (2 sc, 1 dec) repeat 6 times. Join. (18 sts)
- Round 11: (1 sc, 1 dec) repeat 6 times. Join. (12 sts)
- Pause here to firmly stuff the watermelon base with fiberfill.
- Round 12: 6 dec. Join. (6 sts)
Fasten off, leaving a tail. Use your tapestry needle to weave the yarn tail through the front loops of the remaining 6 stitches, pull tight to close the hole, and weave in the end.
Leaf and Vine
Use Green yarn.
- Step 1 (Leaf Base): Make a MR with 3 sc. Do not join in a circle; pull the ring tight so it forms a small semi-circle.
- Step 2 (Leaf Petals): ch 2, turn your work.
- Work 1 dc in the first st. Make a picot (ch 3, sl st into the base of the ch-3).
- Work 2 dc in the next st. Make a picot.
- Work 2 dc in the last st. Make a picot.
- sl st back into the center hole of the Magic Ring.
- Step 3 (Vine): From the center of the MR, ch 10.
- sl st into the 6th chain from the hook (this creates a small loop/curl).
- ch 5.
Fasten off, leaving a tail to weave in or sew onto the watermelon.
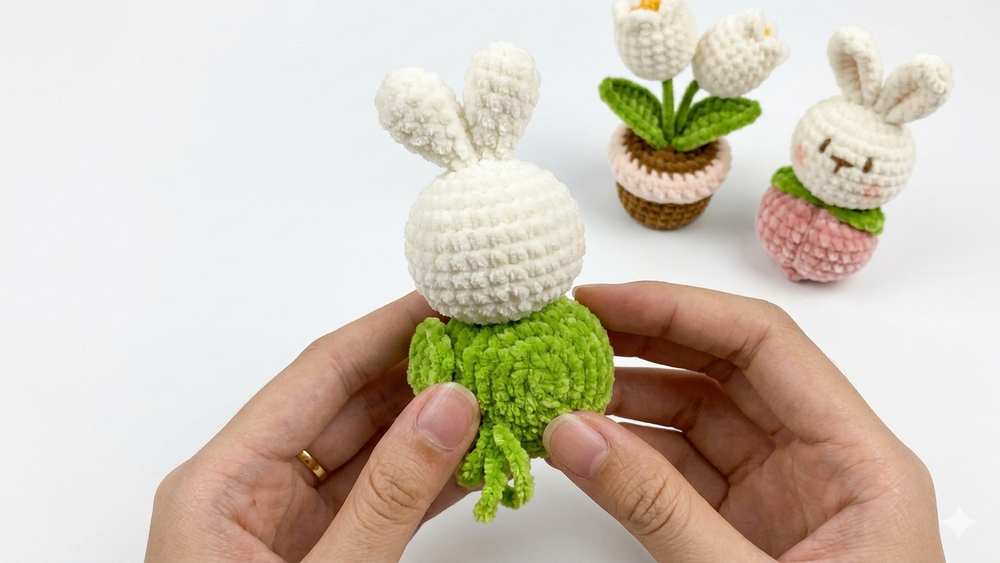
Assembly & Details
- Embroider Seeds: Thread your tapestry needle with Black yarn. Embroider small vertical lines or “V” shapes scattered around the Red and Light Pink sections of the watermelon base.
- Attach the Leaf: Use a hot glue gun (or sew) to attach the green leaf and curly vine to the top/side of the watermelon base.
- Attach the Head: Use hot glue or sew your pre-made bunny head to the top of the watermelon base.
- Blush: Use a brush to apply a little bit of makeup blush to the bunny’s cheeks to finish your cute watermelon rabbit!
Bunny Head
Use White yarn. Work in continuous rounds.
- Round 1: Make a MR with 6 sc. (6 sts)
- Round 2: 6 inc. (12 sts)
- Round 3: (1 sc, 1 inc) repeat 6 times. (18 sts)
- Round 4: (1 sc, 1 inc, 1 sc) repeat 6 times. (24 sts)
- Round 5: (3 sc, 1 inc) repeat 6 times. (30 sts)
- Rounds 6-9: 1 sc in each st around. (30 sts per round)
- Round 10: (3 sc, 1 dec) repeat 6 times. (24 sts)
- Round 11: (2 sc, 1 dec) repeat 6 times. (18 sts)
- Round 12: (1 sc, 1 dec) repeat 6 times. (12 sts)
- Stuff the head firmly with fiberfill.
- Round 13: 6 dec. (6 sts)
Fasten off, leaving a tail. Use a tapestry needle to weave the yarn tail through the front loops of the remaining 6 stitches, pull tight to close the hole. Weave in the end.
Bunny Ears (Make 2)
Use White yarn.
- Step 1: ch 7.
- Step 2: Starting in the 2nd chain from the hook, work down the chain: 1 sl st, 2 sc, 2 hdc, and in the last chain, work 7 dc all in the same stitch.
- Step 3: Rotate the work to crochet up the opposite side of the chain. Work symmetrically: 2 hdc, 2 sc, 1 sl st.
Fasten off, leaving a long tail for sewing.

About "Talha"
Hey, I’m Talha, the Crafter on Craftstive.com. I love to share guides on folding cute origami models and paper crafts, and I am always ready to inspire your next craft project with my weekly craft discussions.