
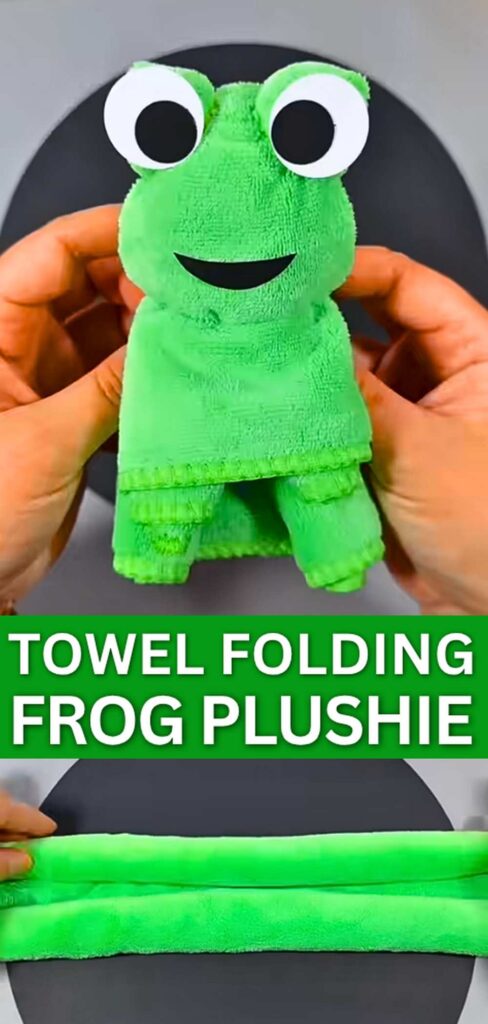
This is the 3rd tutorial on folding a towel plushie, and this is gonna be the easiest and the CUTEST, so far! So, let the kids follow these DIY instructions to make a kawaii frog softie with Kuromi Eyes out of a towel in 5 simple steps. This is the least confusing animal softie and just needs folding double rolls, pinching, and wrapping them with the rubber bands.
You can also use the cut felt eyes and the mouth for it. It is easier, as we’ll make a frog doll with simple arms and legs. We shall focus more on the face and try to make it as CUTE as you can.
This way, toddlers will love snuggling this plushie. Similar to all other plushies I talked about, this can be reversed back to a towel as no seam is ever made. I am hoping you will love this plushie and wanna gift it for sure.
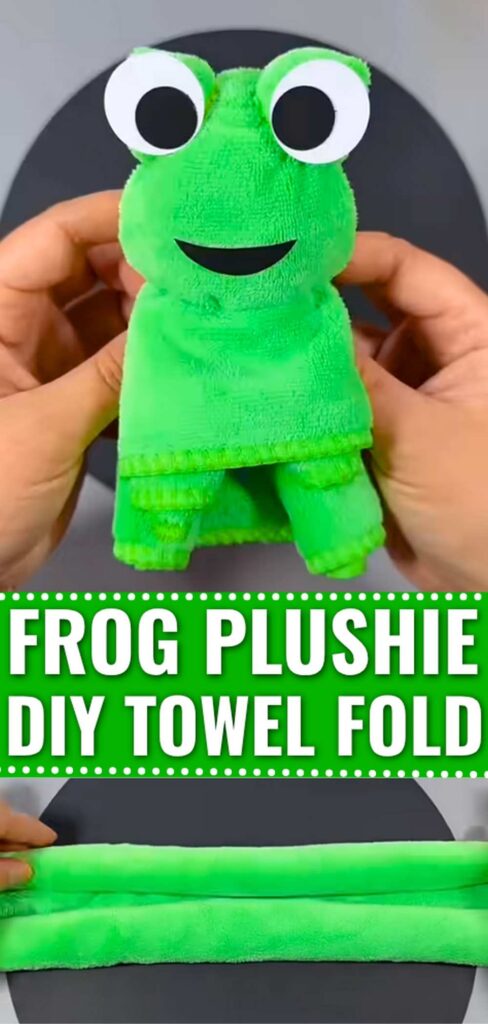
Plushie Model: Unique Towel-Folding Plushie
Time: 5 Minutes
Uses of this Butterfly Plushie
- Travel Comfort: Because it is made of a towel and two elastic bands, a great travel “toy” for kids that can be easily disassembled if a towel is needed in an emergency.
- Snuggler: Best and safest plushie a kid can hold while sleeping!
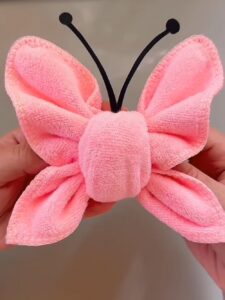
Fold Towel For Frog: Step-by-Step Instructions
Follow these step-by-step instructions to fold this CUTE frog twol plushie:
Supplies
- 1 Square Green Hand Towel (Microfiber works best for a plush frog)
- Yellow Rubber Bands (Small elastic bands)
- Paper Cutouts (Two large white circles with smaller black circles for eyes, and one black semi-circle for the mouth)
- Adhesive (Double-sided tape or glue dots to attach the face)
Step 1: Lay the Towel Flat
Start by laying your square green towel flat on your table. Be sure that there are no wrinkles or folds. Orient the towel so that one of the straight edges is facing you.
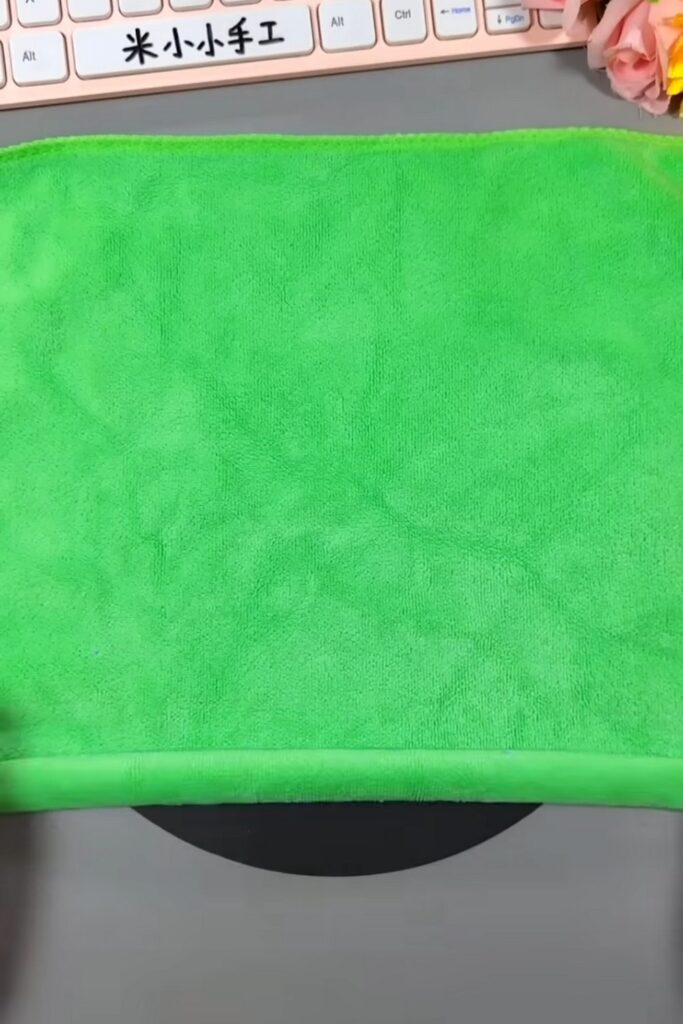
Step 2: Begin the Bottom Roll
Take the bottom edge of the towel (the side closest to you) and begin rolling it tightly toward the center. Stop when you reach the middle of the towel.
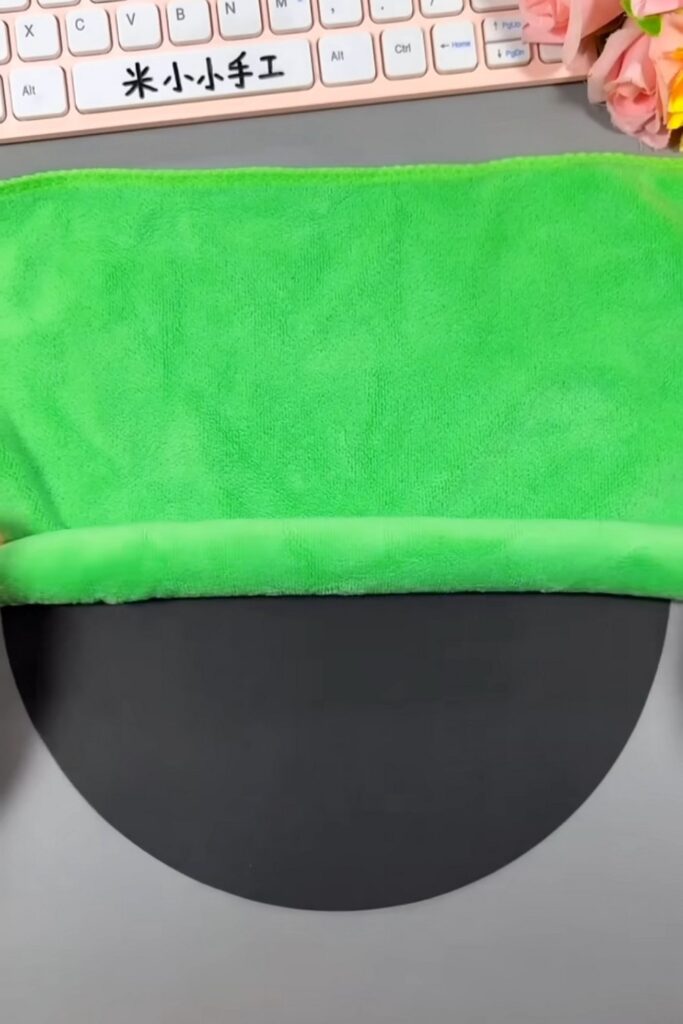
Step 3: Mirror the Top Roll
Rotate the towel or reach to the opposite side.
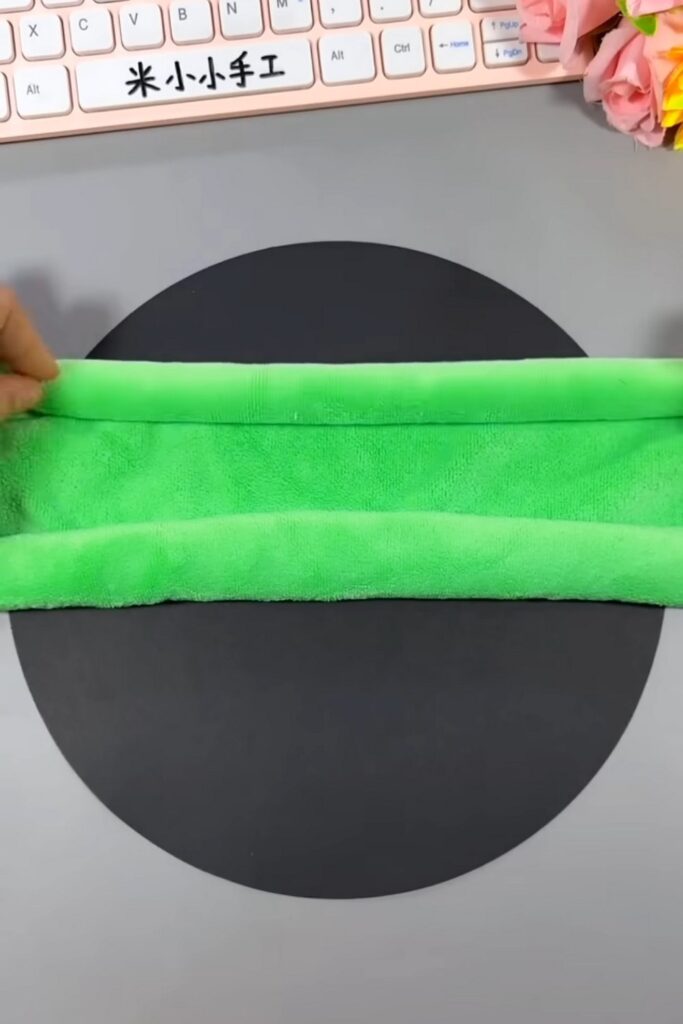
Take the top edge and roll it tightly toward the center until it meets the first roll.
Step 4: Align the Dual Rolls
You should now have two long, parallel rolls that meet in the middle, resembling a scroll. Be sure they are even and tight so the frog has a NICE structure structure. You can also use a rubber band on your way.
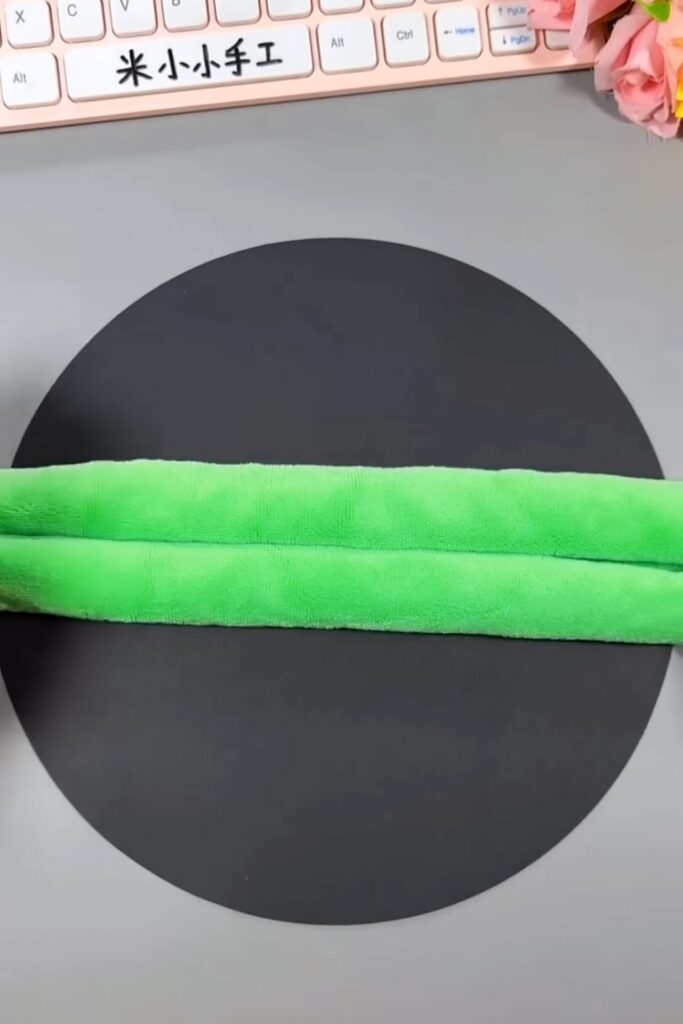
Step 5: The Vertical Fold
Turn the scrolled towel vertically. Pick up the entire towel and fold it in half, bringing the top ends down to meet the bottom ends. The “rolls” should be on the inside.
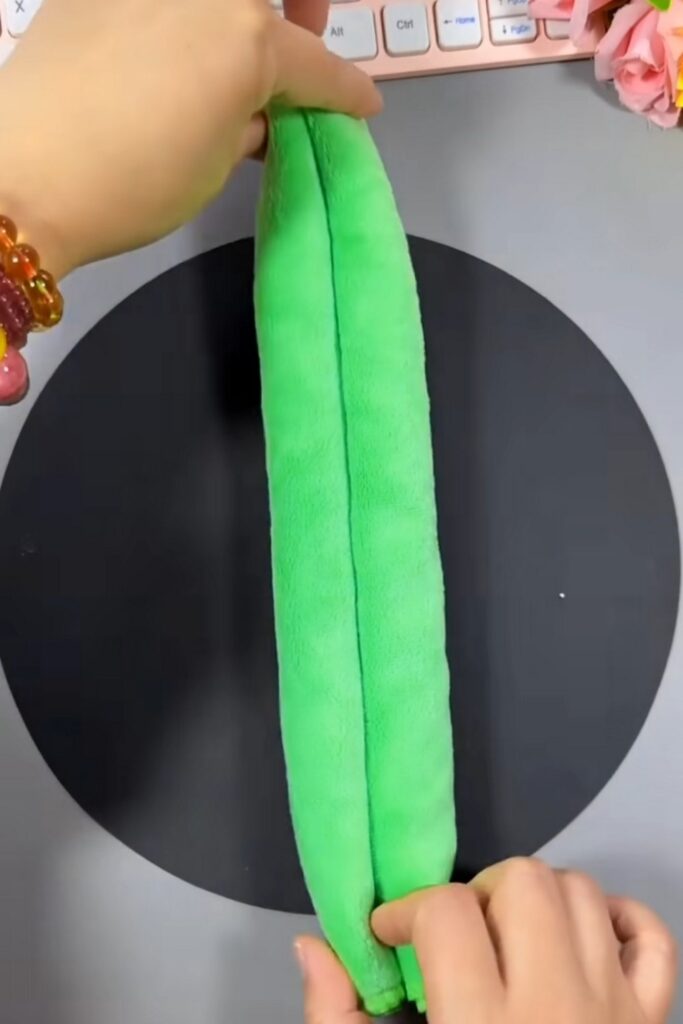
Then slightly lift the flap to expose the legs, or in other words, not aligning the top roll edge to the bottom, but keeping it above.
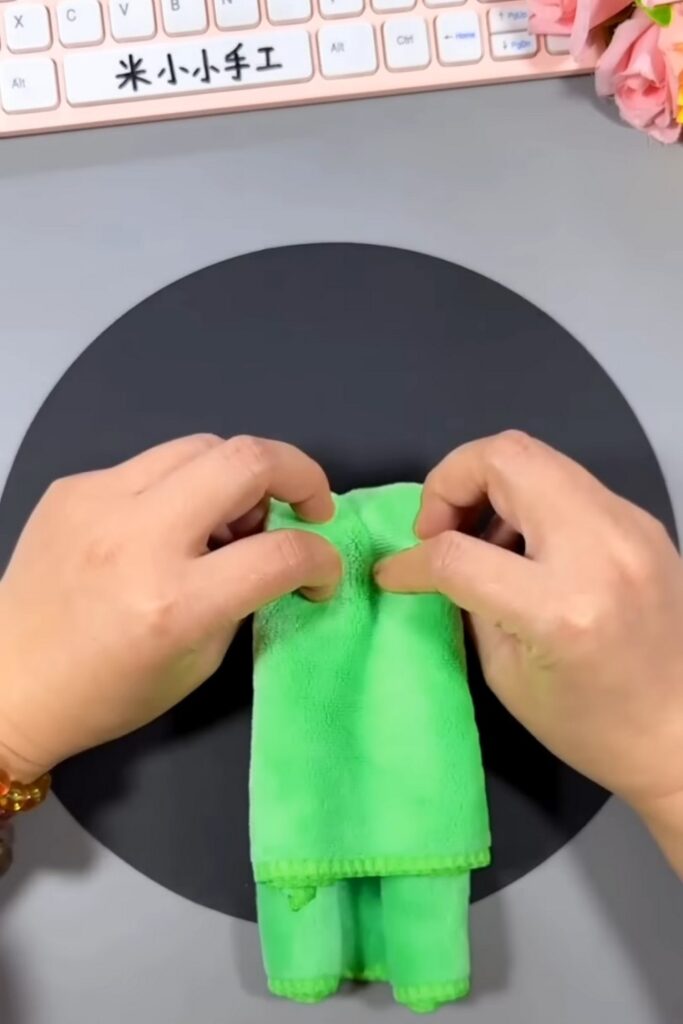
Step 6: Create the Body and Legs
Hold the folded towel so the “legs” (the four loose roll ends) are pointing downward. Use your fingers to pinch the towel about one-third of the way down from the folded top. This will make the distinction between the head and the body.
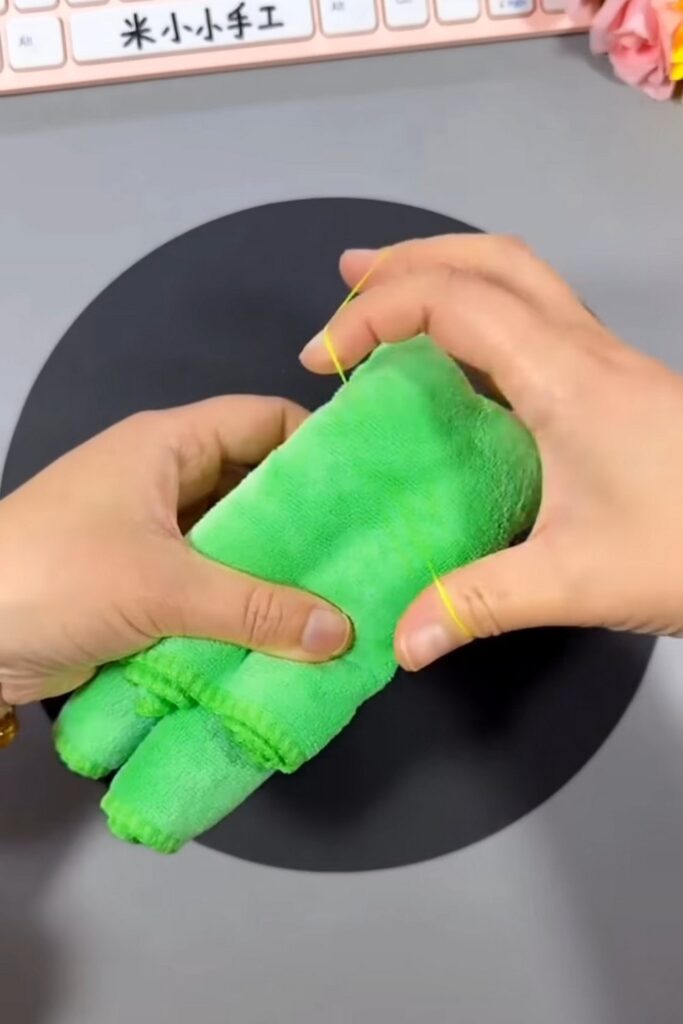
Step 7: Secure the Neck
Take a yellow rubber band and wrap it around the pinched section you created in Step 6. This defines the “neck” and holds the body and legs in place.
Step 8: Shape the Ears/Eye Bumps
At the very top of the head (the folded end), pinch the two corners.
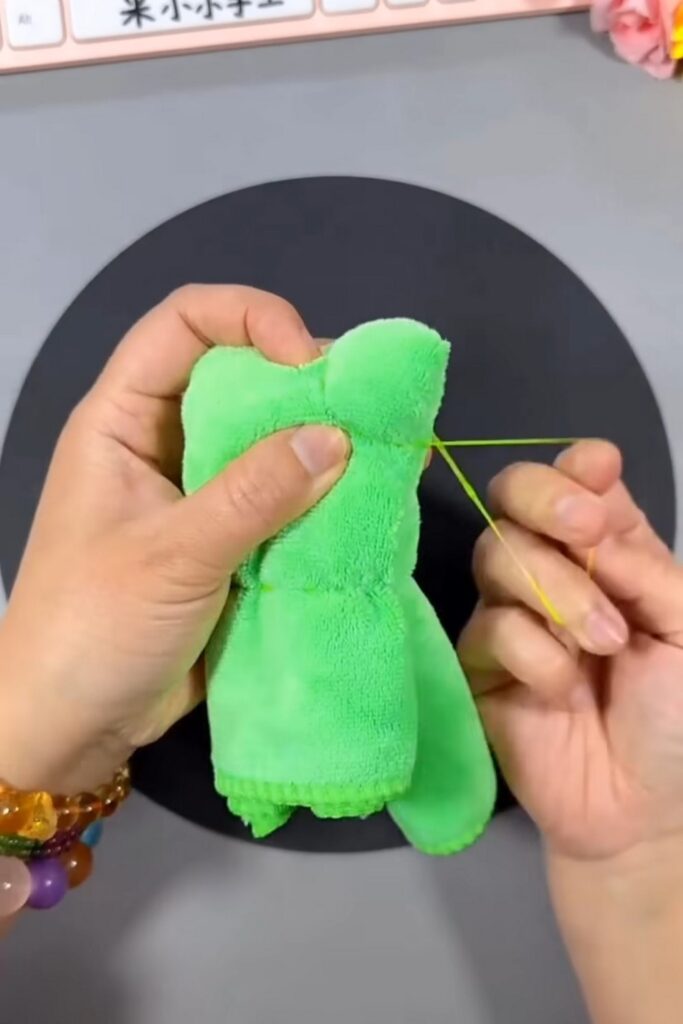
Secure each corner with a small yellow rubber band. These small tufts of fabric will be used as the base for the frog’s bulging eyes.
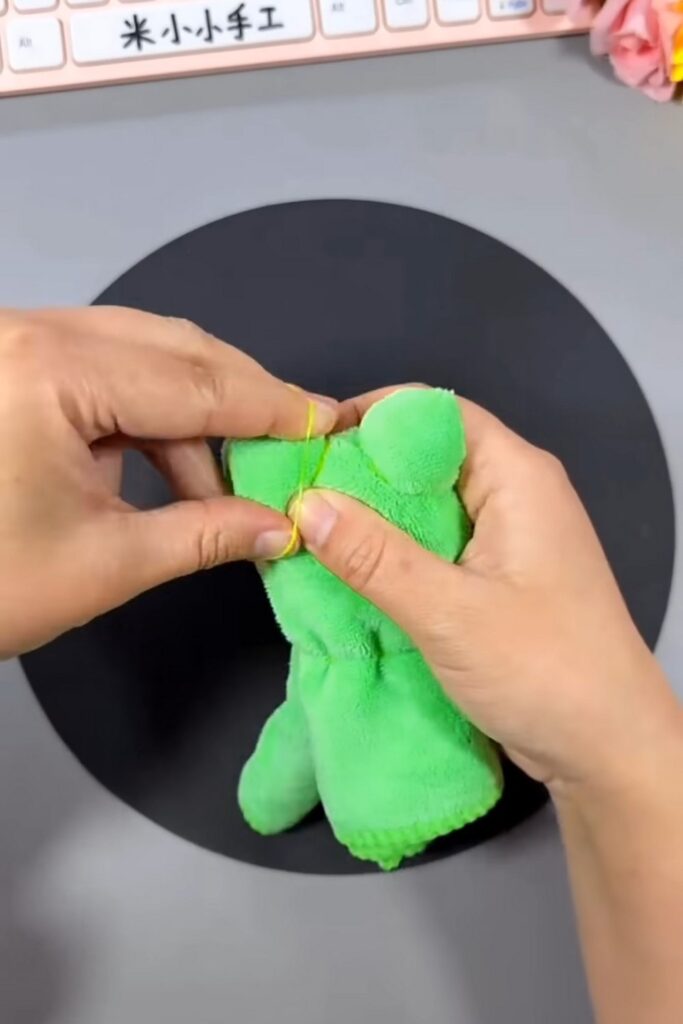
Step 9: Adjust the Head Shape
Use your fingers to fluff the fabric between the rubber bands. Pull slightly on the sides of the head to flatten the face area so it is ready for the features. It also makes cute cheeks for the frog.
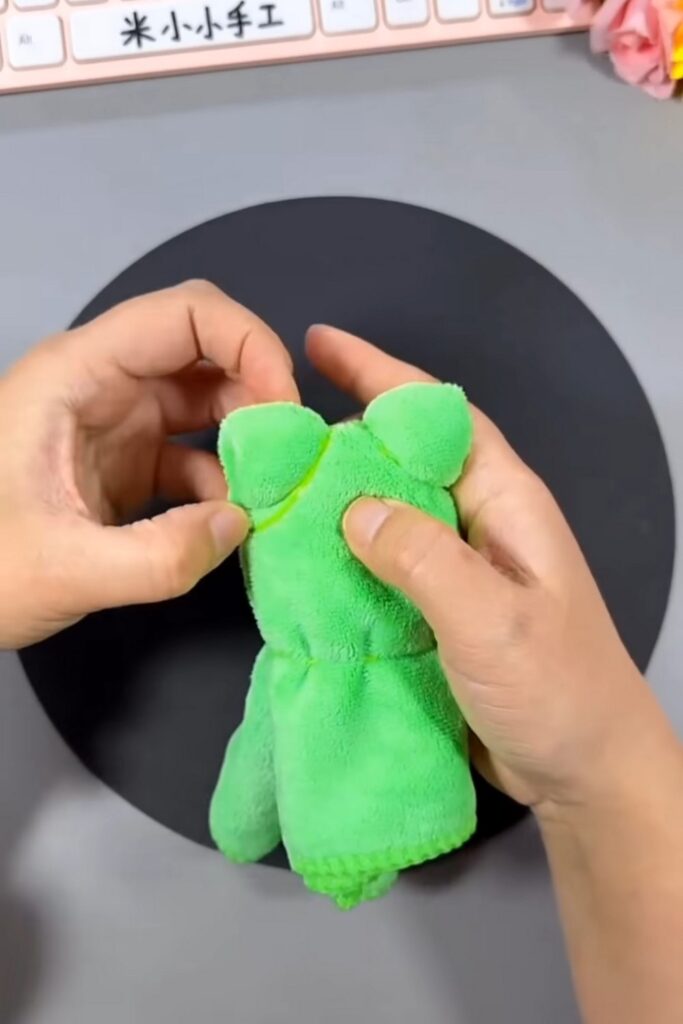
Step 10: Attach the Eyes
Take your white and black paper eye cutouts.
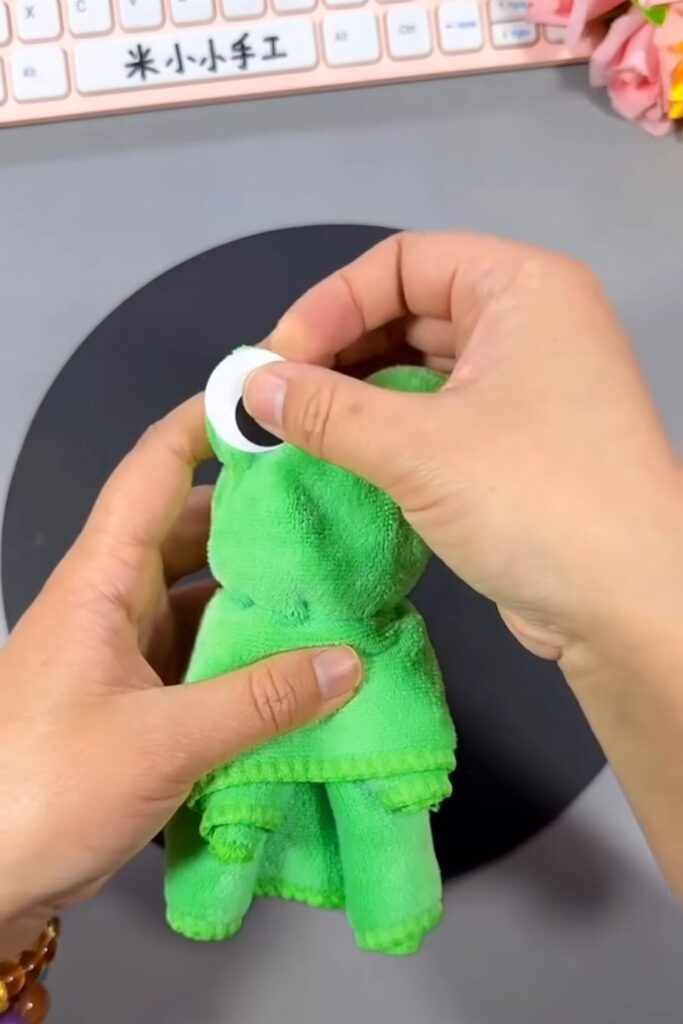
Apply adhesive to the back and press them firmly onto the two “ear” tufts you secured in Step 8. This gives the frog its classic “bug-eyed” look.
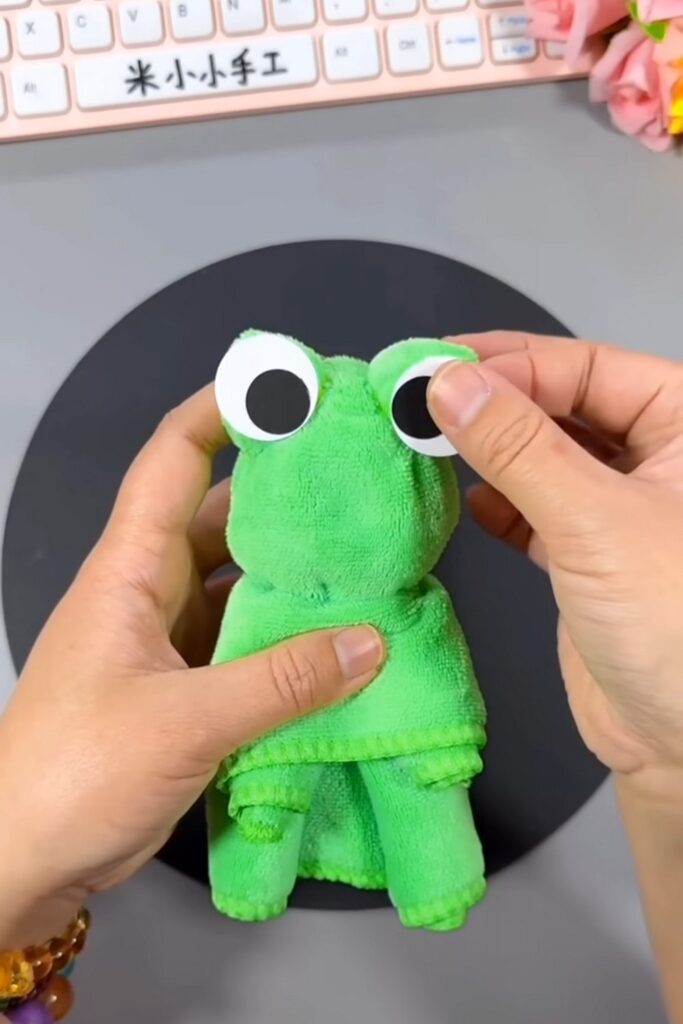
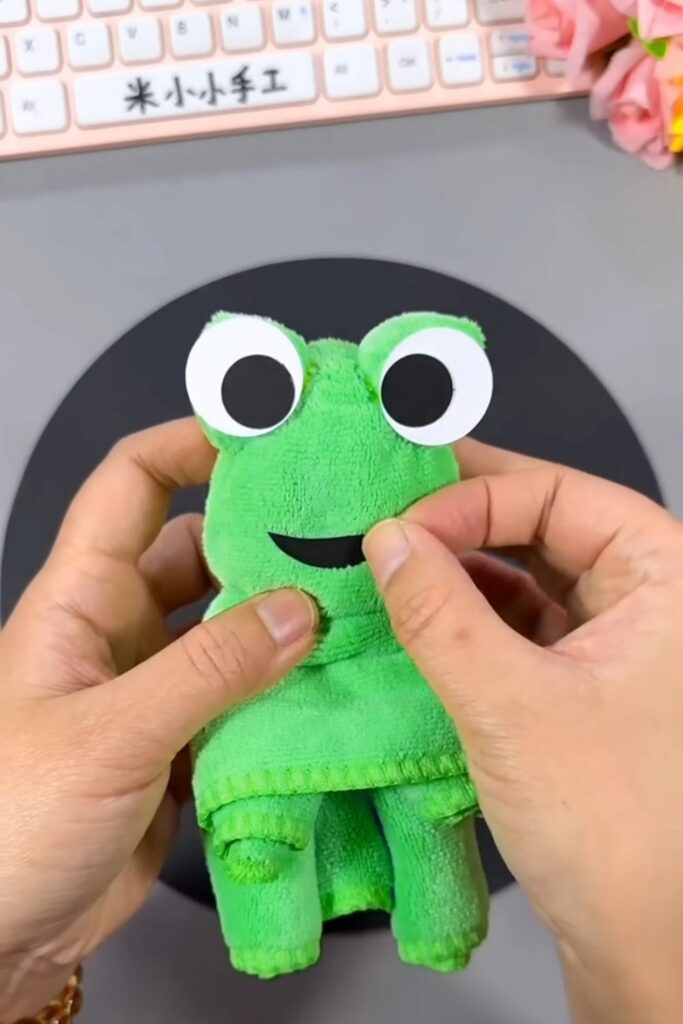
Step 11: Add the Smile
Finally, take the black semi-circle cutout and place it in the center of the face. Position it slightly upward to give the frog a cheerful expression.
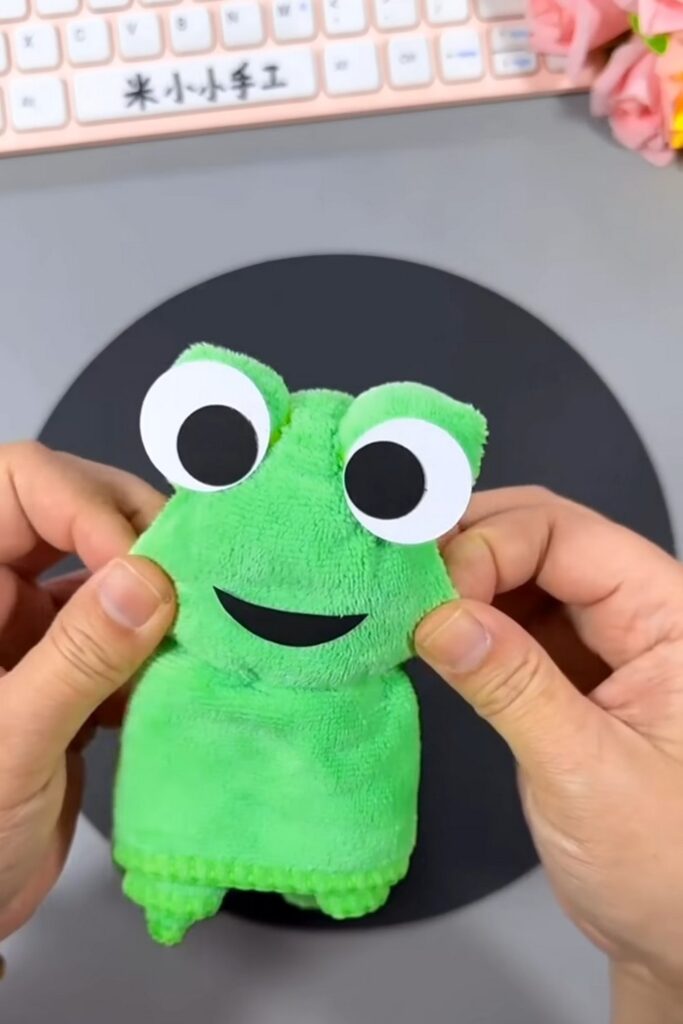
Feels Difficult?
Your towel frog plushie is now complete! That’s how you can make this and similar plushies out of a towel!
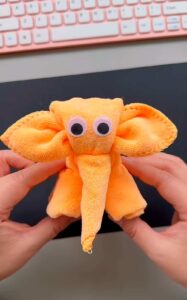
Be sure to check the butterfly and elephant plushie tutorial, too.
Was this Tutorial Helpful? Tell us in the Comments.
Your feedback is a great way for us to improve the tutorials. Did you find the tutorial helpful? Be sure to subscribe to the creator’s channel!
About "MAKE DIY via YouTube"
She is running one of the most special corner of paper crafts that are all quick and easier and require no skill!

About "Talha"
Hey, I’m Talha, the Crafter on Craftstive.com. I love to share guides on folding cute origami models and paper crafts, and I am always ready to inspire your next craft project with my weekly craft discussions.