
Subscribe to MomAndKidsCreativity!
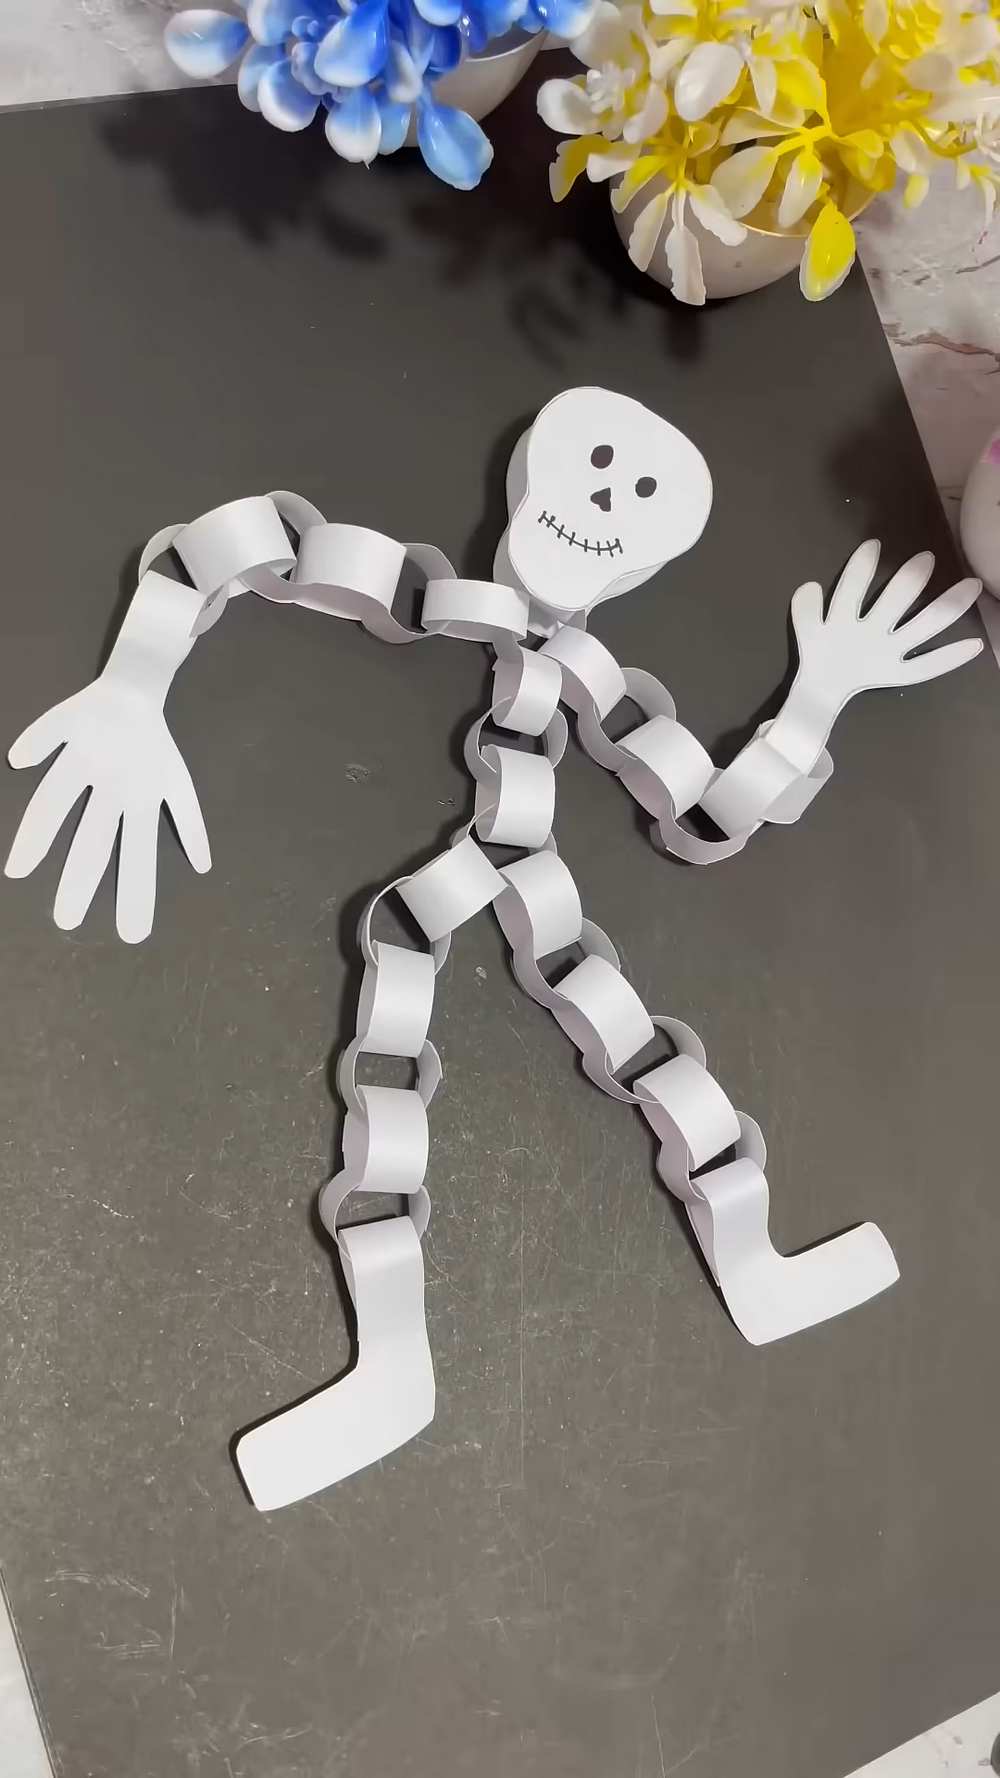
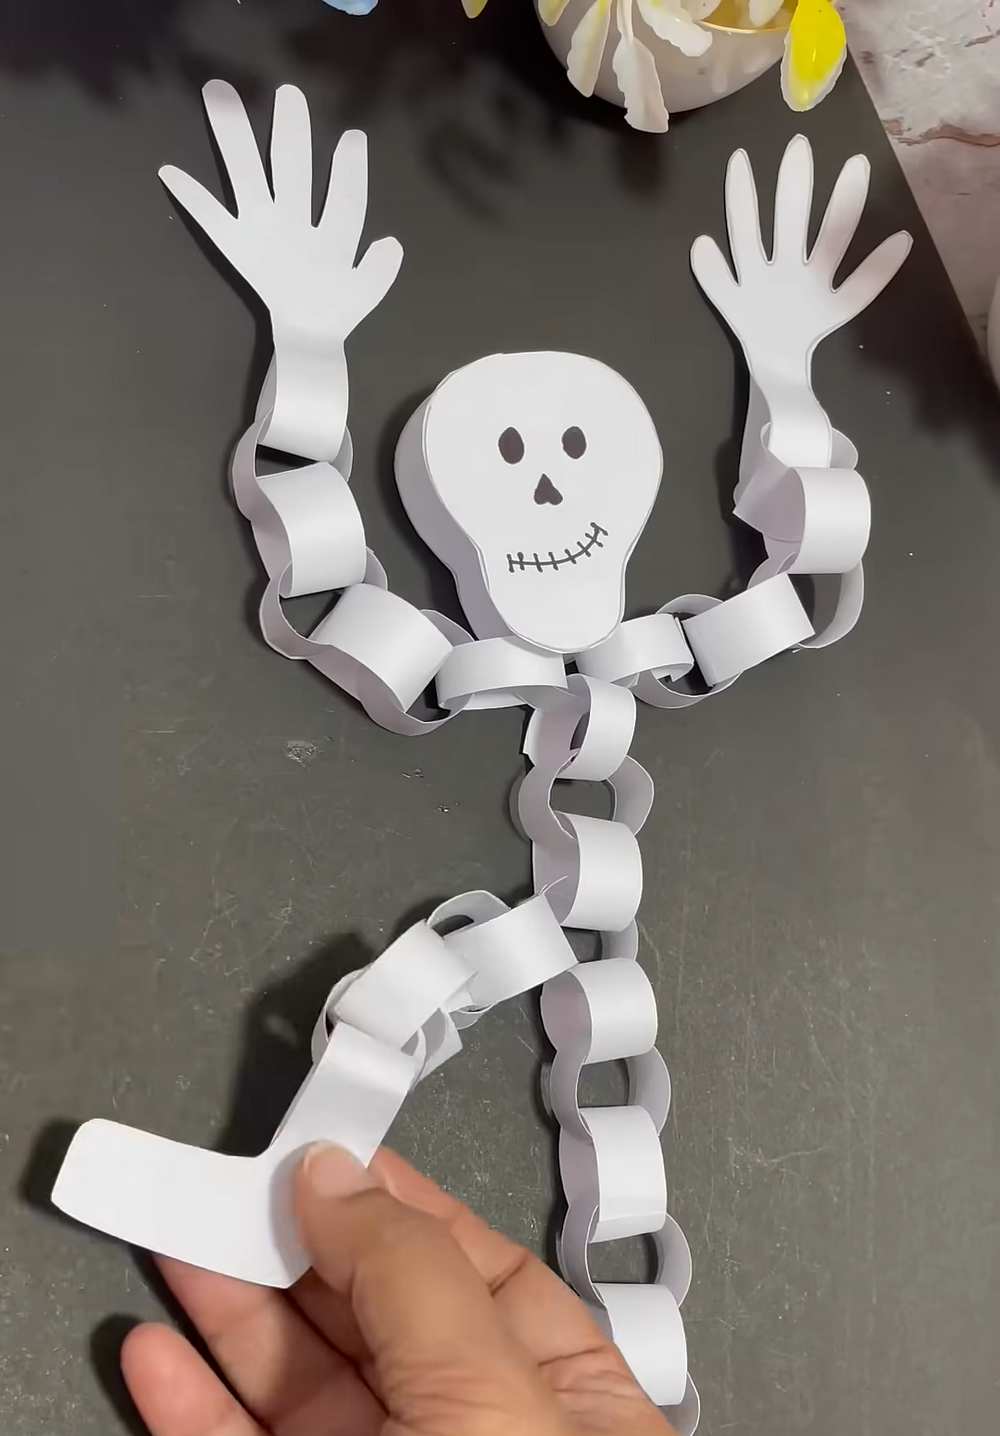
Are you looking for a funny and FUN Halloween paper puppet craft? Learn how to DIY this paper chain funny skeleton hanging puppet decoration with a step-by-step tutorial + a written pattern as well. You will also find a FREE printable template to cut the skeleton’s hand, feet, and the skull part. So, kids can also participate in this Halloween paper puppet craft activity.
When the breeze blows, it will swing outside, calling the little trick-or-treaters to fill their baskets even more. (Oh, I recalled, you can also learn how to make the spooky Halloween trick-or-treating baskets!).
The hands of this paper skeleton (looks so KAWAII) are intentionally made exaggerated to make them look funny. You can also design your own cutouts to make it to your liking. Anyway, if you want to learn how to DIY this skeleton puppet craft with the printable templates, continue reading to learn more about this project! It will definitely make a perfect entrance decoration!
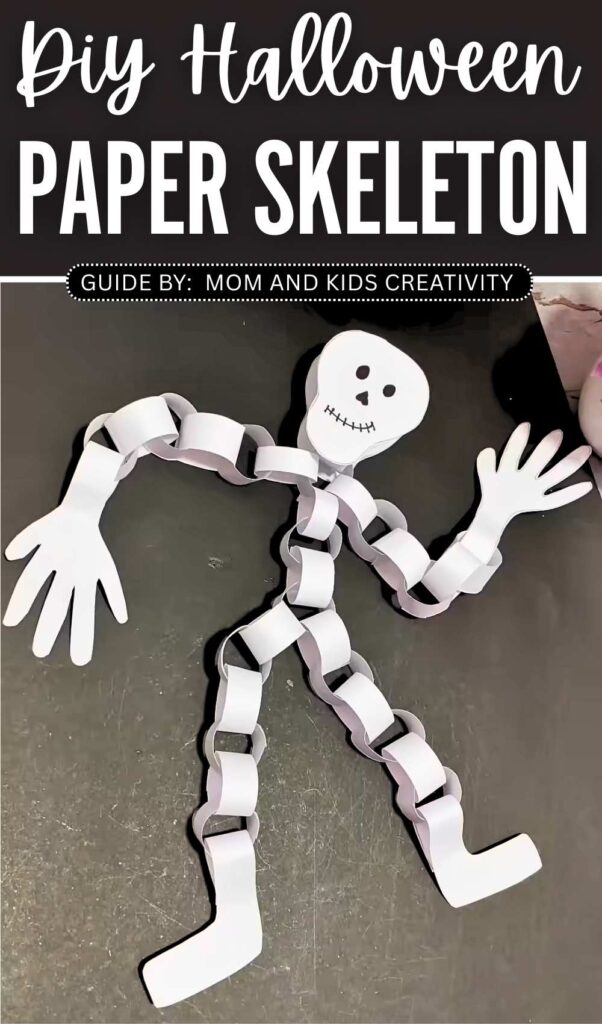


Tutorial to DIY A Halloween Skull Paper Craft
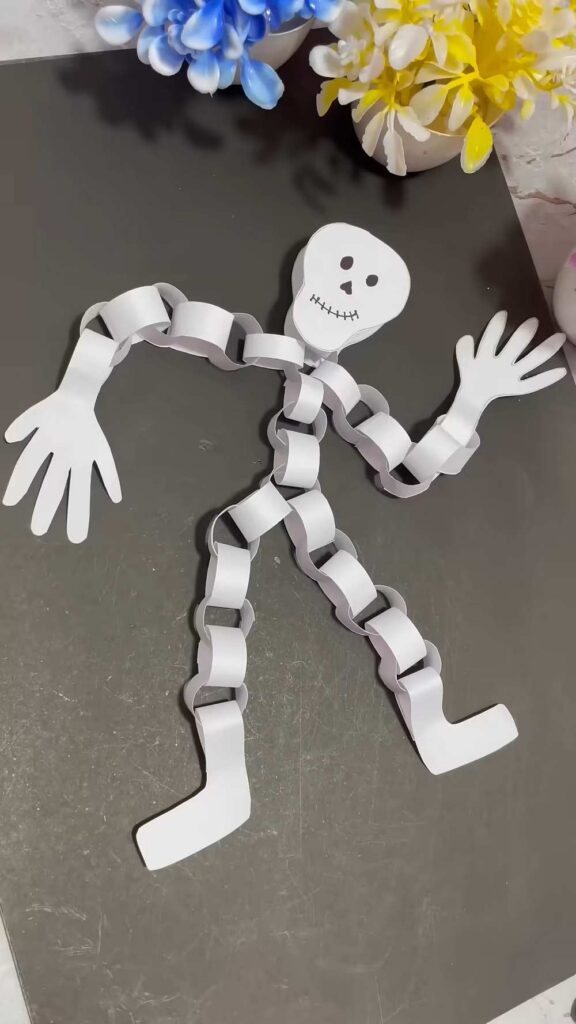
Making a paper chain skeleton is a fun and easy craft for Halloween. You only need white paper, scissors, glue, and a marker. First, you draw and cut out the head, hands, and feet. Then, you cut many thin strips of white paper.
You glue the ends of these strips to make small rings. You put one ring inside another to make a long chain. These chains make the body, arms, and legs. This makes the skeleton move and wiggle when you hold it. It is a simple way to make a cute and scary toy.
Detailed Guide to Making a Paper Chain Skeleton
Materials You Will Need:
-
White paper (A4 size works best)
-
Scissors
-
Glue stick or liquid glue
-
Black marker
Video Tutorial?
Step-by-Step Instructions:
1. Prepare the Body Parts
-
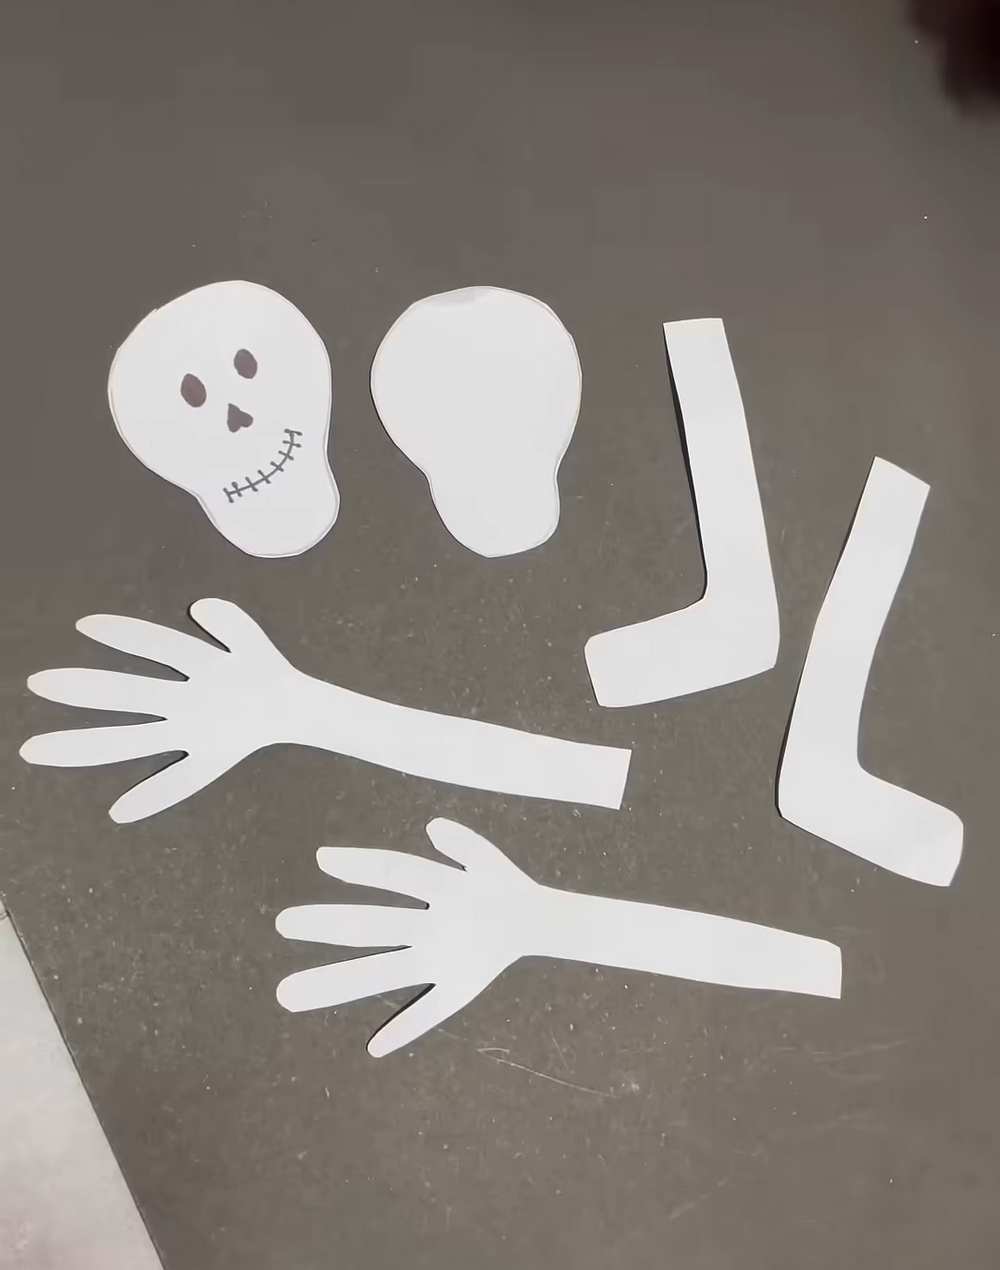
Draw a skull shape on the white paper. You can make two: one for the front and one for the back to make it stronger.
-
Draw two hand shapes and two “L” shaped foot shapes.
-
Cut all these pieces out carefully with your scissors.
-
Use the black marker to draw eyes, a nose, and a stitched mouth on the skull.
2. Cut the Paper Strips
-
Take a fresh sheet of white paper.
-
Cut several long, thin strips (about 1 inch wide and 4-5 inches long). You will need about 15-20 strips depending on how long you want the skeleton to be.
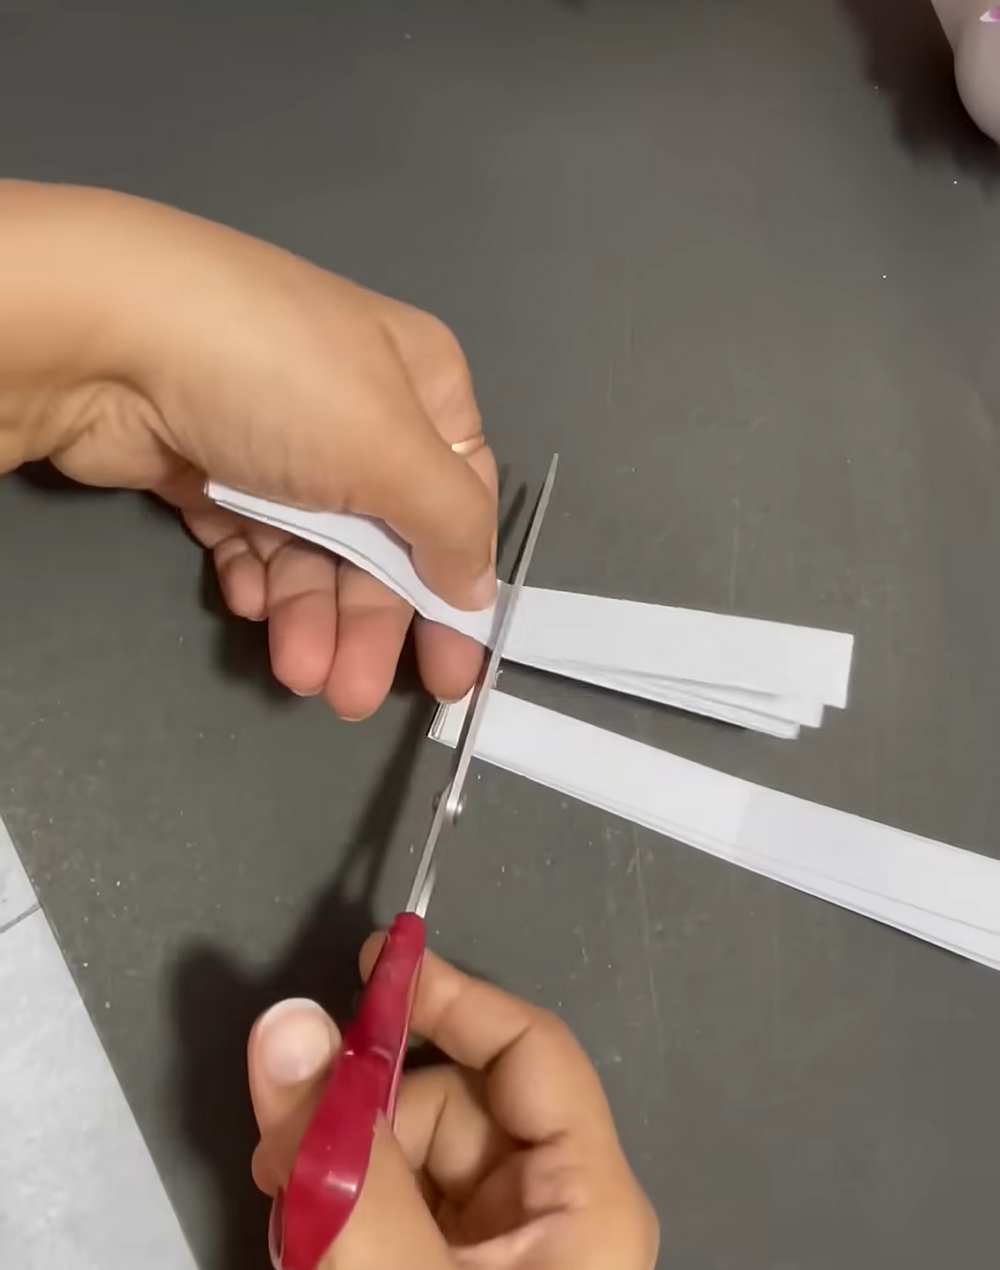
3. Start the Chain (The Neck/Body)
-
Take one strip of paper. Put a little glue on one end.
-
Wrap it into a circle and press the ends together to make a ring.
-
Glue the back of your skull to this first ring. This acts as the neck.
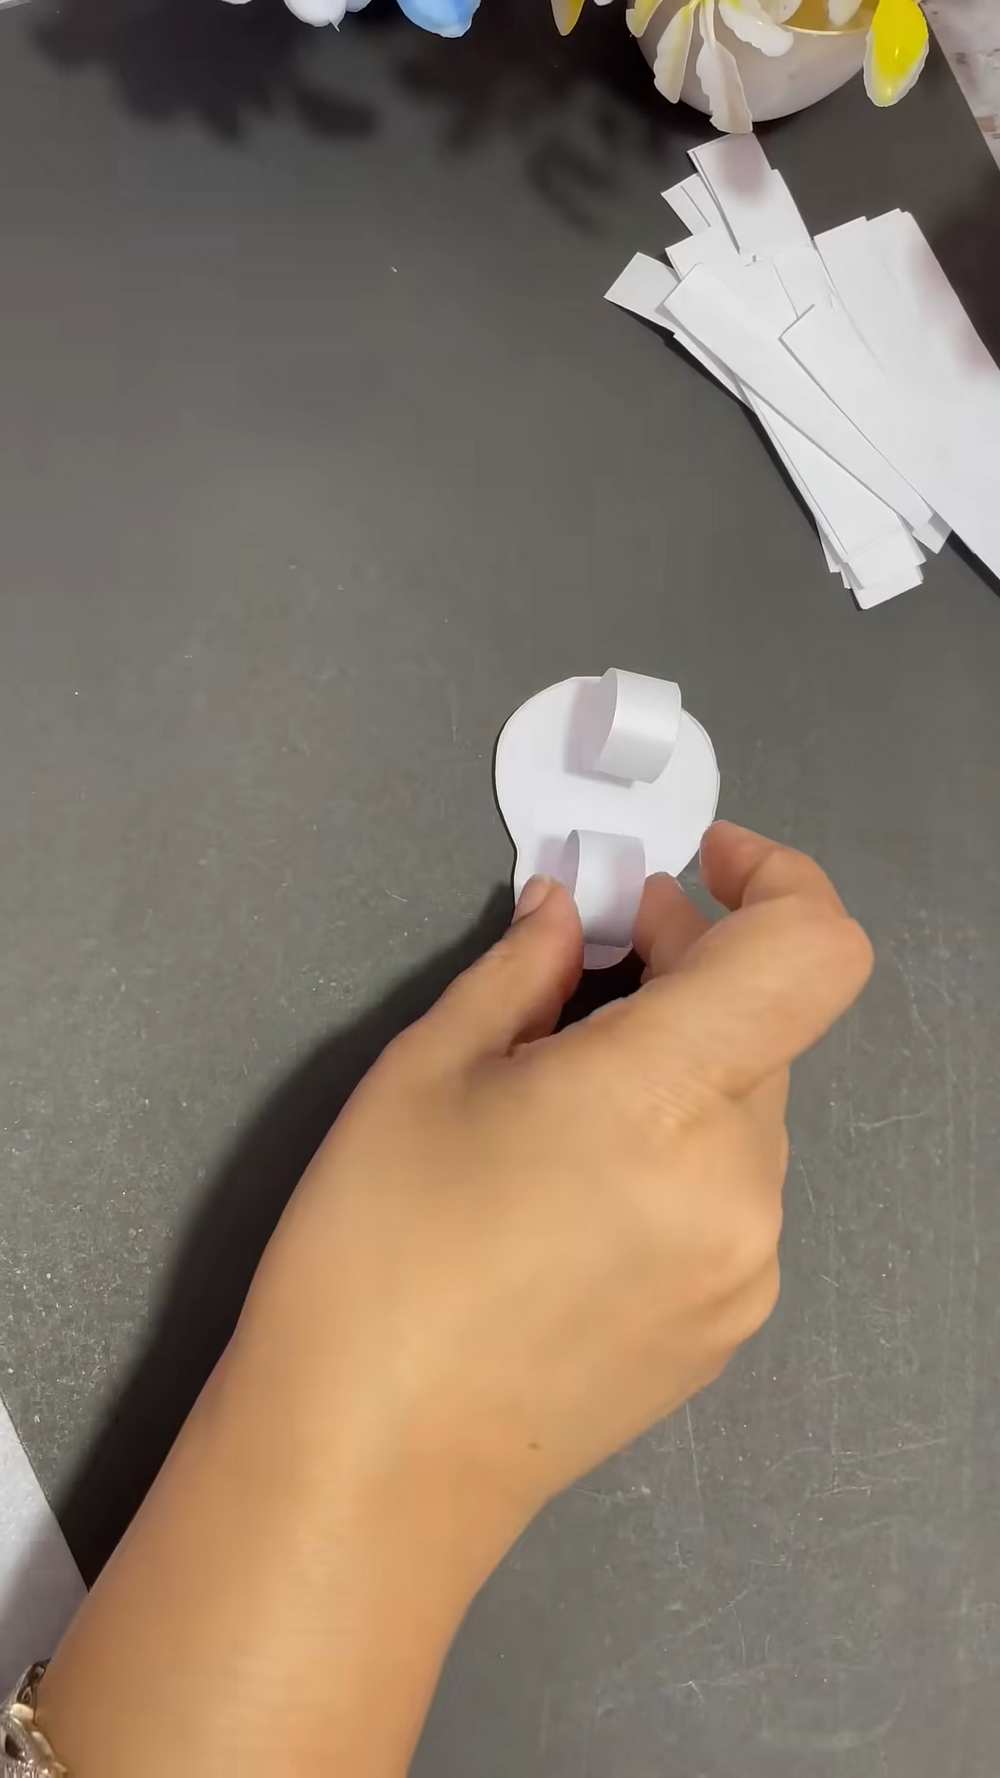
4. Make the Spine
-
Take another strip of paper. Slide it through the first ring.
-
Glue the ends of this new strip together to make a second ring.
-
Repeat this 3 or 4 times to make the long spine of the skeleton.
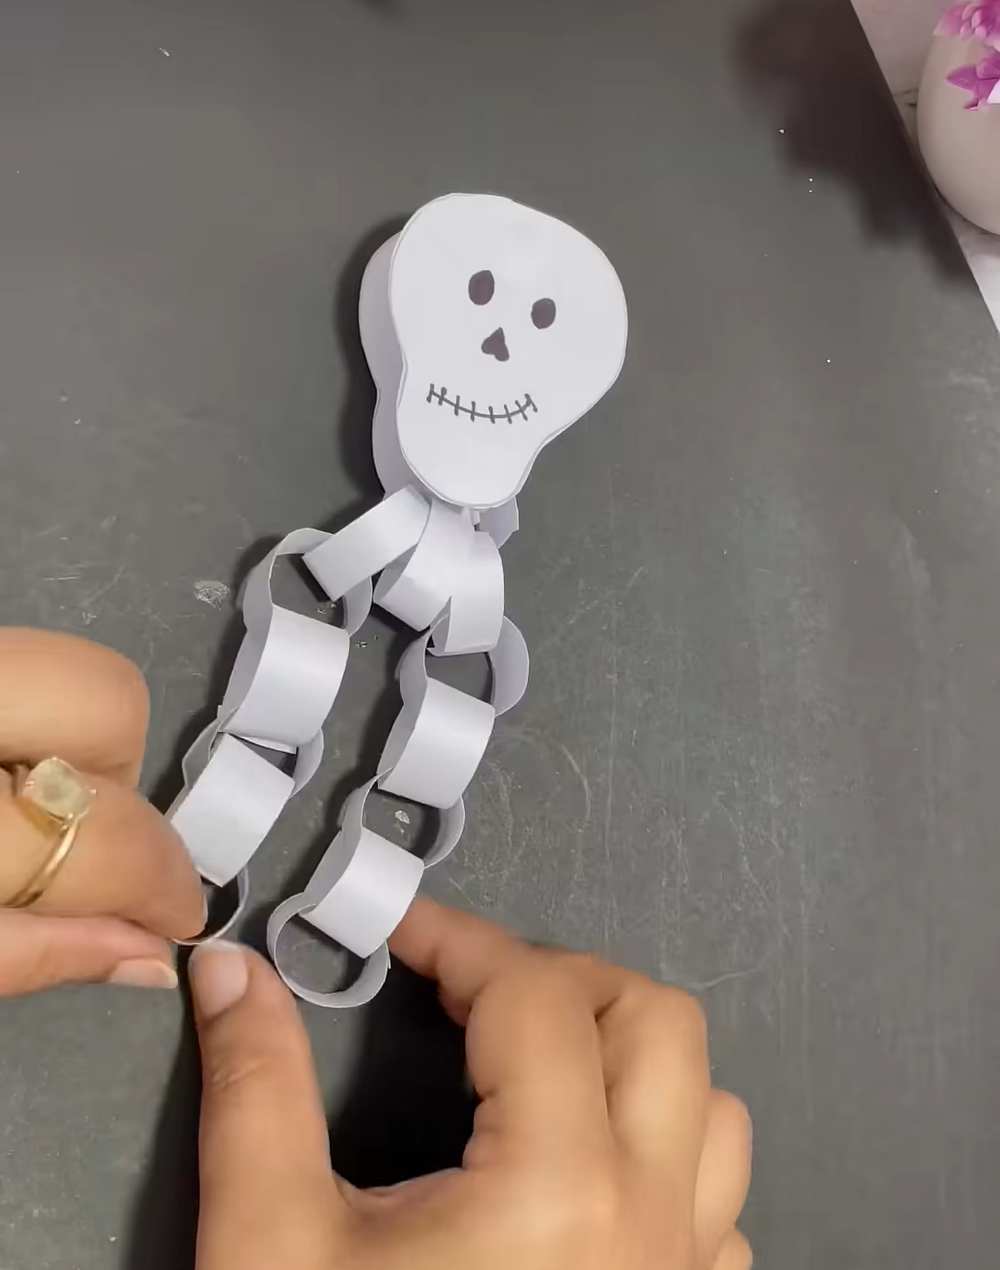
5. Add the Arms
-
Take a strip and loop it through one of the upper rings of the spine. Glue it shut.
-
Add 2 more rings to make the arm long.
-
At the end of the last ring, glue one of the paper hands.
-
Do the exact same thing on the other side for the second arm.
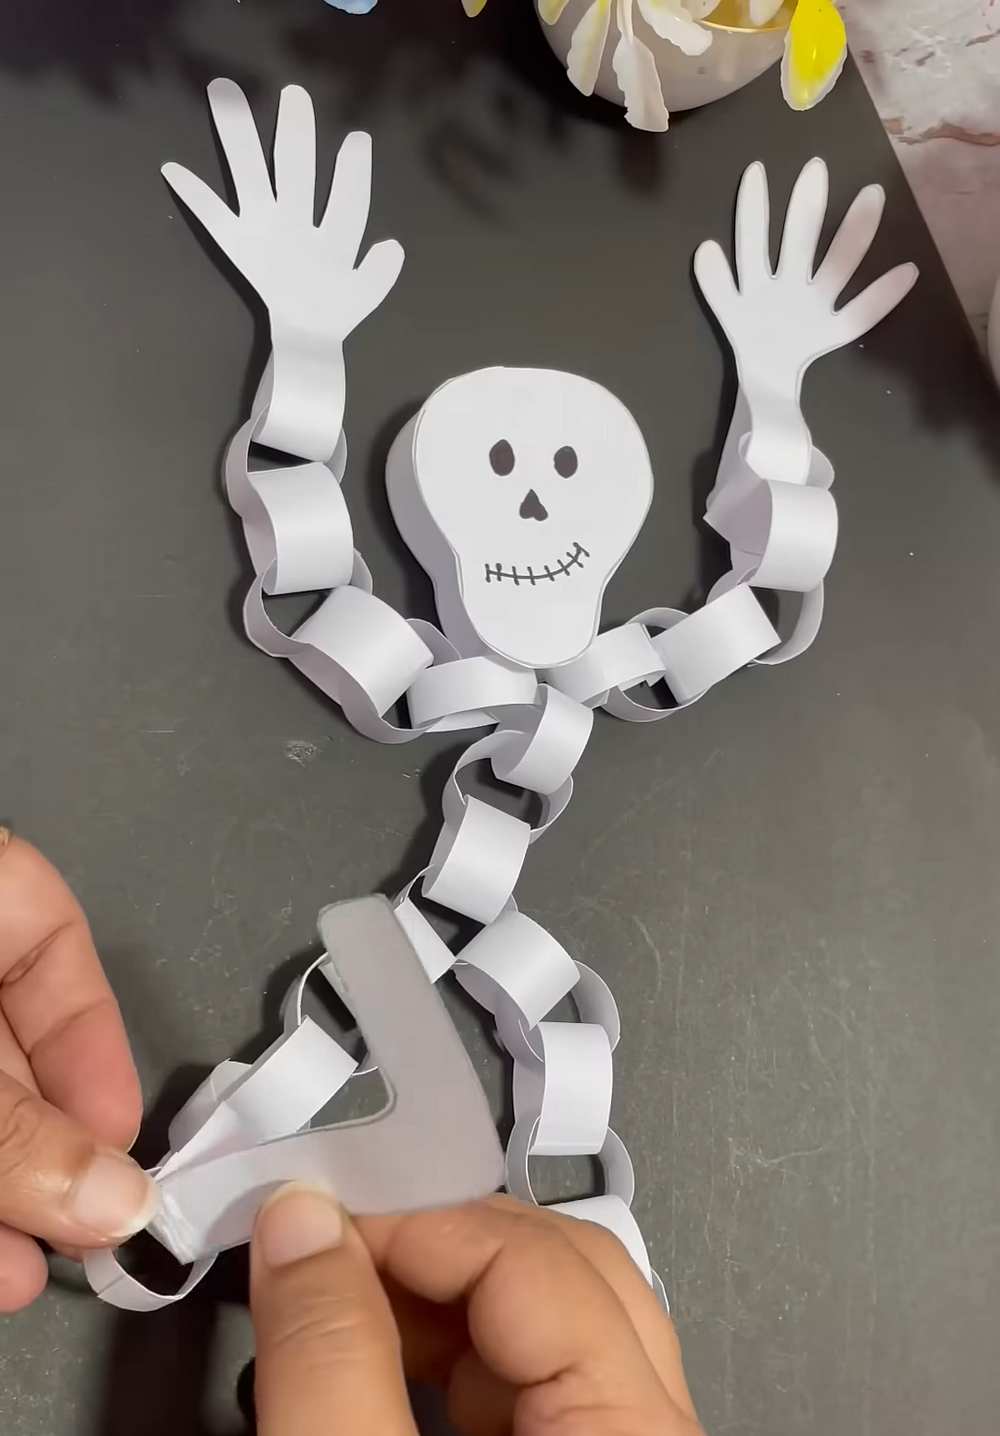
6. Add the Legs
-
Go to the very bottom ring of the spine.
-
Loop two separate strips through that bottom ring (one for the left leg, one for the right leg).
-
Add 3 or 4 rings for each leg to make them longer than the arms.
-
At the end of each leg chain, glue the paper feet.
7. Finishing Touches
-
Hold your skeleton by the head and let it dangle. Because it is made of chains, it will move around like a real puppet!