Subscribe to By Yulia!
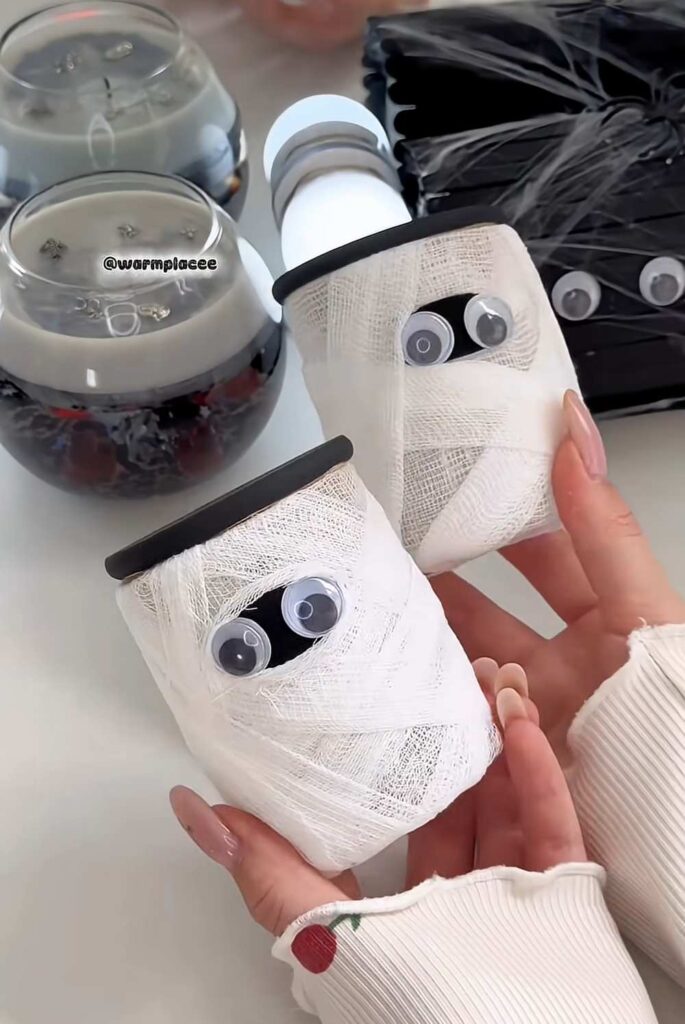
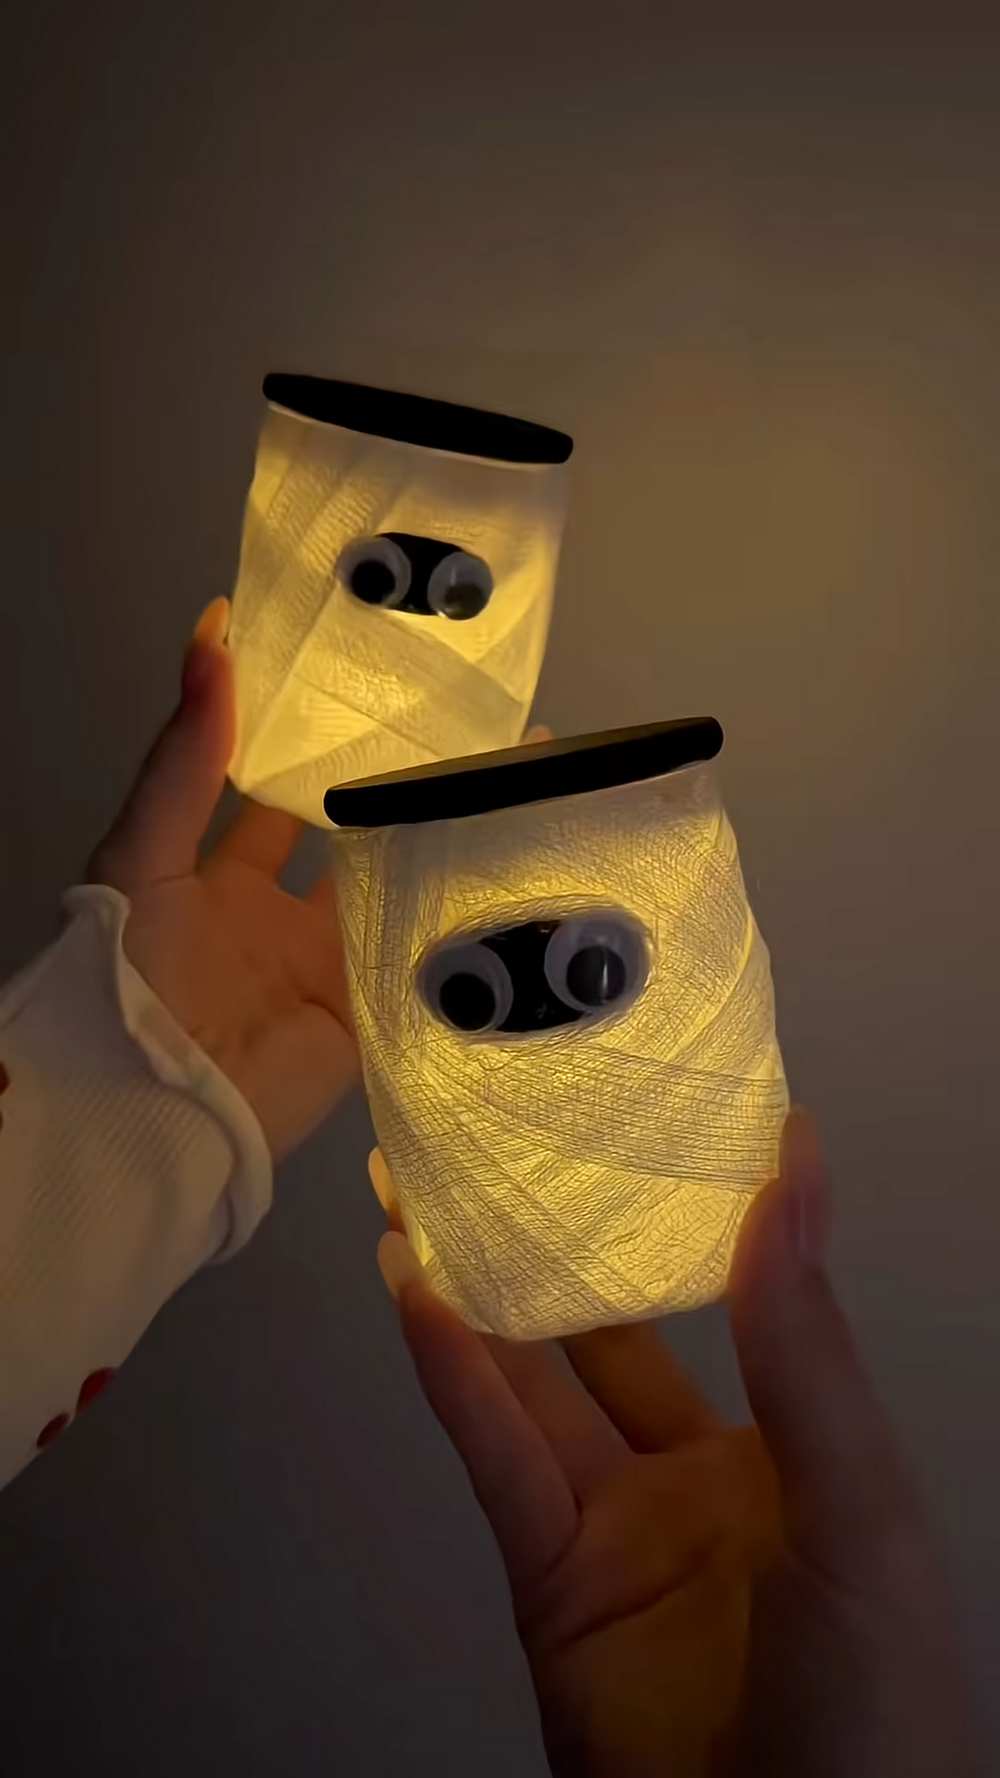
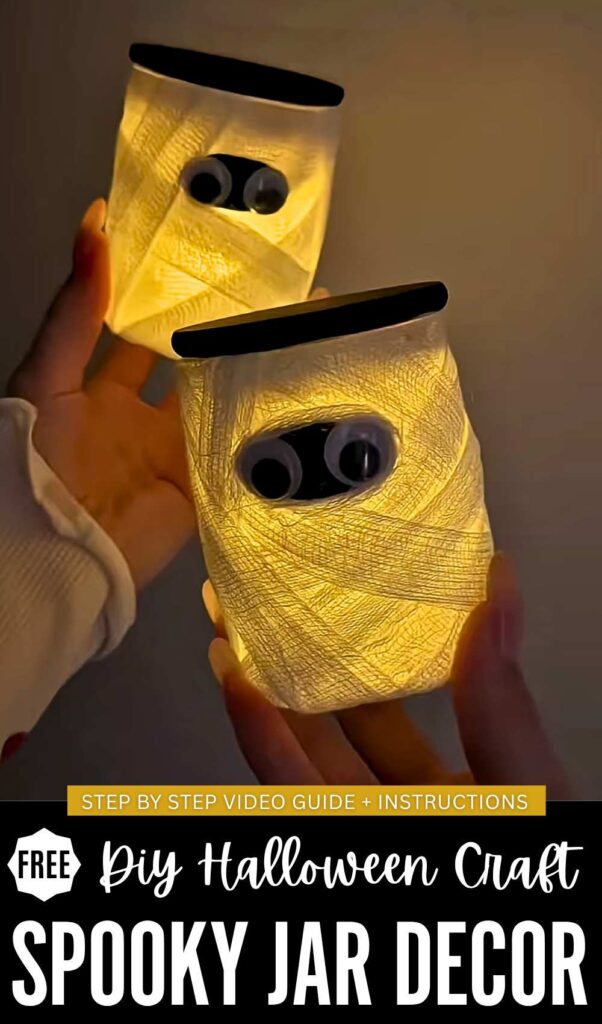
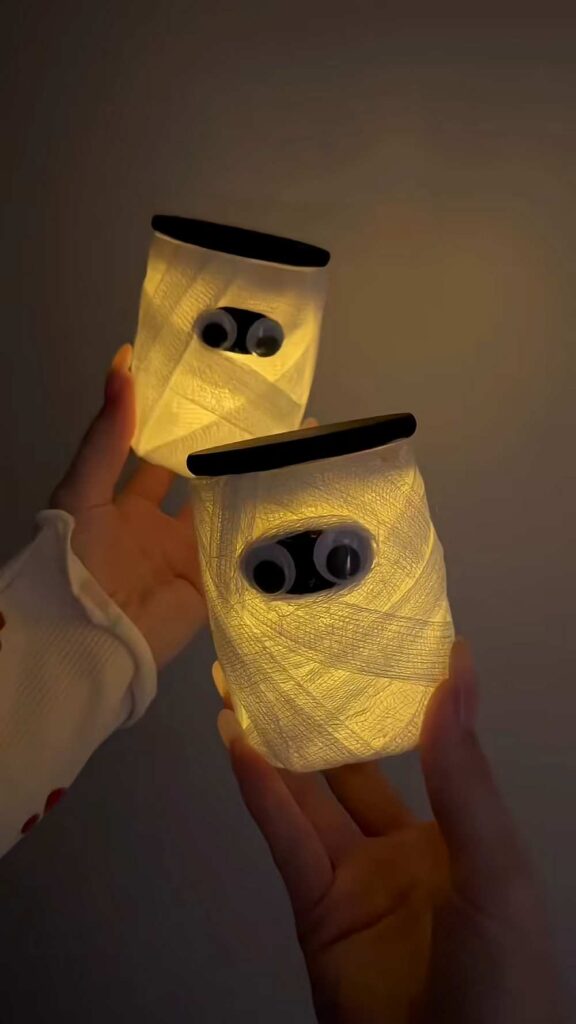
This Halloween, you can call the kids for trick-or-treating by placing these CUTE SPOOKY googly-eyed glowing jars! Learn how to DIY these mummy ghost lanterns following a step-by-step tutorial + a free written pattern for beginners. This small glass jar craft will let you upcycle the scrap bandage. The glow this way will feel a lot cozier, especially if you somehow put the battery-charged golden lights in the jar.
You can also use this spooky DIY mummy jar as a treat holder. You can also attach a handle to your lantern, and kids can use it as a trick-or-treating jar. Or else, you can decorate your porch corners by hanging these DIY spooky lanterns.
These mini jars have a last-minute and simple construction. You can also make your glow-in-the-dark jar using an empty plastic bottle. Just glue the bandage around the jar, attach the eyes, and paint the lid black. Now, continue reading to learn more about this DIY mason jar lantern project for Halloween.
Tutorial to Make a Spooky Halloween Jar
Create a spooky and simple Halloween decoration with this DIY Ghost Lantern guide! This craft is perfect for kids and adults alike, using common household items to create a glowing ghostly friend.
Materials Needed
-
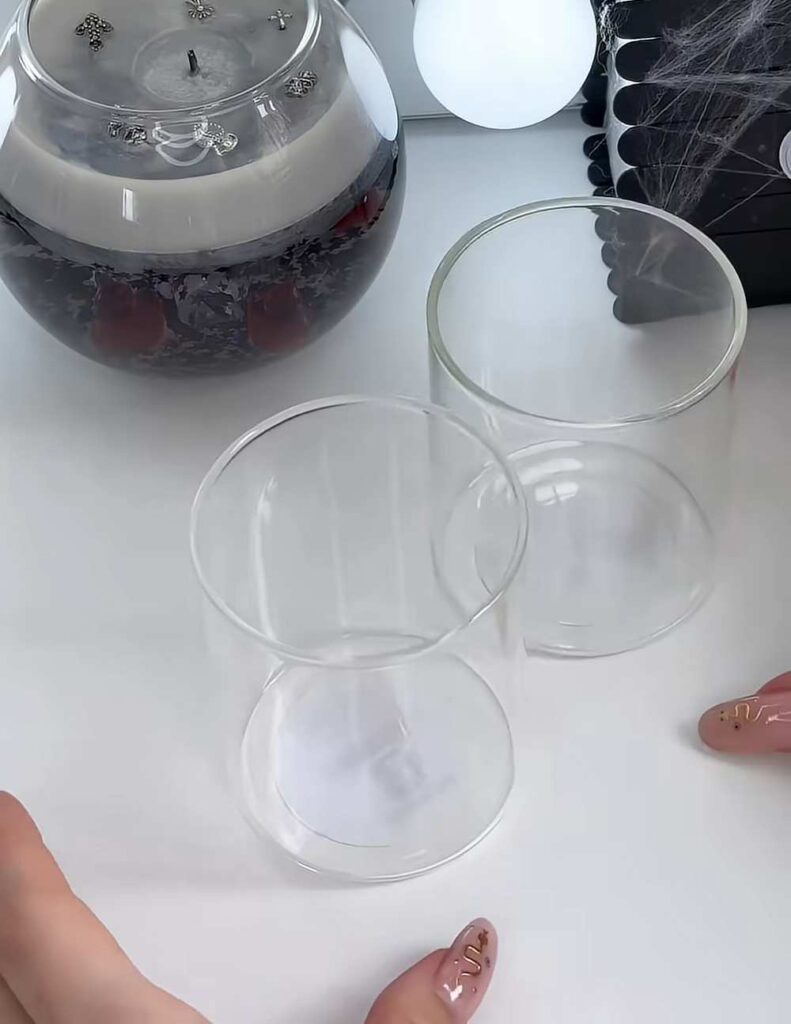
Clear Cup or Jar: A plastic cup with straight sides works best, but a glass Mason jar also works well.
-
Googly Eyes: Large or medium size.
-
White Gauze/Bandage: A roll of self-adhering medical gauze or regular elastic bandage.
-
Adhesive: Glue or double-sided tape (if the eyes aren’t self-adhesive).
-
Light Source: A battery-operated LED tea light (do not use real candles with flammable gauze).
Instructions
1. Start the Wrap
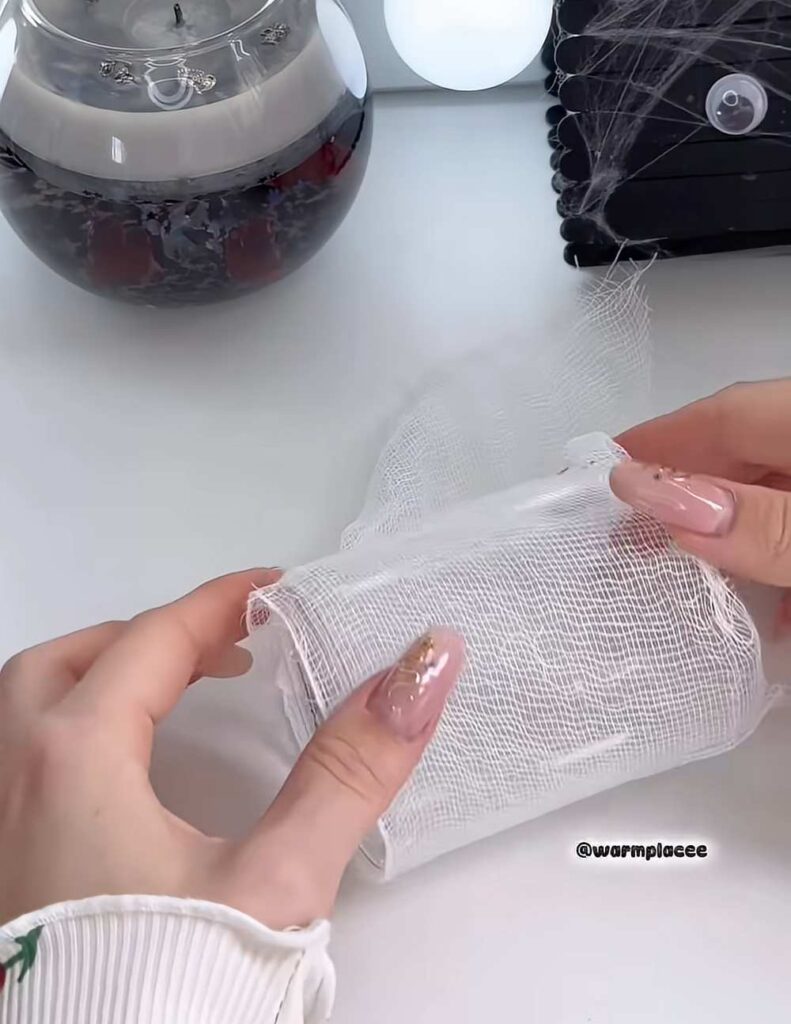
Hold the end of the white gauze roll against the back of the cup (opposite the eyes) and apply some hot glue over the jar. Begin wrapping the gauze horizontally around the jar and cut after securing using the hot glue.
2. Position the Eyes
Attach the two googly eyes. Place them about one-third of the way down from the top rim. Make sure they are centered and spaced slightly apart to give the ghost a cute or spooky expression. You also have to cut a black oval from a felt piece and attach the eyes over it. Then attach the set.
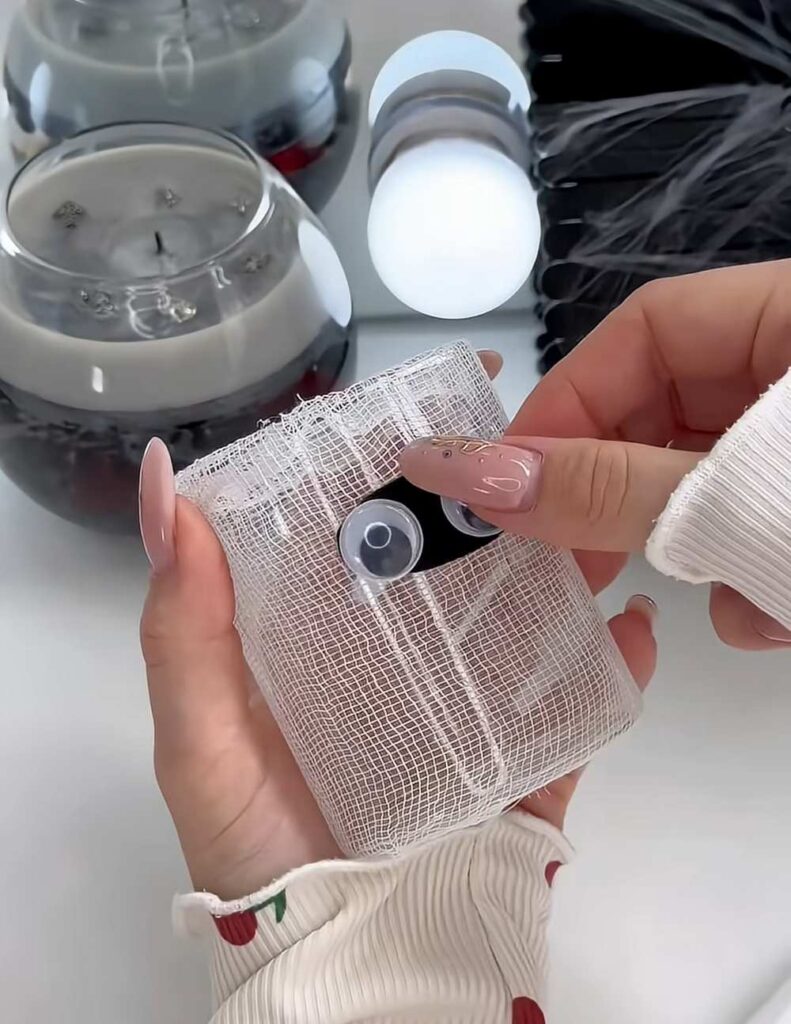
3. Layer the Gauze
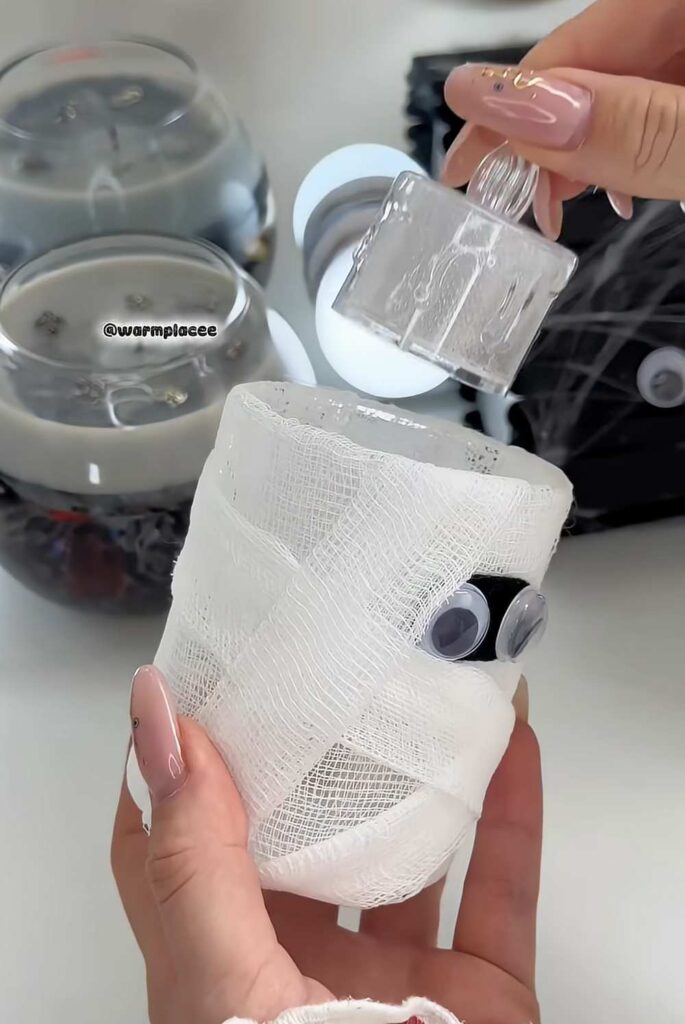
Cut a long length of Gauze and fold it two times to make a layered gauze. Then, first glue the gauze at the bottom of the jar and from that, start diagonally wrapping the gauze around the jar such that the eyes are exposed or:
Feels Difficult?
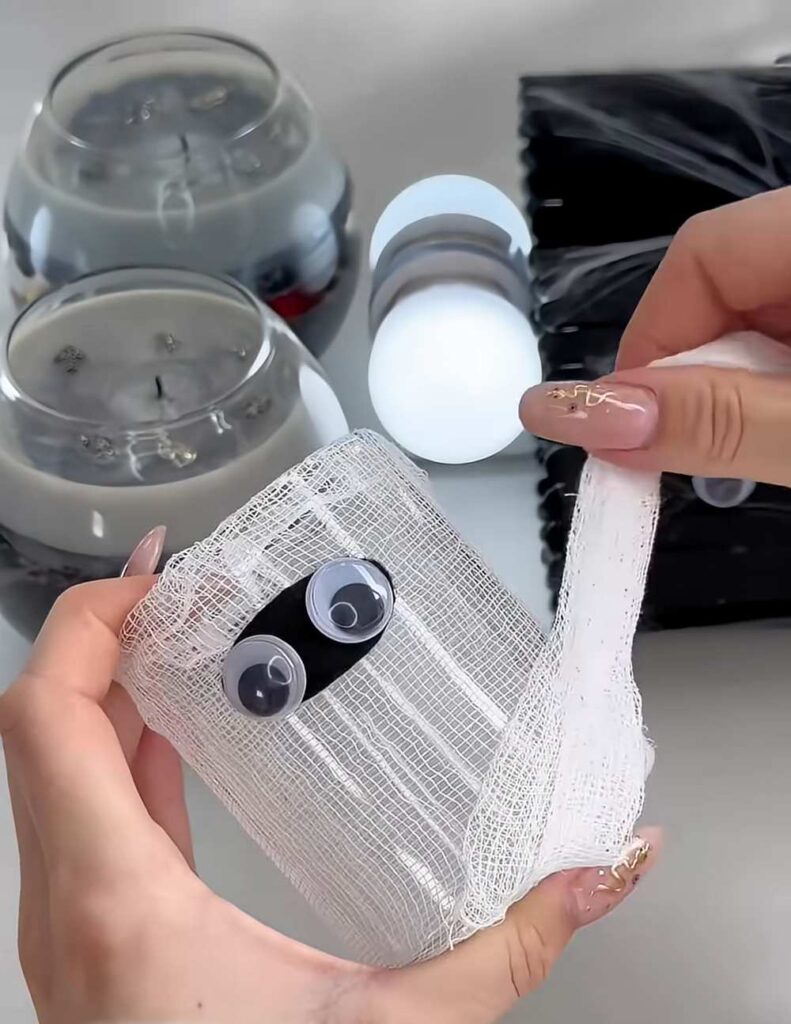
-
Pro Tip: You can wrap directly over the googly eyes with a single, thin layer of gauze. This gives the “mummy ghost” effect, making the eyes appear to peek through the bandages.
-
Don’t worry about making the layers perfect; a bit of overlap and bunching adds to the ghostly texture.
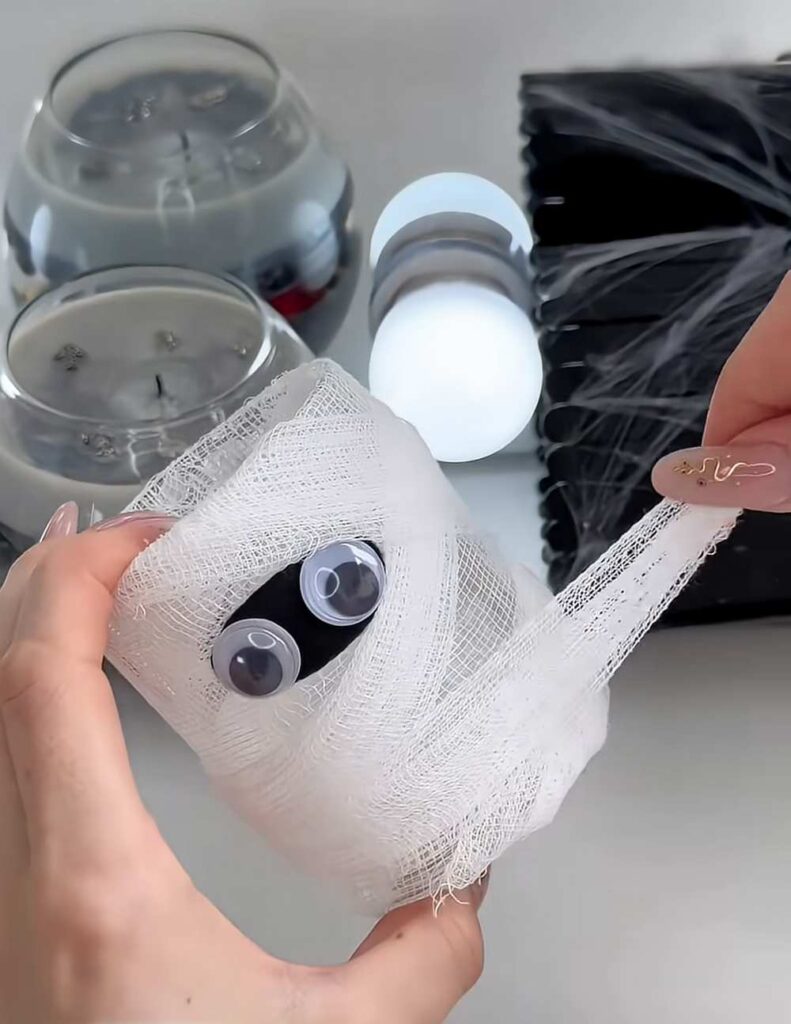
4. Finish the Base
Keep wrapping until you reach the top of the cup. Once the entire surface is covered, cut the gauze.
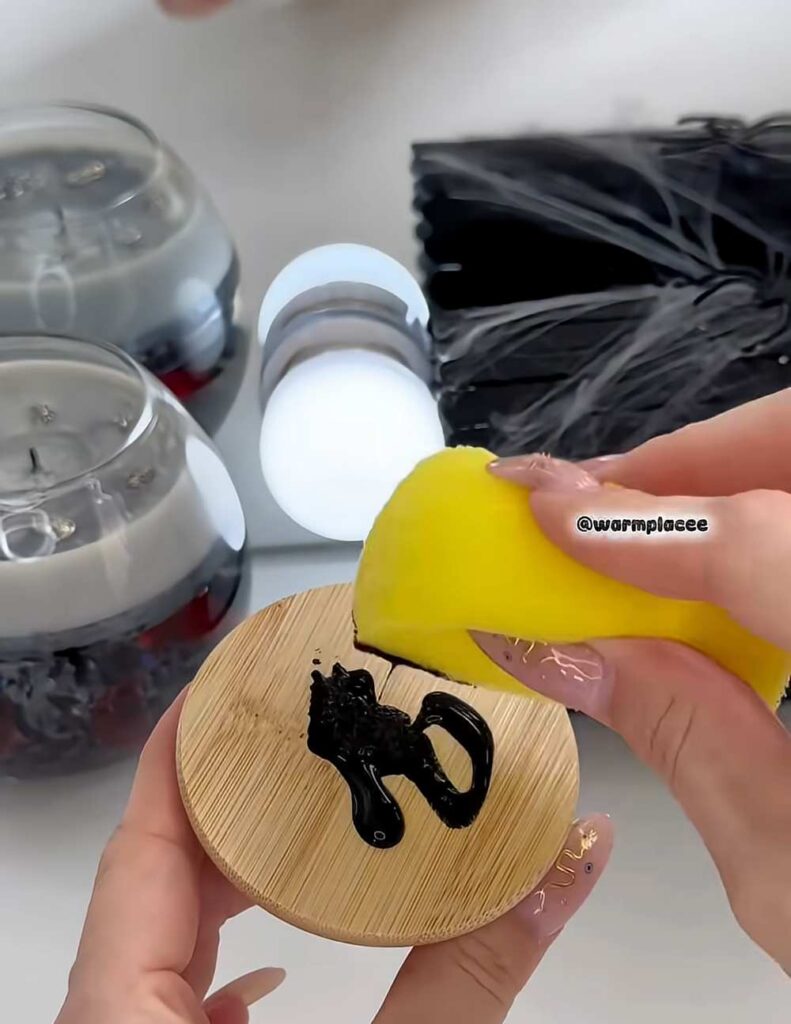
5. Secure the End
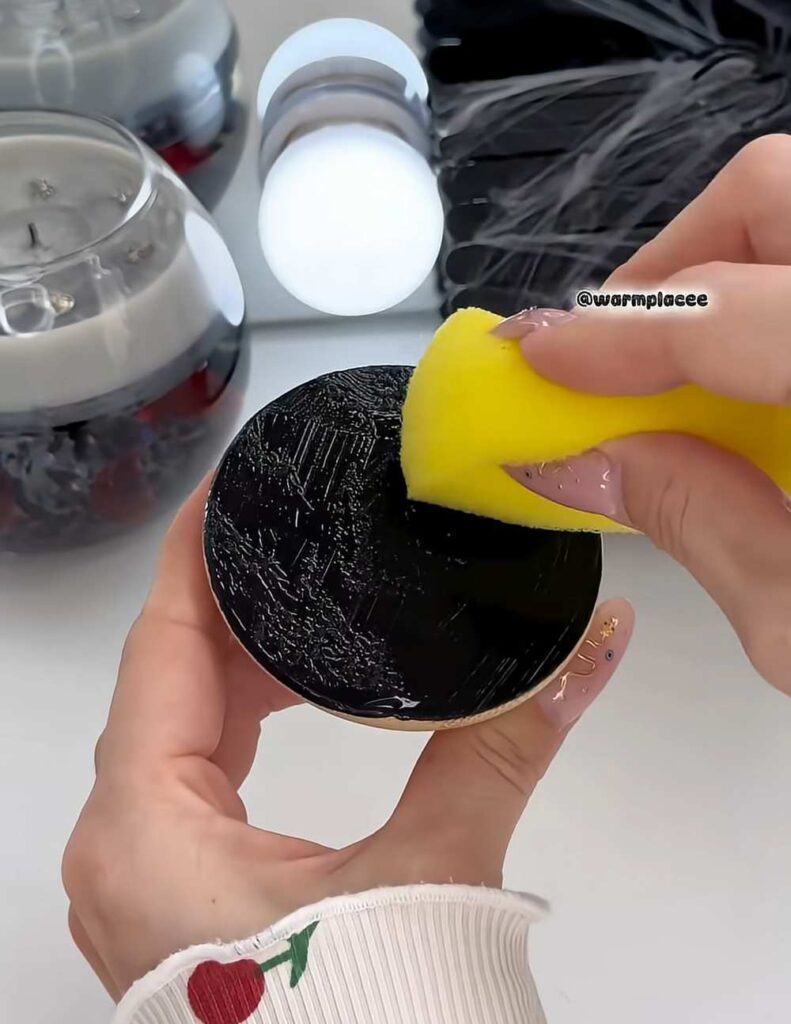
Tuck the loose end of the gauze into one of the previous layers at the back of the cup. If you are using non-adhesive gauze, you can use a small piece of clear tape or a dab of glue to keep it from unravelling. Now, you have to paint the wooden jar lid using acrylic paint and a sponge. After it is dry:
6. Illuminate Your Ghost
Place your battery-operated LED tea light inside the cup. The light will diffuse through the layers of gauze, creating a soft, eerie glow that makes the eyes pop!
Safety Note: Always use LED flameless candles for this project, as cotton or synthetic gauze is highly flammable and should not be placed near an open flame.