
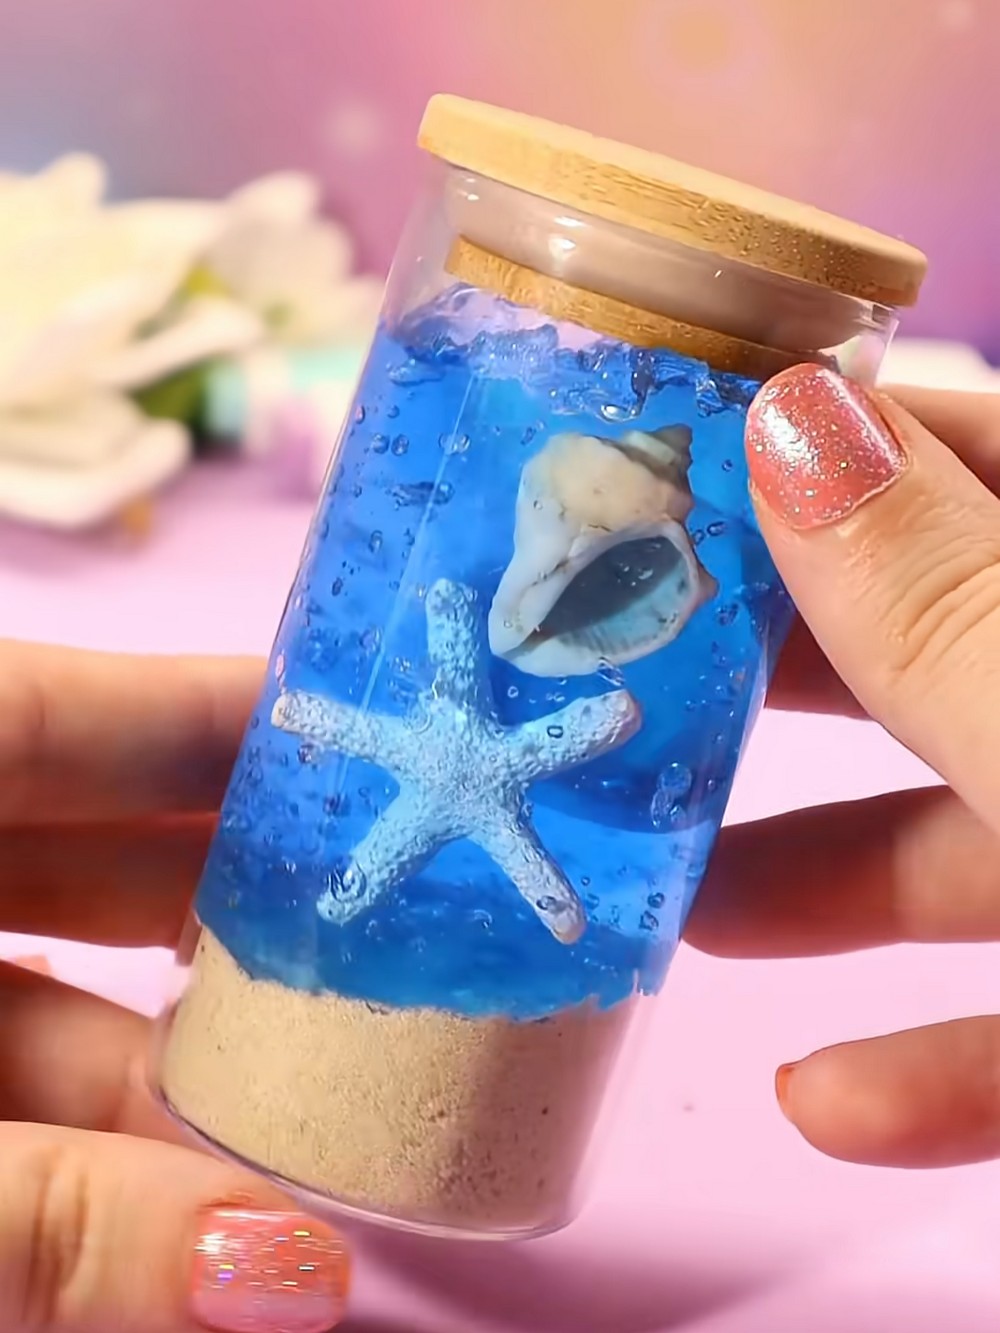
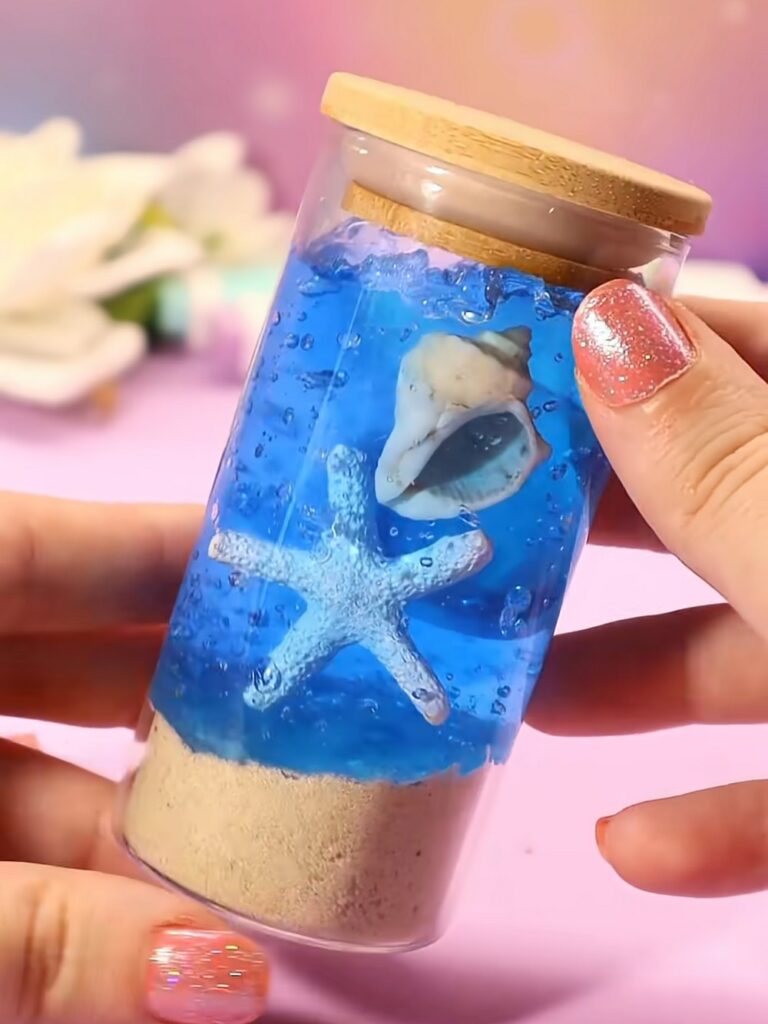
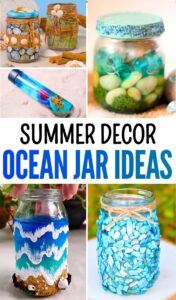
While I have shared a whole bunch of the MOST ELEGANT coastal jar décor ideas, a week ago, let me show you my personal favorite DIY ocean jar idea. Follow these instructions to DIY this little ocean jar filled with some sand at the bottom, water, smashed water jelly balls, a faux seashell, and a starfish.
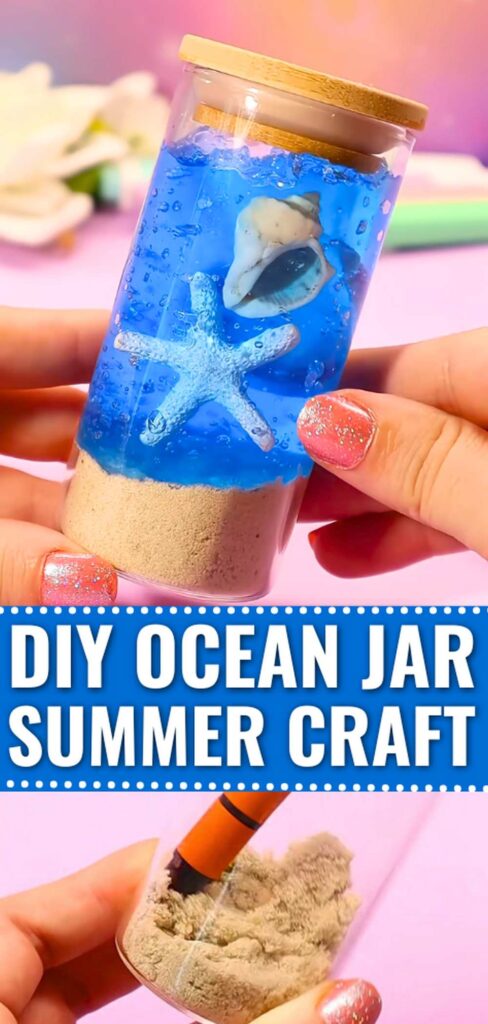
While in the demonstration, a cylindrical jar will be used; you can DIY it with a mini mason jar, Voss bottle, or other juice bottles, too. Either way, it will look amazing and appealing, especially as it is a seashell craft.
Place it over your mantel with the beach keepsakes and photos, or make an even smaller version to use as a keychain. You can also customize it with your beach keepsakes if you don’t want to use Dollar Tree’s faux ones. It is basically designed as a sensory bottle, so the fillings will move. Don’t worry, we shall end it by placing a tight lid that you can even attach with hot glue.
Supplies To Have
Here are the things you need for this ocean jar craft!
- Clear cylindrical glass jar or empty glitter bottle.
- Fine beige sand
- Spoon
- Pencil, skewer, or small stick
- Large plastic syringe
- Blue water beads/crystal jelly balls (Orbeez-type)
- Water
- Mini starfish decoration
- Small seashell decoration
- Wooden or bamboo lid
Safety note
If children are making this jar craft, supervise the use of the syringe, small decorations, and glass jar.
Where to Place it?
Here are some of my suggestions to place this jar craft!
- Window sills: Natural light makes the water beads glow. This is one of the best spots if you want the jar to stand out.
- Bedside table: Pair it with a small lamp or a book stack. You can take ideas from the seashell decoration crafts.
- Shelves or bookcases: Place it among books, small plants, or neutral decor.
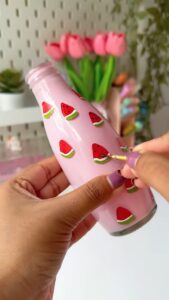
DIY Beach Side Sensory Bottle: Step-by-Step Instructions
Follow these step-by-step instructions to make this handmade decoration for the coastal decor-oriented rooms:
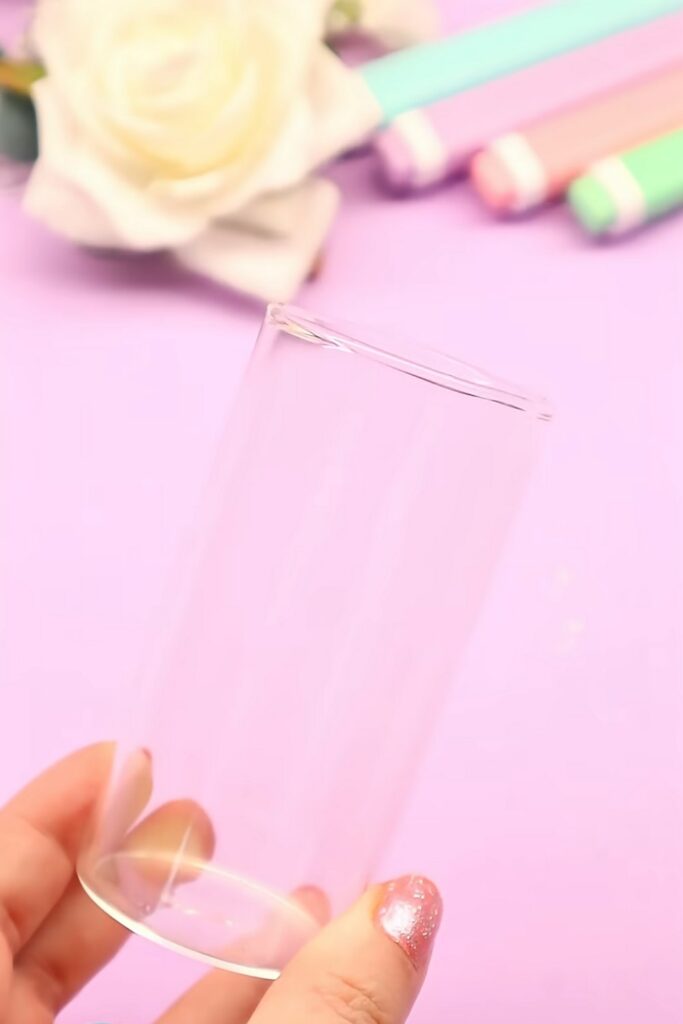
1. Prepare the jar
Start with a clean, dry, clear glass jar. A transparent GLASS jar works best because it lets the beach layers show through clearly and does not get rotten with time like the plastic water bottles.
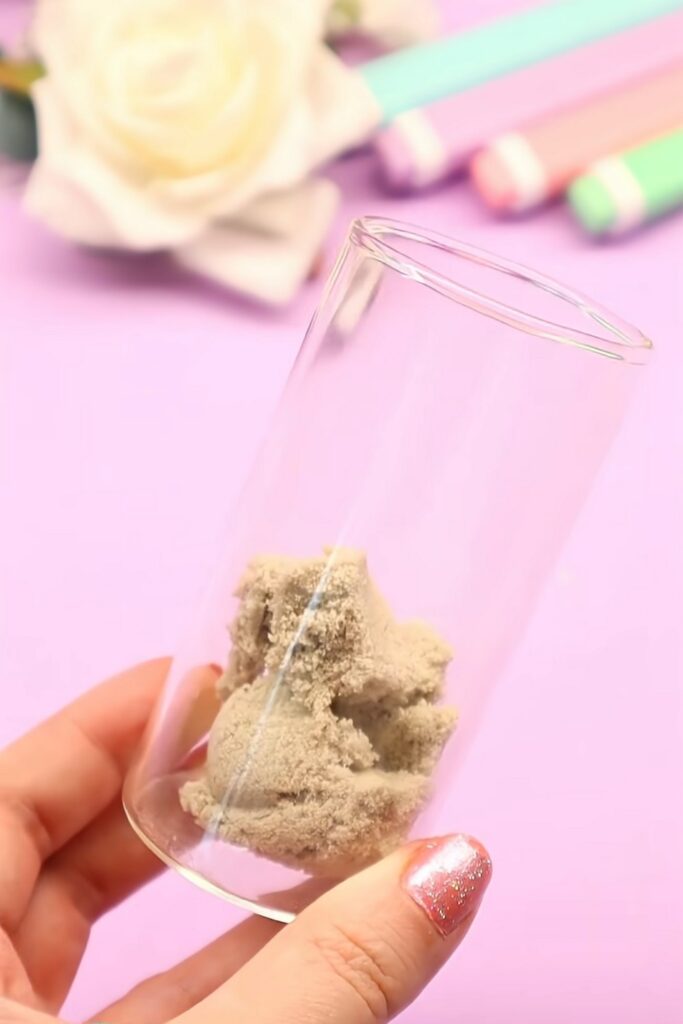
2. Add the sand layer
Use a spoon to pour a layer of fine beige sand into the bottom of the jar.
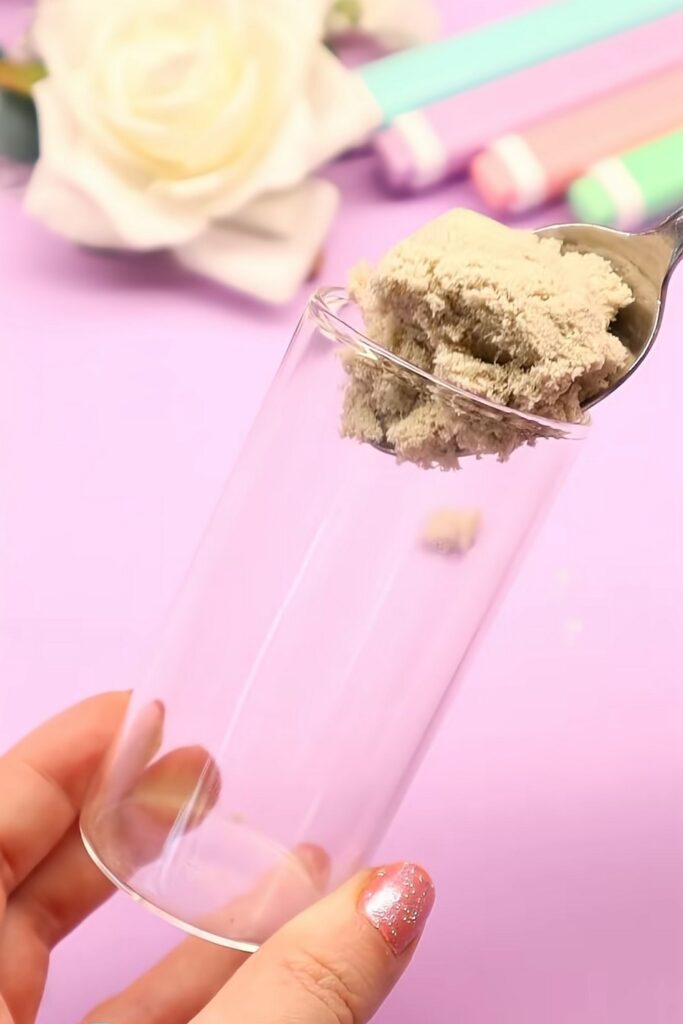
This will form the “beach” base of your design. Add enough to cover the bottom evenly. You will need about two dinner spoons of sand.
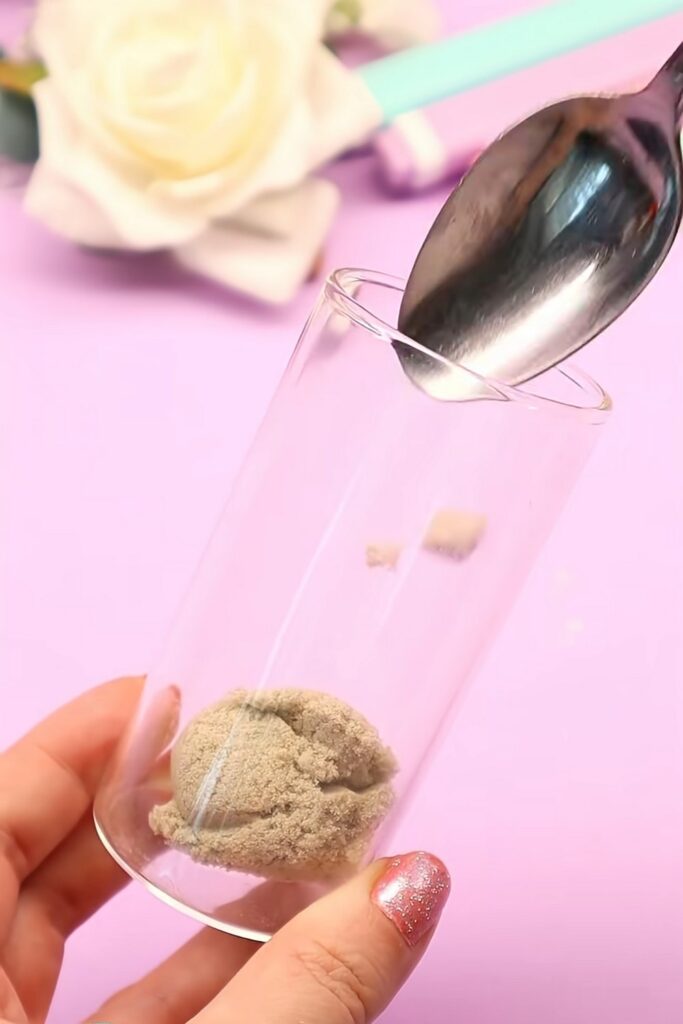
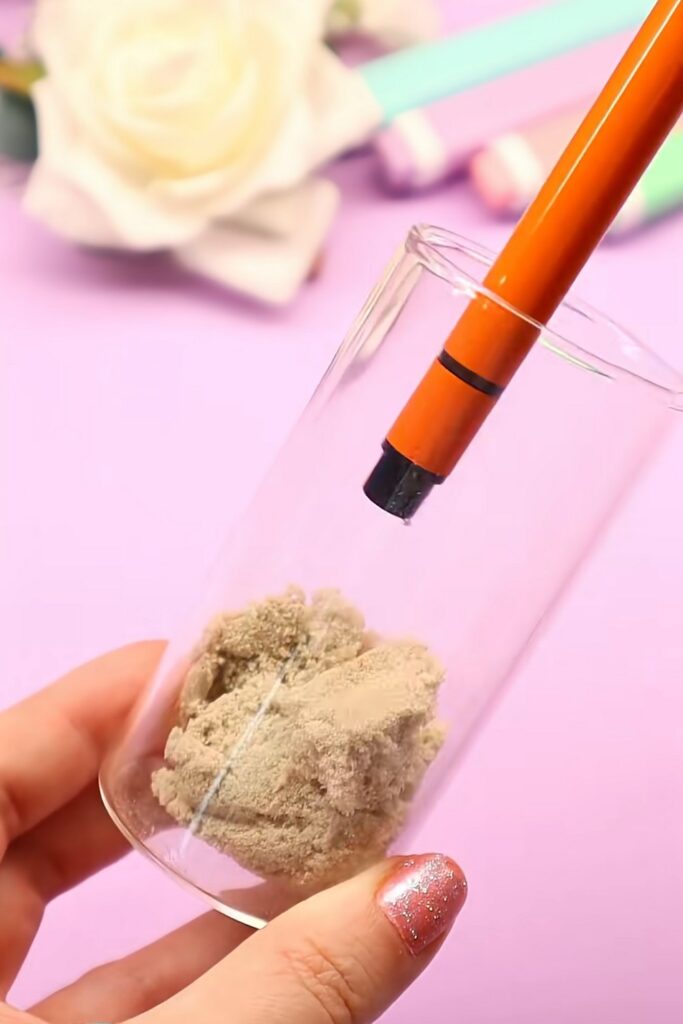
3. Pack and shape the sand
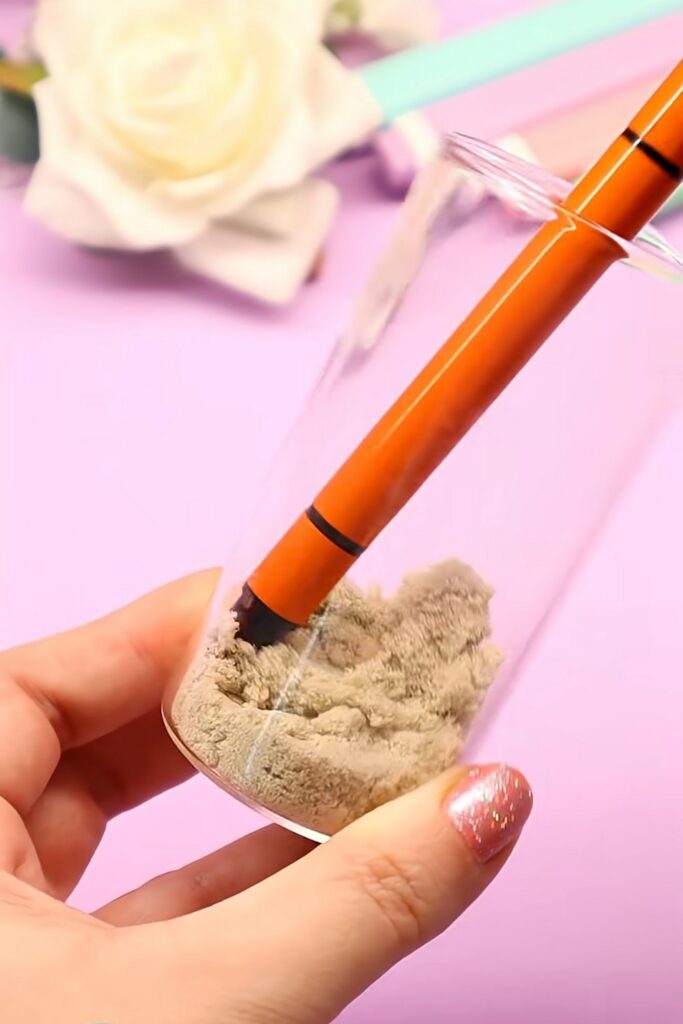
Press the sand down using a pencil, skewer, or stick.
This helps compact the layer so it looks neat and stays in place.
You can also tilt the jar slightly and shape the sand into a soft slope for a more natural shoreline look. Note that you must make the sand dense so each particle stays stuck when we pour the water.
4. Load the syringe with water beads
Place a few blue water beads into the syringe at a time. Do not overfill it.
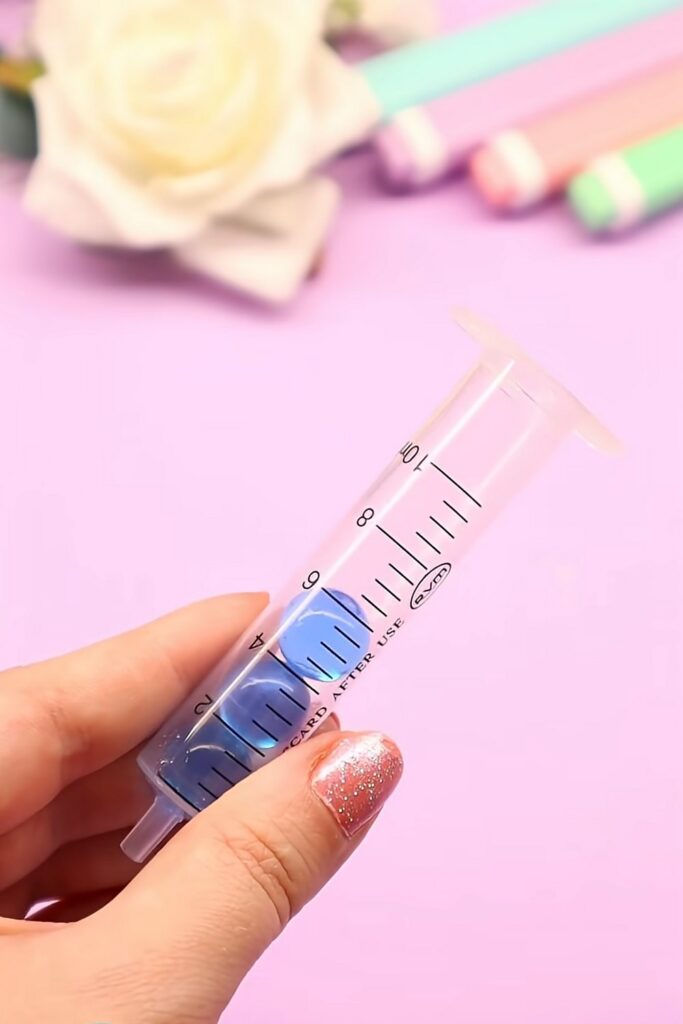
Using only about 4–5 beads per batch makes it easier to control the placement and keeps the layers looking NEAT.
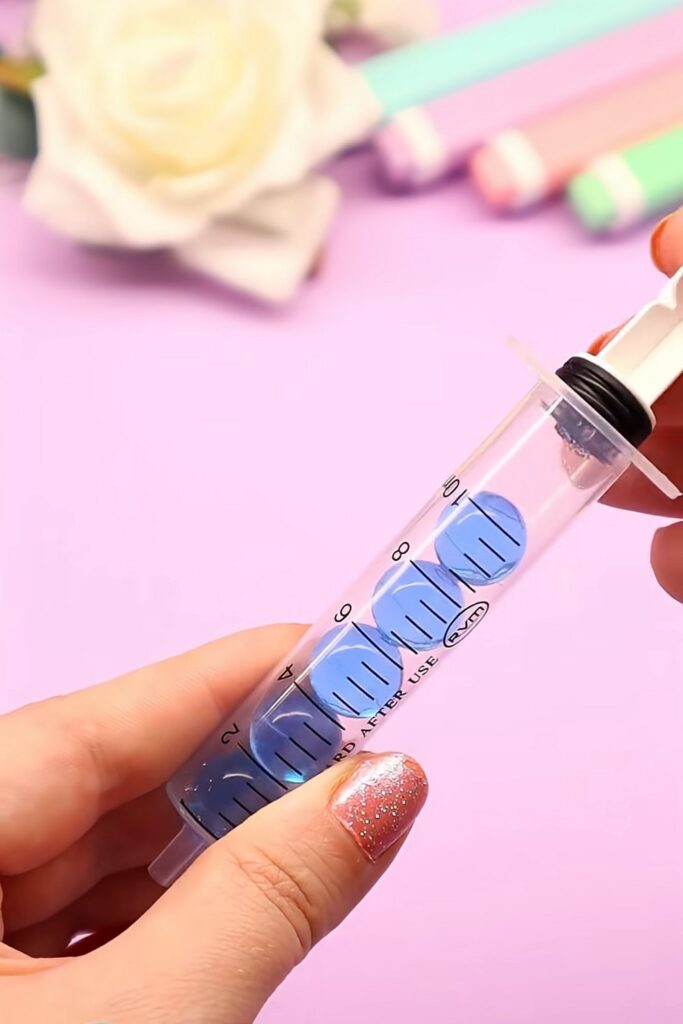
5. Add the beads to the jar
Insert the syringe into the jar and push the beads out onto the sand. Try to place them gently so the sand layer does not get disturbed. This will aumatically smash the balls into a nice filling.
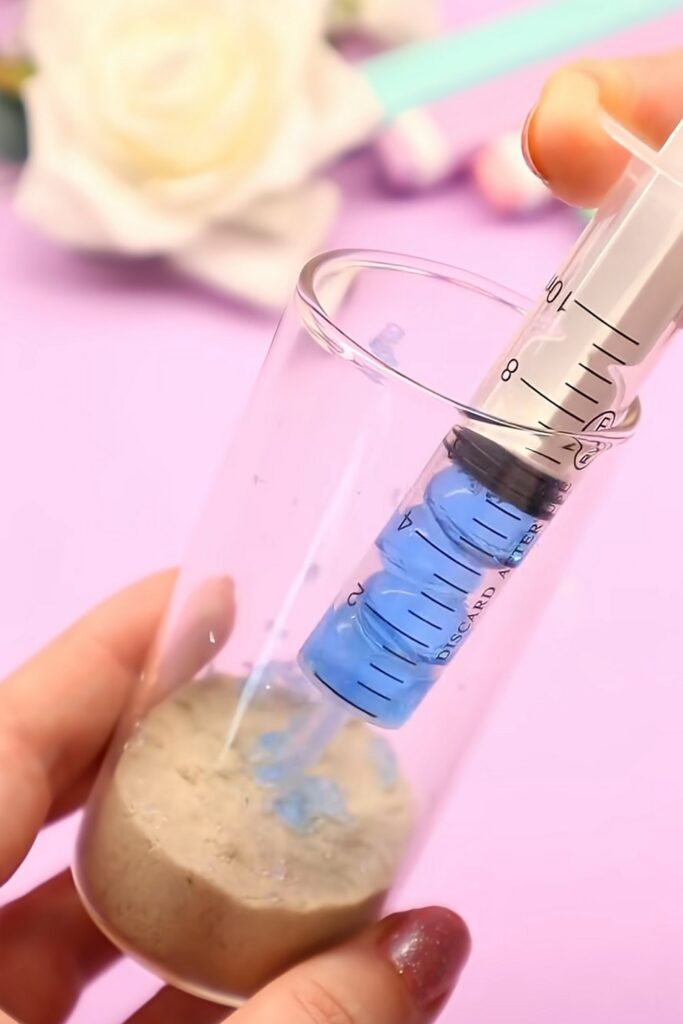
Repeat this process:
- refill the syringe with 4–5 beads,
- insert it into the jar,
- push the beads out,
- continue until the blue layer begins to rise above the sand about half of the jar.
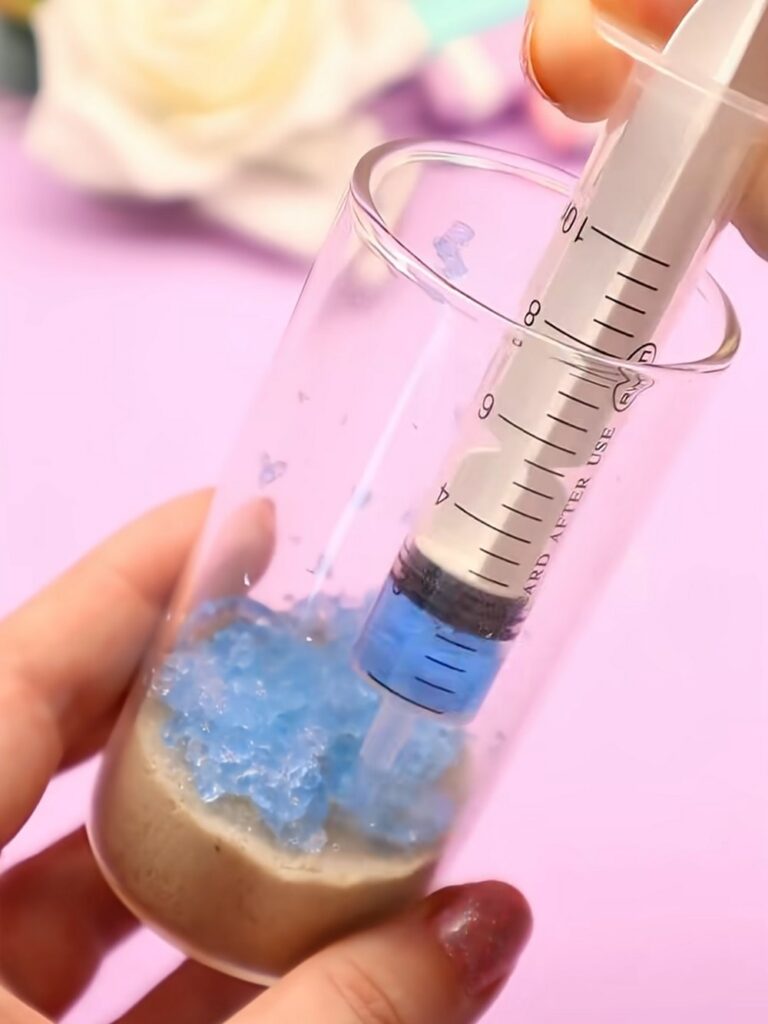
6. Build the ocean layer gradually
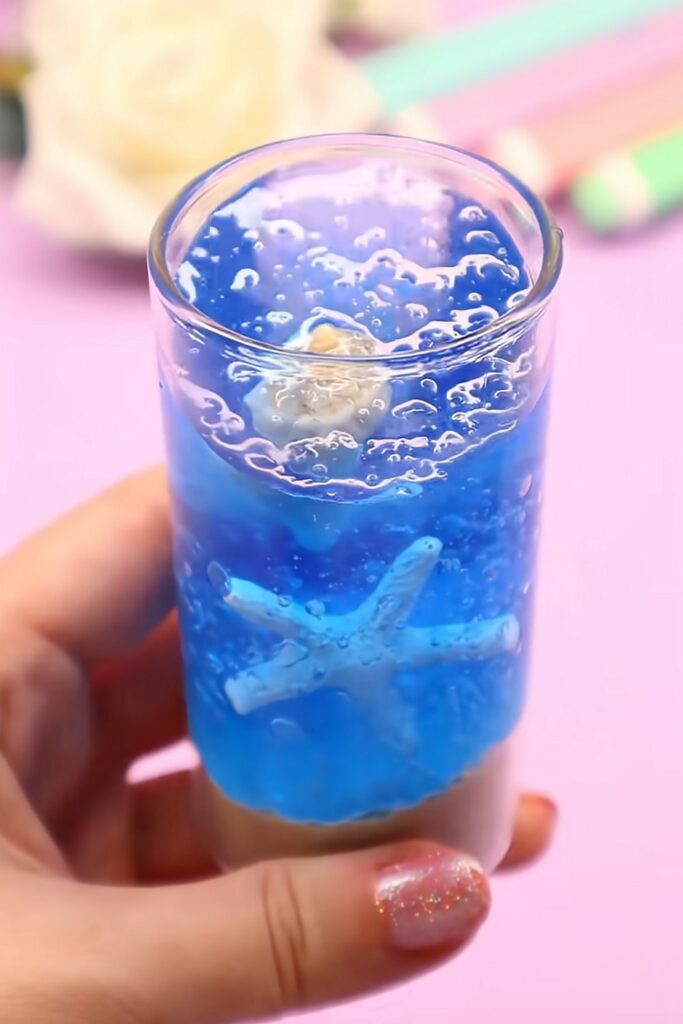
Keep adding the beads in small batches until most of the space above the sand is filled. The beads will stack together and make a dense, textured “ocean” look.
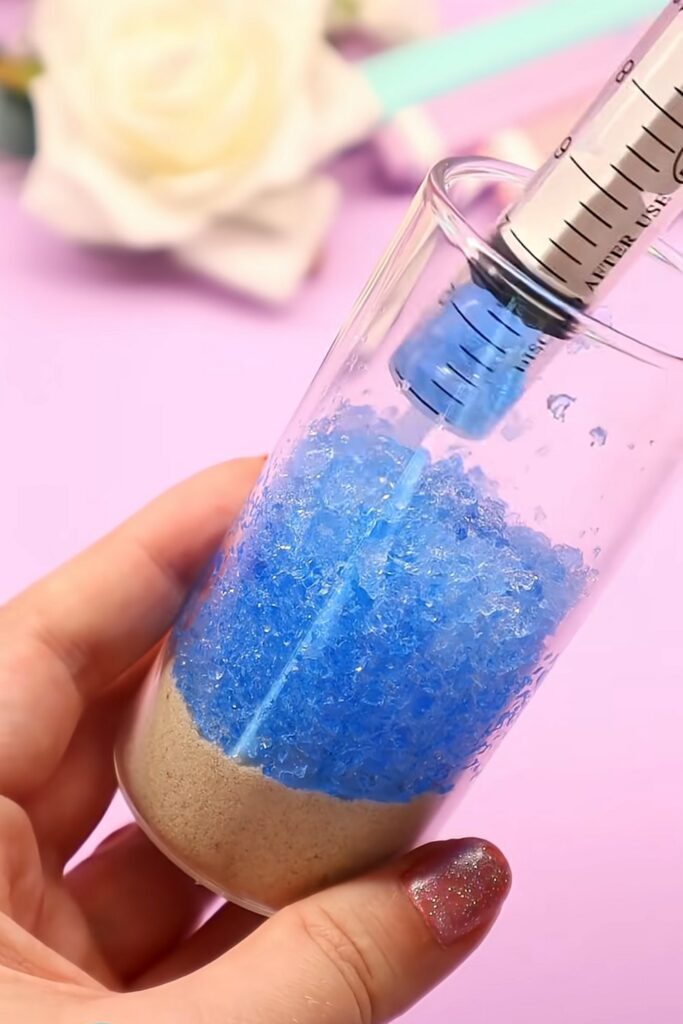
7. Add the decorations
Insert the mini starfish and seashell into the blue bead layer. Gently press them in slightly so they sit securely and remain visible through the glass. Position them where they can be seen clearly from the front.
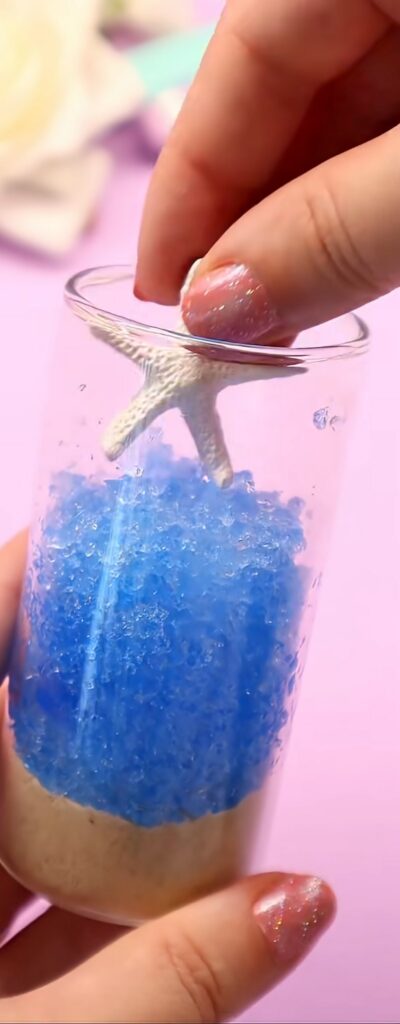
8. Add water
Pour a small amount of water into the jar. The water will fill the gaps between the beads and help them look fuller and more realistic.
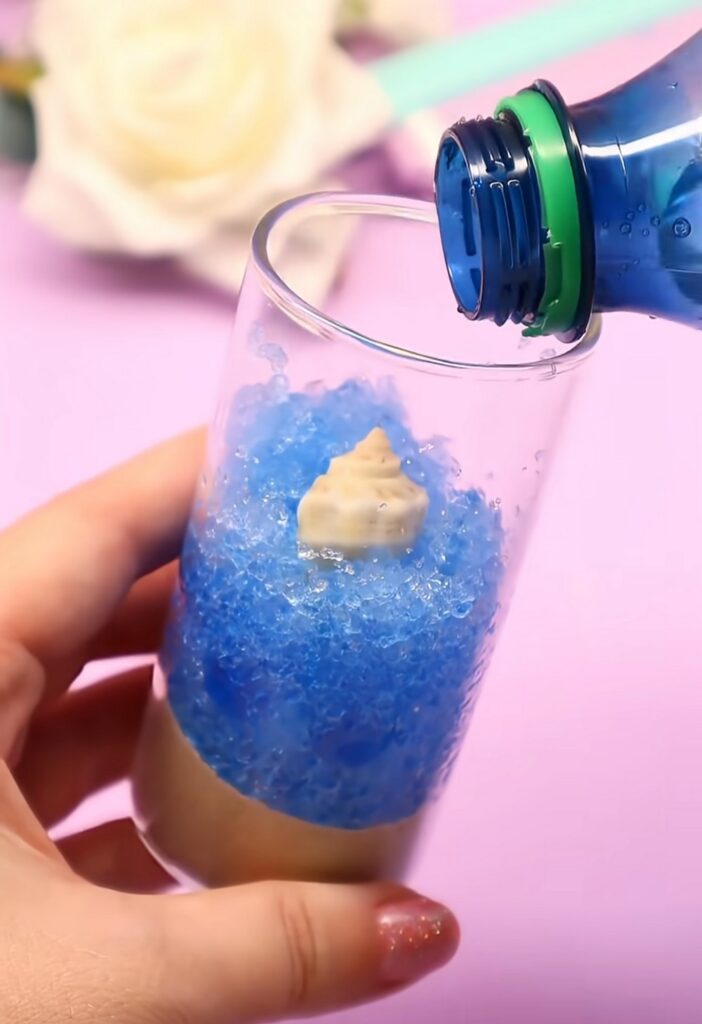
It also gives the jar a fresh, ocean look, and this way the smashed beads will also float. You can also sprinkle a little amount of glitter in blue.
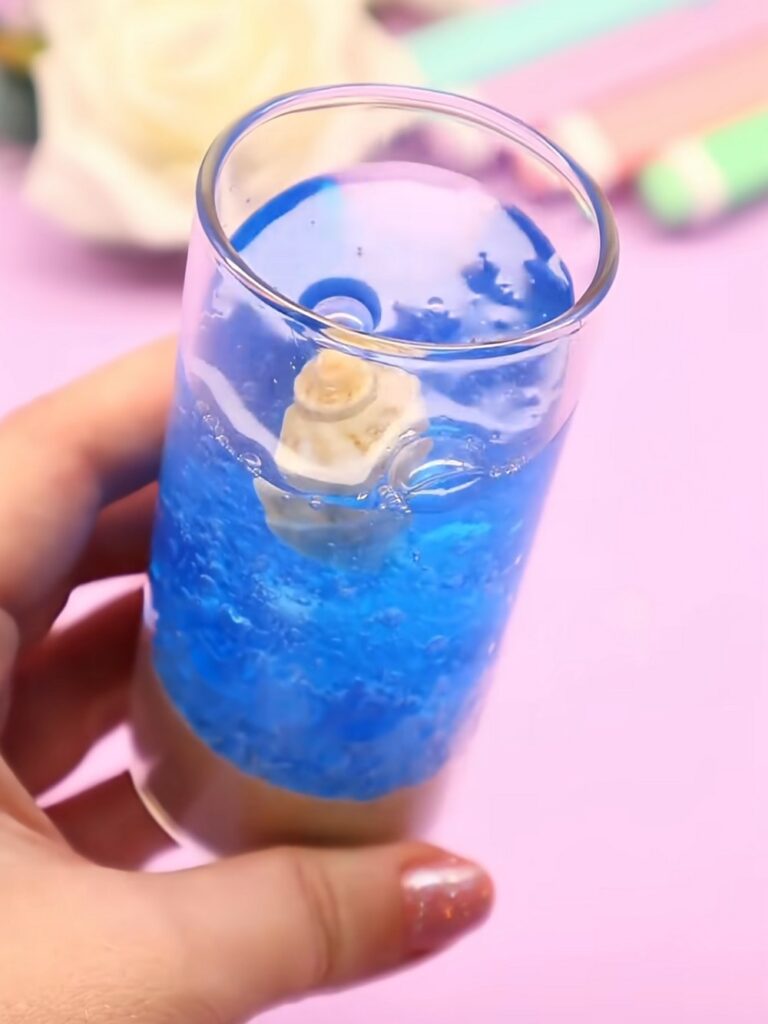
9. Top up if needed
After adding water, check the jar’s appearance. If the blue layer has settled too low, add a few more beads on top to bring back the full coastal look.
Feels Difficult?
10. Seal the jar
Place the wooden or bamboo lid on top and press it down firmly so the jar is closed securely. Make sure the lid fits well before displaying the craft.
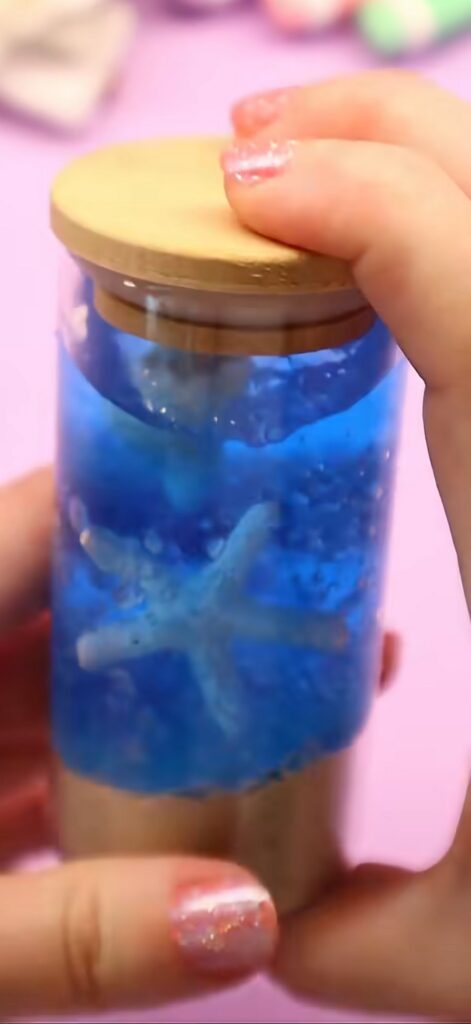
And that’s how you can make this elegant and sensory little coastal jar particularly for kids. Looking for the full collection?
Was this Tutorial Helpful? Tell us in the Comments.
Your feedback is a great way for us to improve the tutorials. Did you find the tutorial helpful? Be sure to subscribe to the creator’s channel!
About "DIY Craft Studio via Youtube"
Her corner of crafts is FULL of colors, bright palleted and NICE décor ideas and kids' crafts. She shares these with quick tutorials!

About "Talha"
Hey, I’m Talha, the Crafter on Craftstive.com. I love to share guides on folding cute origami models and paper crafts, and I am always ready to inspire your next craft project with my weekly craft discussions.