
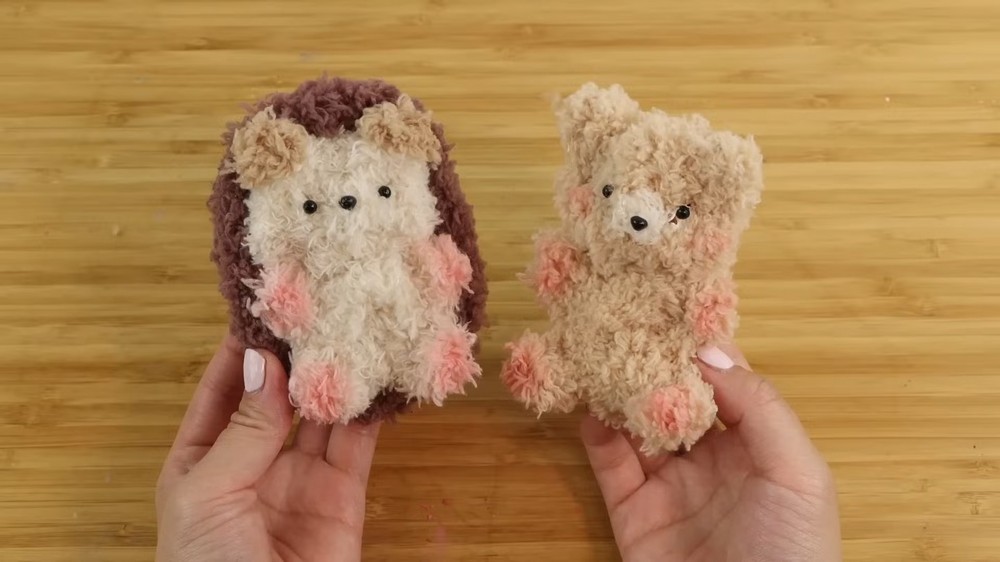
Maybe you want to DIY a CUTE and fluffy animal plushie, but feel intimidated by sewing, needle felting, or complicated crochet patterns? While I have been discussing ways to make pom pom plushies as a solution for a while, there is an even easier method. So, let’s make an adorable teddy bear and a hedgehog plushie this summer with this method.
This trend originated in Korea, called “Moro Dolls,” and it’s the absolute fastest way to make mini plushies! Using just fluffy pipe cleaners and a few twists, you can make them in 10 minutes. It’s a perfect, needle-free craft for beginners, great for last-minute gifts, and a great activity to do with kids.

Materials Needed
Here is what you’ll need to make a bear and hedgehog plushie:
- Fluffy Pipe Cleaners: Look for pipe cleaners covered in fluffy sock fabric instead of smooth fake fur, as it hides the wire much better. Get at least 2 pieces of each color per plushie, so you don’t run out of material.
- Plastic Eyes and a Nose: Use safety eyes and a nose.
- Craft Glue & Hot Glue: White craft glue is best for attaching facial features because it dries clear and avoids messy visible strings. Hot glue is great for securely attaching bigger pieces (like a hedgehog shell).
- Scissors: For giving your plushie a little “haircut” to tidy up the fluff.
- Pink Blush or Mica Powder: For adding cheeks. A simple makeup applicator works perfectly for this!
- Scrap Wool or Fabric: To make a little snout or fuzzy ears.
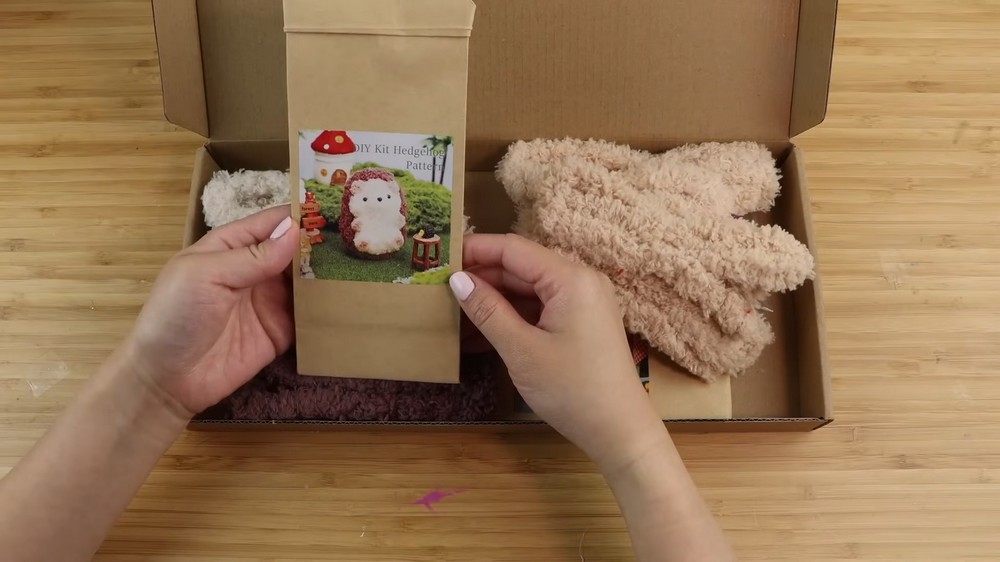
Note: You can buy a plushie kit available.
Hedghog Pattern (Stacked Loop)
1. Form the Head and Ears
- Take one pipe cleaner and hold it so you leave a “tail” that is about four fingers long.
- Bend the wire sideways to create a section half that length, then bend it backward to create a loop. Repeat this once more so you have two loops stacked on top of each other. Twist the end to secure it.
- Pull the loops open slightly into circle shapes.
- Take the end of the pipe cleaner and push it up through both loops, leaving a tiny bump at the top to form the first ear.
- Push the end back through the other side to create the second ear. (You can twist the ears around themselves to hide the inner wire!)
2. Make the Cheeks and Nose
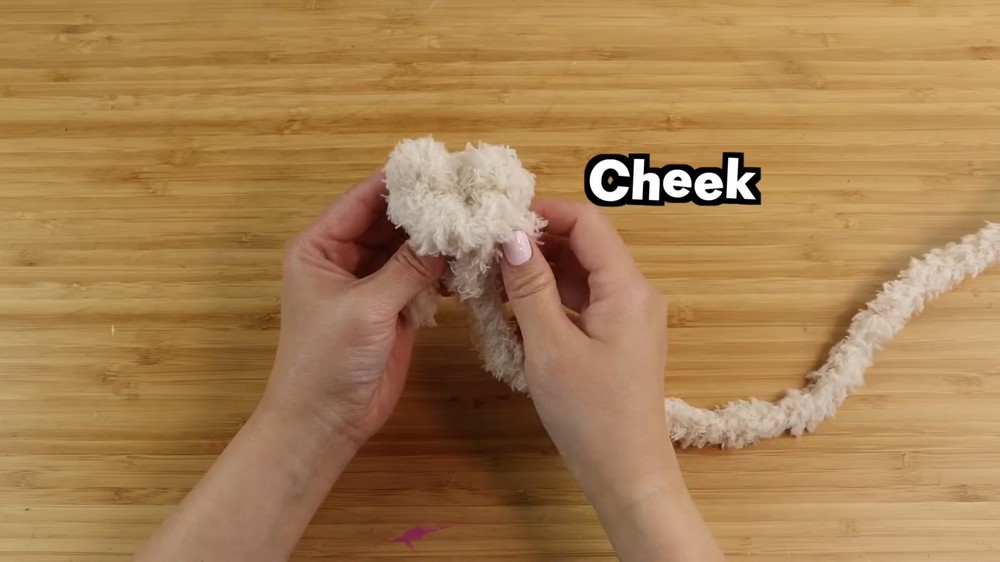
- Gently open up the two main loops you made in step one.
- Take the long end of the pipe cleaner and slide it through the lower loop only. This pushes out a small bump that becomes a cheek. Repeat on the opposite side.
- Tip: You can pull out one of the center loops just a bit to create a more 3D nose!
3. Shape the Body and Limbs
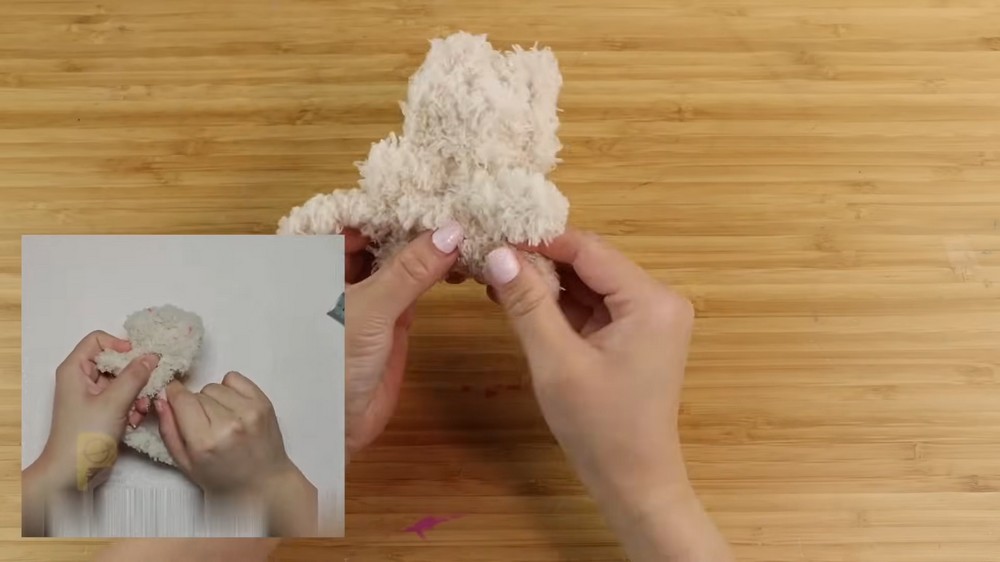
- Just below the head, bend the wire out to make a small loop for the first arm. Repeat on the other side, making sure the lengths match.
- Move down the body slightly and repeat the exact same process to make the two leg loops. Tuck the remaining end of the wire into the body.
4. Create the Hedgehog Shell
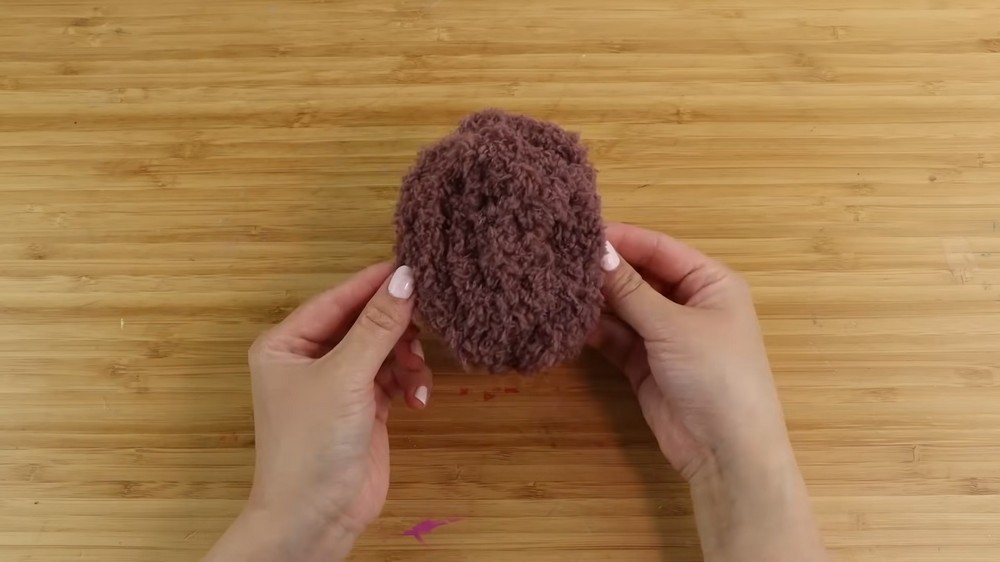
- Take a new brown pipe cleaner and form an oval shape around the back of your plushie’s body. Make sure the brown is visible from all sides, and twist it into place.
- Fold the end of the wire over to create a slight arc (like a turtle shell).
- Start wrapping the remaining brown pipe cleaner in a spiral shape to fill in the shell completely. Tuck the end in so it’s secure.
5. Assemble and Detail
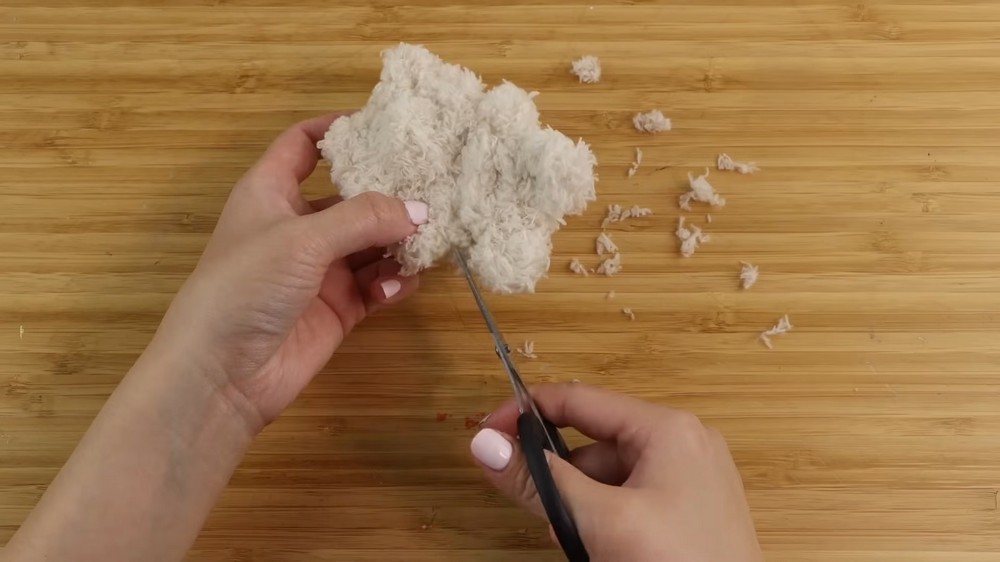
- Use scissors to trim the fluffy material on the body to give it a neat, defined shape.
- Use a few tiny dabs of hot glue to attach the brown shell securely to the back of the body.
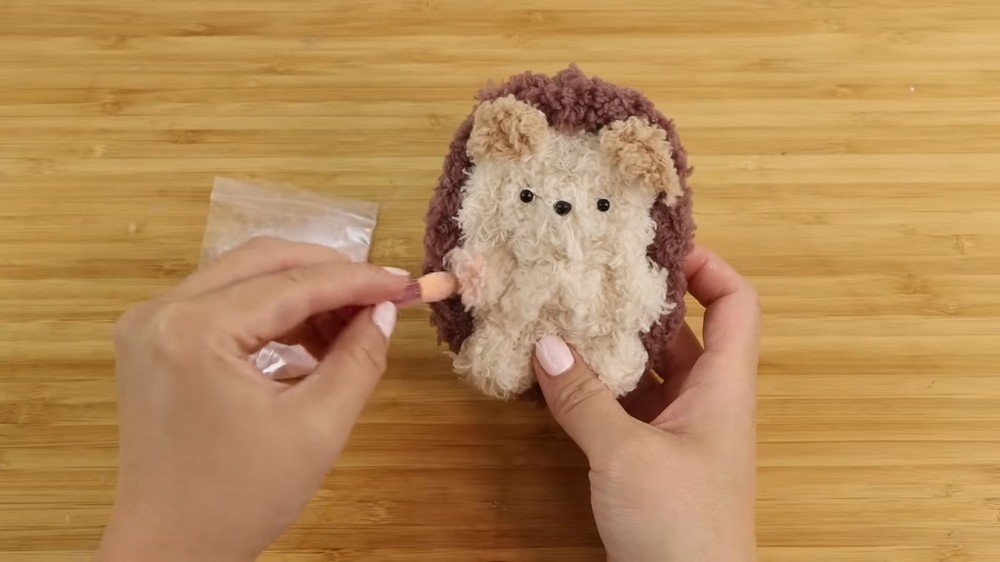
- Finish by gluing on the eyes and nose with white craft glue, and dab some pink blush on the cheeks!
Bear Pattern
Note: In the tutorial, she points out that the official bear tutorial was missing from her kit! However, she teaches this second “Pretzel Knot” method, which creates a much rounder face and body.
1. Form the Base Loop and Ears
- Fold a pipe cleaner completely in half.
- Stick two fingers through the folded end and twist the wire to make a loop.
- Push the two loose ends up through this loop to create two bumps for the ears.
2. The Pretzel Knot Head
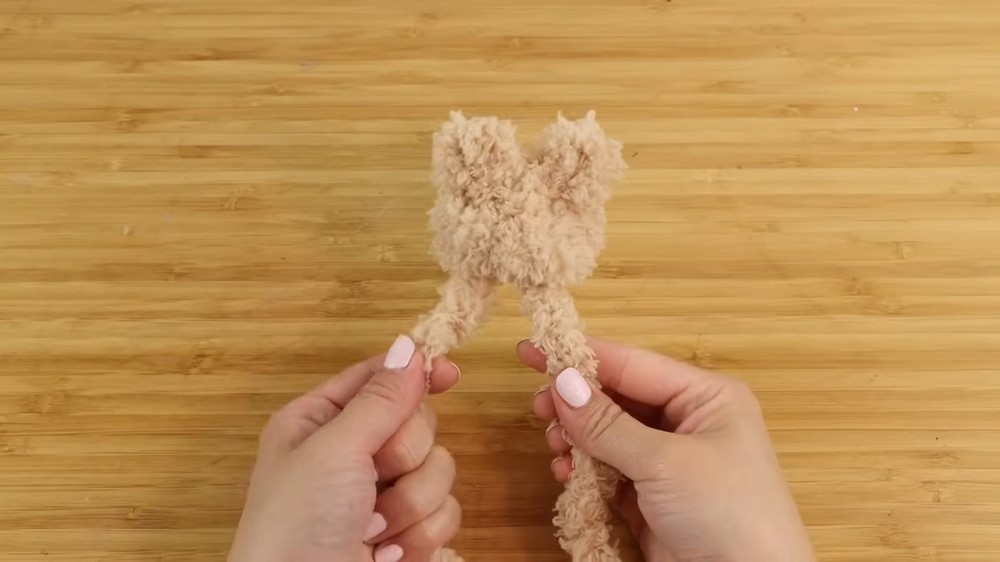
- Take one of the loose ends, loop it around the back of the ear on that side, and insert it right into the center of the head. Repeat with the other side. (This adds volume and stabilizes the ears).
- Now, take the right end of the wire, wrap it around the back of the left ear, and push it through the center loop. Repeat this on the other side. The overlapping wire should now look somewhat like a pretzel shape!
3. Body and Limbs
- If you run out of wire, easily attach a second pipe cleaner by twisting it on.
- Just like the first method, eyeball the lengths and fold loops to create two matching arms and two matching legs.
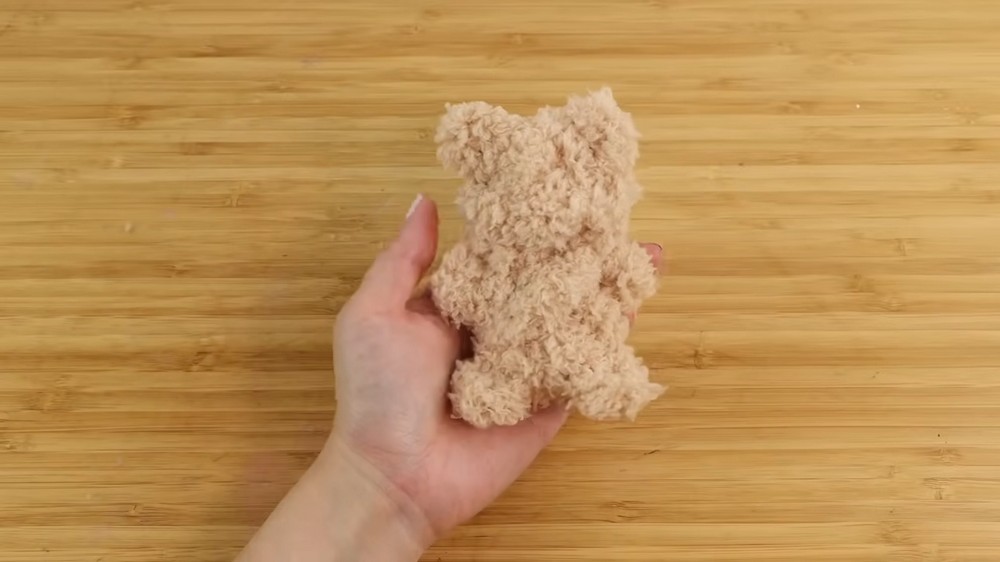
4. Bulk Up the Body
- Round animals need a puffy body! To add volume, use the same “pretzel knot” concept you used for the head: loop the remaining end of the pipe cleaner around the back of the body and tightly tuck it through any open gaps.
Did you find the tutorial helpful? Be sure to subscribe to the creator’s channel!
About "Maqaroon via Youtube"
She is running a Youtube hacks and craft channel and has more than 4 Million Subscribers.

About "Talha"
Hey, I’m Talha, the Crafter on Craftstive.com. I love to share guides on folding cute origami models and paper crafts, and I am always ready to inspire your next craft project with my weekly craft discussions.