
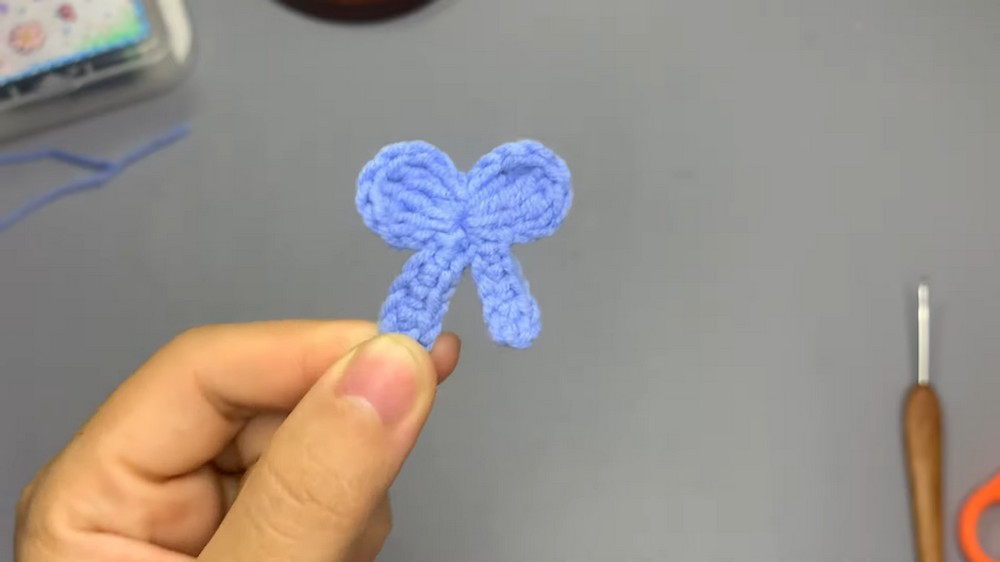
Last time, I showed you how to crochet the 10-minute crochet bow for absolute beginners! Well, there is an even simpler and quicker design that I will teach you through this pattern. Now, let’s crochet this 4-minute crochet bow using yarn scraps with the FREE pattern below. It is a no-sew bow and needs only basic stitches.
Crochet this bow for a teddy bear plushie, to crochet the bag charms in bulk, or simply to crochet the tops. It is so easy and technically, you only have to memorize the pattern for the first half.
Unlike the previous crochet bow tie, we don’t have to crochet a piece that will be folded into a bow. Instead, we shall crochet a bow applique by working in the rounds. Now, continue reading for the full crochet bow pattern (yes, full!).
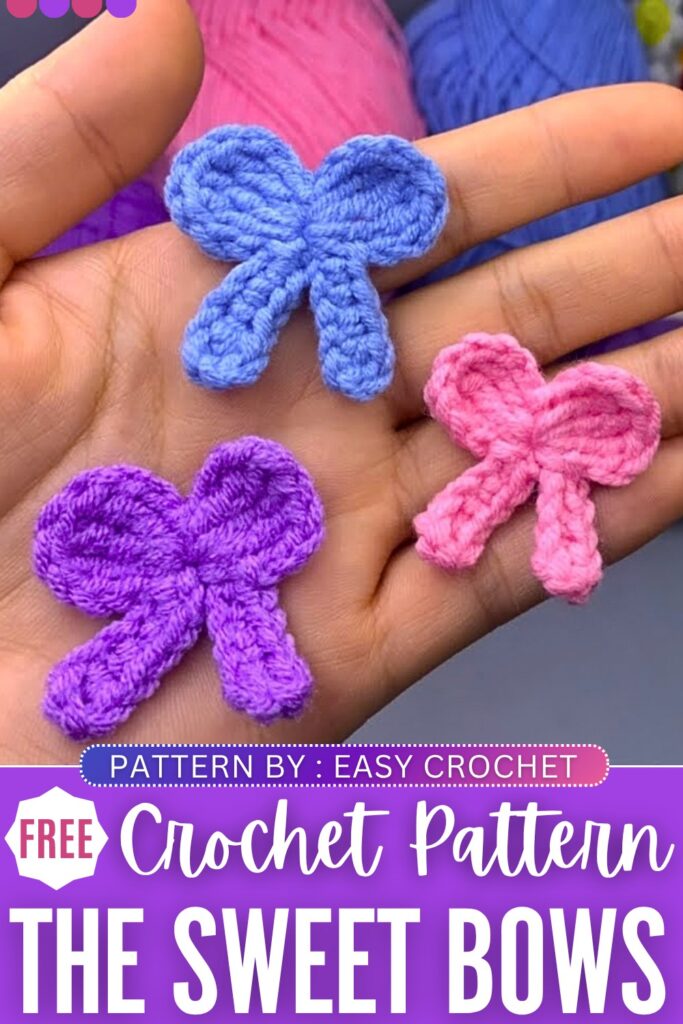
Free Crochet Miniature Bow Pattern: Written Instructions
This project is a crochet bow. It is very easy to make. You can make it in one piece. You do not need to cut the yarn to make the different parts. This project is perfect for beginners.
You can use this bow to decorate hair clips, bags, or clothes. It takes only a few minutes to complete.
Materials Needed
- Yarn: The video uses a size 5 yarn.
- Crochet Hook: 2.5mm crochet hook.
- Scissors: To cut your yarn when finished.
- Yarn Needle: To hide your loose yarn tails inside the stitches.
Crochet Abbreviations
- MR: Magic Ring
- ch: Chain
- sl st: Slip Stitch
- sc: Single Crochet
- hdc: Half Double Crochet
- tr: Treble Crochet (Wrap the yarn around your hook two times)
Step-by-Step Crochet Bow Pattern
The First Tail
- Start by making a Magic Ring (MR). Secure it on your hook.
- Chain 7 from the ring.
- Skip the first 3 chains closest to your hook.
- Work 1 Half Double Crochet (hdc) into the 4th chain from your hook.
- Work 1 Single Crochet (sc) into each of the next 3 chains. This gives you a total of 3 single crochets down the chain.
- Make 1 Slip Stitch (sl st) directly into the center of the Magic Ring to anchor your first tail.
The First Bow Loop
- Chain 3 from inside the magic ring.
- Work 3 Treble Crochets (tr) directly into the Magic Ring. Make sure to wrap your yarn twice for each treble crochet stitch.
- Chain 3.
- Make 1 Slip Stitch (sl st) back into the center of the Magic Ring to finish the first loop.
The Second Bow Loop
- Chain 3 from inside the magic ring.
- Work 3 Treble Crochets (tr) directly into the center of the Magic Ring.
- Chain 3.
- Make 1 Slip Stitch (sl st) back into the center of the Magic Ring to finish your second loop.
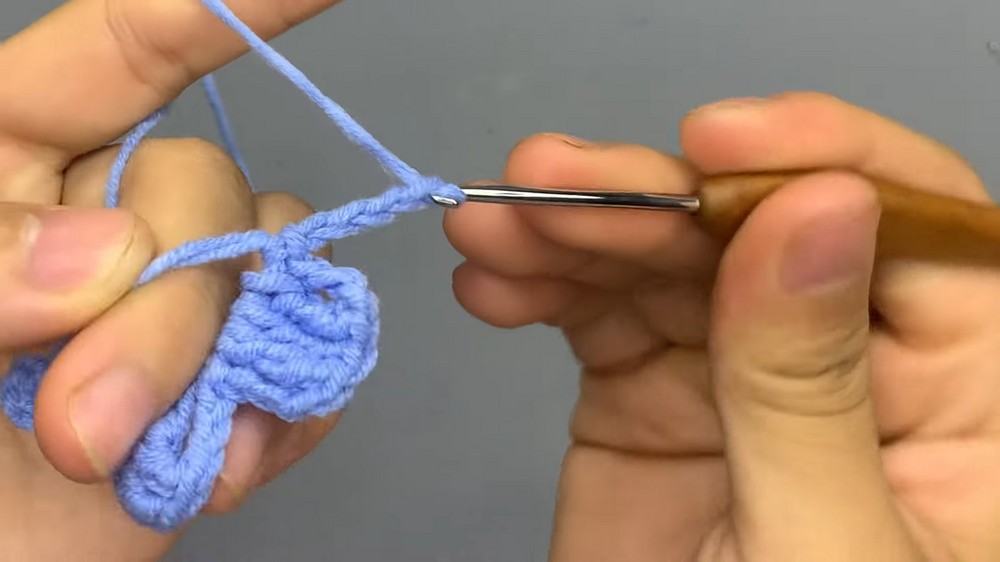
The Second Tail
- Chain 7 from inside the magic ring.
- Skip the first 3 chains closest to your hook.
- Work 1 Half Double Crochet (hdc) into the 4th chain from your hook.
- Work 1 Single Crochet (sc) into each of the next 3 chains. This gives you a total of 3 single crochets down the chain.
- Make 1 Slip Stitch (sl st) directly into the center of the Magic Ring to anchor your second tail.
Finishing the Bow
- Cut your yarn thread, leaving a short tail for hiding later.
- Pull your working yarn loop all the way out to secure your last stitch.
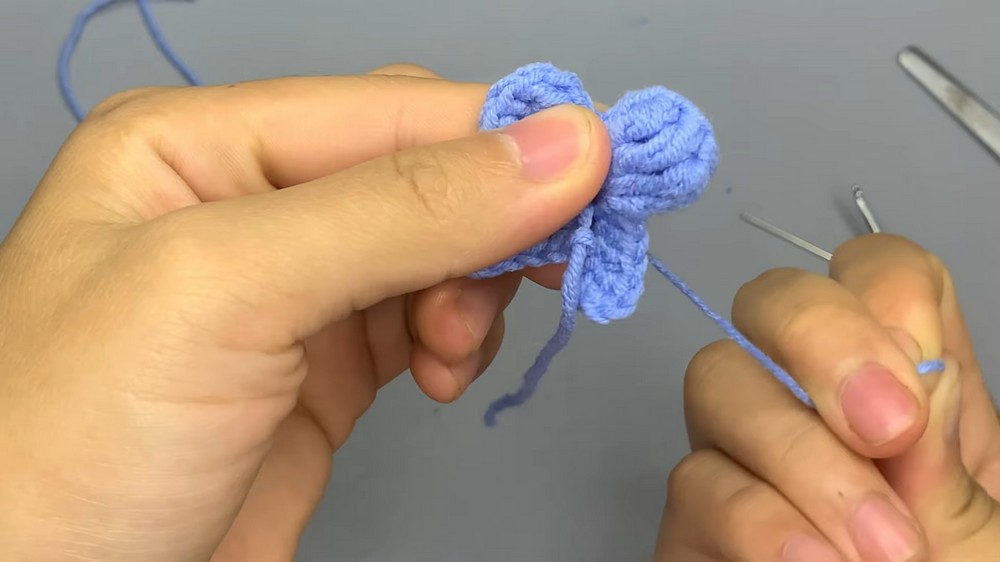
- Grab the very first starting yarn tail from your Magic Ring and pull it firmly and tightly. This will close the middle circle completely and bring the loops and tails together into a bow.
- Use your yarn needle to thread the loose ends through the back of the bow stitches to hide the tails completely. Cut off any leftover yarn. Your beautiful beginner bow is now fully complete!
Learn with the Tutorial