
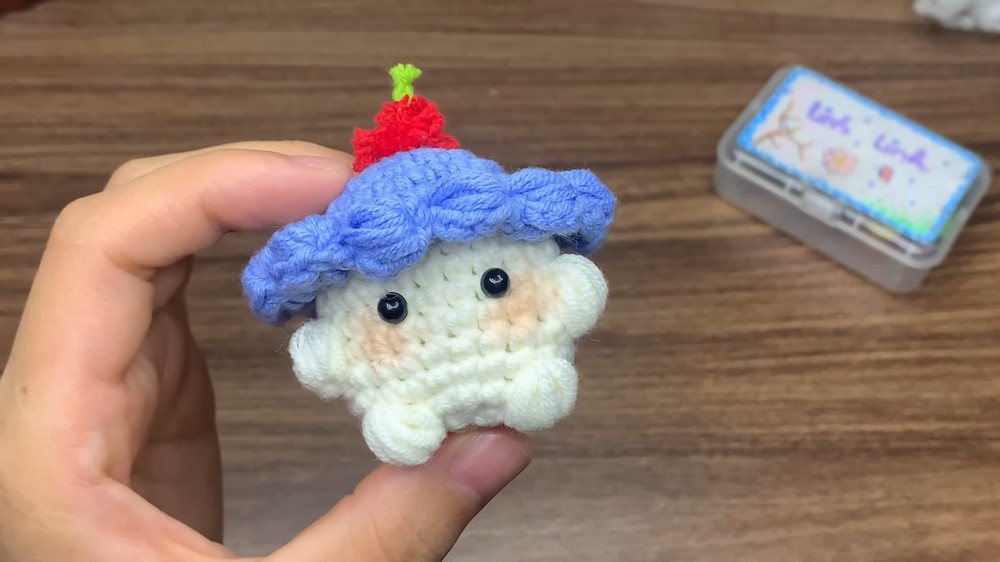
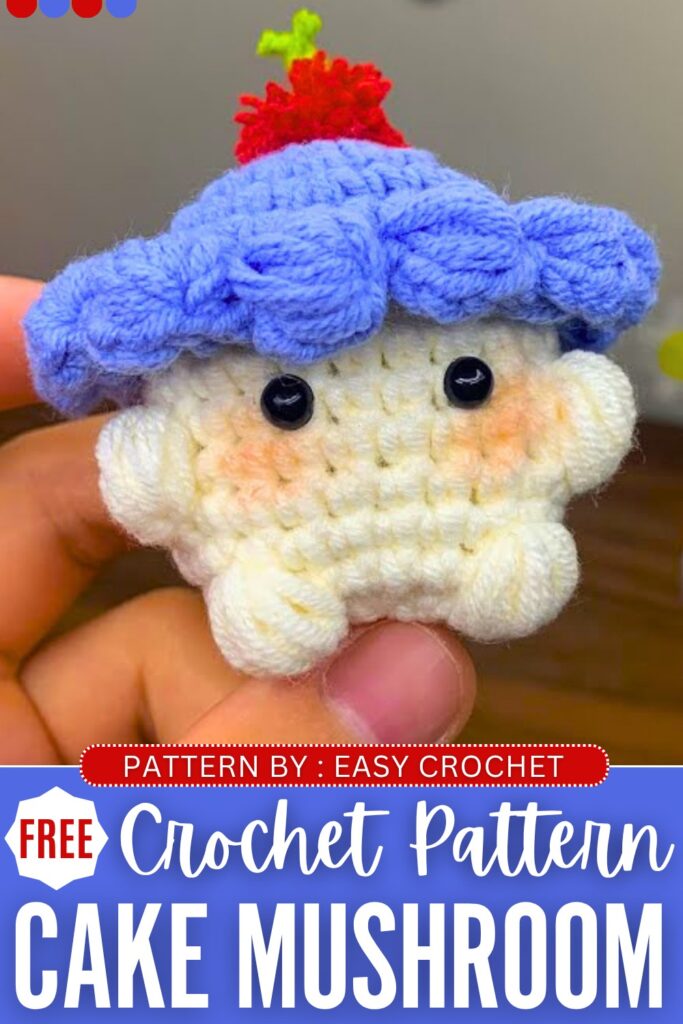
I have talked about tons of crochet mushy variations on my crochet blog. Today, you can learn how to crochet this oh-so-cute cupcake baby mushroom amigurumi with a FREE written pattern. Gonna be the same no-sew baby mushy, bobble stitch legs and arms, but wearing a cupcake hat.
Overall, this whole amigurumi looks like a cupcake. This baby mushroom variation is PERFECT for summer and gifting to a FOODIE. Once you learn the base baby mushroom pattern, you can also make your own variation, like tons of those available already.
We shall use the bobble stitch to crochet the cupcake cream (blueberry flavor), too. For the cherry on top, we can make a small pom pom, as it might be difficult to crochet a small ball. Now, continue reading for the full crochet cupcake mushy pattern.
Crochet Cupcake Baby Mushy Pattern: Written Instructions
This easy and fun project shows you how to make a little amigurumi mushroom cake that doubles as a cute keychain. First, you’ll crochet the mushroom cap, starting with a magic ring and slowly making it bigger by adding more stitches.
Then, you will switch colors and crochet the base, adding some special bobble stitches to make it look like the little spots on a mushroom stem. You’ll add the safety eyes, stuff it, close it up, and finally, add some cute little decorations and blush to bring your amigurumi to life!
Materials You Need:
- Susan Family 5 yarn (about 2mm thick) in various colors (e.g., Red, White, Green).
- 2.5 mm crochet hook.
- Stuffing.
- Plastic safety eyes (or black yarn/thread).
- Yarn needle.
- Hot glue gun (optional).
- Blush (optional).
- Scissors.
Crochet Abbreviations:
- MR: Magic Ring
- ch: Chain
- sc: Single Crochet
- inc: Increase (two single crochets in one stitch)
- dec: Decrease (crochet two stitches together)
- sl st: Slip Stitch
- st/sts: Stitch/Stitches
- BLO: Back Loop Only
- FLO: Front Loop Only
Mushroom Cake Crochet Pattern:
Mushroom Cap:
Round 1: Make a MR. ch 1. Make 6 sc into the ring. sl st to the first sc. (6 sts)
Round 2: ch 1. Make an inc in every stitch around. sl st to the first sc. (12 sts)
Round 3: ch 1. (1 sc, inc) repeat 6 times. sl st to the first sc. (18 sts)
Round 4: ch 1. (2 sc, inc) repeat 6 times. sl st to the first sc. (24 sts)
Round 5 & 6: ch 1. Make 1 sc in every stitch around. sl st to the first sc. (24 sts)
Round 7: This round is worked in the FLO. ch 3. Create a bobble stitch (yarn over, insert hook, pull up loop 5 times, pull through all loops). ch 1. Skip 1 st. sl st into the FLO of the next st. Repeat this pattern (bobble st, ch 1, skip 1, sl st) around. You should have 12 bobbles. sl st to the first st.
Mushroom Stem/Base:
Round 8: Switch to white yarn. Work this round in the BLO of Round 6. ch 1. Make 1 sc in every st around. sl st to the first sc. (24 sts)
Round 9 & 10: ch 1. Make 1 sc in every st around. sl st to the first sc. (24 sts)
Round 11: ch 1. 7 sc. Make 1 bobble stitch. 8 sc. Make 1 bobble stitch. 7 sc. sl st to the first sc.
Round 12: ch 1. 8 sc. Skip the small stitch on top of the bobble. 9 sc. Skip the small stitch on top of the bobble. 7 sc. sl st to the first sc.
Round 13: ch 1. Make 1 sc in every st around. sl st to the first sc. (24 sts)
Round 14: ch 1. 9 sc. Make 1 bobble stitch. 5 sc. Make 1 bobble stitch. 8 sc. sl st to the first sc.
Round 15: ch 1. Make 12 dec. Skip the small stitches on top of the bobbles as before. sl st to the first st. (12 sts)
Finishing:
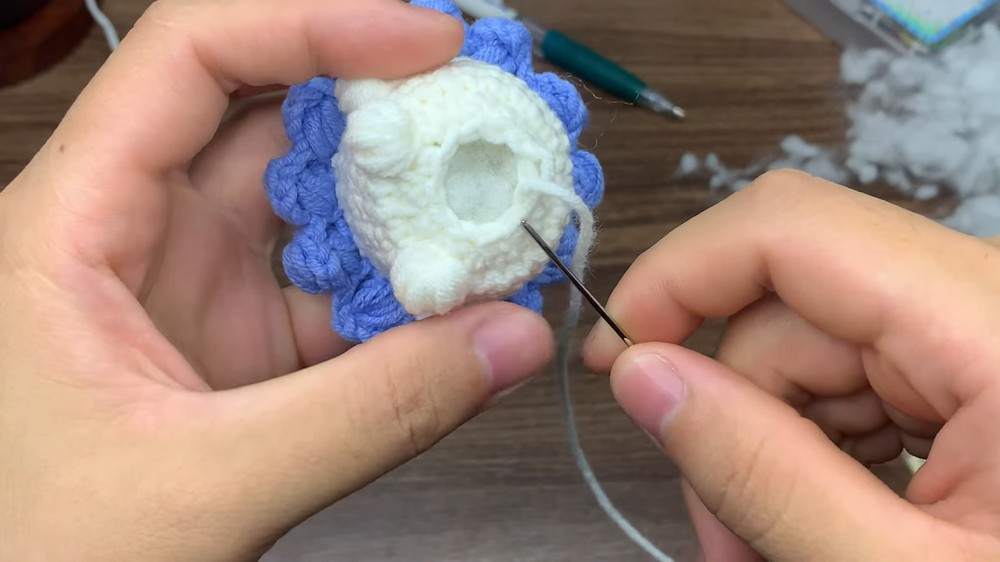
- Add stuffing firmly.
- Cut the yarn, leaving a long tail for sewing.
- Thread the tail through a yarn needle and weave through the front loops of the remaining stitches to pull the hole closed tightly. Secure and hide the yarn end.
- Attach safety eyes (or sew them on with black yarn/thread).
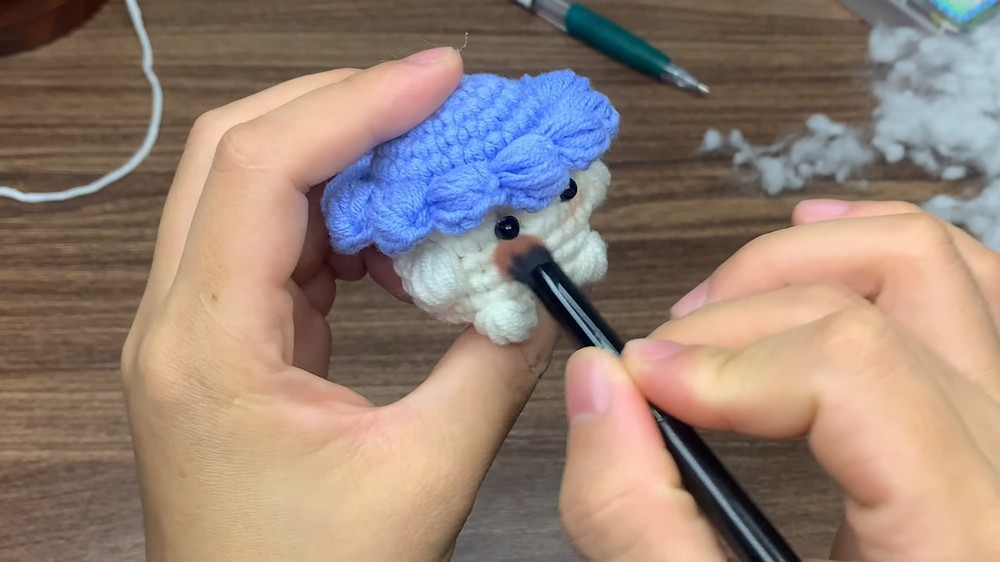
- Add a little blush for cheeks if desired.
- Add any extra decorations, like a small green yarn piece on top or tiny colored yarn pieces attached with hot glue.
Learn with the Video Tutorial