
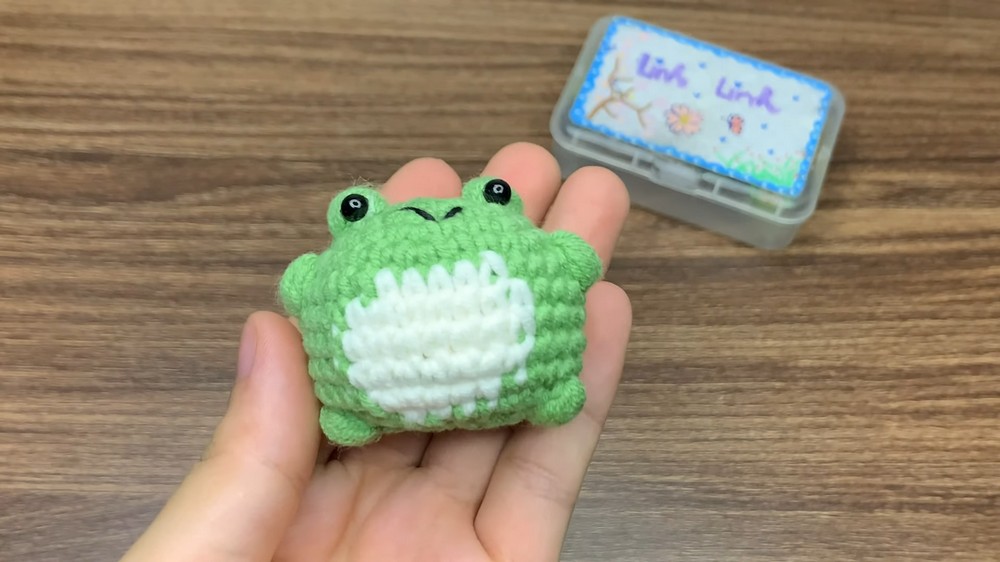
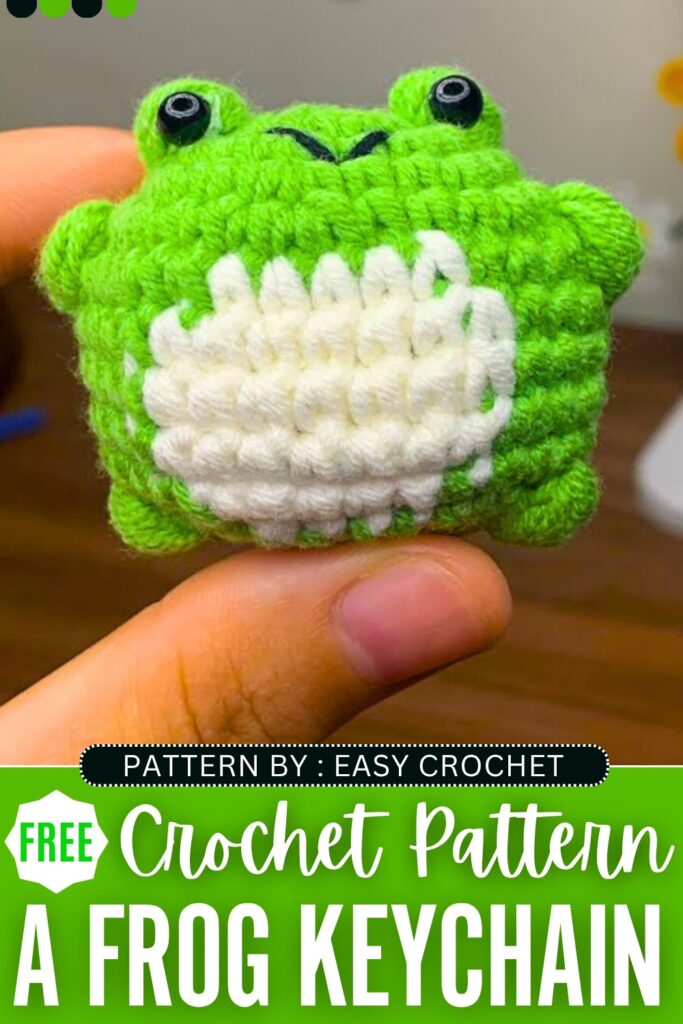
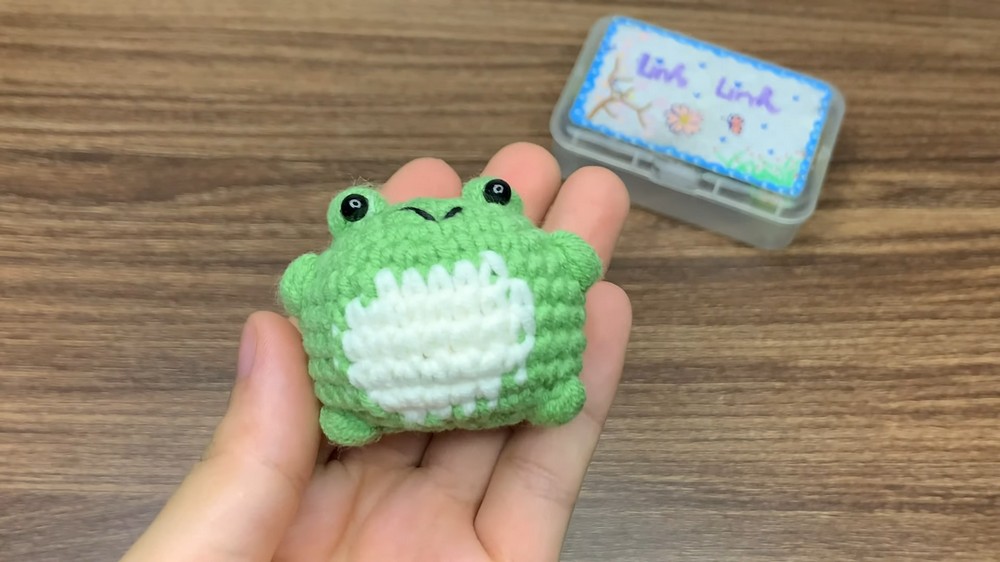
Looking for a mood-lifting, quick, a little quirky, and oh-so-cute crochet animal amigurumi? Let’s crochet this miniature fat frog amigurumi with a FREE pattern for absolute beginners. It has a round body with no-sew bobble stitch legs and arms, and a white tapestry belly, all crocheted as a single piece.
This frog amigurumi looks a bit funny and will make an irresistible softie if you use the thin plush yarn. It is as cute as the summer frog plushie and the swim ring frog plush.
You can use it as a bag charm for your summer beach tote bag. If you crochet it using the super bulky yarn, you can also make it your next plush desk buddy. Now, continue reading for the full crochet no-Sew fat frog amigurumi, which is easy and won’t take more than 15 minutes.
https://craftshive.com/googly-frog-amigurumi-plushie-pattern/
Crochet Chubby Frog Amigurumi: Written Instructions
This project shows you how to crochet a small, round frog. It is a simple and fast craft to make. You start at the top of the head and work your way down to the bottom of the body. You use green yarn for most of the frog and a small amount of white yarn to make a patch on its belly.
The frog has little bumps for its eyes on top of its head, and two more bumps at the bottom for its feet. You put soft stuffing inside to make it round and plump. Finally, you stick on plastic safety eyes and sew a small black mouth. It makes a perfect keychain or small toy.
Materials You Need:
- Yarn: Size 5 yarn (about 2mm thick) in Green and White.
- Crochet Hook: 2.5 mm size hook.
- Stuffing: Soft polyester fiberfill.
- Eyes: Plastic safety eyes (or black thread if you want to sew them).
- Thread: Black sewing thread or thin yarn for the mouth.
- Tools: Yarn needle, scissors, stitch marker, and a hot glue gun to attach the eyes.
Crochet Abbreviations:
- MR: Magic Ring
- ch: Chain
- sc: Single Crochet
- inc: Increase (two single crochets into the same stitch)
- dec: Decrease (invisible decrease over two stitches)
- sl st: Slip Stitch
- st / sts: Stitch / Stitches
- Bobble: Bobble stitch used for eyes and feet (yarn over, pull up a loop 5 times in the same stitch, then pull through all loops on the hook and fasten with a tight ch)
Step-by-Step Frog Crochet Pattern:
Round 1: Start with Green yarn. Make a MR. ch 1. Make 6 sc into the loop. Make a sl st into the first single crochet to close the round. (Total: 6 sts)
Round 2: ch 1. Make an inc in every single stitch around. sl st into the first stitch. (Total: 12 sts)
Round 3: ch 1. Make 1 sc in the first stitch. Make an inc in the second stitch.
Now, make 1 Bobble in the third stitch to form the first eye bump.
Make an inc in the fourth stitch. Make 1 sc in the next stitch. Make an inc in the next stitch.
Make 1 sc in the next stitch. Make an inc in the next stitch.
Now, make 1 Bobble in the next stitch to form the second eye bump.
Make an inc in the next stitch, and finish with 1 sc in the last stitch. sl st into the first stitch.
Round 4: ch 1. Make 2 sc in a row, then make an inc. Repeat this pattern all the way around.
Note: When you reach the eye bumps, completely skip the small stitch right on top of the Bobble and crochet into the regular stitches next to it.
Finish the round and make a sl st into the first stitch. (Total: 24 sts)
Round 5: ch 1. Make 3 sc in a row, then make an inc. Repeat this pattern (3 sc, then an increase) all the way around the circle. sl st into the first stitch. (Total: 30 sts)
Round 6: ch 1. Make 6 sc with Green yarn. Make 1 Bobble in the next stitch to make an arm bump. Make 5 sc.
Now change your yarn color to White for the belly. Make 5 sc with White yarn.
Change back to Green yarn. Make 4 sc, then make 1 Bobble for the second arm bump.
Make 8 sc in Green yarn to finish the round. sl st into the first stitch.
Round 7: ch 1. Make 11 sc with Green yarn.
Note: Skip the tiny stitch on top of the arm bobbles.
Change your yarn color to White. Make 7 sc with White yarn.
Change back to Green yarn. Make 12 sc with Green yarn to finish the round. sl st into the first stitch.
Round 8 & 9: ch 1. Make 11 sc in Green yarn, change to White yarn and make 7 sc, then change back to Green yarn and make 12 sc. sl st into the first stitch.
Round 10: ch 1. Make 12 sc in Green yarn, change to White yarn and make 5 sc, then change back to Green yarn and make 13 sc. sl st into the first stitch. (Total: 30 sts at the end of this round)
Round 11: From this round onward, you will only use Green yarn. ch 1.
Make 3 sc, then make 1 dec.
Make 2 sc, then make 1 Bobble for the first foot bump.
Make 1 dec right next to it.
Make 3 sc, then make 1 dec.
Make 3 sc, then make 1 dec.
Make 1 sc, then make 1 Bobble for the second foot bump.
Make 1 sc, then make 1 dec.
Make 3 sc, then make 1 dec. sl st into the first stitch. (Total: 24 sts)
Round 12: ch 1. Make 12 dec all the way around the body to quickly close it up.
Note: Remember to skip the small stitches on top of the foot bobbles.
sl st into the first stitch to finish. (Total: 12 sts)
Assembly and Details:
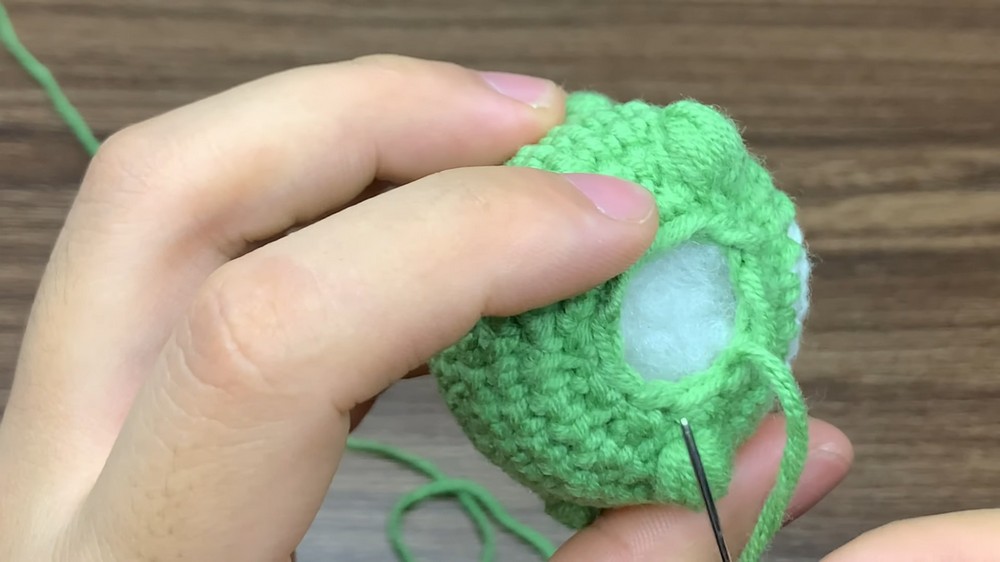
- Cut your green yarn, making sure to leave a long tail end for sewing the body closed.
- Stuff the frog tightly with your polyester fiberfill until it looks round and fat.
- Thread your yarn needle with the long green tail. Weave the needle in and out through the middle of every second stitch around the bottom opening. Pull the yarn tight to close the hole perfectly, knot it, and hide the excess yarn inside the body.
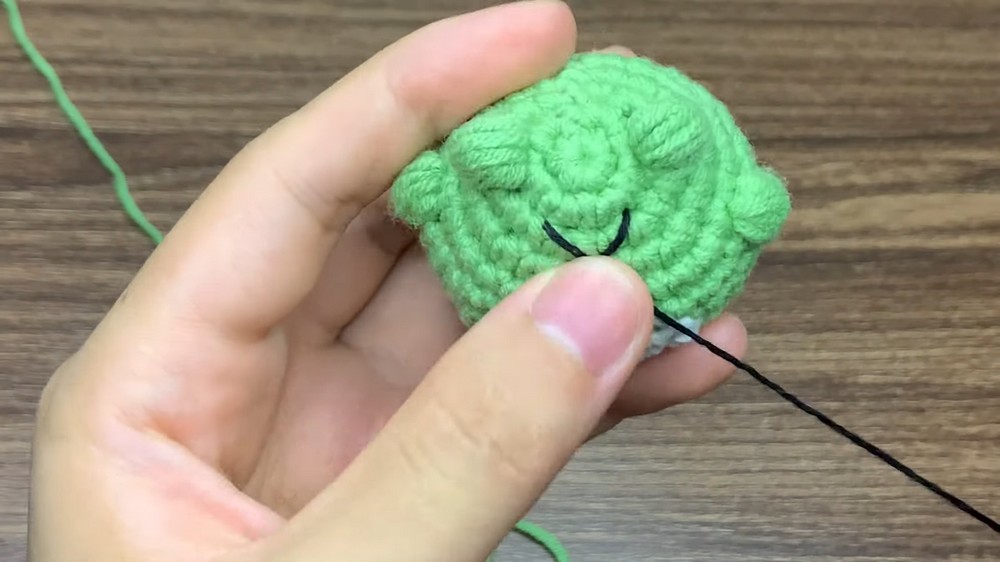
- Thread your needle with black thread. Choose a spot around the third row from the top, right between the two eye bumps, and sew a simple, tiny “V” shape or straight line to give your frog a cute smile.
- Use your hot glue gun to attach the plastic safety eyes directly onto the front side of the two eye bumps on top of the head. Your cute frog is now finished!
Learn with the Video Tutorial

About "Talha"
Hey, I’m Talha, the Crafter on Craftstive.com. I love to share guides on folding cute origami models and paper crafts, and I am always ready to inspire your next craft project with my weekly craft discussions.