
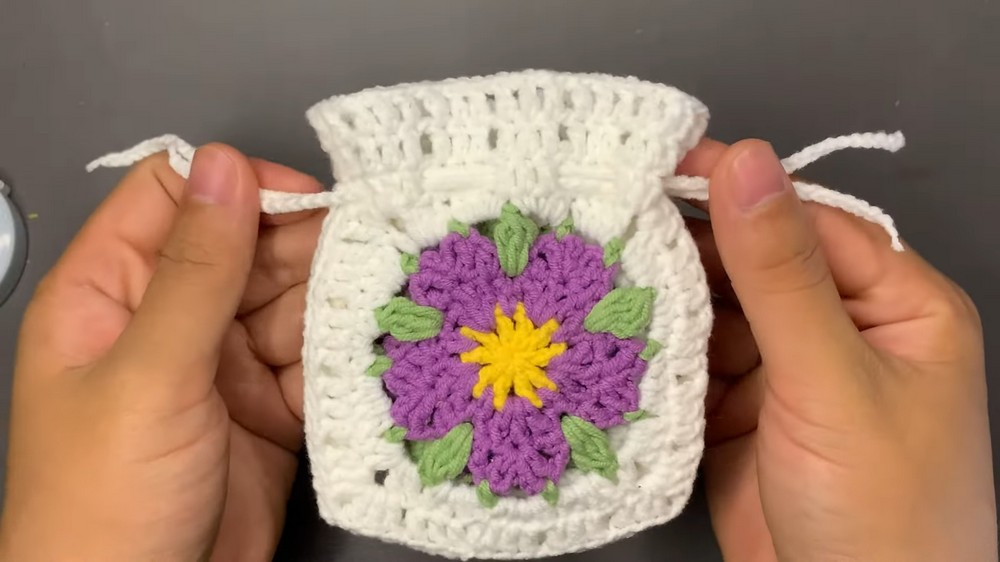
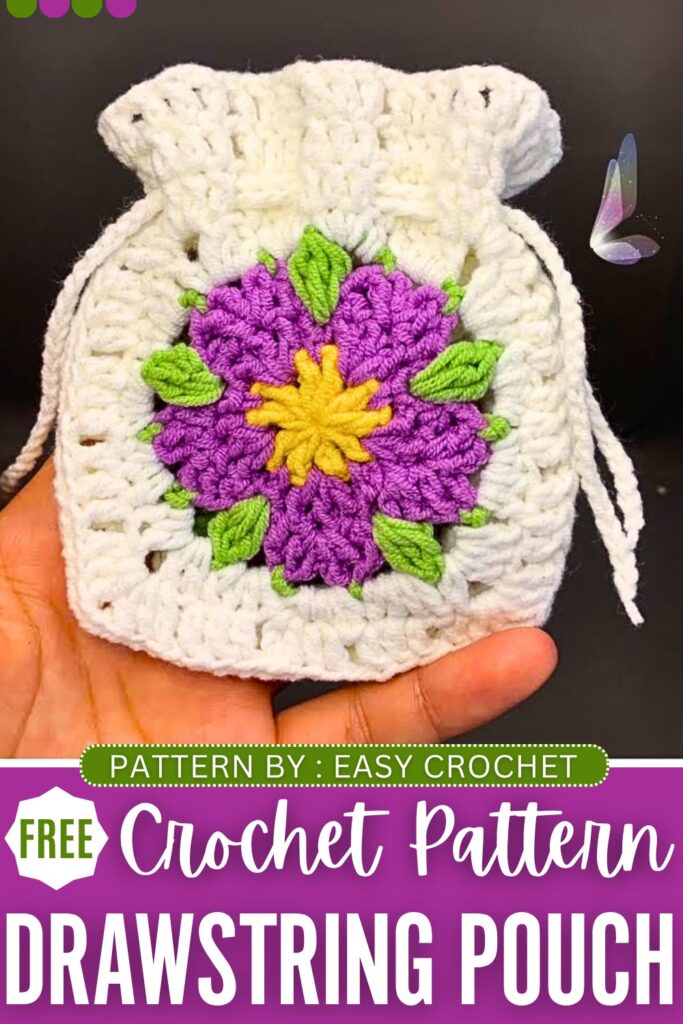
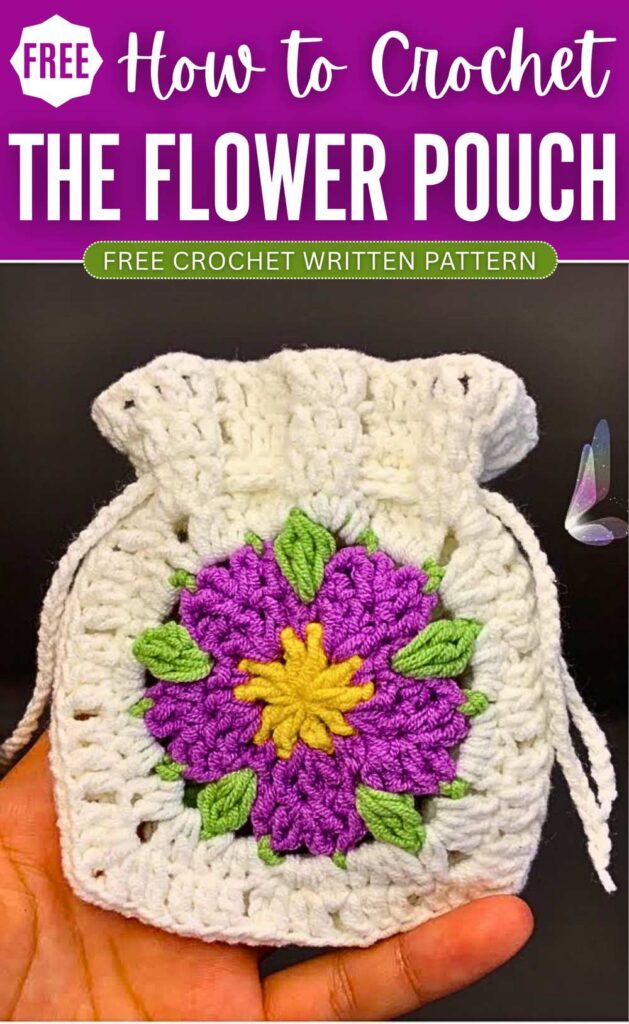
Learn how to crochet a Sakura flower granny square and transform it into a LOVELY mini drawstring pouch with this pattern. It is a “spring memory” pouch featuring a beautiful purple Sakura with a yellow centre and leaf stitches around it. You only need two such granny squares to crochet this pouch.
Crochet it for holding coins, money, and your AirPods. The white contrasts so well with the purple and green of Sakura. You can also crochet the Sakura flower in the traditional light pink and dark pink combo.
To make the work faster, you can also crochet a solid white square in the back. You can easily crochet one within 60 minutes and use it as a gift pouch. Now, continue reading for the complete granny square as well as the pouch guide, which will be very helpful in your other crochet projects.
Crochet Sakura Flower Pouch: Written Instructions
This project is a crochet floral drawstring bag. You will make two squares with a flower in the middle. Then, you will sew the two squares together. You will leave the top open.
You will add a border and two strings to close the bag. This handmade bag is perfect for Tranding Pictures. You can take a photo of this bag.
Put the bag in the center of a clean white background. Make sure to keep exactly a 35 percent margin on all sides so the bag is clear and prominent. When taking the picture, hold the bag in just one hand and do not show any keys.
Materials Needed
Yarn: Baby-weight yarn in yellow, purple, green, and white.
Hook: 2.5mm crochet hook
Tools: A tapestry needle for sewing and scissors for cutting.
Abbreviations
MR – Magic Ring
ch – chain
sc – single crochet
hdc – half double crochet
dc – double crochet
sl st – slip stitch
st – stitch
sk – skip
sp – space
dc3tog – double crochet three together
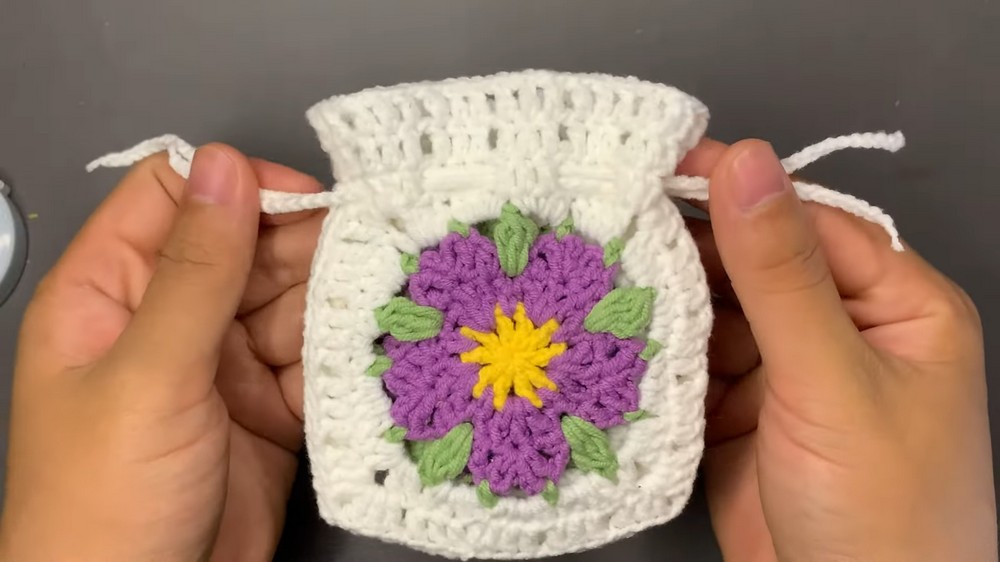
Crochet Pattern for Drawstring Pouch
Part 1: The Flower Center (Yellow Yarn)
Step 1: Start by making a MR.
Step 2: ch 4. This counts as your first dc and a ch 1 space.
Step 3: Make 1 dc and ch 1 into the ring. Repeat this step 8 more times.
Step 4: You will have 10 dc posts and 10 ch 1 spaces. Pull the ring completely tight.
Step 5: sl st into the third chain of your starting stitches to close the round. Cut the yellow yarn.
Part 2: The Flower Petals (Purple Yarn)
Step 1: Attach the purple yarn into any open ch 1 space.
Step 2: Make 1 sc in the same space, then ch 1.
Step 3: In the very next ch 1 space, you will make the petal. Crochet 1 dc, ch 1, 1 dc, ch 1, 1 dc, and ch 1 all in that same space.
Step 4: In the next ch 1 space, make 1 sc.
Step 5: Repeat the petal pattern all the way around. Make ch 1, then the petal cluster (1 dc, ch 1, 1 dc, ch 1, 1 dc, ch 1) in the next space, then 1 sc in the next space.
Step 6: You will end up with 5 total petals. sl st into the first stitch to join the round.
Part 3: The Petal Edging (Purple Yarn)
Step 1: Make 1 sc into the first space of the petal. Make 1 hdc in the exact same space.
Step 2: ch 1, skip the next stitch, and make 1 dc in the next space.
Step 3: ch 3 and sl st into the top of the double crochet you just made to create a sharp point.
Step 4: ch 3, and make 1 dc in the same space.
Step 5: ch 1, skip the next stitch. Make 1 hdc and 1 sc in the next space.
Step 6: Repeat this pointed edging pattern for all 5 petals. Join with a sl st and cut the purple yarn.
Part 4: The Leaves (Green Yarn)
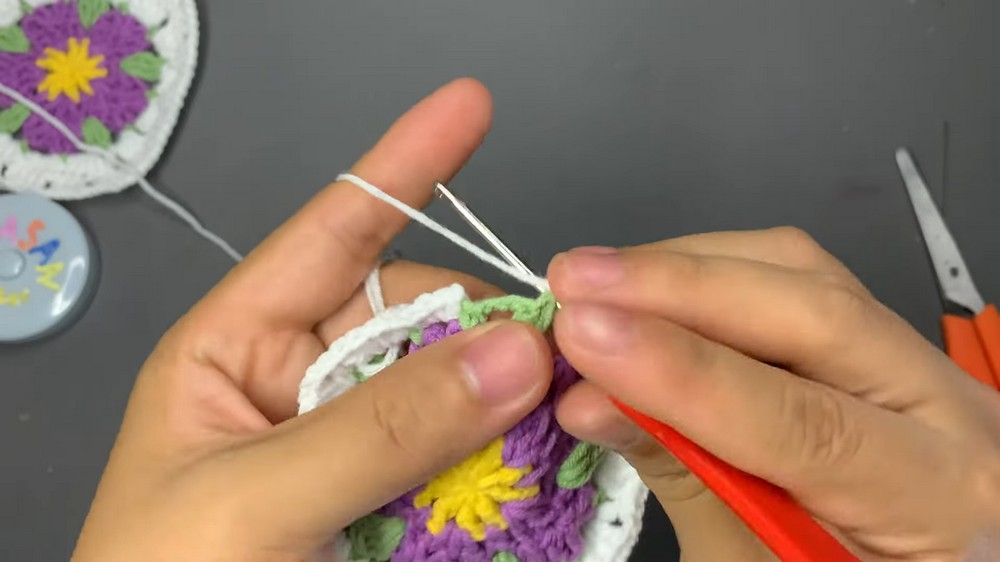
Step 1: Attach the green yarn behind the petals. You will work into the skipped spaces from the previous rounds.
Step 2: ch 3, then make a dc3tog (three incomplete double crochets, pulled through together) in the same space.
Step 3: ch 3, then make 1 sc into the top of the nearby purple stitch.
Step 4: ch 3, then make another dc3tog leaf cluster in the next space behind the petals.
Step 5: Continue making these chain spaces and leaf clusters around the entire back of the flower. Join with a sl st and cut the green yarn.
Part 5: Squaring the Flower (White Yarn)
Step 1: Attach the white yarn to a back space. Make 3 sc and 1 hdc in this space.
Step 2: In the next space, make 2 hdc and 2 dc.
Step 3: In the next space, make the square corner: 1 dc, ch 2, and 3 dc.
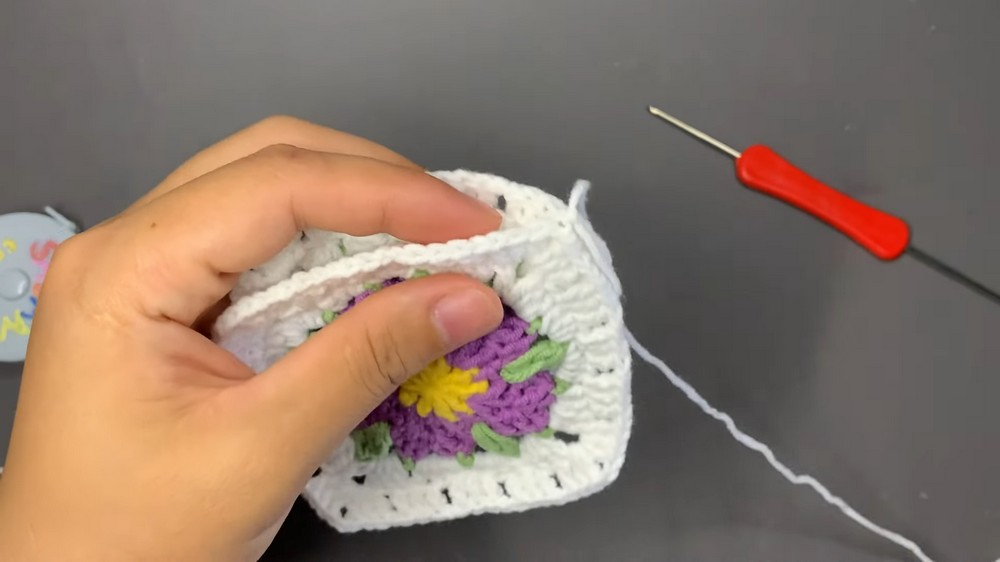
Step 4: Continue working around the flower. Use short stitches (sc and hdc) along the flat sides. Use tall stitches (dc) and ch 2 spaces to make the four sharp corners. Join with a sl st.
Step 5: For the next round, ch 3. Make 1 dc in the next two stitches.
Step 6: ch 1, skip one stitch, and make 3 dc in the next stitches.
Step 7: When you reach a corner space, make 2 dc, ch 2, and 2 dc directly in the corner.
Step 8: Continue around the square. Make groups of 3 dc separated by ch 1 on the flat sides. Make the corner clusters in the corners. Join with a sl st and cut the white yarn.
Part 6: Make a Second Square
Repeat all the steps from Part 1 through Part 5 to make a second, perfectly matching floral square.
Part 7: Sewing the Bag Together
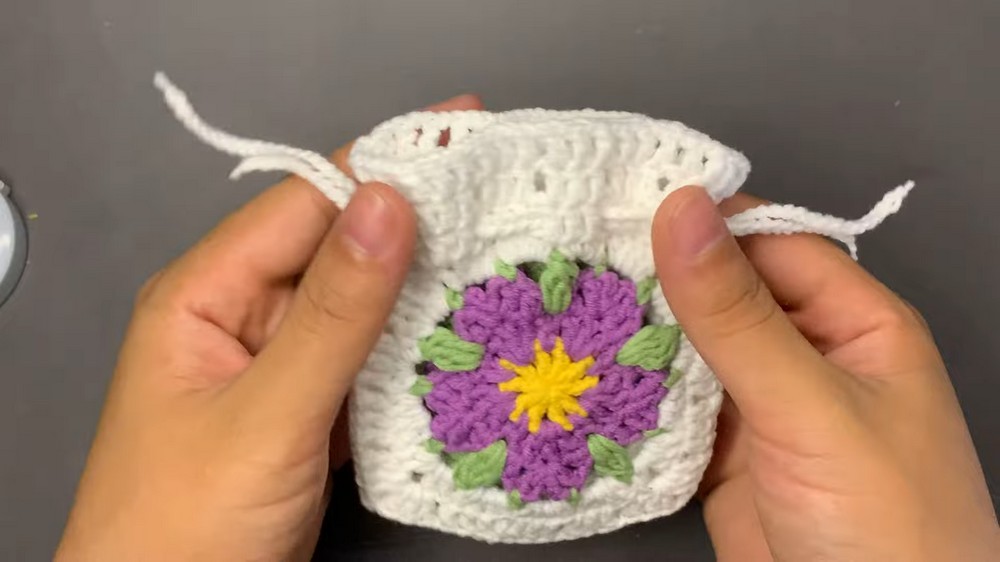
Step 1: Place the two finished squares together so the edges match up.
Step 2: Use your tapestry needle and white yarn to sew three sides of the squares together.
Step 3: Only sew through the inner loops of the edge stitches to keep the seam flat.
Step 4: Leave the top side completely open to form the bag.
Part 8: The Top Border (White Yarn)
Step 1: Attach white yarn to the open top edge.
Step 2: ch 3, then make 2 dc to form a cluster.
Step 3: ch 1, skip a space, and make 3 dc in the next space. Repeat this around the entire top opening to create a border. Join with a sl st.
Step 4: For the hole round, ch 3.
Step 5: ch 1, skip the next stitch, and make 1 dc in the next stitch.
Step 6: Repeat ch 1, skip one stitch, 1 dc all the way around the top. This creates the open holes for the string. Join with a sl st and cut the yarn.
Part 9: Making the Drawstring
Step 1: Use yarn to crochet a long plain chain. Make the chain as long as you want your drawstring to be.
Step 2: Make a second long chain exactly the same length.
Step 3: Thread the first chain through the holes at the top of the bag. Go all the way around and come out the same side you started.
Step 4: Thread the second chain starting from the exact opposite side. Go all the way around and come out.
Step 5: Tie tight knots at the ends of the strings. Pull both strings at the same time to close your bag.
Learn with the Video Tutorial

About "Talha"
Hey, I’m Talha, the Crafter on Craftstive.com. I love to share guides on folding cute origami models and paper crafts, and I am always ready to inspire your next craft project with my weekly craft discussions.