
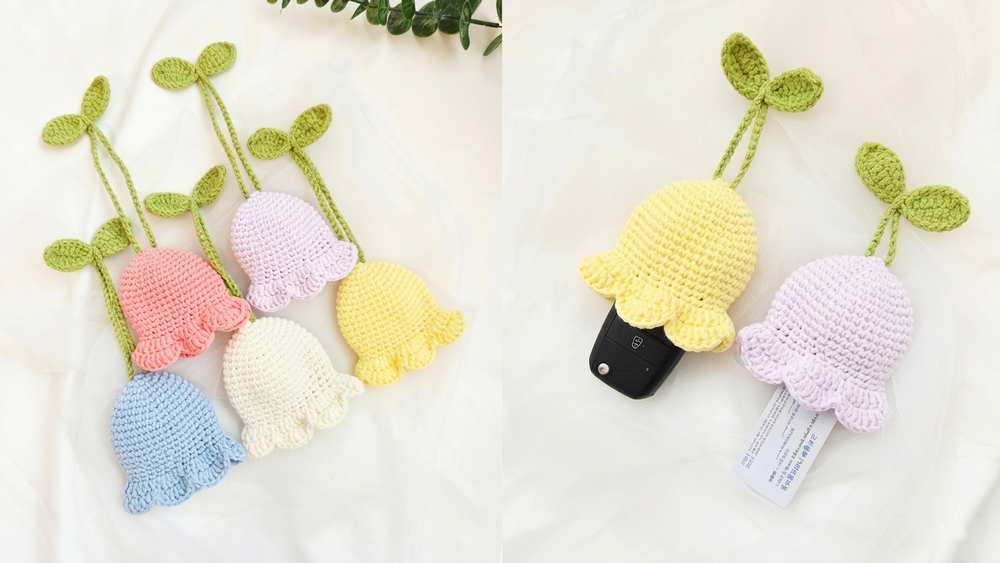
Looking for an irresistible “spring memory” crochet pouch for your keys? Learn how to crochet this beautiful Lily of the Valley flower key pouch that can also double as a crochet AirPods case and a card holder. I recommend the pastel color rule, such as light purple, light red, and so on, for crocheting this tulip keycase.
With this crochet flower pouch pattern, you can also master the key-hiding mechanism to turn even a tulip into a key pouch. You can hang it from your tote bag just like a crochet bag charm and make the summer special.
That is to crochet two leaves as a block and a pair of slideable crochet chain strings through the bottom of the pouch. It is easy to crochet, as for the top of the flower, we shall use the shell stitch edging, which is a beginner stitch. Now, continue reading for the full pattern to crochet this flower pouch.
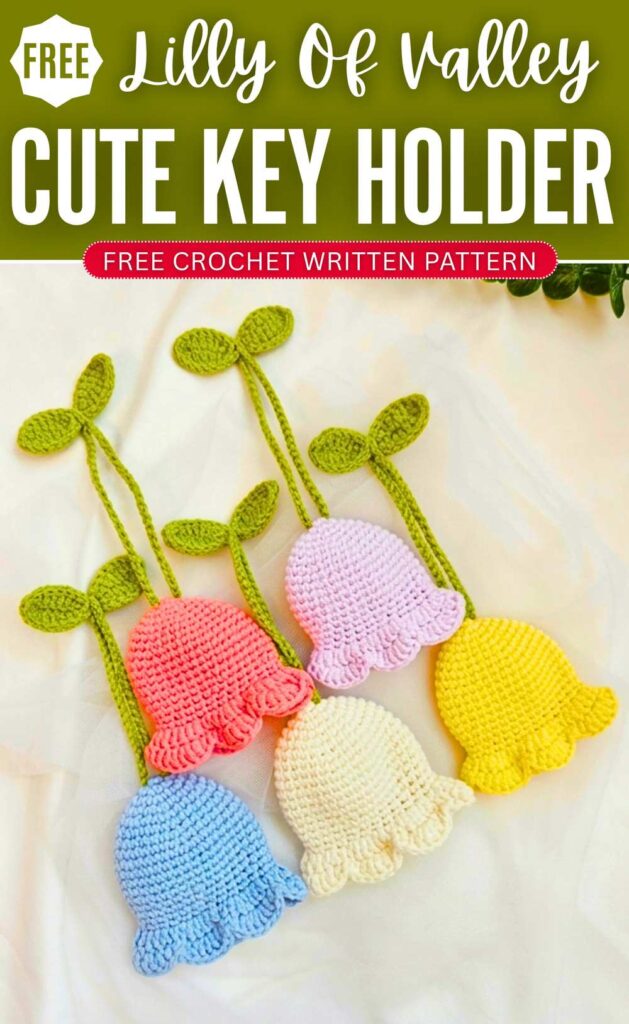
Free Crochet Lily of the Valley Keypouch: Written Instructions
This project is a crochet key holder. It looks like a lily of the valley flower. You can put your keys inside it. It will protect your keys. When you pull the green leaves at the top, the keys go inside the flower.
When you pull the keys at the bottom, the keys come out of the flower. It is very cute. It is very useful. You can make it fast. You can use it every day.
Materials
- Yarn: You need one color for the flower and green for the leaves.
- Crochet hook: 2.5mm crochet hook
- Stitch marker: To mark the first stitch of every round.
- Yarn needle: To hide the extra yarn tails.
- Scissors: To cut your yarn.
- Key ring: To hold your keys.
Abbreviations (US Terms)
- MR: Magic Ring
- ch: chain
- sc: single crochet
- hdc: half double crochet
- dc: double crochet
- inc: single crochet increase (make 2 single crochets in the same stitch)
- dc inc: double crochet increase (make 2 double crochets in the same stitch)
- dec: single crochet decrease (invisible decrease is best)
- sl st: slip stitch
- st / sts: stitch / stitches
The Flower Bell Pattern
Round 1: Start with a MR. Make ch 1. Make 5 sc into the ring. Pull the magic ring closed. Make a sl st into the first sc. (Total: 5 sts)
Round 2: ch 1. Make an inc in every stitch around. Make a sl st into the first sc. (Total: 10 sts)
Round 3: ch 1. (1 sc, inc) repeat this pattern 5 times. Make a sl st into the first sc. (Total: 15 sts)
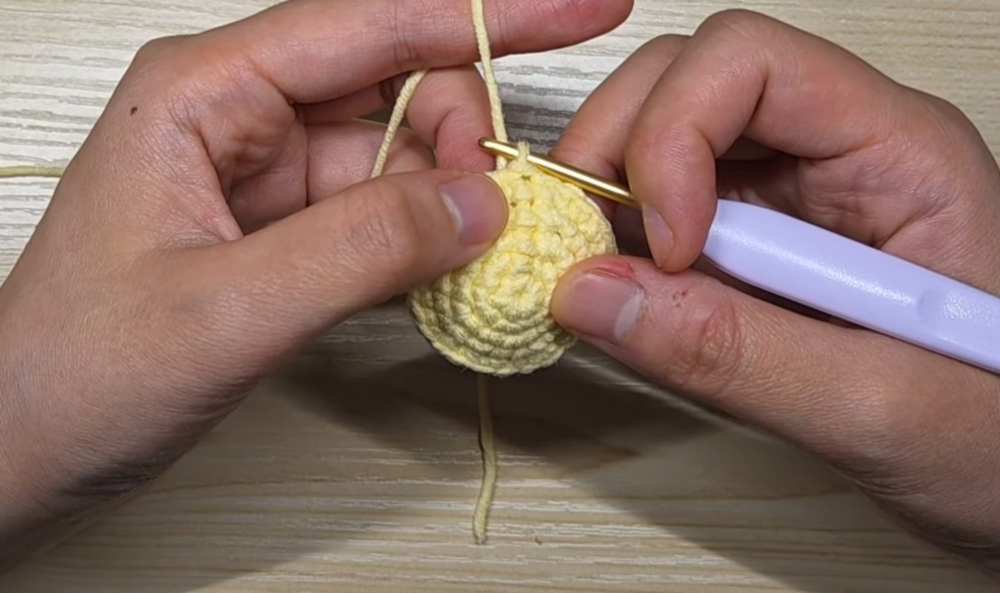
Round 4: ch 1. (2 sc, inc) repeat this pattern 5 times. Make a sl st into the first sc. (Total: 20 sts)
Round 5: ch 1. (3 sc, inc) repeat this pattern 5 times. Make a sl st into the first sc. (Total: 25 sts)
Round 6: ch 1. Make 1 sc in every stitch around. Make a sl st into the first sc. (Total: 25 sts)
Round 7: ch 1. (4 sc, inc) repeat this pattern 5 times. Make a sl st into the first sc. (Total: 30 sts)
Round 8: ch 1. Make 1 sc in every stitch around. Make a sl st into the first sc. (Total: 30 sts)
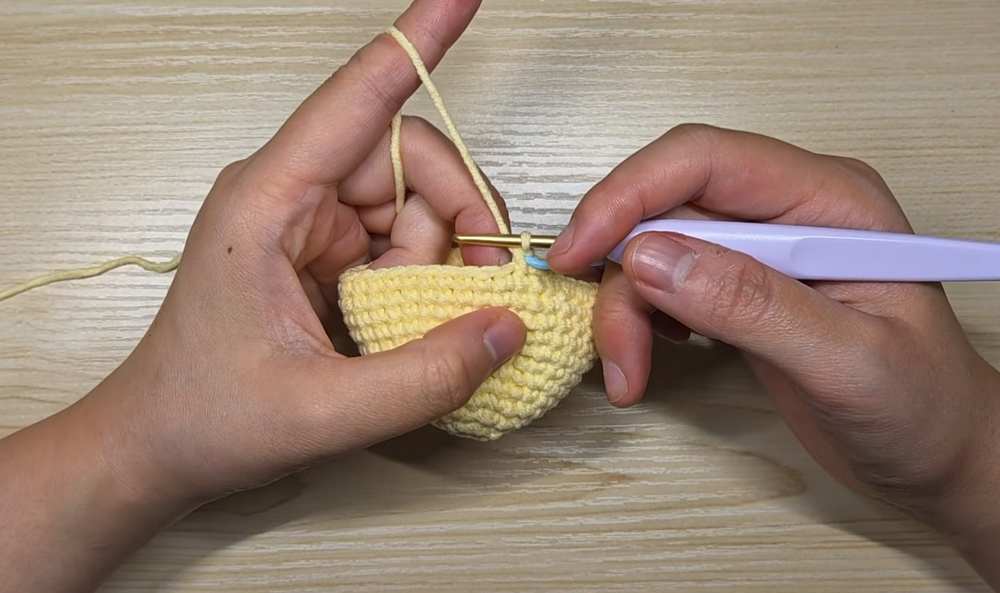
Round 9: ch 1. (5 sc, inc) repeat this pattern 5 times. Make a sl st into the first sc. (Total: 35 sts)
Round 10 to Round 13 (4 rounds in total): ch 1. Make 1 sc in every stitch around. Make a sl st into the first sc. (Total: 35 sts)
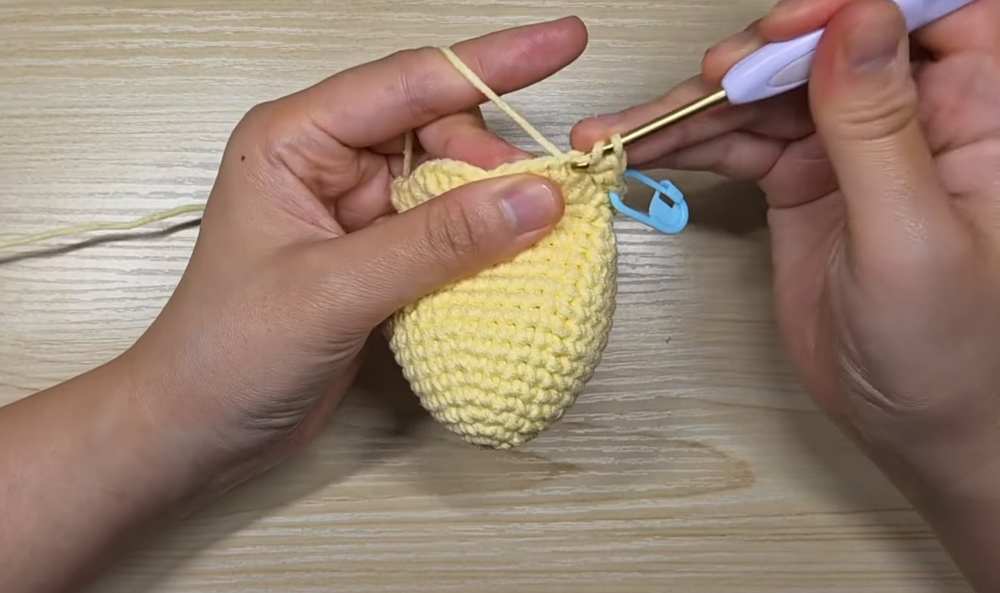
Round 14: ch 1. (5 sc, dec) repeat this pattern 5 times. Make a sl st into the first sc. (Total: 30 sts)
Round 15: ch 1. Make 1 sc in every stitch around. Make a sl st into the first sc. (Total: 30 sts)
Round 16: ch 1. (4 sc, dec) repeat this pattern 5 times. Make a sl st into the first sc. (Total: 25 sts)
Round 17: ch 1. Make 1 sc in every stitch around. Make a sl st into the first sc. (Total: 25 sts)
The Flower Petals
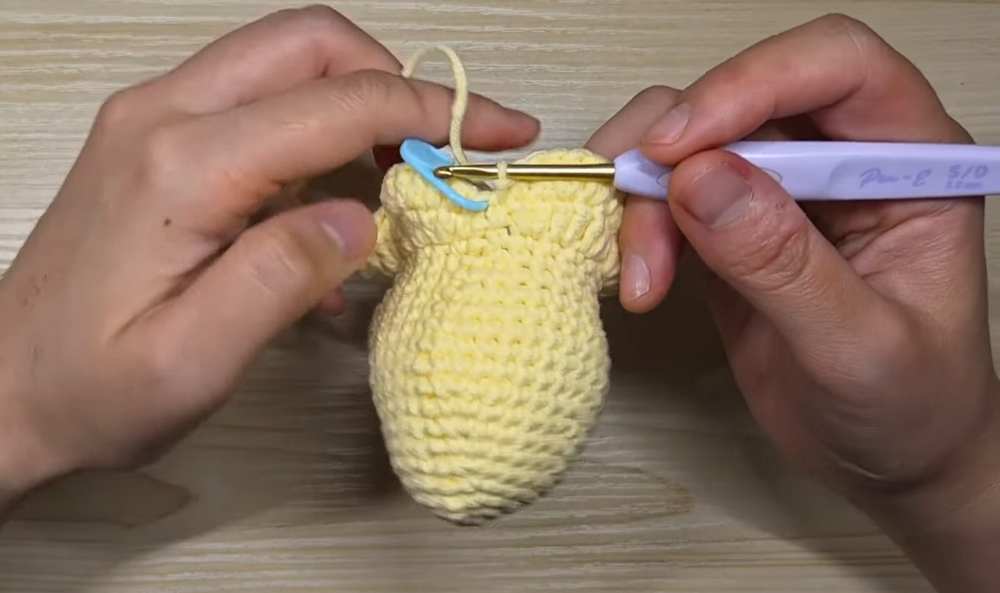
Round 18 (Petal Base): ch 1. Make 1 sc in the first stitch. In the next 3 stitches, make 1 dc inc in each stitch. Repeat this section (1 sc, 3 dc inc) a total of 6 times. Make 1 sc in the very last stitch of the round. Make a sl st into the first sc.
Round 19 (Petal Edges): Start your next stitch in the first double crochet from the previous round. Make 1 hdc. In the next stitch, make 1 dc. In the next 2 stitches, make 1 dc inc in each stitch. In the next stitch, make 1 dc. In the next stitch, make 1 hdc. Make a sl st into the single crochet from the previous round. Repeat this pattern (hdc, dc, 2 dc inc, dc, hdc, sl st) for all 6 petals around the flower. Cut the yarn, fasten off, and weave in all your ends.
The Green Leaves
First Leaf: Leave a little yarn tail. Make a slip knot with the green yarn and ch 8. Turn the chain to work in the back bumps. Start in the 2nd chain from your hook. Make 1 sc, then 1 hdc, then 4 dc (one in each of the next 4 chains), then 1 hdc, and 1 sc in the last chain.
Turn to work on the other side of the chain. Make 1 sc, then 1 hdc, then 4 dc, then 1 hdc, and 1 sc.
To make a clean edge, make 16 sl sts all the way around the leaf border. Cut the yarn, fasten off, and weave in your end.
Second Leaf: Make a slip knot with the green yarn and ch 8. Work the exact same steps as the first leaf down the back bumps: 1 sc, 1 hdc, 4 dc, 1 hdc, 1 sc.
Turn to the other side and make: 1 sc, 1 hdc, 4 dc, 1 hdc, 1 sc.
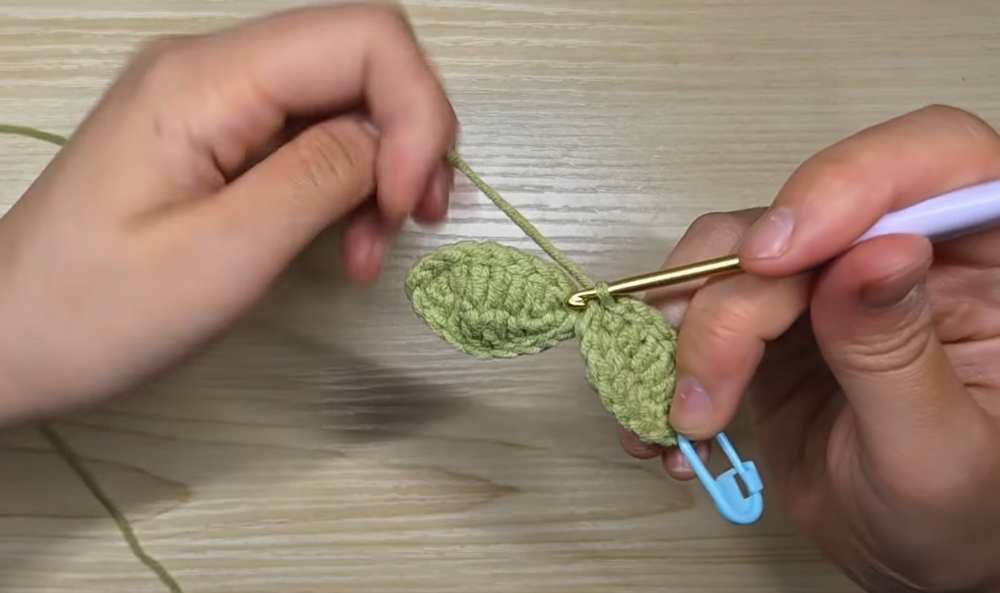
Now begin making your sl sts around the edge. When you reach the 9th slip stitch (this is the top tip of the leaf), push your hook through the top tip of your First Leaf to connect both leaves together with that slip stitch.
Continue making the rest of the slip stitches around the leaf. Cut the yarn, fasten off, and weave in your ends.
The String and Assembly
Make a loop with your green yarn.
Push this loop through the center hole between your two connected leaves. Pull it tight.
Insert your crochet hook into this center loop and ch 50.
Cut the yarn, leaving a long tail. Pull the yarn tail through the final loop to finish the string.
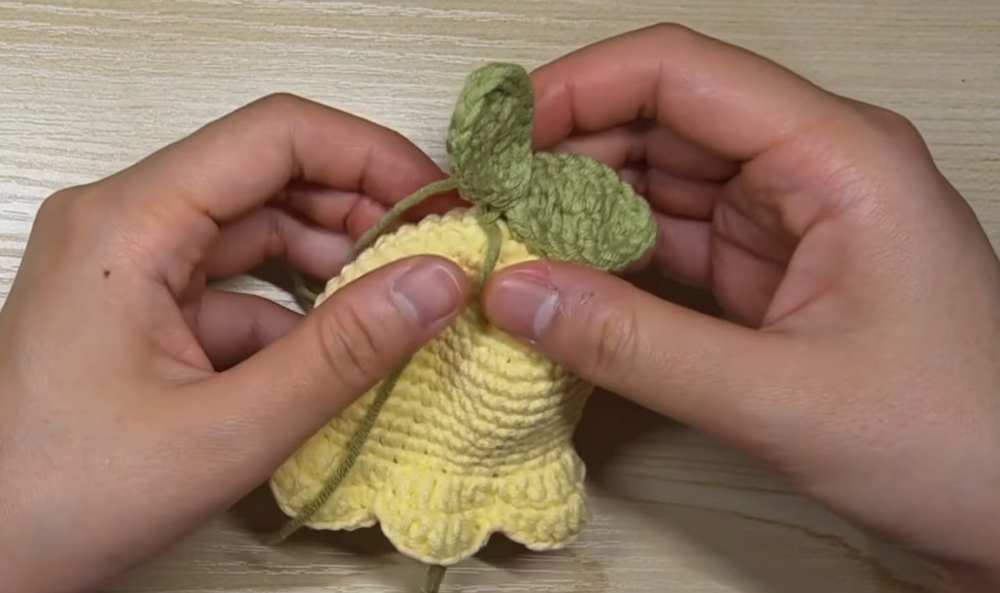
Take your Flower Bell. Insert your crochet hook from the bottom opening to the top center hole of the flower.
Grab the chain string and pull it all the way down through the flower. Your green leaves will now sit perfectly on the top of the flower.
Bring the bottom tail of the chain string back up to the top hole and secure it tightly between the leaves. Use your yarn needle to weave in all loose ends.
Attach your key ring to the bottom loop of the green string hanging inside the flower bell. Put your keys on the ring.
Pull the green leaves at the top, and your keys will pull safely inside the flower!
Learn with the Video Tutorial