
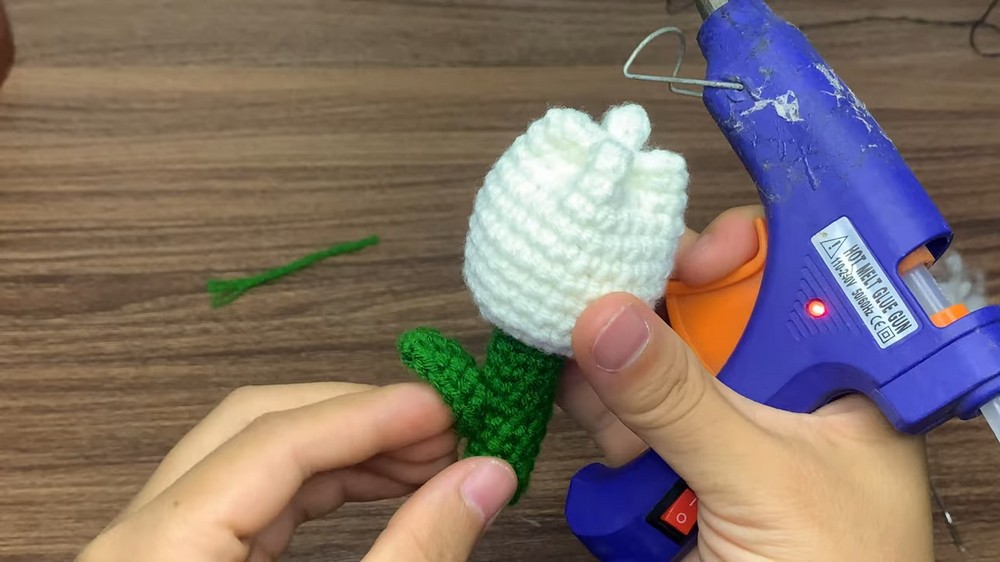
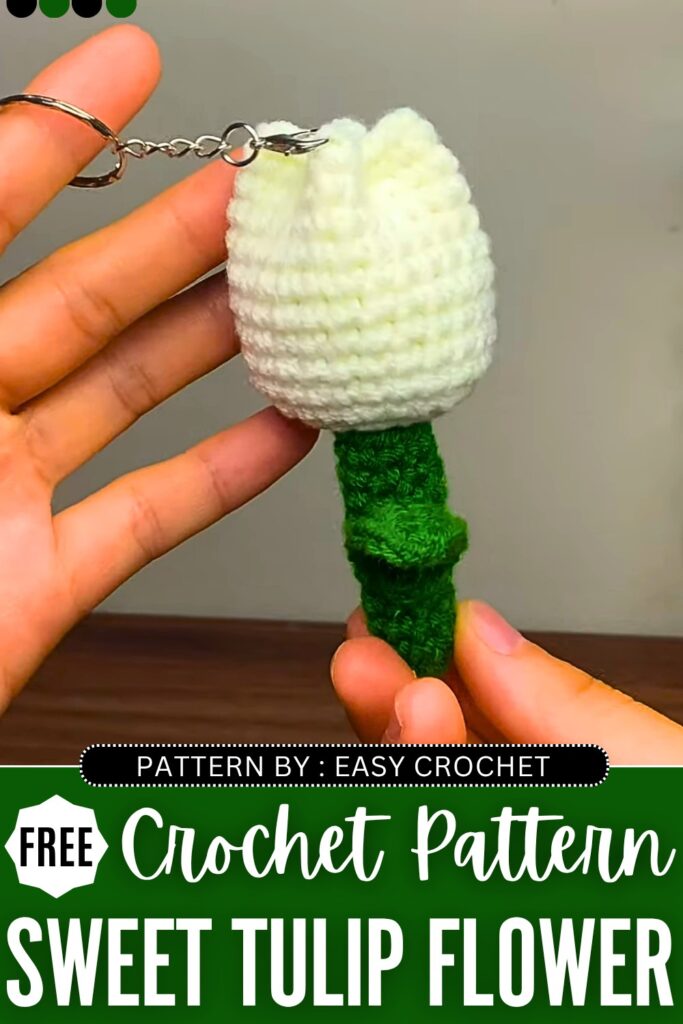
I have talked about the “Stuff, Pinch & Sew” method of crocheting a tulip amigurumi multiple times in this blog. However, finally, I am gonna share a FREE crochet stuffed tulip bag charm pattern that requires the same method. To make it unique, we will crochet it in white for the tulip flower and green for the stem and the leaves. Crocheting this amigurumi tulip is actually simple.
Just crochet a small tube (same for the stem), stuff it, pinch the opening, and cross-sew. You can also add this crochet tulip to a bouquet or add a small face onto it. We will crochet the leaf stuffed, too. Now, continue reading for the full tulip amigurumi pattern.
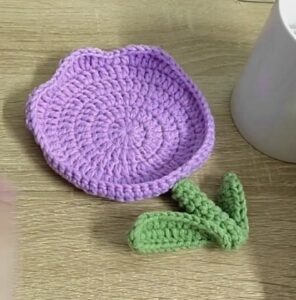
Crochet Amigurumi Tulip Flower: Step-by-Step Pattern
Perfect as a keychain, a small desk accessory, or bundled together into a full bouquet, this pattern works up quickly and requires minimal assembly.
The flower is constructed in three simple parts: the rounded tulip cup that holds its shape with a little bit of stuffing, a flat pointed leaf, and a sturdy stem.
While the tutorial uses milk cotton yarn, you can easily swap it out for chenille or plush yarn if you prefer a chunkier, velvety finish; just make sure to adjust your hook size accordingly!
Materials Needed
- Yarn: Light Green (for the stem and leaf), Light Purple (for the tulip head), and a small amount of White for embroidered accents (if desired).
Note: You can use any yarn weight, but 5-ply milk cotton or your preferred plush chenille yarn works great. - Crochet Hook: 2.5 mm (or appropriate size for your yarn choice).
- Fiberfill Stuffing (for the flower head and stem).
- Tapestry Needle / Yarn Needle
- Scissors
- Hot Glue Gun or Fabric Glue (optional, for attaching pieces if you prefer not to sew them).
- Stitch Marker
Abbreviations (Standard English/US Terms)
- MR: Magic Ring
- ch: chain
- sc: single crochet
- hdc: half double crochet
- dc: double crochet
- inc: single crochet increase (2 sc in the same stitch)
- sl st: slip stitch
- st(s): stitch(es)
- R: Round / Row
Pattern Instructions
1. Tulip Flower Head (Use Light Purple Yarn)
R1: Create a Magic Ring, work 6 sc into the ring. Pull tight to close. [6]
R2: 6 inc (2 sc in each st around). [12]
R3: (1 sc, 1 inc) repeat around 6 times. [18]
R4: (2 sc, 1 inc) repeat around 6 times. [24]
R5 – R13: 1 sc in each st around. [24 sts per round for 9 rounds total]
Finish R13 with a sl st in the next st. Fasten off, leaving a long tail for sewing.
Shaping the Tulip Head:
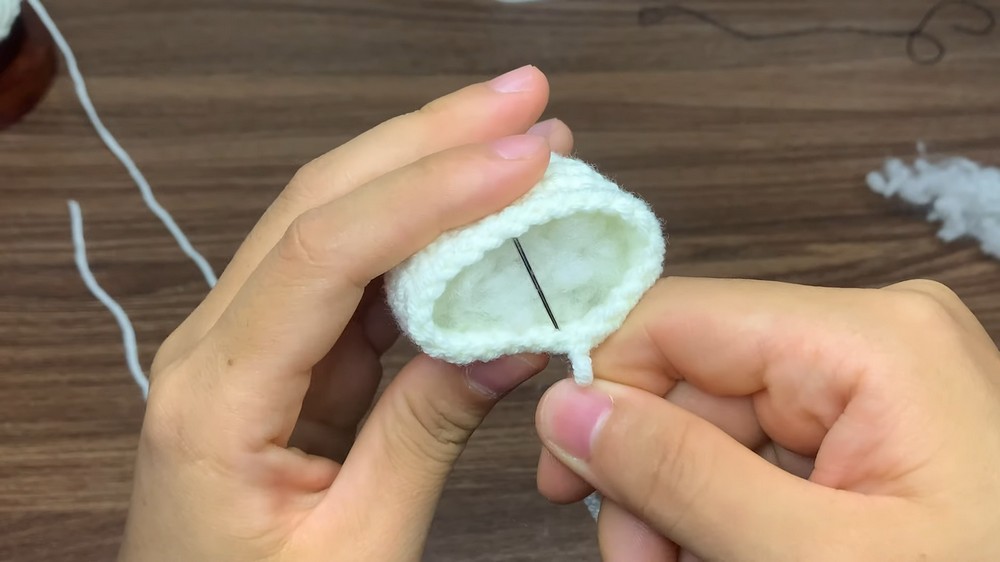
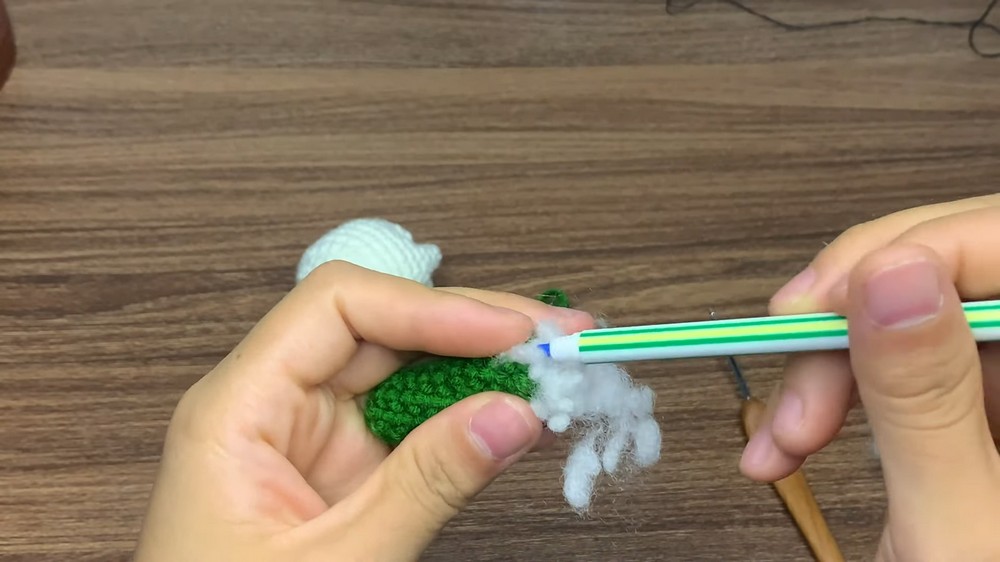
- Stuff the flower head firmly with fiberfill.
- Thread the long yarn tail onto your tapestry needle.
- Pinch the top opening in half and sew a stitch through the middle of the opposite sides to join them at the center.
- Pinch the remaining two open sides together (forming a cross or “plus” sign at the top) and sew them securely in the center.
Fasten off and weave in the end.
(Optional: Use your white yarn to embroider small “seed” details or accents on the flower petals).
2. Leaf (Use Light Green Yarn)
Foundation: ch 8. R1: Starting in the 2nd ch from the hook, work down the chain: 1 sc, 1 hdc, 3 dc (one in each of the next 3 sts), 1 hdc, 1 sc. Turn: ch 1, turn to work down the opposite side of the foundation chain. R2: 1 sc in the first st, 1 hdc, 3 dc (one in each of the next 3 sts), 1 hdc, 1 sc. Ch 1, and sl st into the first st of R1 to close the leaf. Fasten off, leaving a tail for sewing.
3. Stem (Use Light Green Yarn)
R1: Create a Magic Ring, work 8 sc into the ring. Pull tight to close. [8] R2 – Onward: 1 sc in each st around continuously in a spiral. [8 sts per round] Continue crocheting in the round until the stem reaches your desired length. Stuff the stem firmly with fiberfill as you go so it stands up straight. Once long enough, work 2 to 3 sl st across the next few stitches to even out the top edge. Fasten off.
Assembly
-
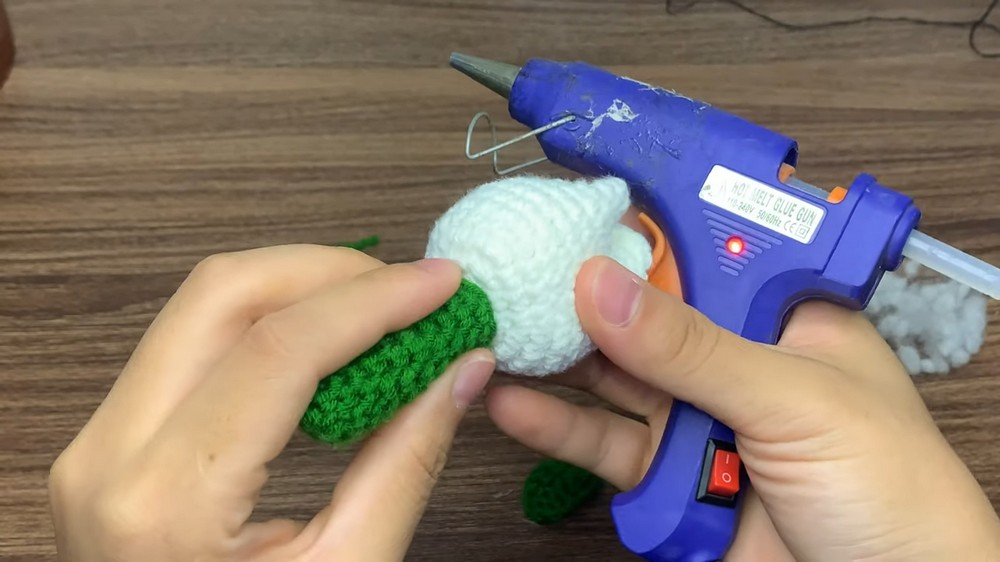
Attach the Stem: Apply a generous drop of hot glue (or use your yarn needle to sew) to the top opening of the stem. Press the bottom center of the Tulip Head firmly onto the stem. Hold it in place until secure.
-
Attach the Leaf: Apply glue or sew the base of the leaf to the middle/lower section of the stem, wrapping the base of the leaf slightly around the stem so it points upward.
-
Finishing Touches: If desired, use a little blush on the petals for a realistic gradient effect.
Video Guide