
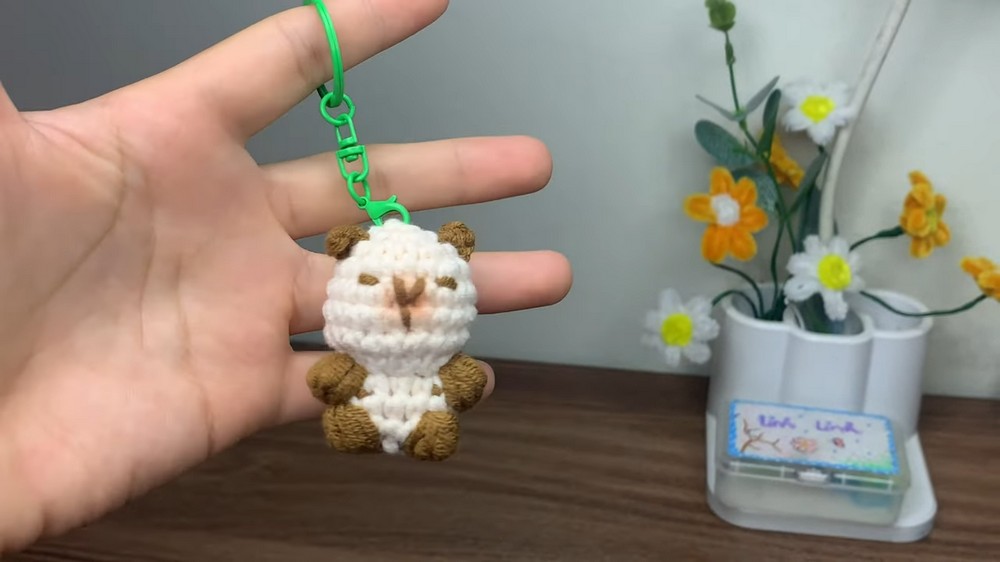
Subscribe to Easy crochet! The video tutorial & instructions are below!
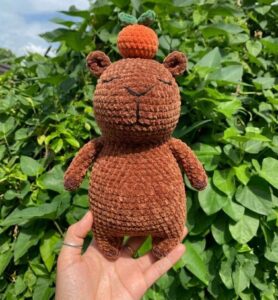
I have already shared two patterns for crocheting the capybara, but they both will crochet the big capybara plushie! Now, for beginners, here is the miniature & no-sew sitting capybara amigurumi you can crochet with a FREE pattern for beginners. It only measures the size of your three fingers together and can be finished in less than 20 minutes.
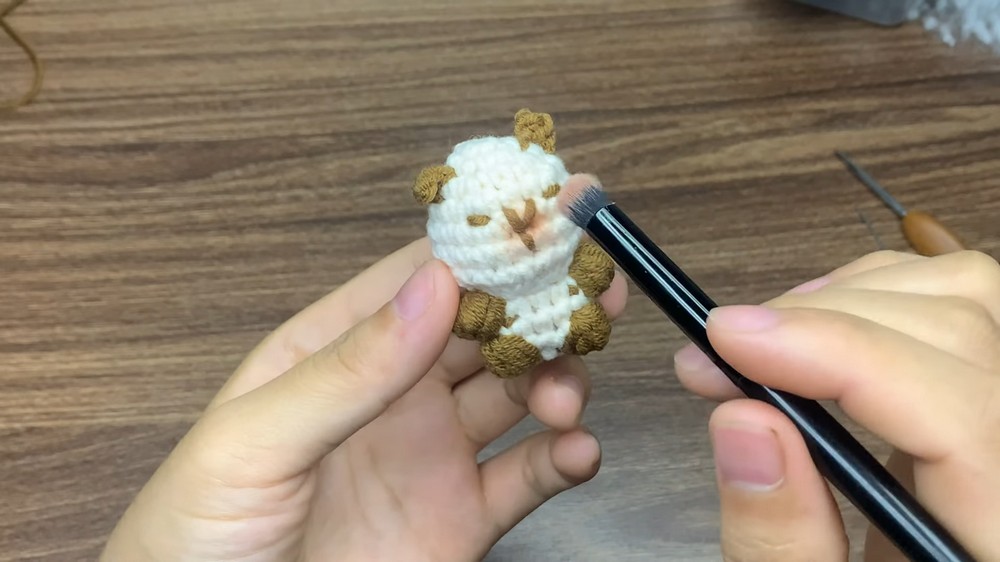
We will crochet the same sleeping capybara amigurumi with the bobble stitch legs and kawaii embroidery. It can easily sit on your palm and can also make an irresistible desk buddy. Now, continue reading for the full capybara amigurumi with a FREE pattern for beginners.
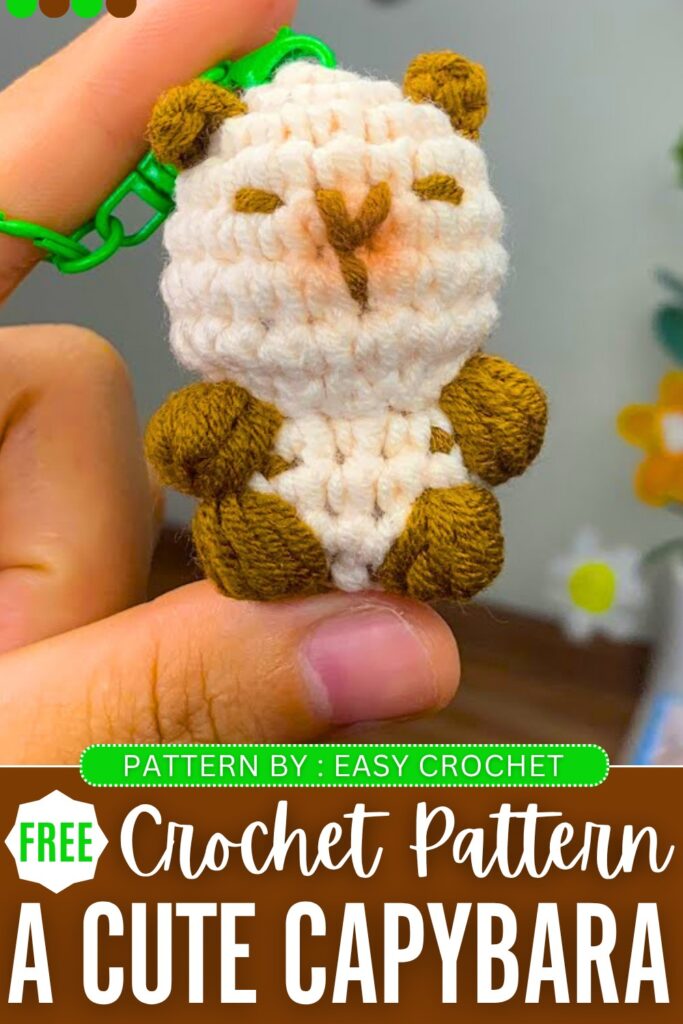
Cute Sleeping Capybara Charm: Written Instructions
This project is a small amigurumi capybara. The pattern will guide you to make the capybara step by step. You will use a single main color for the body and head, with a different color (like brown) for the paws and nose.
You will crochet the head and body in one piece, adding the paws as bobble stitches directly into the body. The ears are added last. It is a quick and fun pattern to practice basic crochet and color-changing skills.
Video Tutorial?
Materials Needed
- Yarn in a main color (like beige or light brown) for the body
- Yarn in a contrasting color (like dark brown) for the paws and nose
- 2.5 mm crochet hook
- Fiberfill stuffing
- Yarn needle (tapestry needle)
- Stitch marker
- Scissors
- Blush or chalk pastel (optional, for the cheeks/nose area)
Abbreviations
- MR – Magic Ring
- ch – Chain stitch
- sc – Single crochet
- inc – Increase (2 single crochet in one stitch)
- dec – Decrease (single crochet 2 stitches together)
- sl st – Slip stitch
- bobble – Bobble stitch (5 incomplete double crochets closed together)
- FLO – Front loop only
Pattern
Body and Head Start with the main color yarn.
Round 1: Make a MR. Ch 1, then make 5 sc into the magic ring. Pull the ring tight. Sl st to the first sc to join. (5 stitches)
Round 2: Ch 1. Make 5 inc. Sl st to the first sc to join. (10 stitches)
Round 3: Ch 1. 1 sc, 1 inc – repeat this sequence 5 times. Sl st to the first sc to join. (15 stitches)
Round 4: Ch 1. 2 sc, 1 inc – repeat this sequence 5 times. Sl st to the first sc to join. (20 stitches)
Round 5 to Round 7: Ch 1. 1 sc in each stitch around. Sl st to the first sc to join. (20 stitches per round for these 3 rounds)
Round 8: Ch 1. Make 10 dec. Sl st to the first sc to join. (10 stitches)
Round 9: Note: Work this round in the Front Loop Only (FLO). You will also change colors for the paws. Ch 1. Make 1 sc, then 1 inc. Change to the dark brown yarn. Make 1 bobble stitch in the next stitch.
Change back to the main color yarn. Make 1 inc, then 1 sc, then 1 inc. Change to the dark brown yarn. Make 1 bobble stitch in the next stitch. Change back to the main color yarn. Make 1 inc, then 1 sc, then 1 inc. Sl st to the first sc to join. (14 stitches)
Round 10: Ch 1. Make 15 sc around (skip the top of the bobble stitches and work into the stitches next to them). Sl st to the first sc to join. (15 stitches) Stuff the head area firmly with fiberfill.
Round 11: Ch 1. Make 4 sc. Change to dark brown yarn. Make 1 bobble stitch. Change back to the main color yarn. Make 3 sc. Change to dark brown yarn. Make 1 bobble stitch. Change back to the main color yarn. Make 6 sc to the end of the round. Sl st to the first sc to join. (15 stitches) Cut the dark brown yarn.
Round 12: Ch 1. 1 sc, 1 dec – repeat this sequence 5 times (when decreasing around the paws, skip the small stitch on top of the bobble and use the main color stitches next to it). Sl st to the first sc to join. (10 stitches) Stuff the body firmly with fiberfill.
Closing: Cut the yarn, leaving a tail. Use your yarn needle to weave the tail through the front loops of the remaining stitches and pull tight to close the hole. Fasten off and hide the yarn tail inside the body.
Ears
Right Ear: Insert your hook into the side of the head (around Round 2, straight up from the arm). Attach the main color yarn. Ch 3. Skip the first ch from the hook. Make 1 sc in the second ch, and 1 sc in the third ch. Fasten off and leave a tail for weaving in.
Left Ear: Insert your hook into the opposite side of the head, aligned with the right ear. Attach the main color yarn. Ch 3. Skip the first ch from the hook. Make 1 sc in the second ch, and 1 sc in the third ch. Fasten off and leave a tail for weaving in.
Finishing
- Use your yarn needle to weave in the loose yarn tails from the ears securely into the head. Tie a knot to secure them before hiding the ends inside.
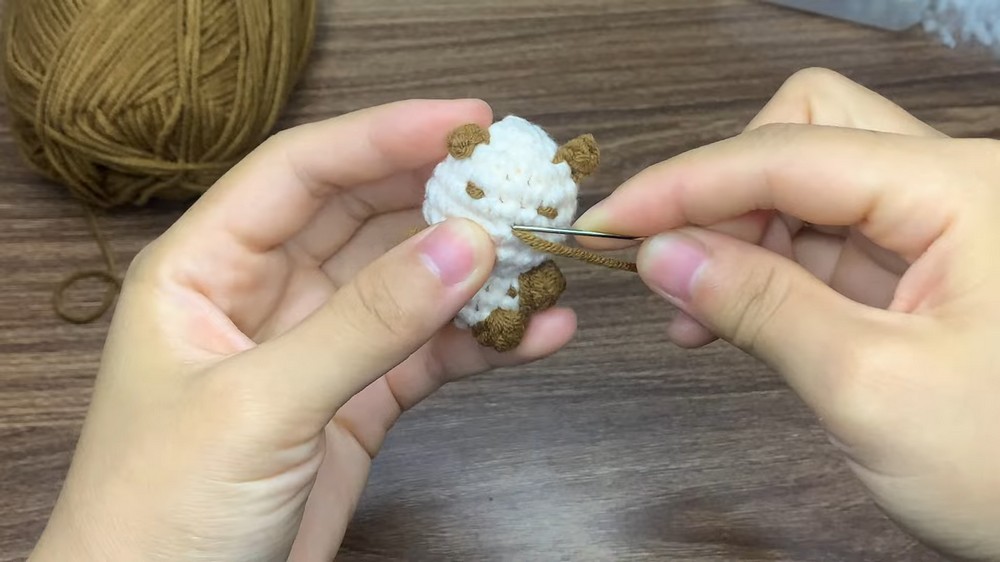
- Thread dark brown yarn onto your needle to embroider the nose on the front of the face.
- (Optional) Use a small brush to apply blush or chalk pastel around the nose/cheek area for extra cuteness.