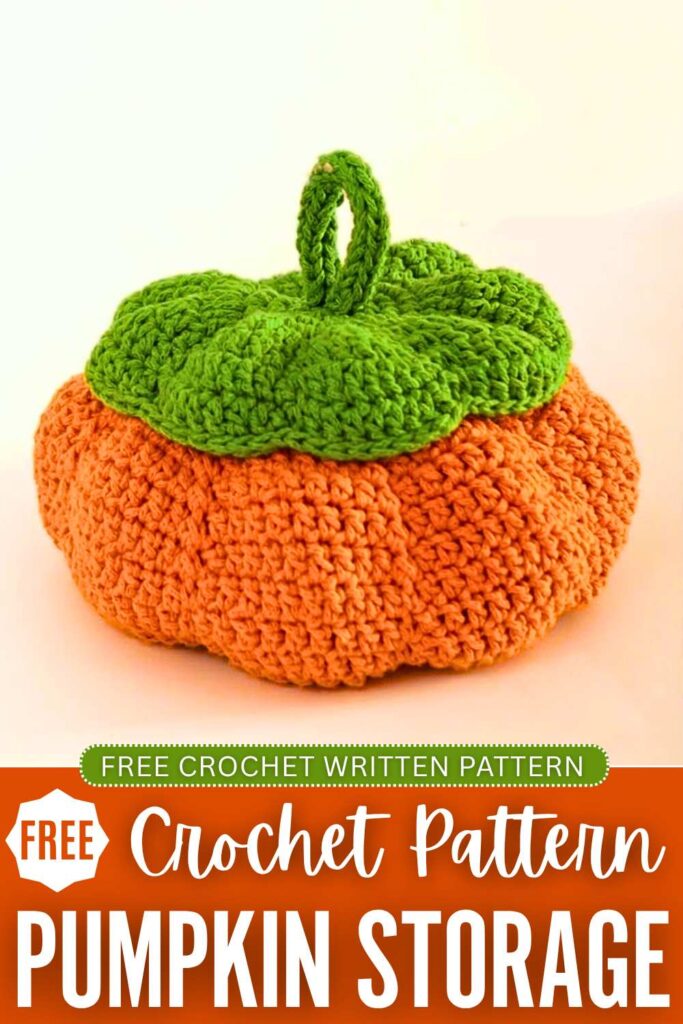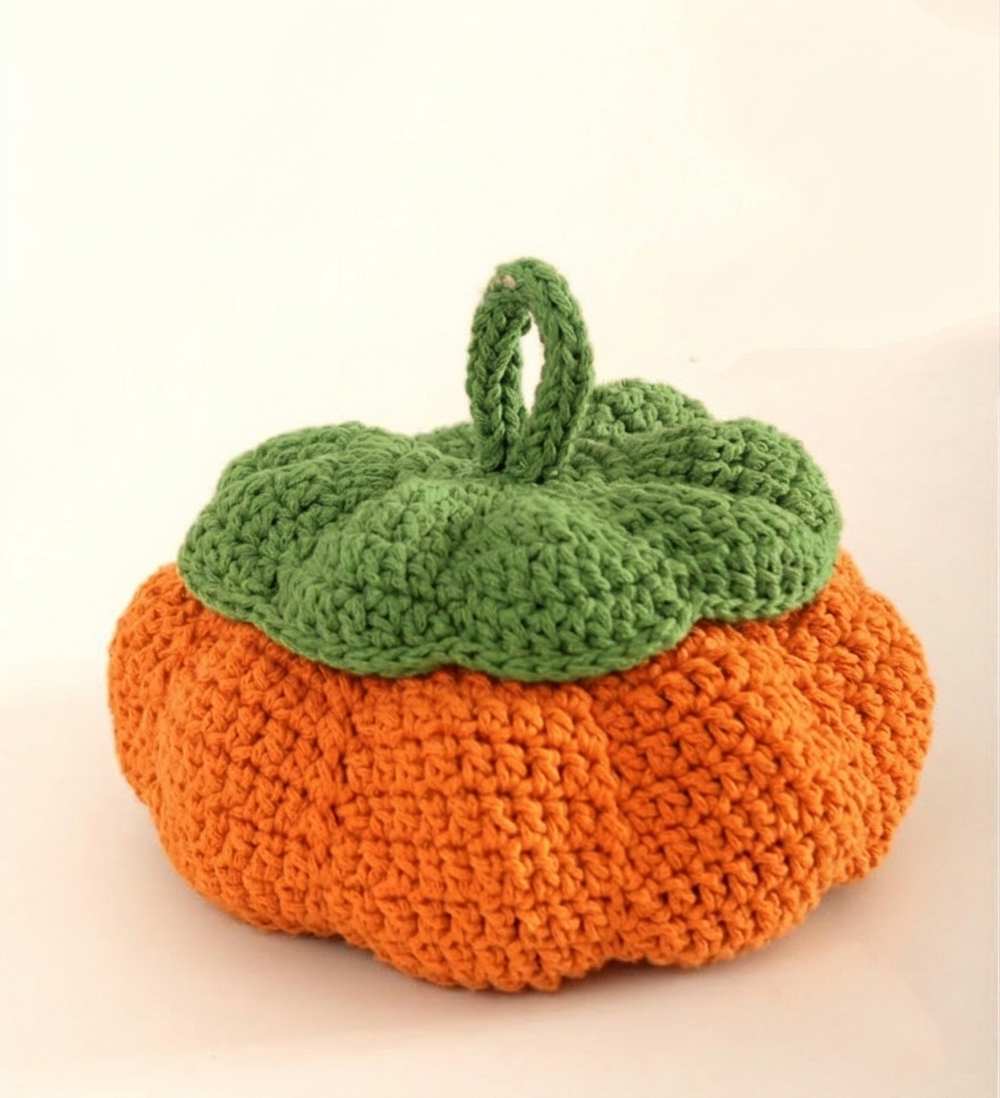
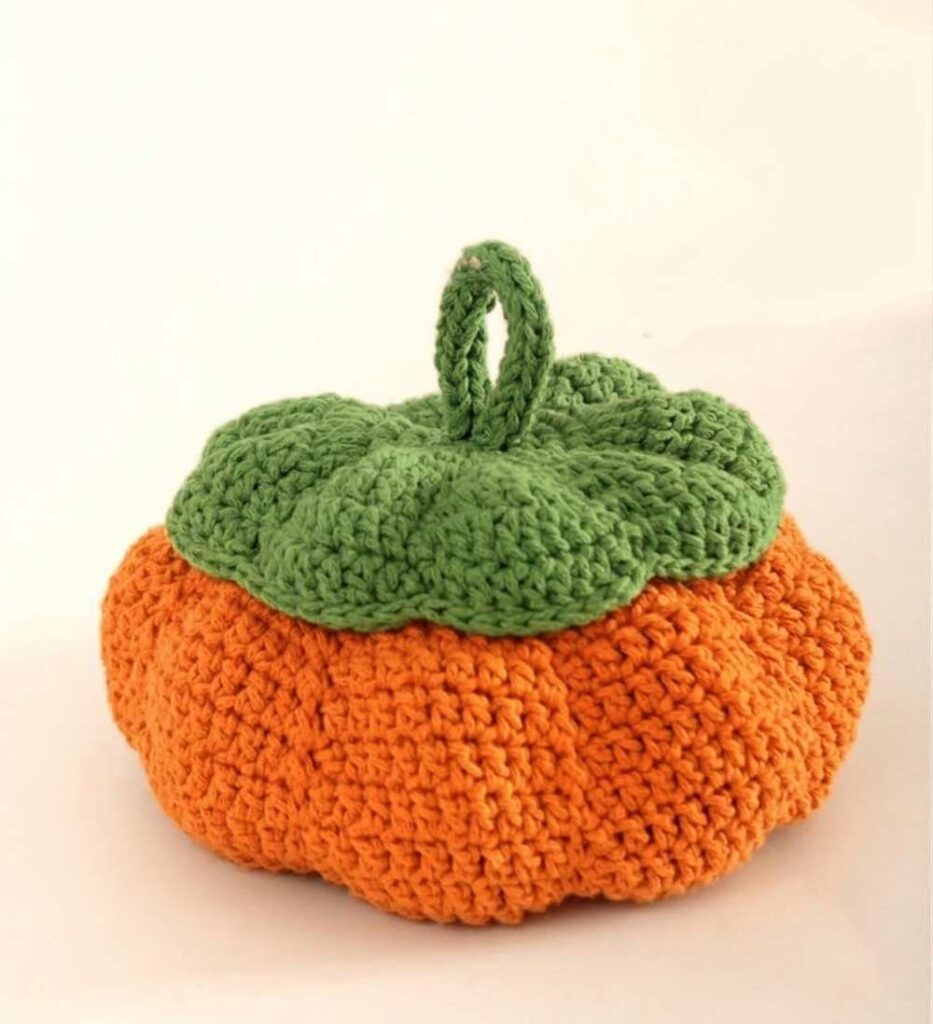
It’s time to kickstart the “crochet fall series,” and I am beginning it with this crochet UNIQUE pumpkin storage basket. It is perfect for fall treats such as dry fruits or Halloween candies. You can also crochet this pumpkin decoration as a centrepiece for the Thanksgiving dining table. Below is a full pattern to crochet this pumpkin container.
The stem lid also has a small crochet-loop handle, so this pumpkin decor is much more functional than just appealing. We shall crochet it by working in the rounds using orange and green.
You can also crochet it in just one color, or in golden yellow and light green. With the hollow cotton yarn, you get that lovely texture, and it also holds the shape well. Now, continue reading for the full pumpkin storage container pattern for fall.
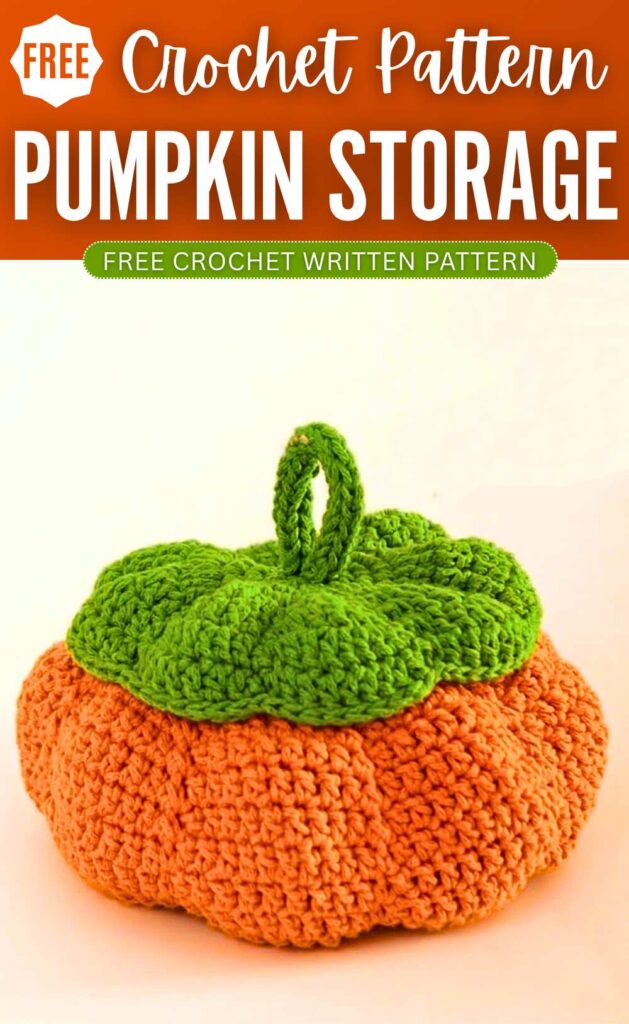
Crochet Pumpkin Storage Container: Written Instructions
This project is a beautiful pumpkin storage basket with a lid. It is very useful and pretty. The basket is shaped like a small pumpkin. You will make the bottom of the basket first, then the sides, and finish with a matching lid and a stem. The pattern is easy to follow and makes a strong basket.
Materials
- 2 mm hollow cotton yarn
- 3.5 mm crochet hook
- Stitch markers
- Tapestry needle
- Scissors
Abbreviations (US Terms)
- MR – Magic Ring
- ch – chain
- sc – single crochet
- hdc – half double crochet
- dc – double crochet
- inc – increase (2 single crochet in the same stitch)
- hdc inc – half double crochet increase (2 half double crochet in the same stitch)
- dc inc – double crochet increase (2 double crochet in the same stitch)
- dec – decrease (single crochet 2 stitches together)
- sl st – slip stitch
- st / sts – stitch / stitches
Basket Base and Body
Round 1: Make a Magic Ring and leave a long tail. Chain 1, then make 6 sc into the ring. Pull the tail to close the ring tightly. Slip stitch into the first sc to join. (6 sts)
Round 2: Chain 1. Make 1 inc in each stitch around. Slip stitch to join. (12 sts)
Round 3: Chain 1. Repeat the pattern of (1 sc, 1 inc) all the way around. Slip stitch to join. (18 sts)
Round 4: Chain 1. Repeat the pattern of (2 sc, 1 inc) all the way around. Slip stitch to join. (24 sts)
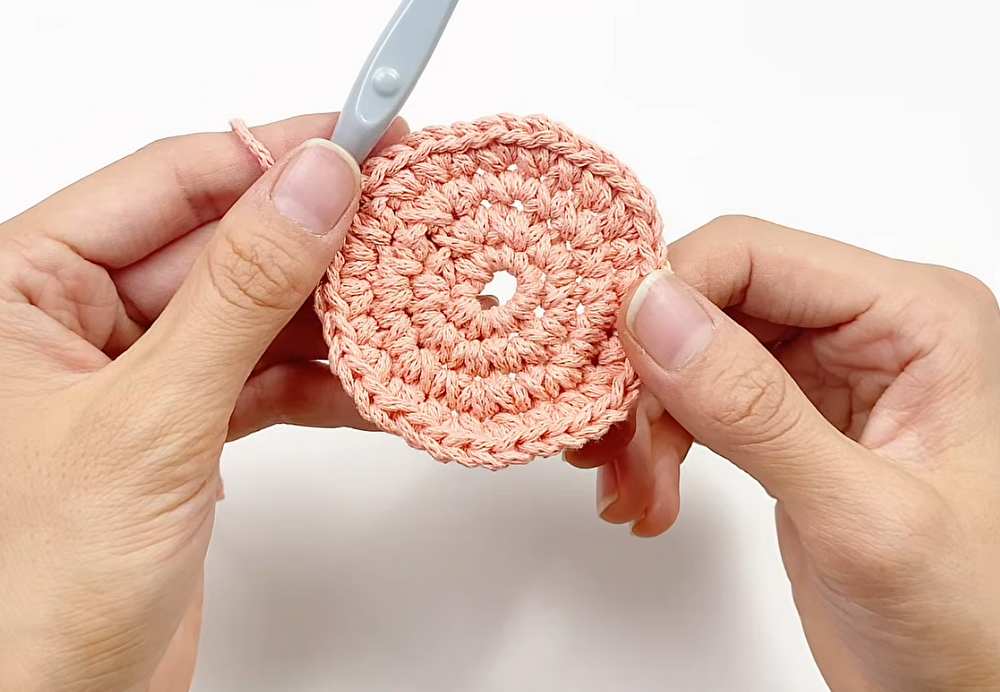
Round 5: Chain 1. Repeat the pattern of (3 sc, 1 inc) all the way around. Slip stitch to join. (30 sts)
Round 6: Chain 1. Repeat the pattern of (2 sc, 1 inc, 2 sc) all the way around. This offsets the increases for a perfect circle. Slip stitch to join. (36 sts)
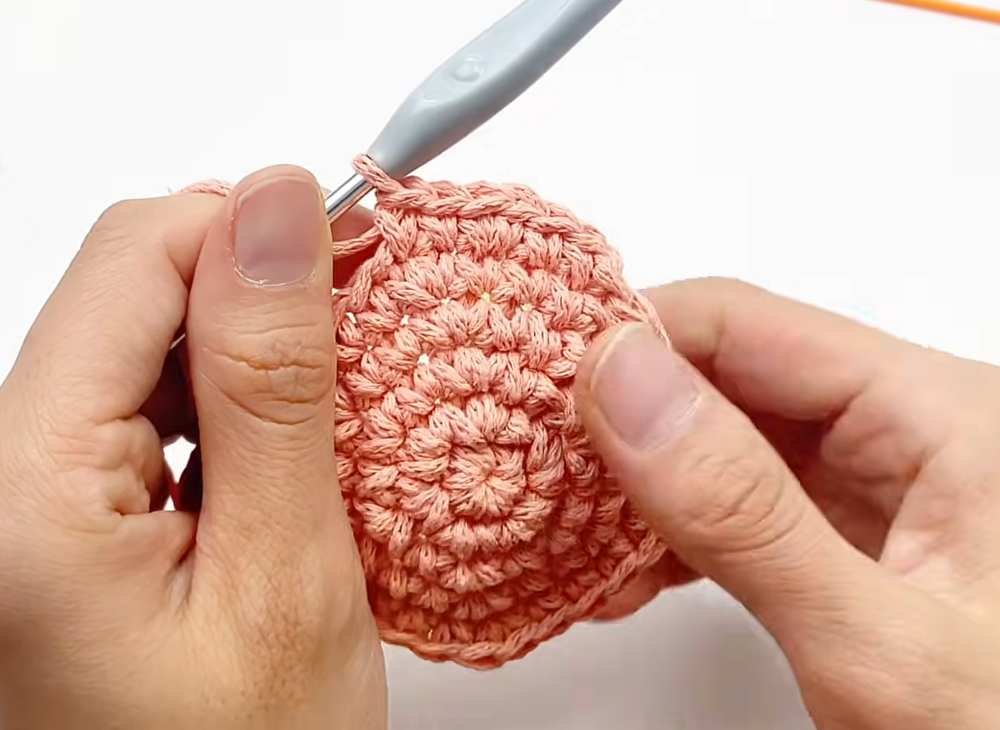
Round 7: Chain 1. Repeat the pattern of (5 sc, 1 inc) all the way around. Slip stitch to join. (42 sts)
Round 8: Chain 1. Repeat the pattern of (3 sc, 1 inc, 3 sc) all the way around. Slip stitch to join. (48 sts)
Round 9: Chain 1. Repeat the following pattern 8 times: 1 sc, 2 hdc, 1 hdc inc, 2 hdc. Slip stitch to join. (56 sts)
Round 10: Chain 1. Repeat the following pattern 8 times: 1 sc, 6 hdc. Slip stitch to join. (56 sts)
Round 11: Chain 1. Repeat the following pattern 8 times: 1 sc dec, 1 dc, 3 dc inc, 1 dc. Slip stitch to join. (72 sts)
Round 12: Chain 1. Repeat the following pattern 8 times: 1 sc, 8 dc. Slip stitch to join. (72 sts)
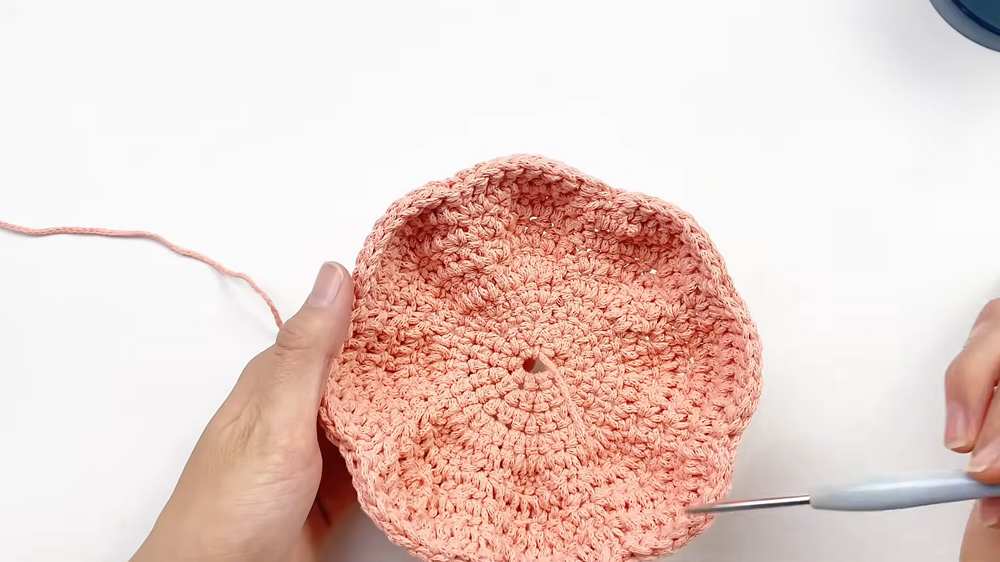
Round 13 to Round 20: For these rounds, the video tutorial uses a visual chart. You will continue to shape the basket by using a combination of sc, sc dec, and dc stitches according to the chart provided in the tutorial to form the upper curves of the pumpkin.
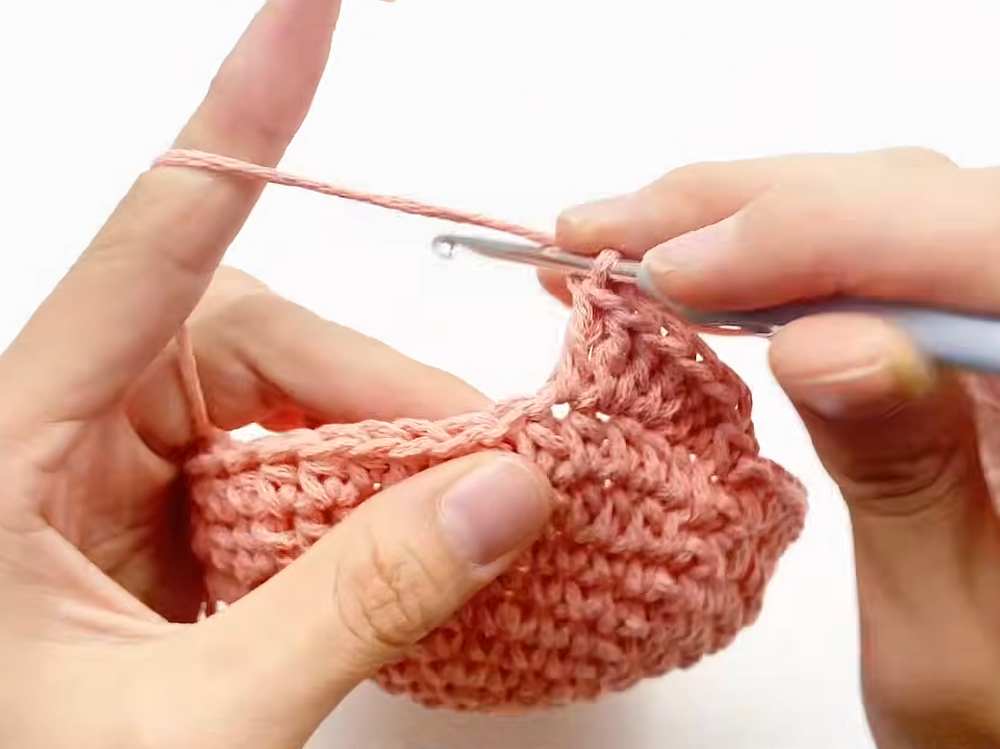
Round 21 (Border): Slip stitch in every stitch around the top edge to create a thick border. Fasten off and weave in the ends.
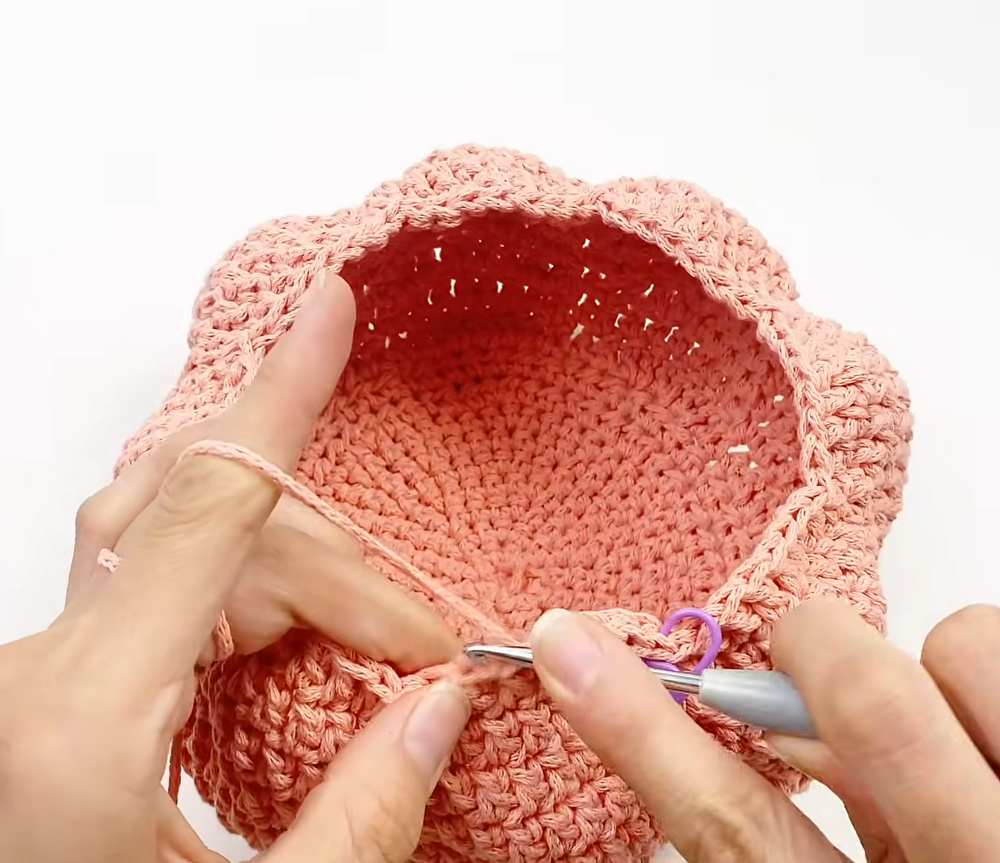
Lid
Round 1: Make a Magic Ring. Chain 1, make 8 sc into the ring. Do not pull the ring completely tight yet, as you need space to attach the stem later. Slip stitch to join. (8 sts)
Round 2: Chain 1. Make 1 inc in each stitch around. Slip stitch to join. (16 sts)
Round 3: Chain 1. Repeat the pattern of (1 sc, 1 inc) all the way around. Slip stitch to join. (24 sts)
Round 4: Chain 1. Repeat the following pattern 8 times: 1 sc, 2 inc. Slip stitch to join. (40 sts)
Round 5 to Round 8: Following the chart instructions from the tutorial, continue to expand the lid using sc, dc, and dc inc stitches to match the curves of the pumpkin basket.
Border Round: Slip stitch in every stitch around the outer edge of the lid. Fasten off and weave in the ends on the inside.
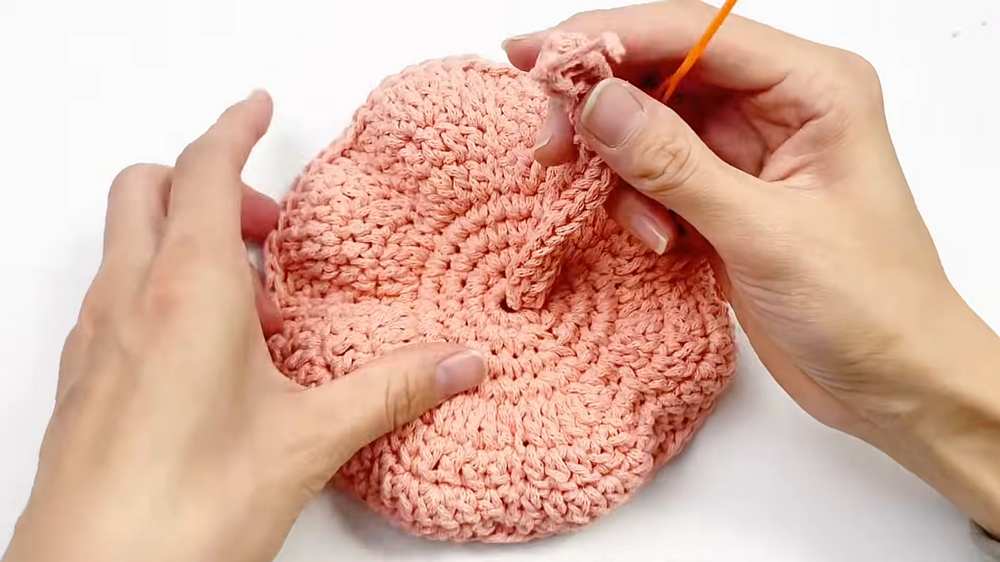
Pumpkin Stem
Step 1: Make a slip knot and chain 4.
Step 2: Turn the chain over to work in the back bumps. Insert your hook into the second bump from the hook, yarn over, and pull up a loop. Keep the loop on the hook. Repeat this for the remaining two bumps. You will have 4 loops on your hook.
Step 3: To make an I-cord, slide the first 3 loops off your hook onto a tapestry needle to hold them temporarily so they do not unravel. You will have 1 loop left on your crochet hook.
Step 4: Yarn over and pull through the single loop on your hook.
Step 5: Slip the next loop from the tapestry needle back onto your crochet hook. Yarn over and pull through that loop.
Step 6: Repeat Step 5 for the remaining two loops on the tapestry needle.
Step 7: Repeat Steps 3 through 6 continuously until the cord measures 9 centimeters long.
Step 8: To finish the stem, yarn over and pull through the first 2 loops. Yarn over and pull through the next 2 loops. Yarn over and pull through the last 2 loops.
Step 9: Cut the yarn, leaving a long tail for sewing. Pull the tail all the way through the last loop to secure it.
Assembly
Take the completed stem and push the two ends of it into the small opening in the center of the lid. Use your tapestry needle to sew the stem securely to the inside of the lid. Hide any remaining yarn tails within the stitches. Place the lid on your basket, and your beautiful project is complete.
Save for Later