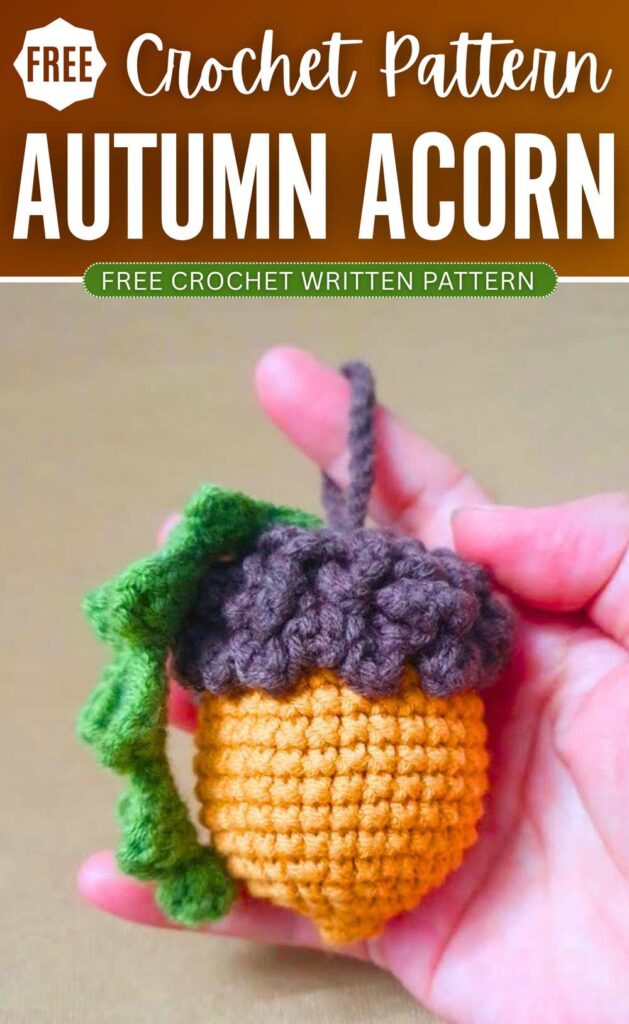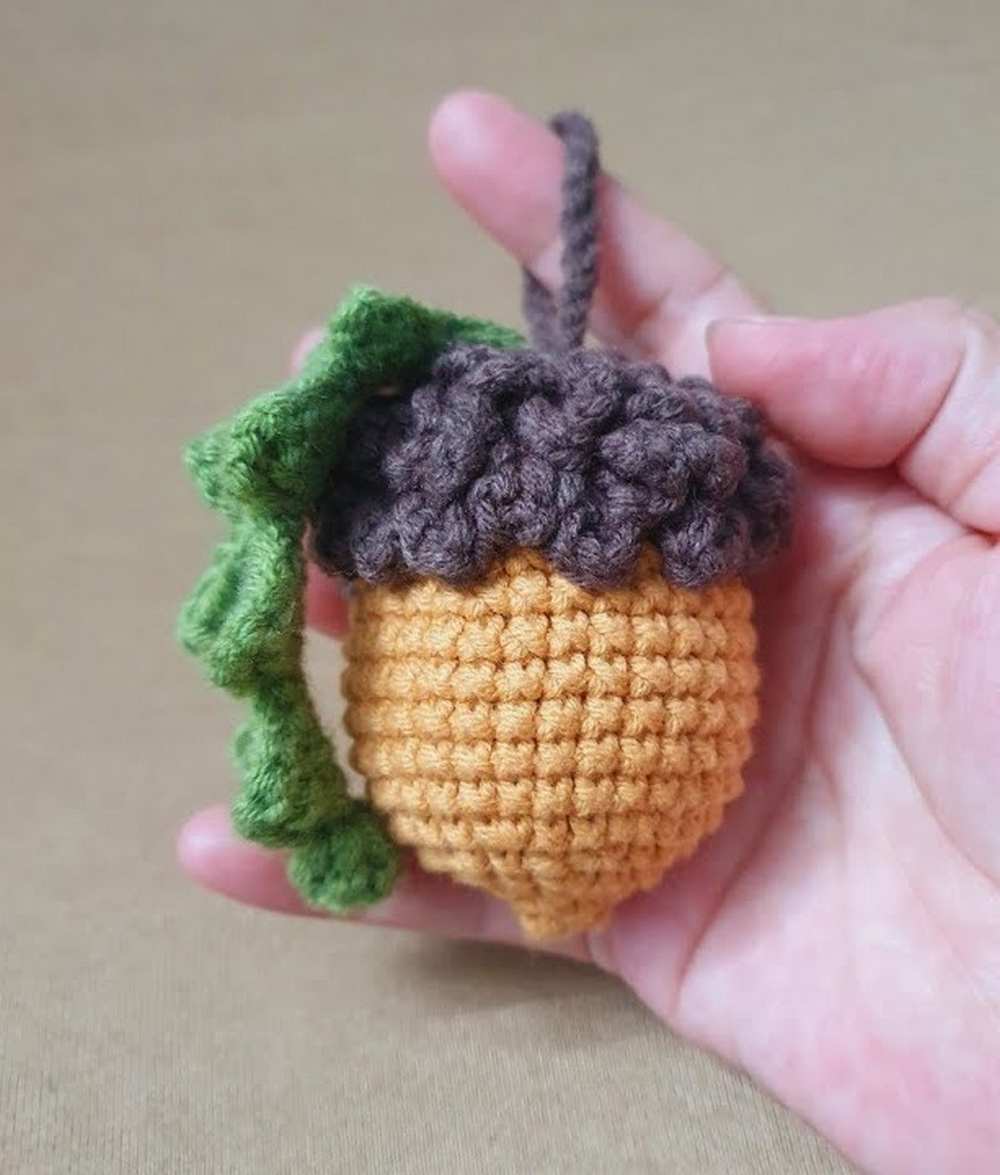
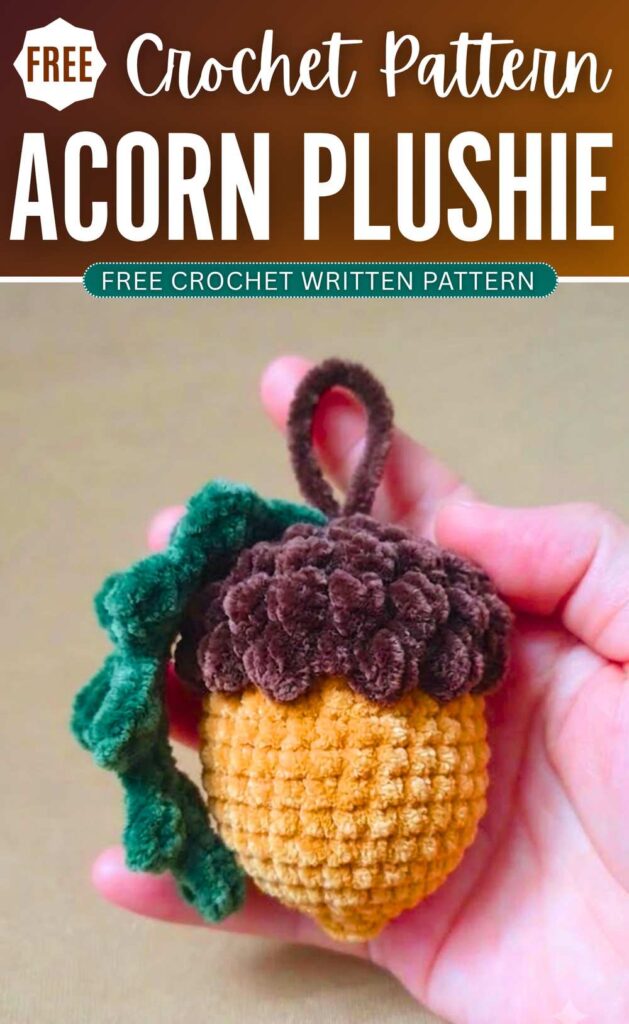
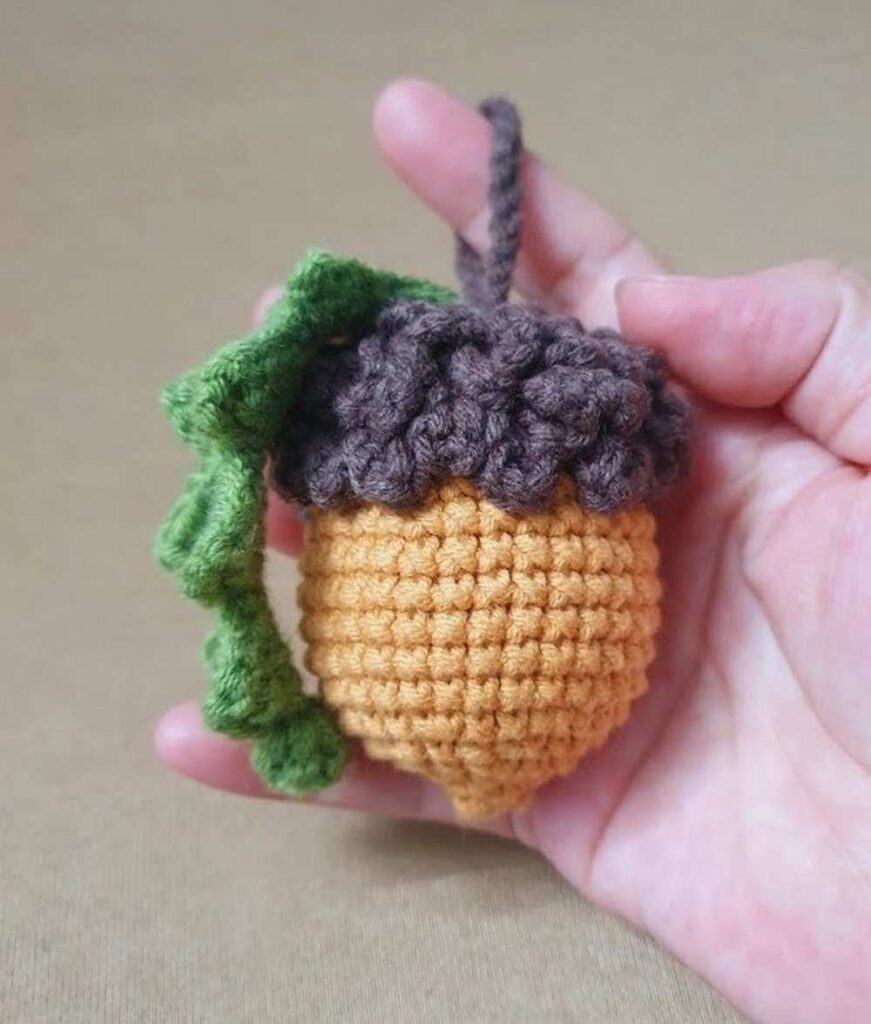
Learn how to crochet a no-sew & life-like mini acorn plushie with an oak leaf following this FREE written pattern. This autumn acorn plush can also be crocheted as an amigurumi acorn, just like the crochet fall ribbed pumpkin. We also have a crochet hanging loop to use as an acorn bag charm for your fall tote bag.
You will love the realistic texture of the cap of this acorn plush, which is just done by working sc in the BLO of the finished acorn body.
If you are using the plush yarn, you can also just cut a piece of yarn and use it as a hanging loop. But for the cotton yarn or amigurumi version, you will also learn how to crochet a chain stitch hanging loop. Overall, this amigurumi acorn will be easy for beginners. Now, continue reading for the full acorn plush pattern.
Crochet No-Sew Acorn Amigurumi: Written Instructions
This project makes a small acorn. You can use it to decorate your Christmas tree or use it as a keychain. First, you will crochet the bottom part of the acorn.
Then you will make the top cap. After that, you will make a special wavy edge for the cap. Finally, you will crochet a big oak leaf and sew it to the top of the acorn. The steps are simple and easy to follow.
Materials You Will Need
- Yarn: You will need medium-weight yarn. Choose a light brown color for the acorn nut, a dark brown color for the cap, and a green color for the oak leaf.
- Crochet Hook: Use a hook that matches your yarn. A 2.5 mm or 3.0 mm hook is a good choice.
- Stuffing: You will need fiberfill stuffing to fill the acorn.
- Tools: You will also need scissors, a tapestry needle to sew the parts together, and a stitch marker to keep track of your rows.
Abbreviations Used
- MR: Magic Ring
- ch: Chain
- sc: Single Crochet
- hdc: Half Double Crochet
- dc: Double Crochet
- tr: Treble Crochet
- inc: Increase (put two single crochets in the same stitch)
- dec: Decrease (join two single crochets together into one)
- sl st: Slip Stitch
- BLO: Back Loop Only st / sts: Stitch / Stitches
Acorn Body Pattern
Round 1: Start with the light brown yarn for the nut. Make a Magic Ring. Work 6 sc into the ring. Pull the yarn tight to close the circle. You have 6 stitches.
Round 2: Work 2 sc into every stitch around. This means you will make an increase in each stitch. You now have 12 stitches.
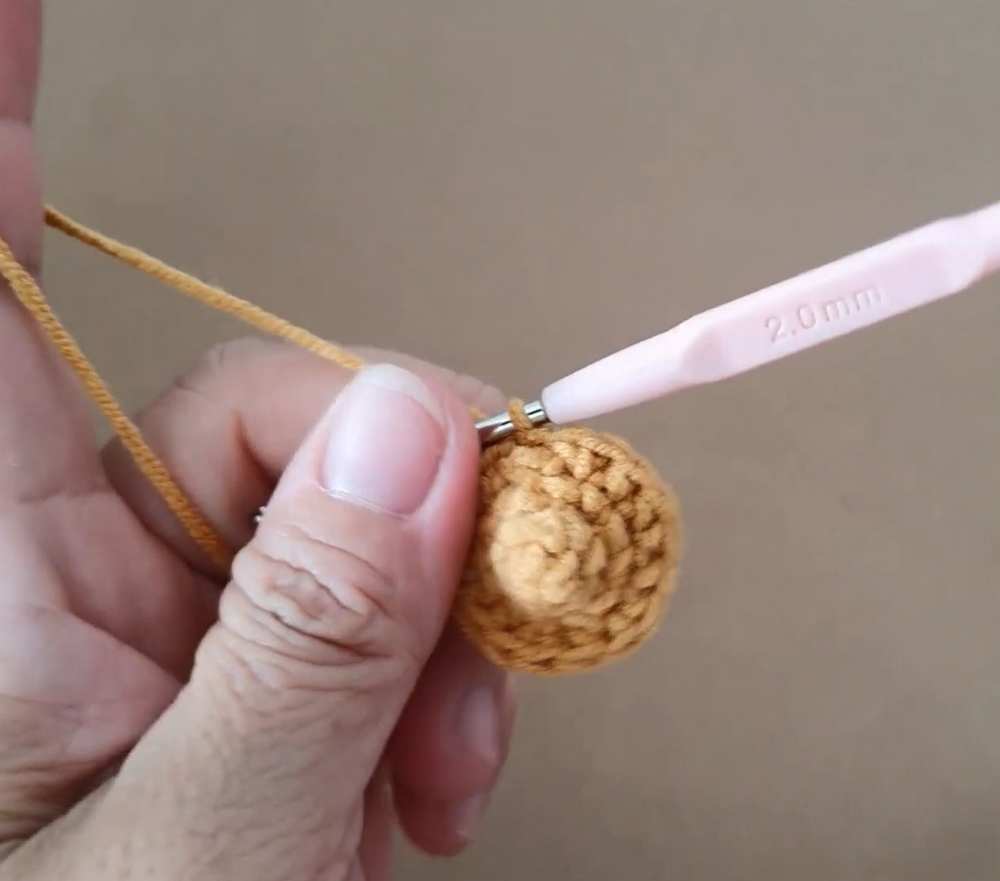
Round 3: Work a pattern of 1 sc in the first stitch, then 1 inc in the next stitch. Repeat this all the way around the row. You now have 18 stitches.
Round 4: Work a pattern of 2 sc, then 1 inc. Repeat this all the way around the row. You now have 24 stitches.
Round 5: Work a pattern of 3 sc, then 1 inc. Repeat this all the way around the row. You now have 30 stitches.
Round 6: Work 14 sc, then 1 inc. Work another 14 sc, then 1 inc. You now have 32 stitches.
Round 7 to Round 12: Work 1 sc in every stitch around. Do this for 6 full rounds. The stitch count stays at 32 stitches.
Round 13: Work a pattern of 3 sc, then 1 dec, then 3 sc. Repeat this group 4 times all the way around the row. You now have 28 stitches.
Round 14: Work 1 sc in every stitch around. You still have 28 stitches.
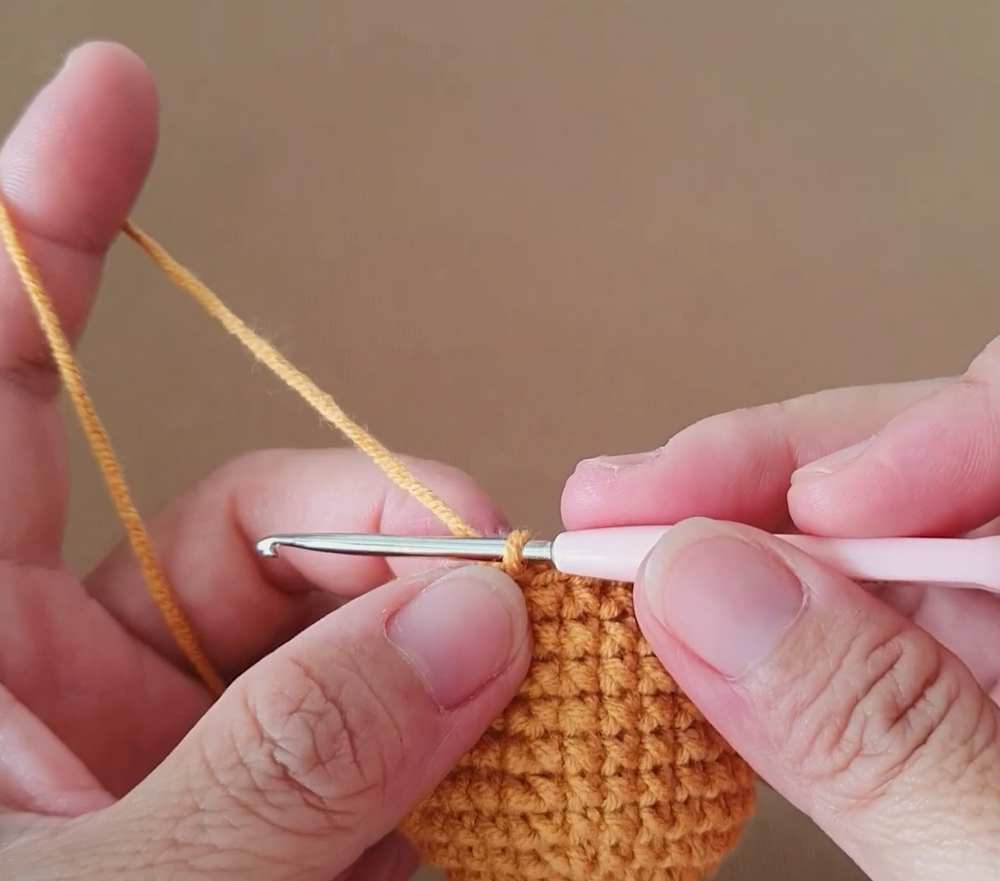
Round 15: Change your yarn to the dark brown color for the cap. You will work this entire round in the Back Loop Only (BLO). Work a pattern of 5 sc, then 1 dec. Repeat this 4 times around. You now have 24 stitches.
Round 16: Work this round in the Back Loop Only (BLO) as well. Work a pattern of 2 sc, then 1 dec. Repeat this 6 times around. You now have 18 stitches.
Round 17: Work a pattern of 1 sc, then 1 dec. Repeat this 6 times around. You now have 12 stitches.
Stuffing: Stop here and fill the acorn firmly with your fiberfill stuffing. Make sure the shape is smooth and full.
Closing: Cut the yarn but leave a long tail. Use your tapestry needle to weave the tail through the front loops of the last 12 stitches. Pull tight to close the top hole. Tie a knot and hide the extra yarn inside the acorn.
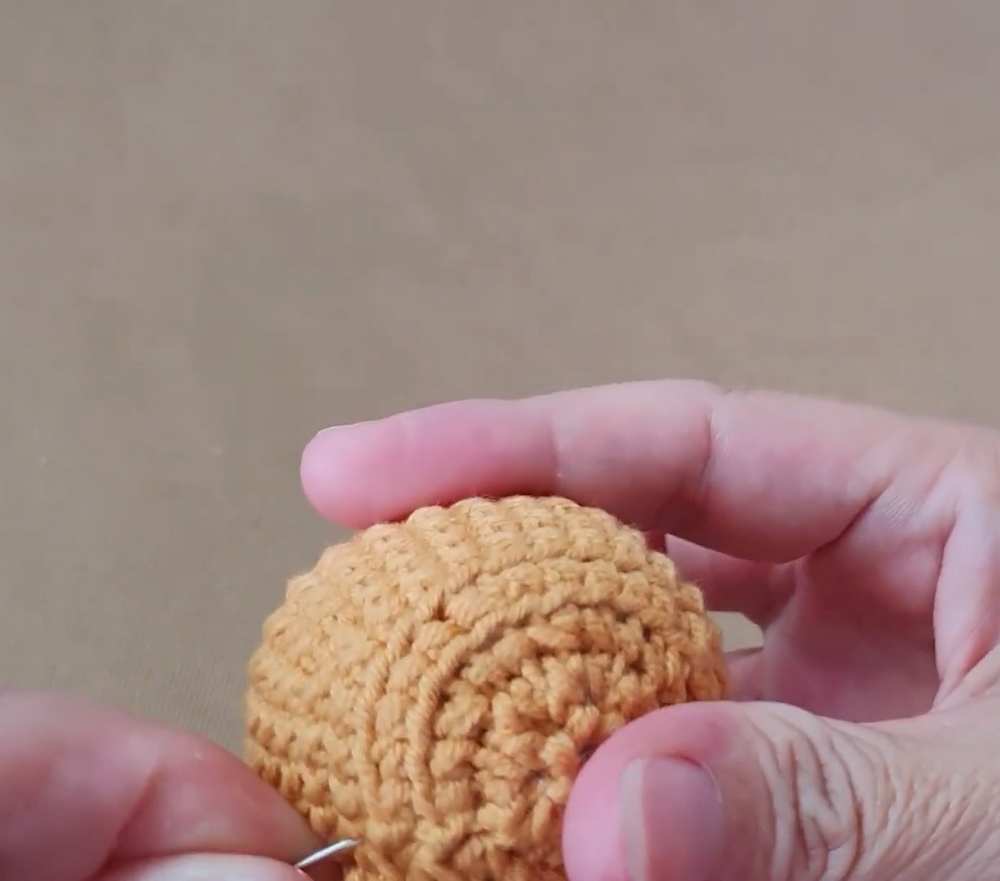
Acorn Cap Edge
Step 1: Look at Round 15 where you crocheted in the back loops. You will see an empty line of front loops. Attach your dark brown yarn to the first front loop.
Step 2: Chain 5 stitches.
Step 3: Skip the stitch where you just attached the yarn, and make 1 sc in the next stitch.
Step 4: Chain 5 stitches, and make 1 sc in the next stitch.
Step 5: Repeat Step 4 all the way around the acorn. This will make a wavy edge for the cap. When you reach the end, make a slip stitch to finish. Cut the yarn and hide the ends.
Hanging Loop for Keychain
Attach a piece of dark brown yarn to the very top center of the acorn cap. Chain 25 stitches. Make a slip stitch back into the exact same spot where you attached the yarn. Tie a secure knot and hide the ends inside the cap. You now have a loop to hang your acorn.
Oak Leaf Pattern
The Foundation: Start with the green yarn. Chain 24 stitches.
The Stem: Turn your work. Look for the 5th chain from your hook. Make 1 sl st in that chain. Make 1 sl st in each of the next 4 chains. You have made 5 slip stitches total for the stem.
Side 1 of the Leaf
Small Point: In the next chain, make 1 hdc. In the next chain, work 1 dc, chain 3, and 1 sl st all into that same space.
Large Point 1: In the next chain, make 1 sc. In the next chain, make 1 hdc. In the next chain, make 1 dc. In the next chain, work 1 tr, chain 4, and 1 sl st all into that same space.
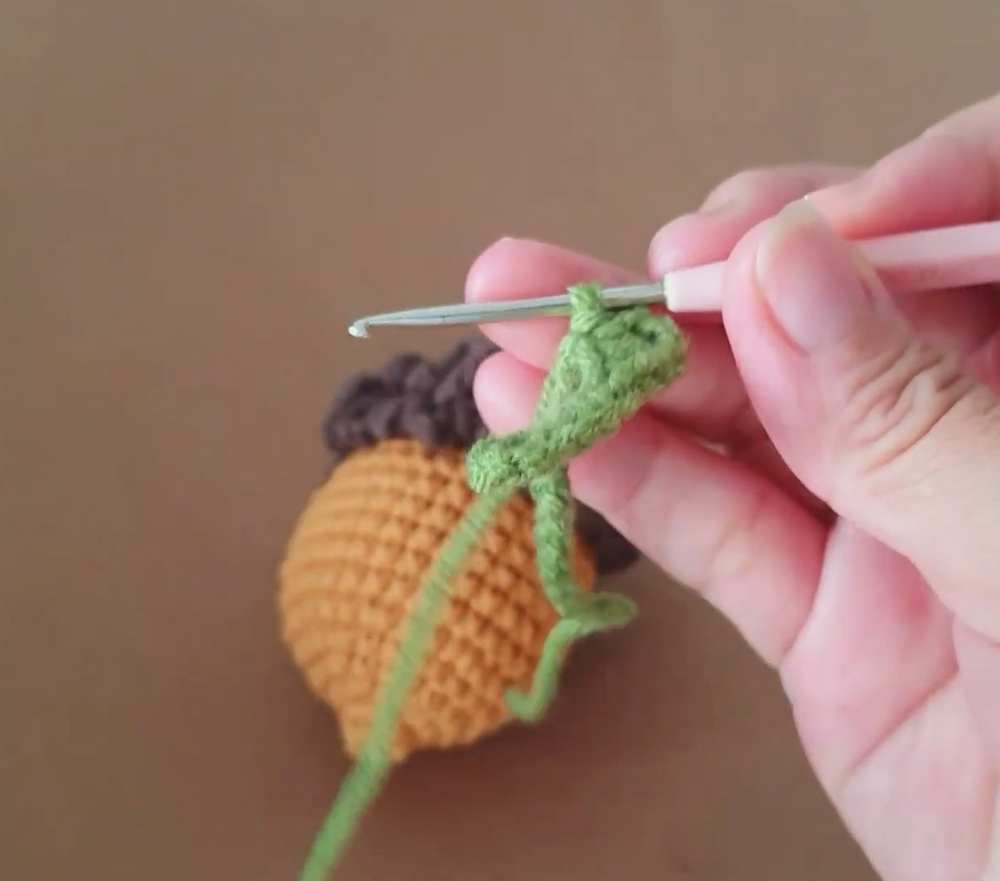
Large Point 2: In the next chain, make 1 sc. In the next chain, make 1 hdc. In the next chain, make 1 dc. In the next chain, work 1 tr, chain 4, and 1 sl st all into that same space.
Large Point 3: In the next chain, make 1 sc. In the next chain, make 1 hdc. In the next chain, make 1 dc. In the next chain, work 1 tr, chain 4, and 1 sl st all into that same space.
Top Tip of the Leaf: You are now at the last chain on your row. Work 1 sl st, chain 3, 4 dc, chain 3, and 1 sl st all into this single final chain.
Side 2 of the Leaf
You will now work down the opposite side of your starting chain to make the leaf balanced.
Large Point 1: Make 1 sl st into the next stitch. Chain 4, and make 1 tr in that exact same stitch. In the next stitch, make 1 dc. In the next stitch, make 1 hdc. In the next stitch, make 1 sc.
Large Point 2: Make 1 sl st into the next stitch. Chain 4, and make 1 tr in that exact same stitch. In the next stitch, make 1 dc. In the next stitch, make 1 hdc. In the next stitch, make 1 sc.
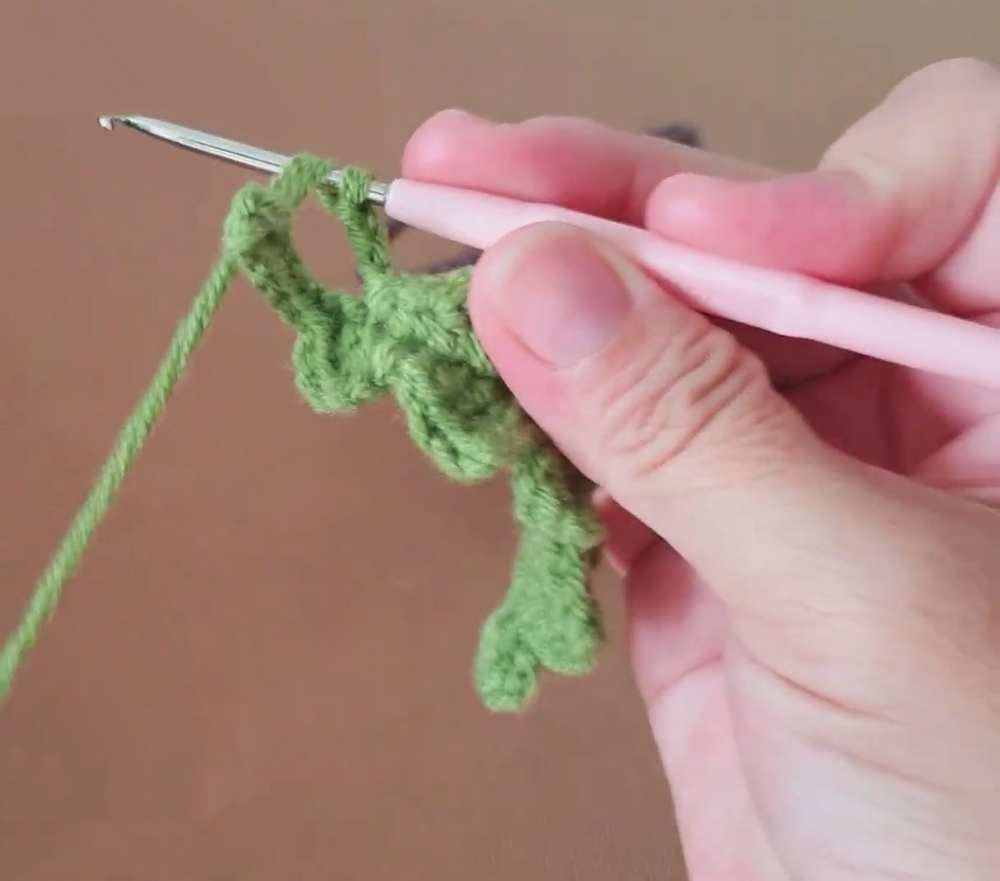
Large Point 3: Make 1 sl st into the next stitch. Chain 4, and make 1 tr in that exact same stitch. In the next stitch, make 1 dc. In the next stitch, make 1 hdc. In the next stitch, make 1 sc.
Small Point: Make 1 sl st into the next stitch. Chain 3, and make 1 dc in that exact same stitch. In the next stitch, make 1 hdc. In the next stitch, make 1 sc.
Finishing the Stem: Make 1 sl st in each of the last 5 stitches down the stem. Fasten off and cut the green yarn. Leave a long tail of yarn to sew the leaf.
Final Assembly
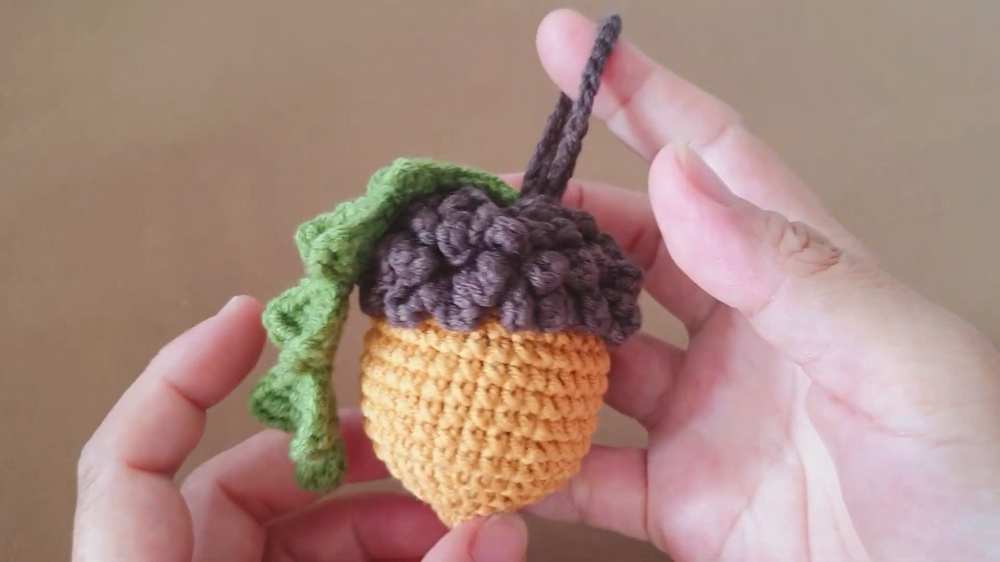
Thread the long green tail from the leaf into your tapestry needle. Place the stem of the leaf on top of the acorn cap right next to the hanging loop. Sew the leaf firmly in place. Hide all loose threads inside the acorn body. Your acorn is now finished.
Save for Later!