
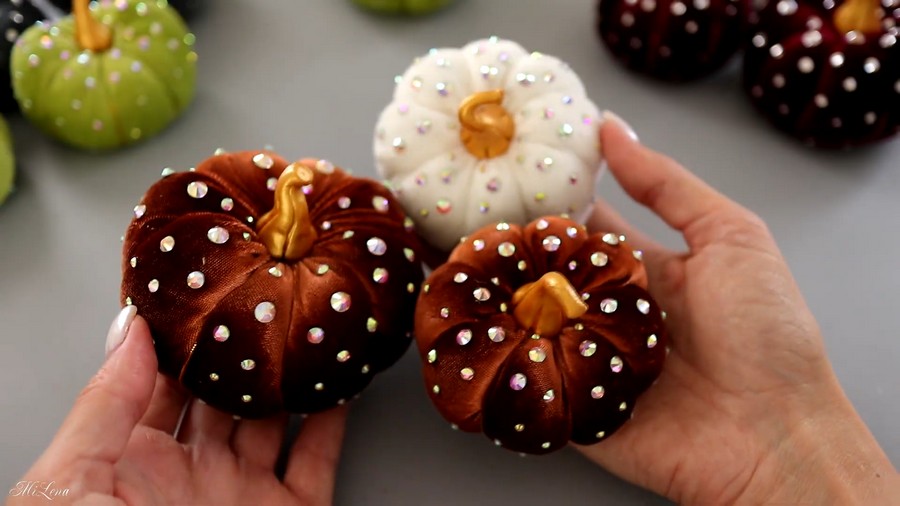
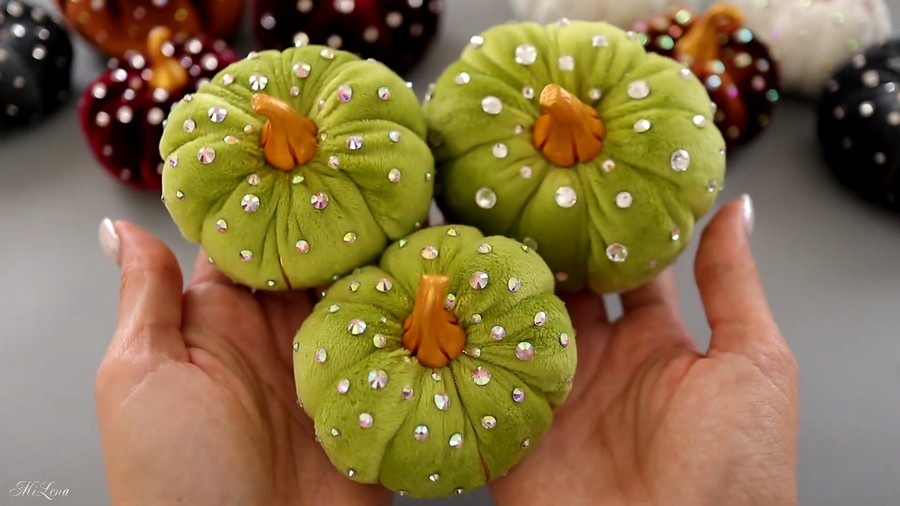
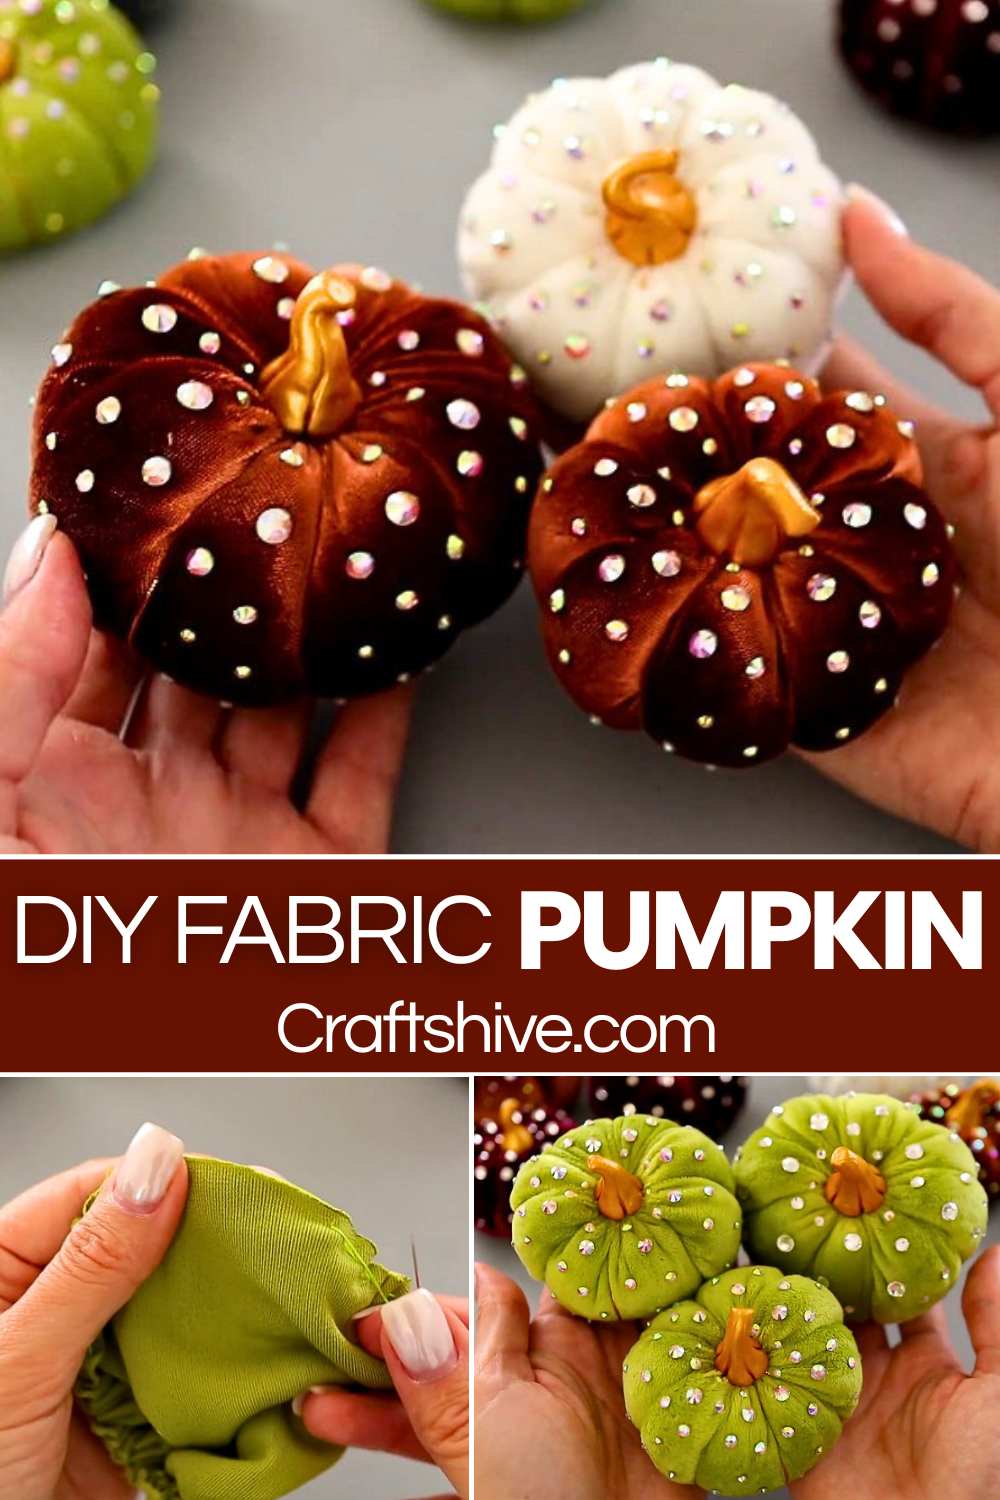
Let’s DIY the MOST ELEGANT fall pumpkin of this year with a step-by-step guide! Introducing the DIY velvety fabric pumpkin plushies that are sparkling, shiny, soft, decorative, and gift-ready! You can make these pumpkins for a fall festival decoration, as a Halloween centerpiece, and even sell them at craft fairs.
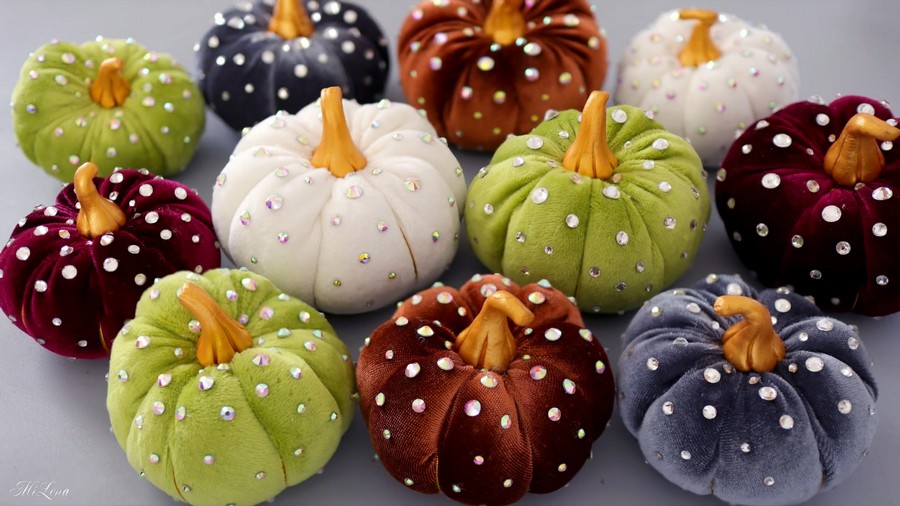
These DIY pumpkins are decorated with rhinestones & a painted golden stem. You can make them with velvet fabric in non-traditional colors such as dark brown, light green, and white.
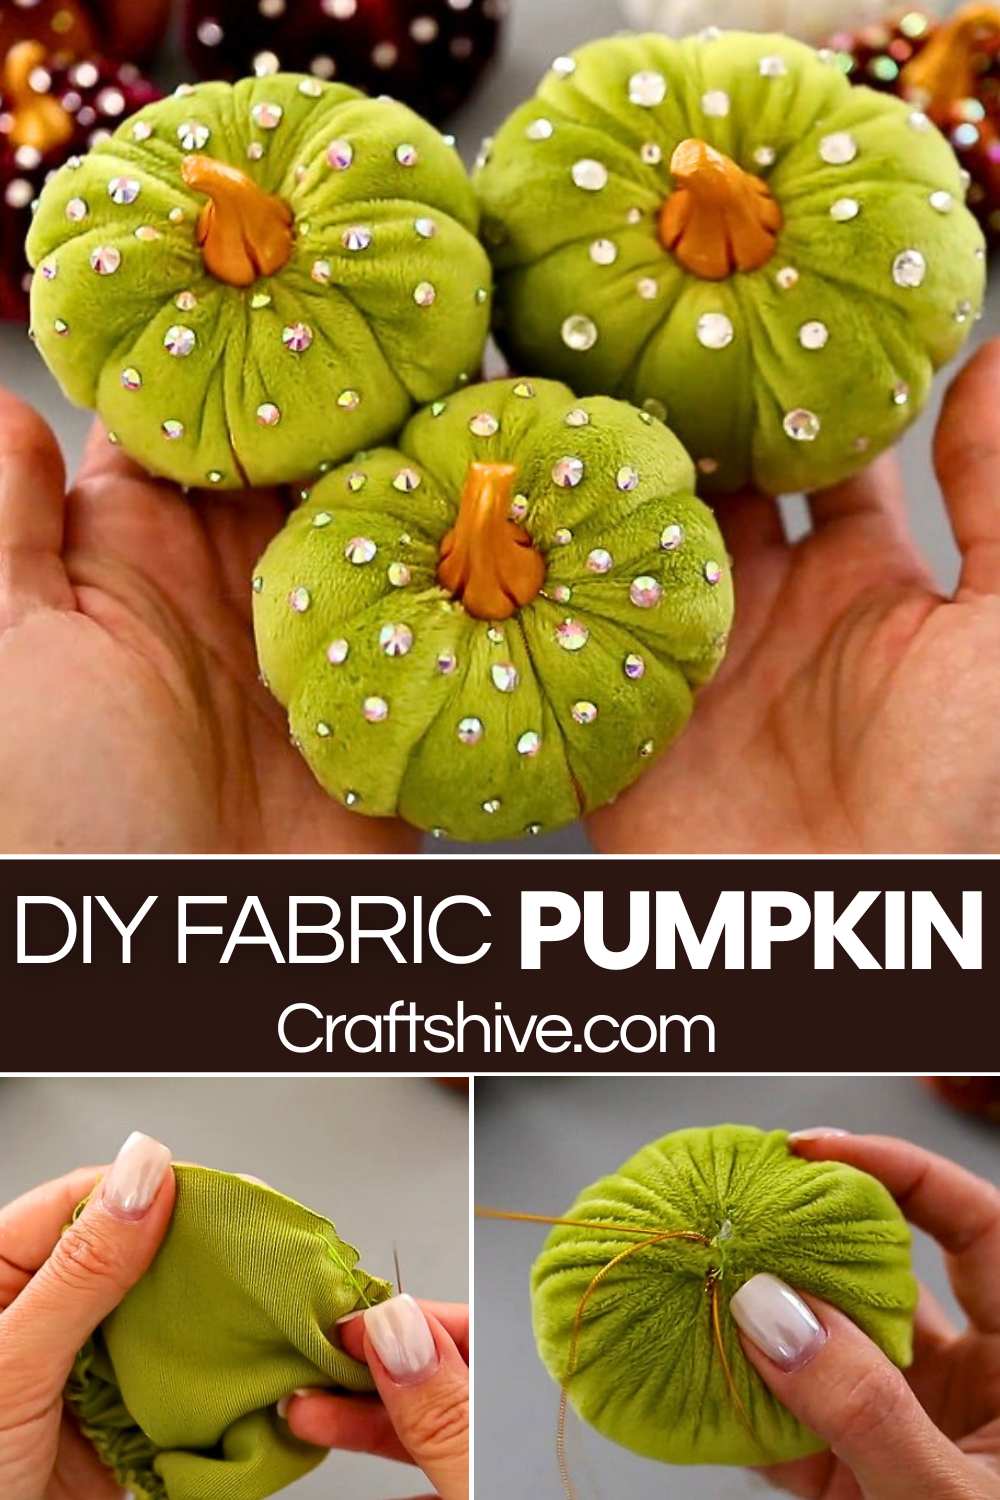
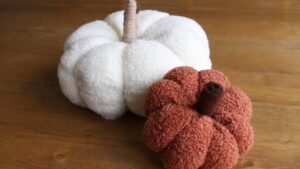
These are quick pumpkin pincushions that you will make using the same method as we used for making the teddy pumpkins. You only need to cut the fabric and sew using the needle and some thread. Anyway, continue reading for the full DIY pumpkin pattern in this tutorial.
[ez-toc]
DIY Glam Velvet Pumpkins: A Step-by-Step Autumn Decor Guide
Autumn decor doesn’t always have to be rustic! If you want elegance and sparkle in your fall decorations, these bright, iridescent velvet pumpkins adorned with rhinestones are the perfect DIY project.
In this guide, we will walk you through how to craft these luxurious little pumpkins using velour, golden cords, and polymer clay.
Materials You Will Need:
-
Fabric: Velour or elastic velvet.
-
Stuffing: Polyester fiberfill or your preferred craft filler.
-
Thread & Needle: For gathering the fabric and adjusting the shape.
-
Golden Cord: To create the pumpkin segments.
-
Rhinestones: Sizes 30, 20, 16, and 10.
-
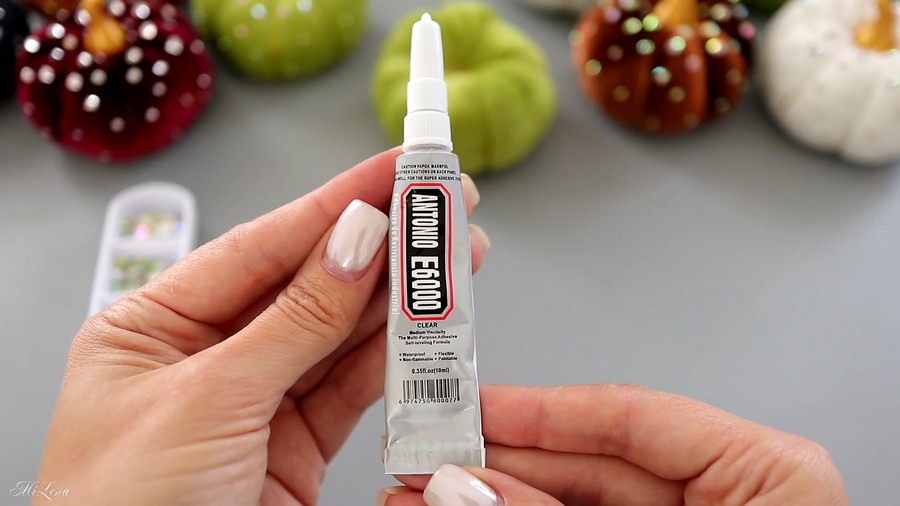
Rhinestone Glue: E6000 craft glue is highly recommended.
-
Stem Material: Airy (lightweight) polymer clay.
-
Paint: Gold acrylic paint.
-
Paper & Scissors: For making your circle template.
Beginner?
Better learn the fabric cutting and pumpkin assembly with the following tutorial:
Step-by-Step Instructions
Step 1: Cut and Prepare the Fabric Base
First, you need to create a template for your pumpkin. Draw a perfect circle on a piece of paper – you can make this circle either 16 cm or 20 cm in diameter depending on how large you want your finished pumpkin to be.
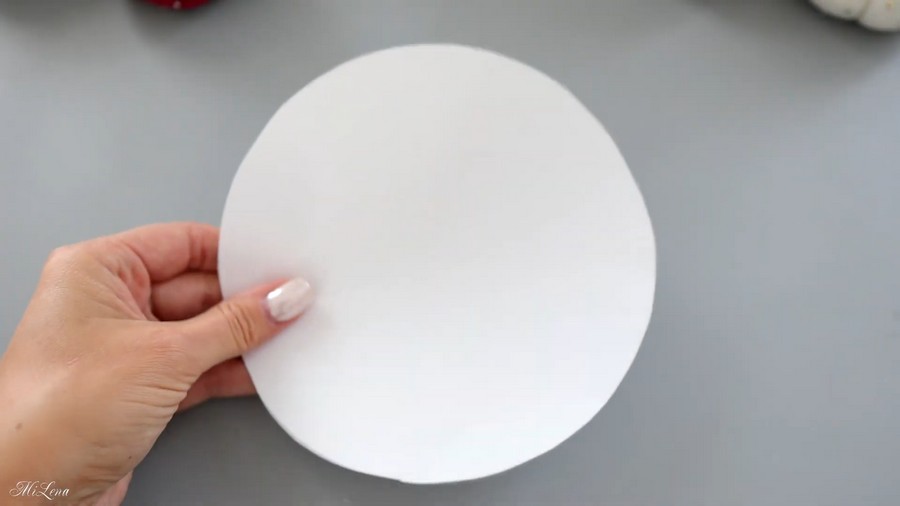
Once your paper template is cut out, place it over your velour or velvet fabric and trace it.
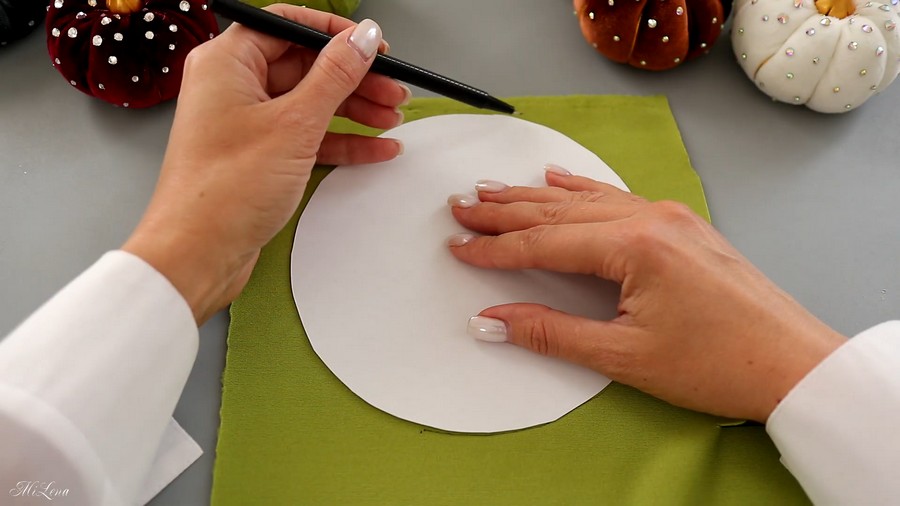
Cut the fabric out carefully. Using a needle and thread, sew a simple basting stitch (in-and-out weave) all the way around the outer edge of the fabric circle.
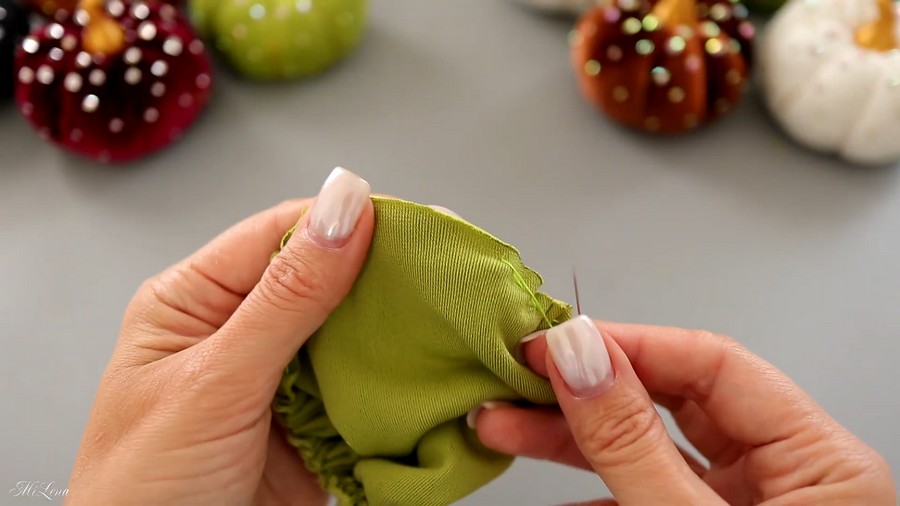
Step 2: Stuff and Close the Pumpkin
Place a generous handful of your filler into the center of the fabric circle. Pull the thread tight to gather the edges together, enclosing the stuffing inside the fabric. Tie off and sew the opening securely closed.
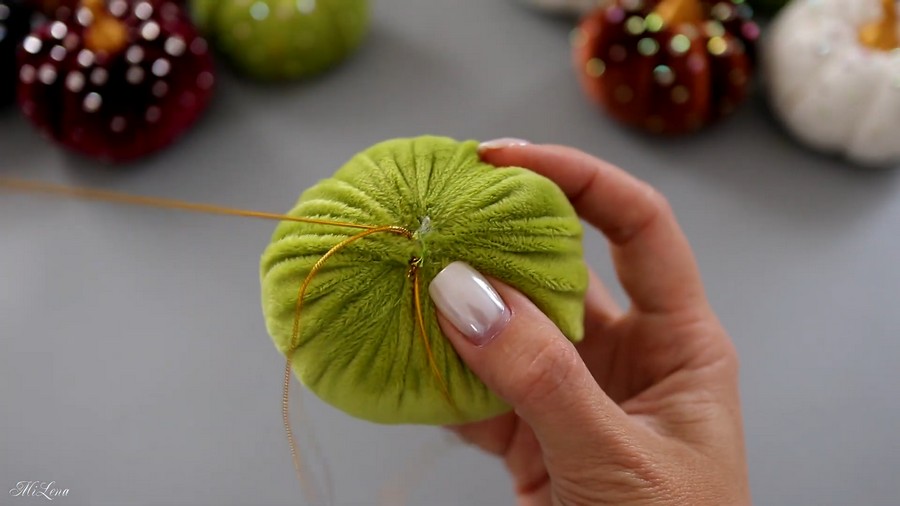
Step 3: Create the Pumpkin “Slices”
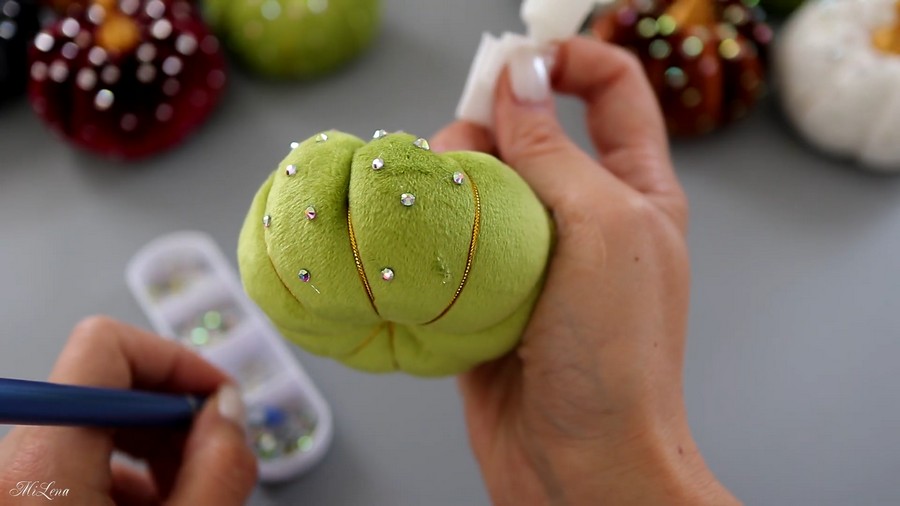
To give your fabric ball that classic ribbed pumpkin look, you will use your golden cord. Secure one end of the cord at the top center of the pumpkin.
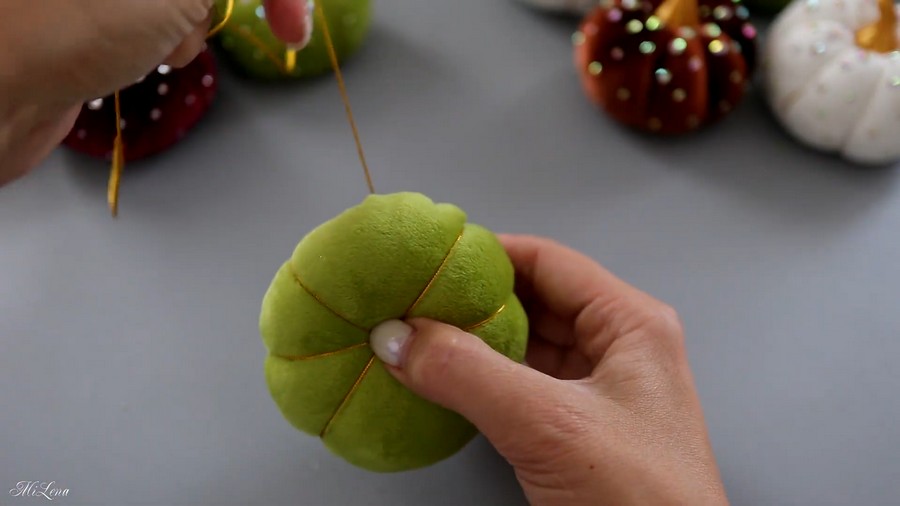
Wrap the cord tightly down the side, under the bottom, and back up to the top, pulling slightly to create deep indentations. Repeat this process until you have created 6 to 8 even slices.
Pro Tip: Once your cord is tied off, insert a needle through the top center to gently lift and distribute the inner filler, plumping up the individual segments for a perfectly rounded look.
Step 4: Add the Rhinestone Glamour
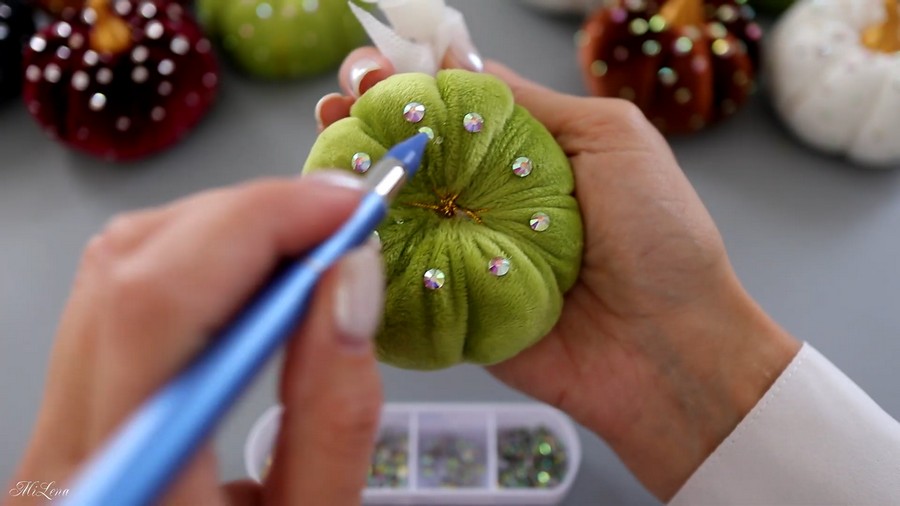
Now it’s time to make your pumpkin sparkle! Using E6000 glue, carefully attach a scattering of rhinestones across the velvet surface.
-
For a large 20 cm pumpkin: Incorporate larger size 30 rhinestones into your design.
-
For a smaller 16 cm pumpkin: Stick to a mix of smaller sizes, specifically sizes 20, 16, and 10.
Step 5: Sculpt the Stem
No pumpkin is complete without a stem! For this elegant look, use “airy” polymer clay – a lightweight, flexible clay that doesn’t stain your hands.
-
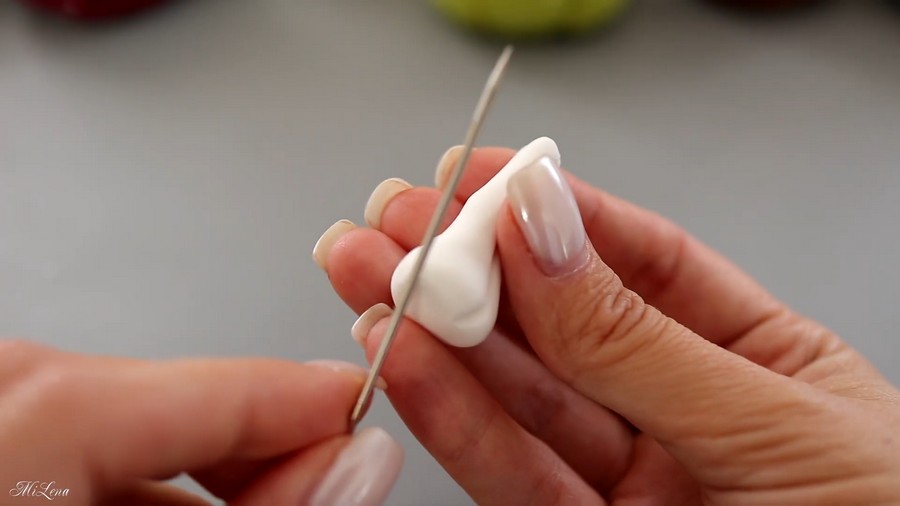
Take a small lump of the clay and roll it between your fingers to form a thin tail.
Flatten the bottom of the stem so it can sit flush against the pumpkin.
-
Instead of drawing lines, simply press the side of a needle into the clay all the way down the length of the stem to create realistic, textured indentations.
-
Give the stem a slight curve or twist for character and set it aside to dry completely.
Step 6: Paint and Assemble
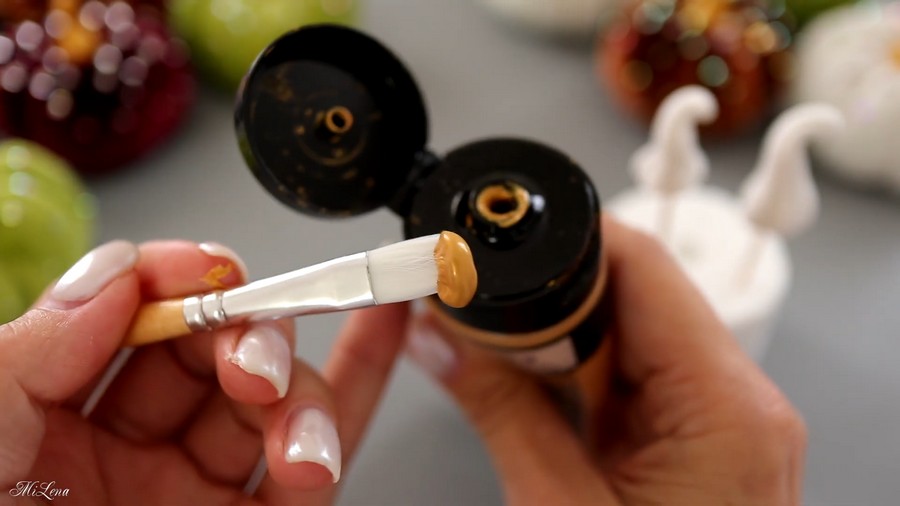
Once the clay stem has fully dried, coat it with gold acrylic paint. Applying two coats of paint will give it a rich, opaque metallic finish. Allow the paint to dry.
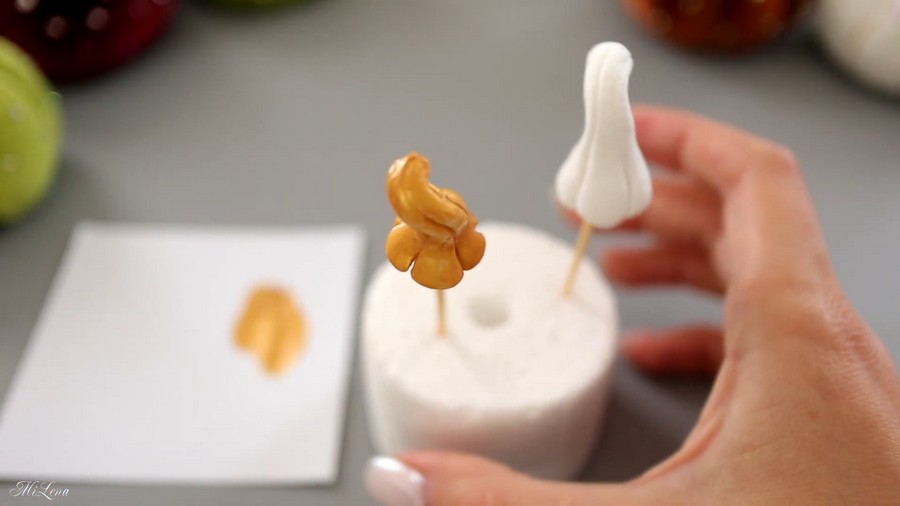
Finally, apply glue to the flat bottom of your gold stem and secure it to the gathered top center of your pumpkin.
And you are done! You now have a gorgeous, glamorous velvet pumpkin. These look incredible clustered together on a mantle, as a dining table centerpiece, or scattered around a cozy living room. Mix and match different velvet colors to perfectly fit your home’s aesthetic!
About "MiLena"

About "Talha"
Hey, I’m Talha, the Crafter on Craftstive.com. I love to share guides on folding cute origami models and paper crafts, and I am always ready to inspire your next craft project with my weekly craft discussions.