Subscribe to magicofcreativity233!
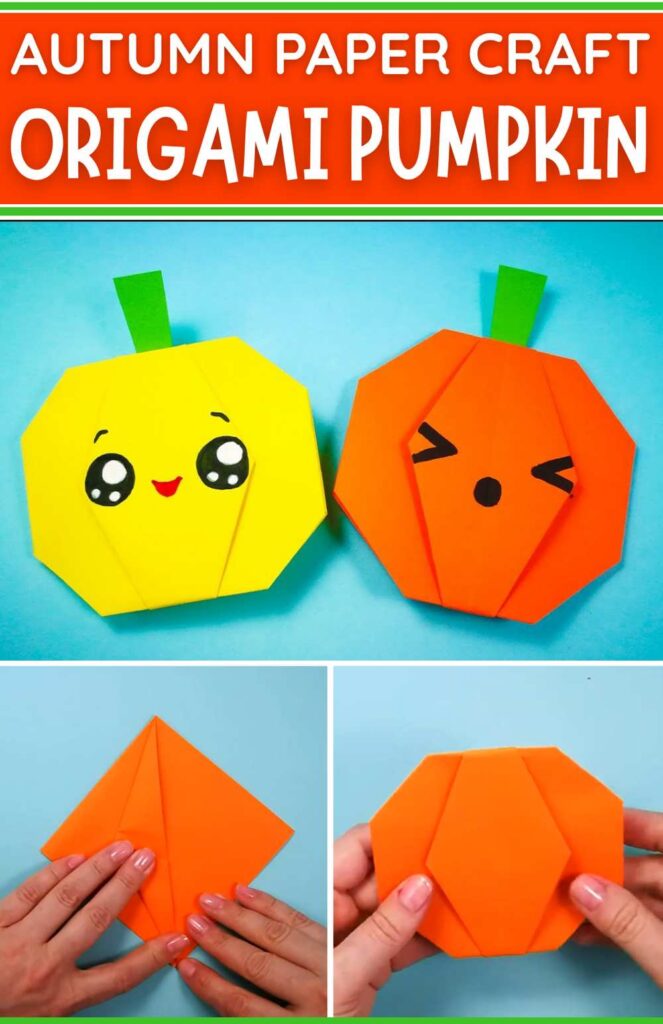
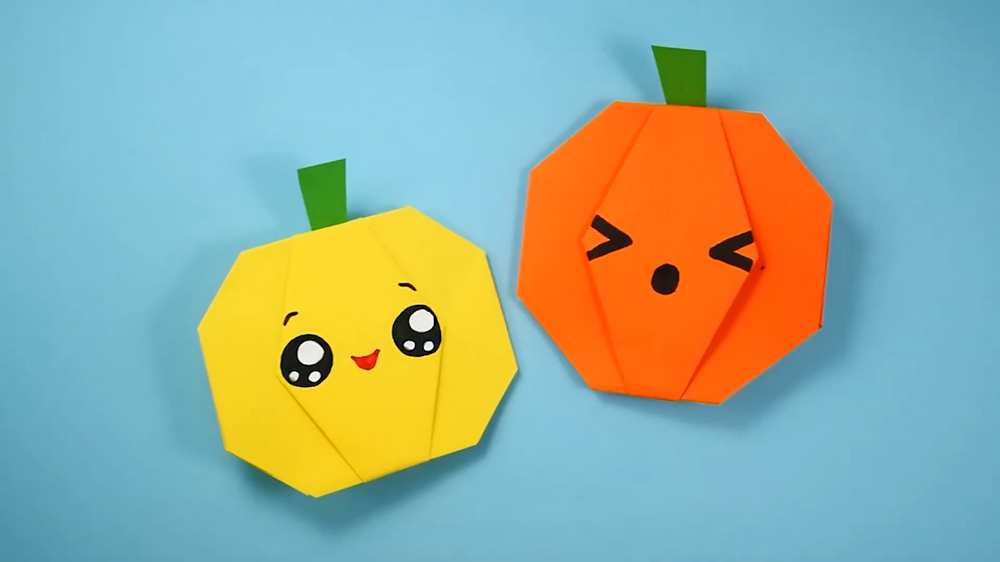
The easiest and cheapest way to make a Halloween garland is by making KAWAII origami pumpkins and ghosts! Today, with this FEATURED tutorial, learn how to fold an origami KAWAII smiling paper pumpkin that is the CUTEST Halloween greeting card, present charm, and addition to Halloween bunting. This pumpkin is a traditional model that is made from the origami square base. Hide your Halloween greeting or a chocobar (thin!) to surprise your friends and relatives.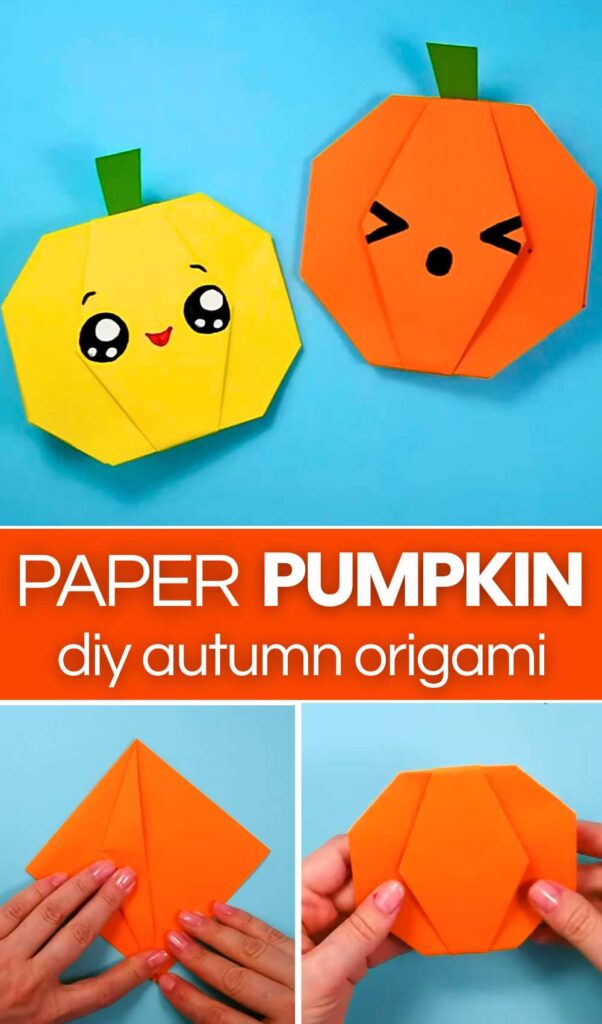
Make a pair of these origami pumpkin crafts in different shades of orange and kawaii faces. Such as, you can make it with hand-drawn V eyes or apply the kawaii eye stickers. Similarly, choose from orange and yellow for the paper color.
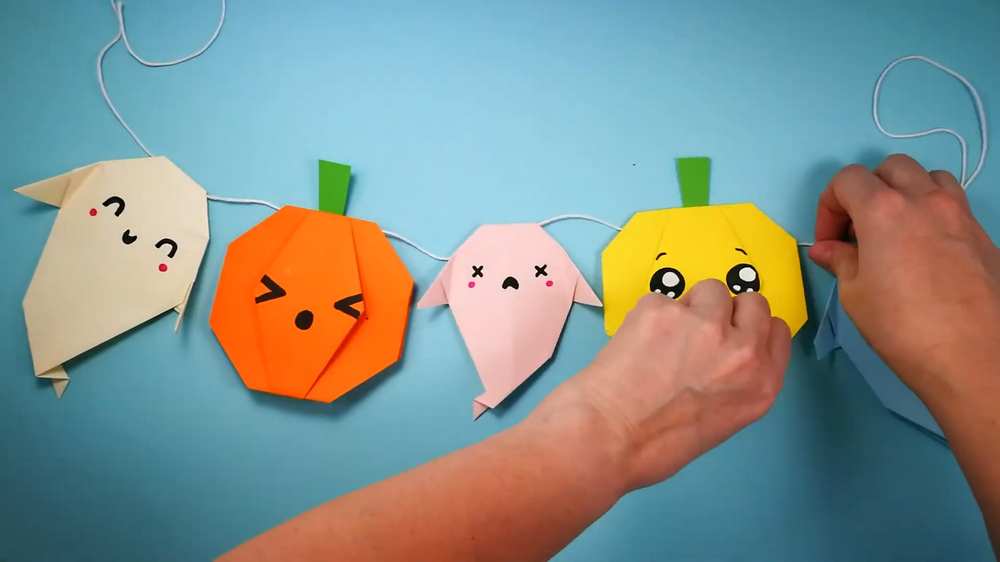
The recommended paper for these origami pumpkins is Tant paper, though you can also use Kami; it may not be one-sided that way. This is one of the 2D origami paper pumpkin crafts. Soon, I will also share tutorials for the 3D paper pumpkins, such as the pumpkin basket, inflated pumpkin, and many more crafts. Continue reading to learn more about this quick Halloween paper craft and how to fold one, too.

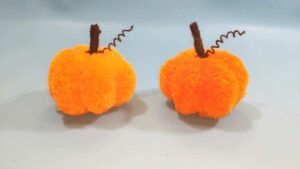
Model: Traditional/Flat Origami
Techniques: Making square base and making a squash fold
How to Make a Square Base for a Pumpkin?
I have already shared a detailed guide on making the square base. Here is the revised version for learning how to make this origami pumpkin:
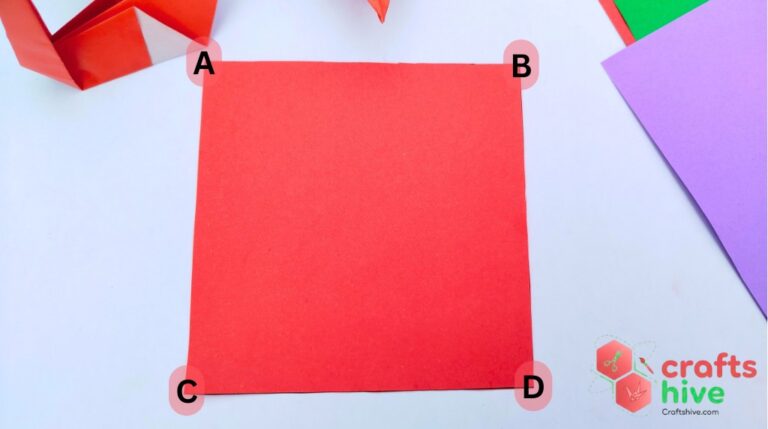
Step 1: Place the Paper
Lay your square paper flat with the colored side facing down if your paper has two colors. Make sure the paper is positioned neatly on a flat surface so your folds stay accurate.
Step 2: Fold Both Diagonals
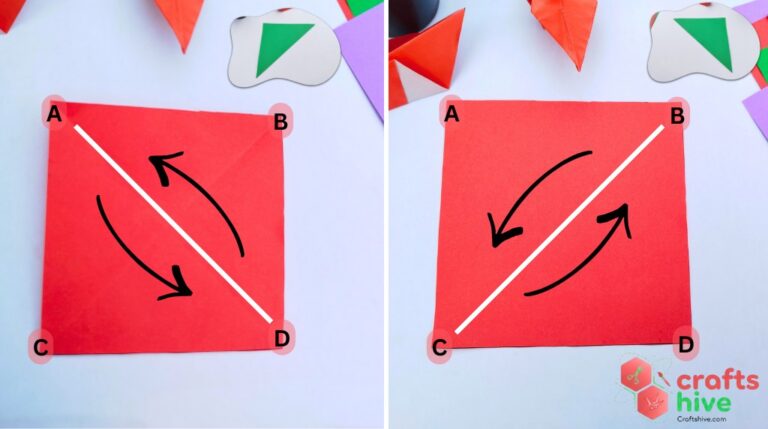
Bring one corner to the opposite corner to make a diagonal fold. Press the crease firmly from the center outward, then unfold the paper.
Now fold the paper along the other diagonal by bringing the remaining two opposite corners together. Crease well and unfold again.
After opening the paper, you should see an “X” made by the two diagonal creases.
Step 3: Fold Horizontally
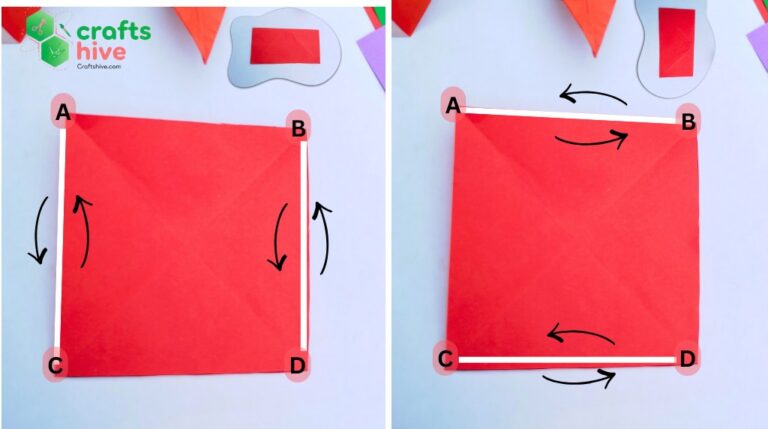
Turn the paper so it looks like a square. Fold the top edge down to meet the bottom edge. Carefully align the edges before pressing the fold. Sharpen the crease, then unfold the paper.
A straight horizontal crease should now cross the center of the paper.
Step 4: Fold Vertically
Next, fold the left edge over to the right edge. Match the edges carefully and press firmly to create a clean vertical crease.
Unfold the paper once more. You should now have four main creases: two diagonals forming an “X” and one horizontal plus one vertical crease forming a “+”. These creases divide the paper into eight triangular sections and prepare it for collapsing.
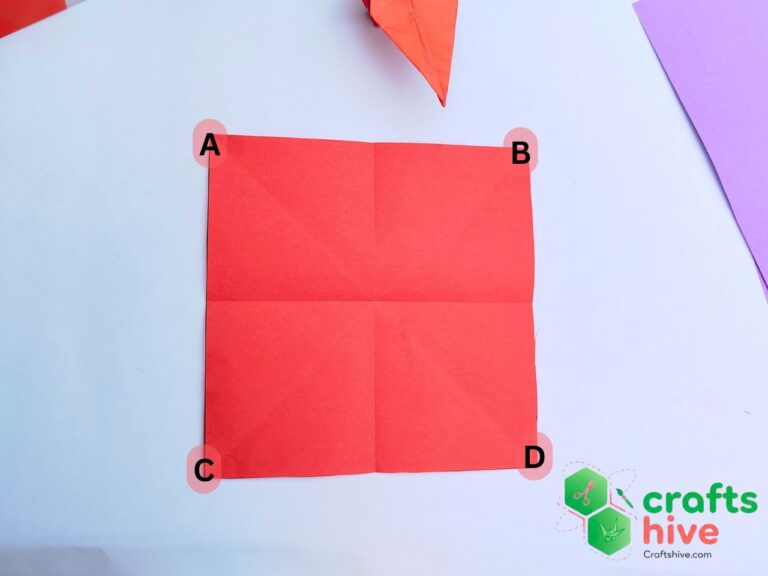
Step 5: Collapse the Paper
Rotate the paper so one corner points toward you like a diamond. Hold the left and right corners lightly between your fingers.
Push the left and right corners inward while gently lifting the top corner. The existing creases will naturally guide the paper inward. As the sides collapse, the bottom corner will move upward automatically.
Do not force any new folds. Let the paper follow the creases you already made.
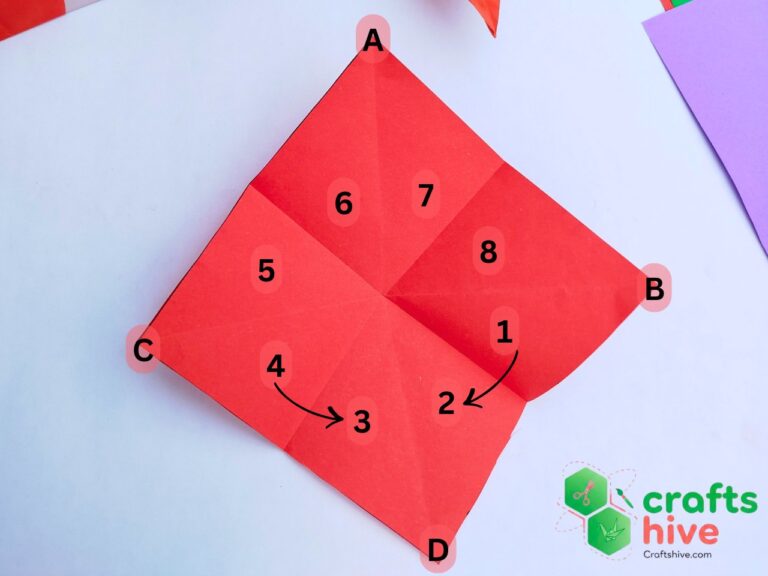
Step 6: Flatten the Base
Continue collapsing until all four corners meet. Press the folded paper flat to create a smaller square.
The finished square base should have:
- Four flaps at the bottom.
- One closed point at the top.
- One open end at the bottom.
- Even edges that line up neatly.
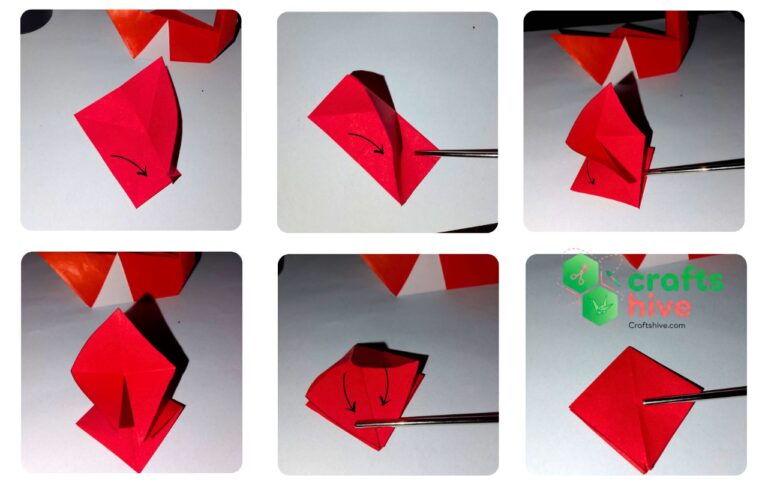
Run your fingers along every edge to sharpen the creases. A well-creased base makes later folds much easier and more accurate.
Learn making the pumpkin (starts after square base!)