Show support for BeingArtistic.
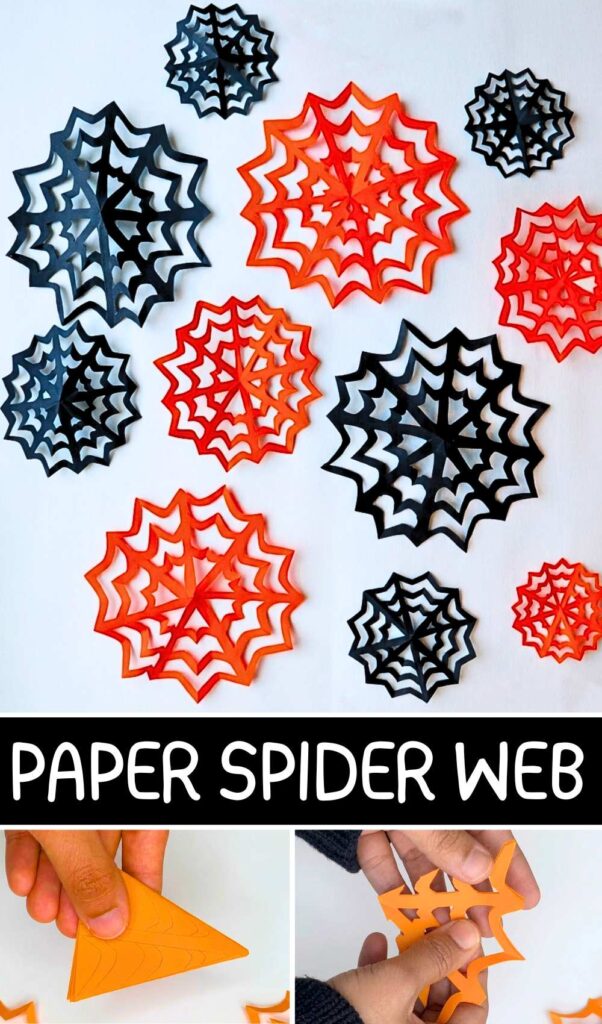
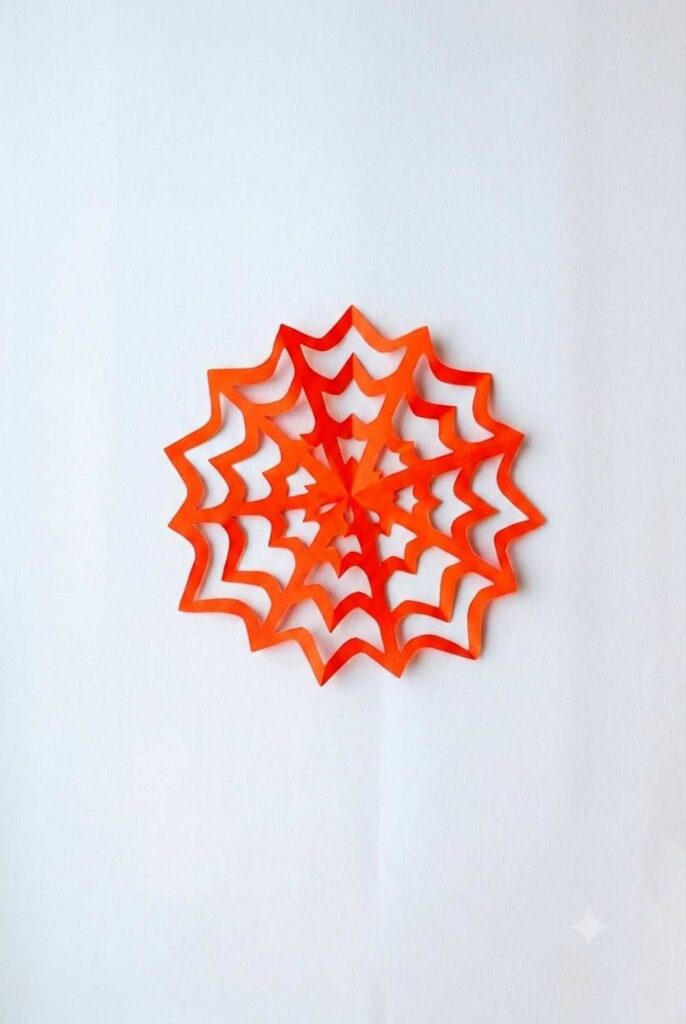
Learn how to DIY A PERFECT paper spiderweb in any size with an improved cutting pattern in this step-by-step guide for beginners. You can make your spiderweb in red, black, or orange and decorate the corners of the room. It is an easy way to make 2-minute Halloween decorations using just paper and scissors.
It is a great activity for kids and adults alike because it only takes a few minutes to do. By using sharp, straight lines instead of round curves, the web gets a cool, modern look. That’s what this design of paper spiderweb improves on.
DIY Paper Spiderweb for Halloween Decoration
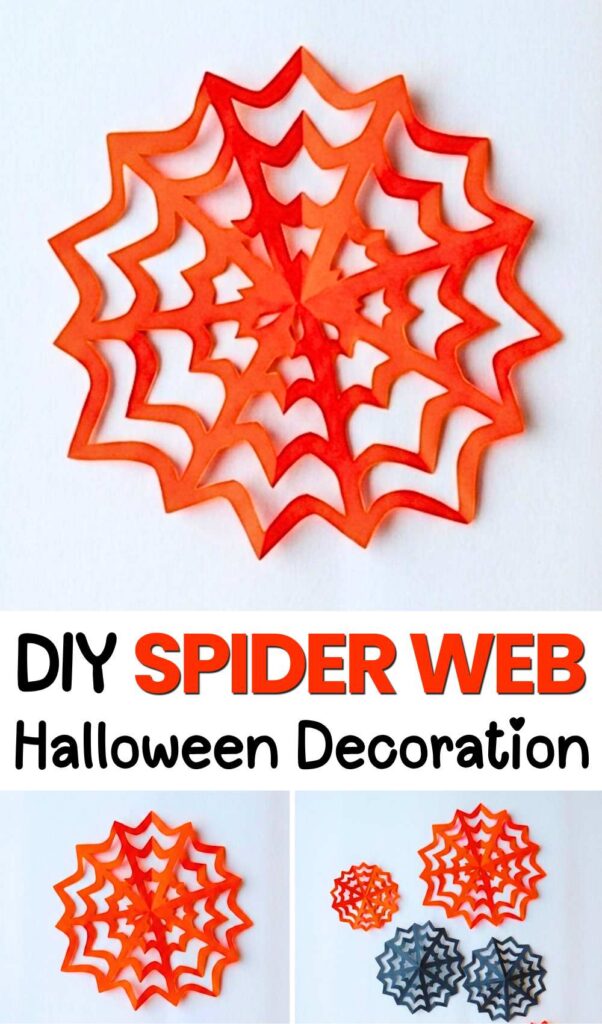
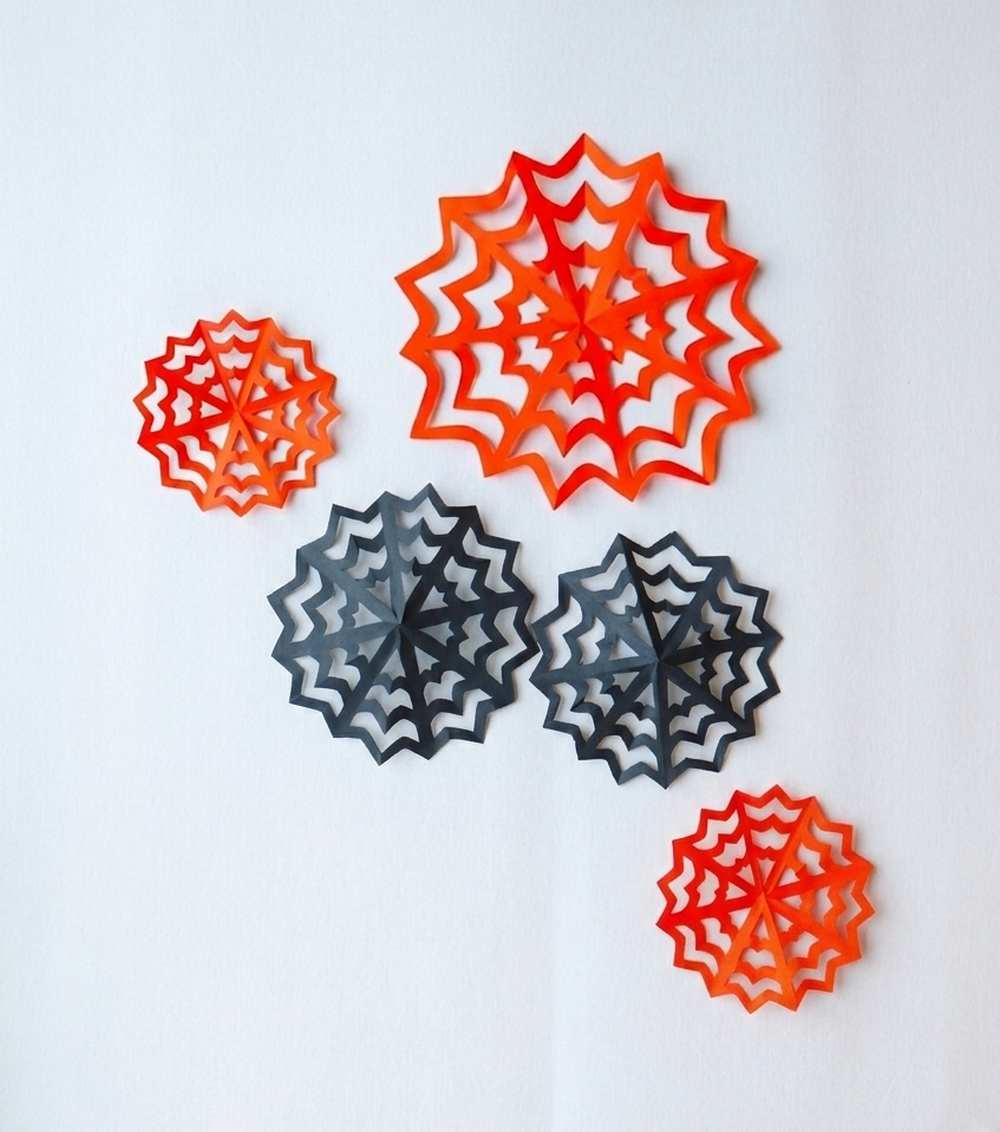
You can make a bunch of them in different sizes and colors to tape onto your windows, walls, or doors to get your home ready for a spooky holiday! You can learn how to cut this spiderweb with the help of both the video tutorial and step-by-step guide for beginners. Let’s get started then.

Halloween Spiderweb from Paper Guide
This quick and engaging paper craft is the perfect way to blend geometric precision with holiday decor. By modifying the traditional curved cuts into sharp, downward-pointing chevrons, this version is a PERFECT Paper spiderweb. Here is the step-by-step to make your spiderweb using the cut-and-fold theorem:
Materials Needed
-
Paper: Standard white printer paper, black construction paper, or lightweight origami paper.
-
Scissors: A sharp pair of scissors (smaller detail scissors work best for the tight corners).
-
Pencil: For tracing the pattern.
Drawing Pattern Template
Step-by-Step Guide
Step 1: Make a Perfect Square
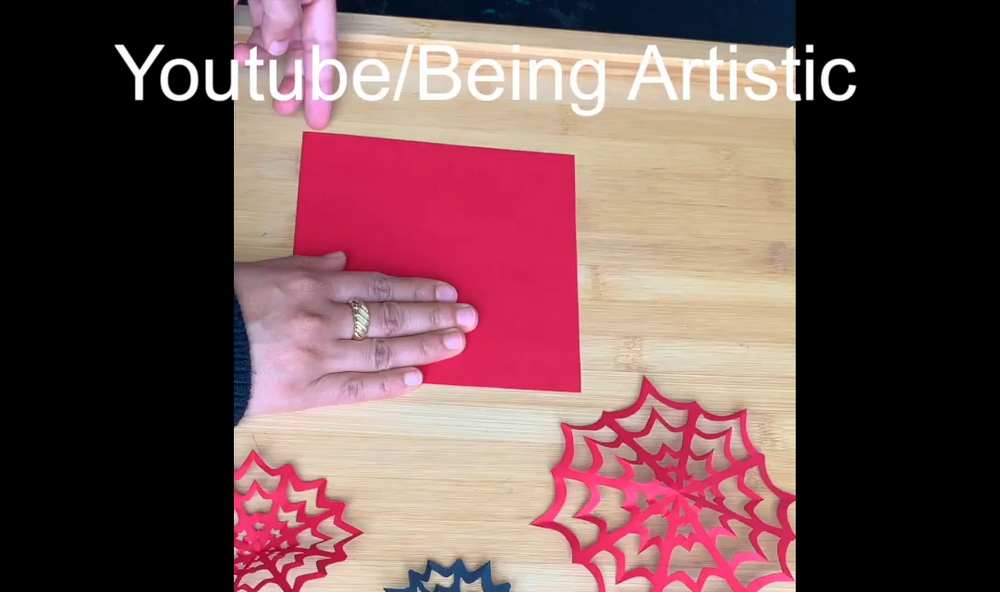
If you are starting with standard rectangular paper (A4 or Letter), you need to make it a square first:
-
Take one top corner and fold it down diagonally to align with the opposite edge, forming a large triangle.
-
Cut off the excess rectangular strip at the bottom.
-
Unfold it, and you have a perfect square.
Step 2: The Base Folds
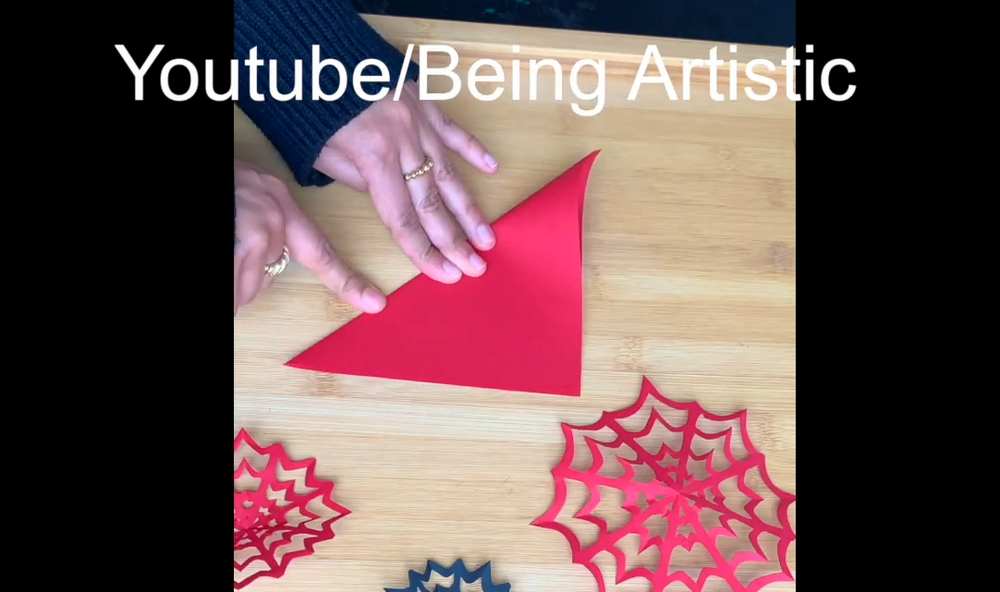
To get the narrow wedge shape shown in your template, follow these folding steps:
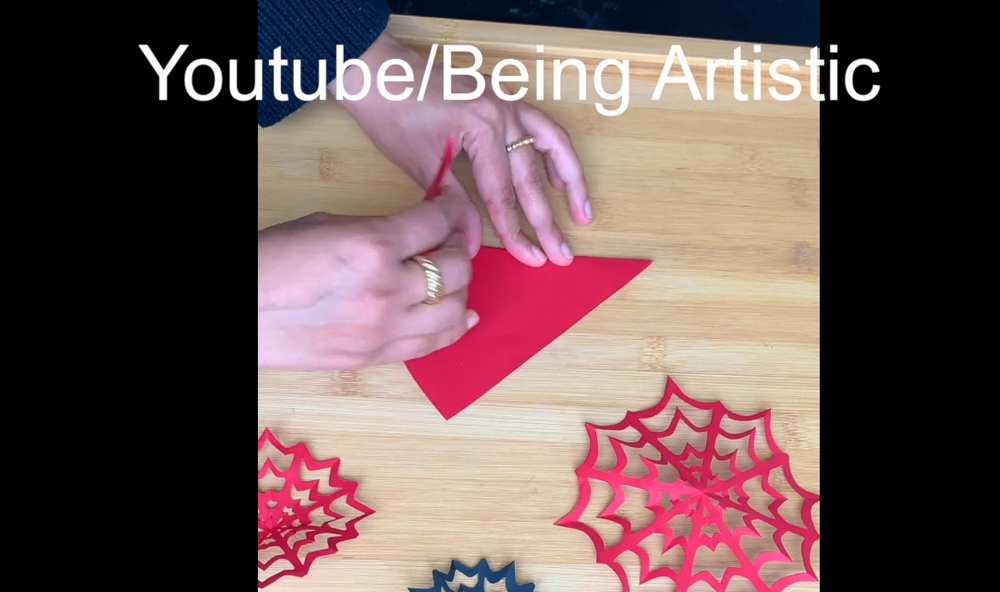
First Fold: Fold your square in half diagonally to form a large triangle.
-
Second Fold: Fold that triangle in half again to make a smaller triangle.
-
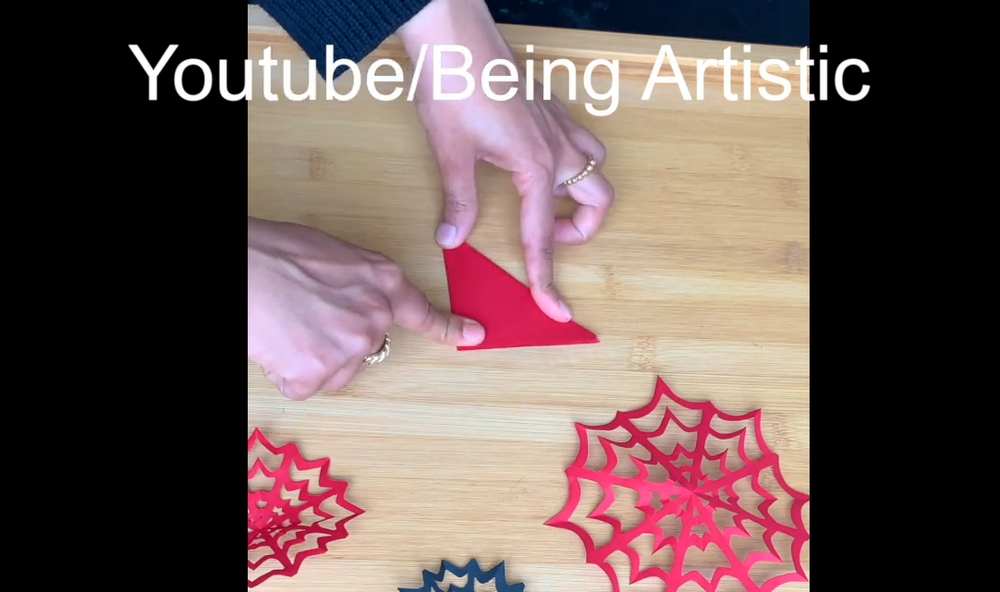
Third Fold: Fold the triangle in half one more time. You will now have a long, narrow triangle wedge.
-
Optional: Give it one final fold in half if you want an extra-dense web, ensuring all the edges stay perfectly aligned.
Step 3: Trim the Top
Look at your paper wedge. The template image shows a wedge with a flat top. Cut straight across the wide open end of your folded triangle to create a clean, flat top edge.
Step 4: Draw the Template Pattern
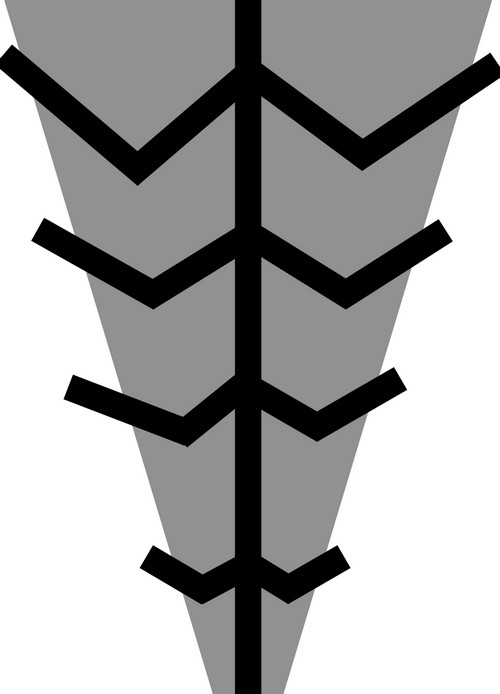
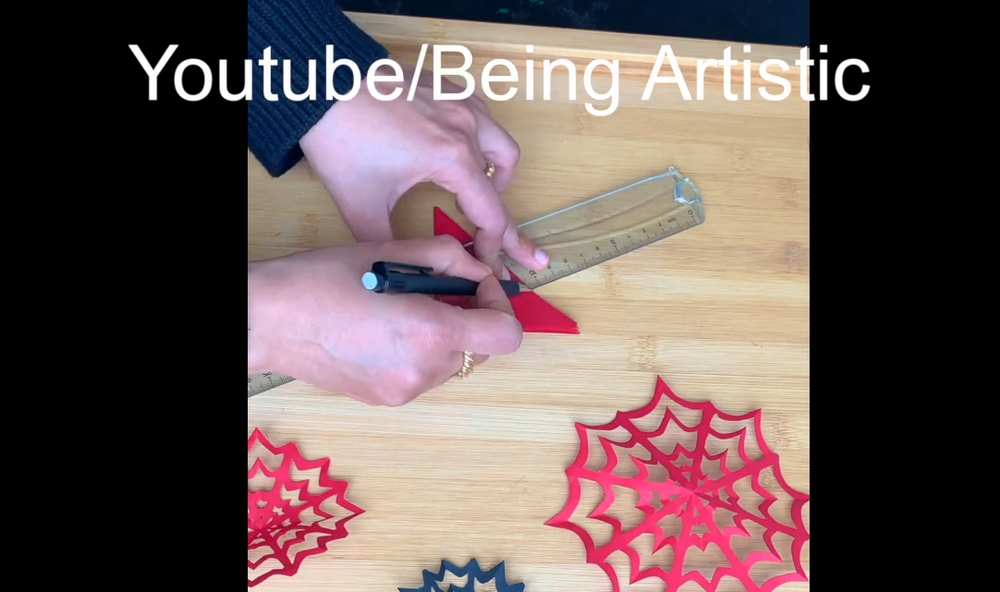
Orient your folded paper wedge so it matches the grey triangle shown in the template (with the sharp point facing down). Using a pencil, draw the black pattern onto your paper:
-
The Center Spine: Draw a solid vertical line straight down the exact center of your wedge, running from the top edge all the way to the bottom point.
-
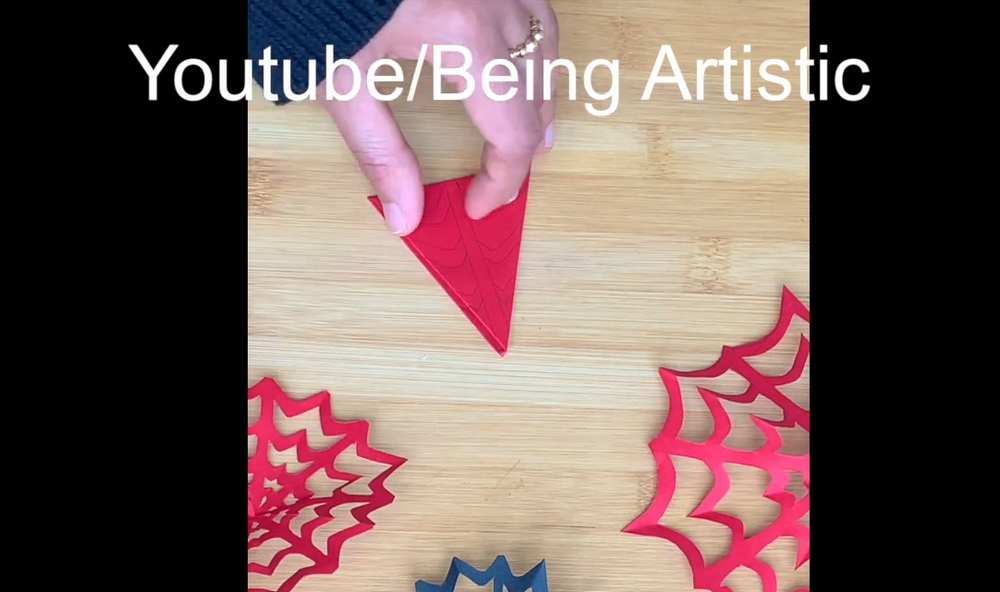
The Chevron Strands: Draw four sets of downward-pointing “V” shapes (chevrons) that branch out from the center line to the left and right outer edges of the paper. Space them out evenly from the top to the bottom, just like in the image.
Step 5: Carefully Cut Out the Pattern
Important: In this template, the black lines represent the structure of the web that you must KEEP. You will be cutting away and removing the grey negative spaces.
-
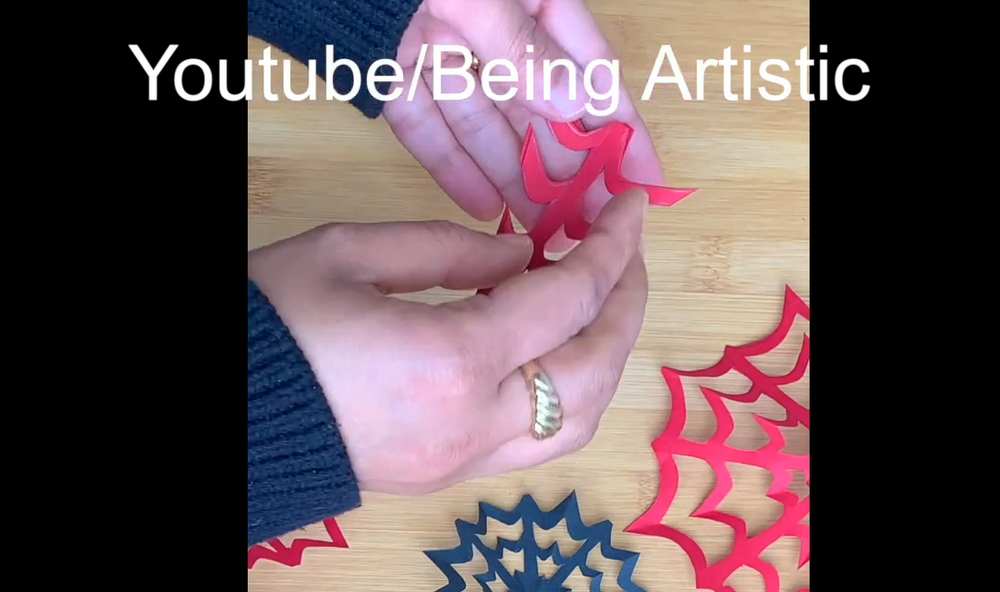
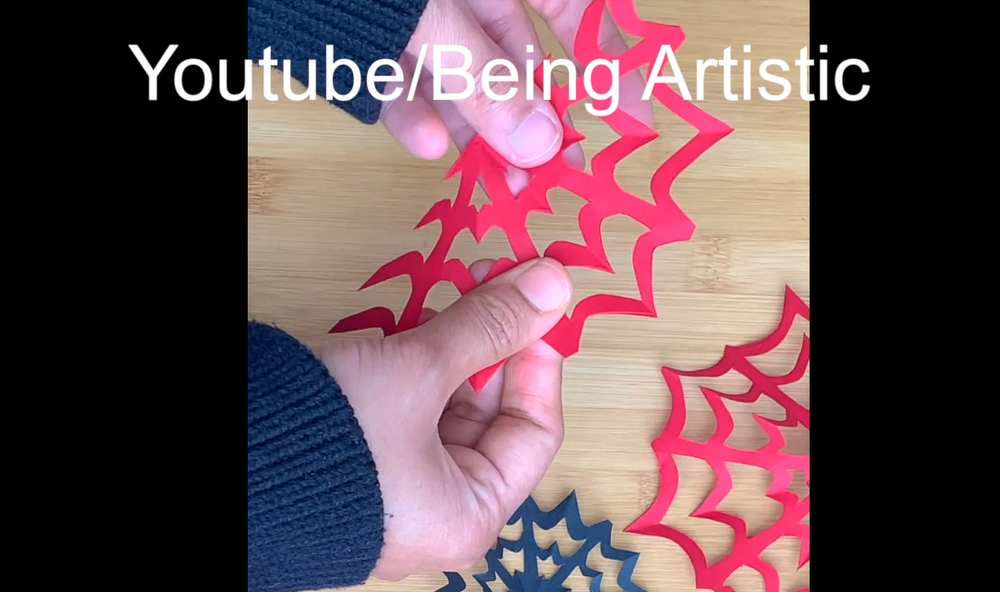
Carefully cut out the empty grey spaces between the chevron arms.
-
Be absolutely certain not to cut through the central vertical line or the chevron branches entirely, as they hold the entire web together.
-
Take your time around the sharp inner angles of the chevrons.
Step 6: The Big Reveal
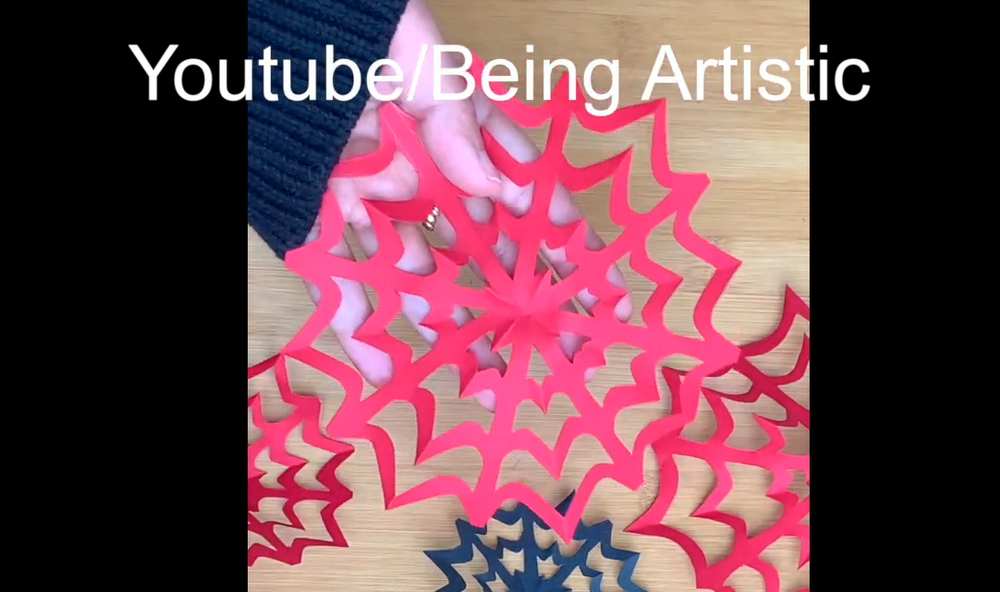
Slowly and gently unfold your paper. Flatten out the creases with your hands (or press it inside a heavy book for a few minutes), and your sharp, geometric chevron spiderweb is ready to display!
Video Guide:
Share on Social Media!